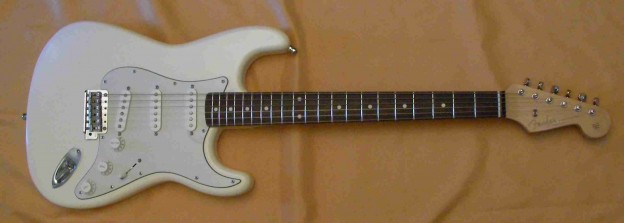
A collection of bits and pieces, put together should make a nice guitar…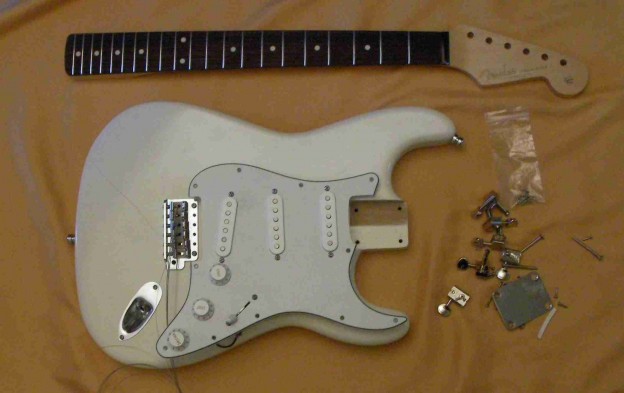
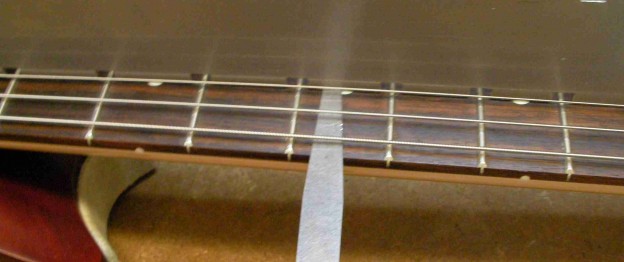
To make it a really great guitar, rather than just an average one I levelled the frets. Firstly making sure the neck is level.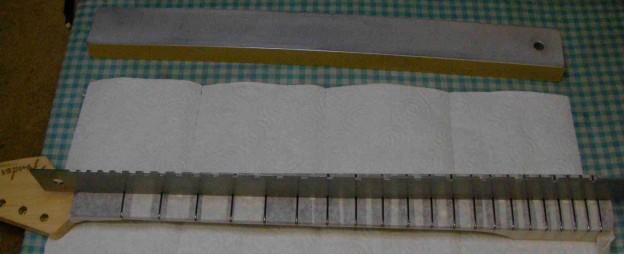 With it nice and flat, grind down the fret tops to a common level….
 Once levelled each fret needs to be re-shaped.
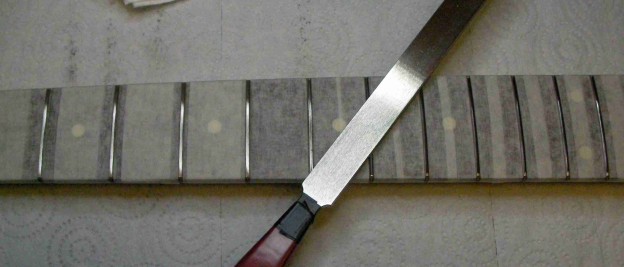 Then re-polished…
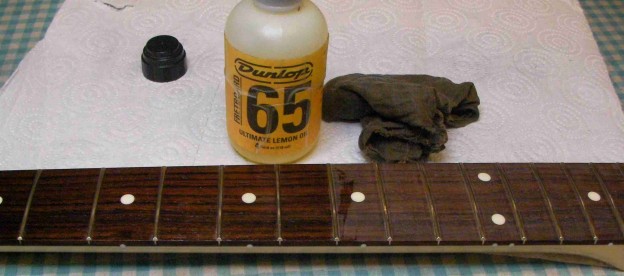
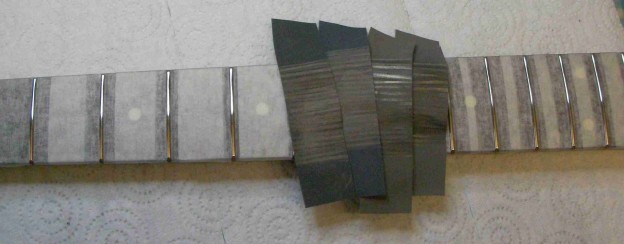 While the strings are off I gave the fretboard a little lemon oil.
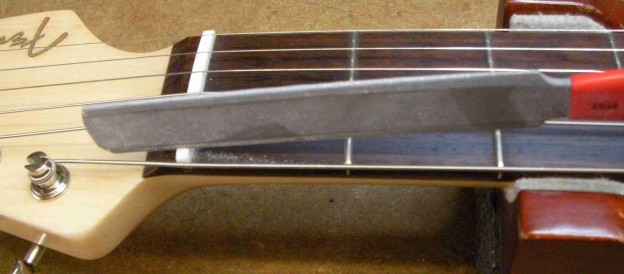
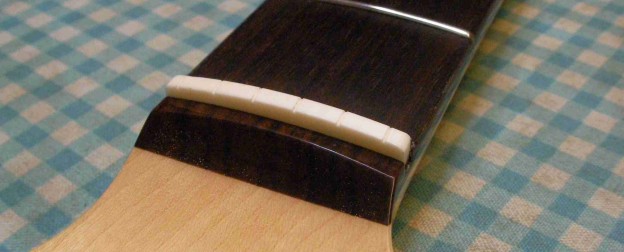
The new nut doesn’t quite fit properly, the radius of the bottom wasn’t quite right… and was a little thick…
 That’s better, fits nicely.
Next the machine heads, first the bushings. Always better to press them in rather than use a hammer..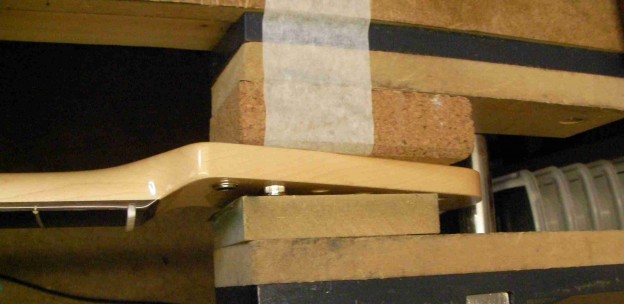
I use a steel rule to make sure the machine heads are lined up properly before drilling the screw holes..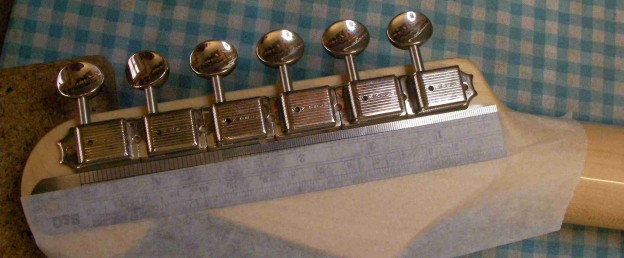
Turning my attention to the electrics, I don’t know why, but the earth wire from the tone pots’ hasn’t been soldered. In fact it’s been taped up and insulated?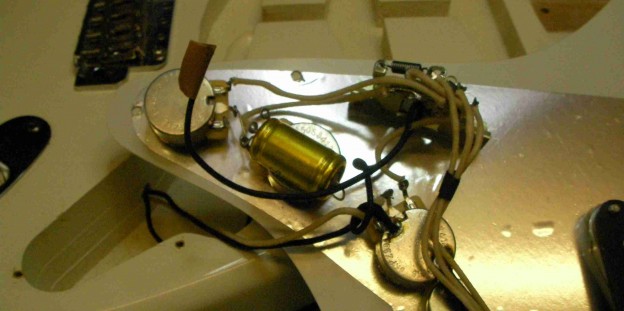 Back to the neck, and time to fit it to the body. I use thick cord in place of the “E” strings to make sure the neck’s lined up properly..
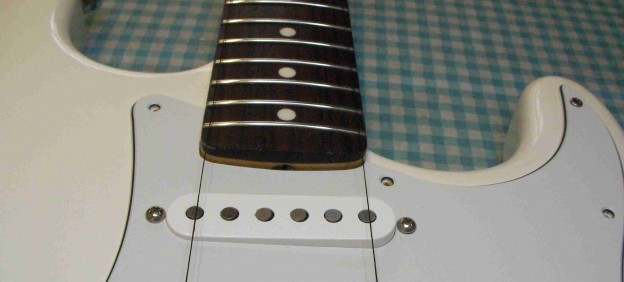
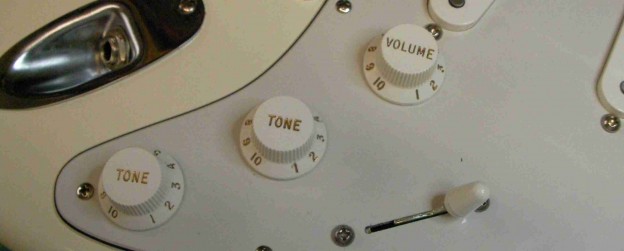
With that done, clamp it firmly in place, drill the holes and screw it together…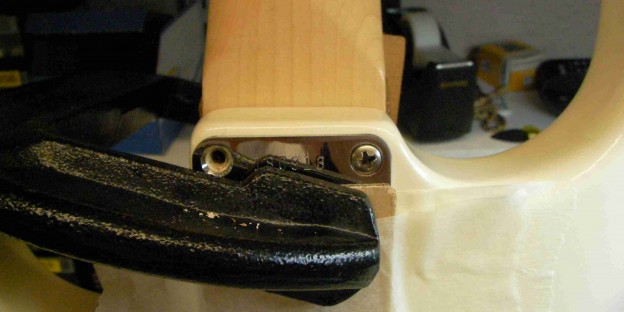 I noticed at this point that the control knobs are in the wrong order?
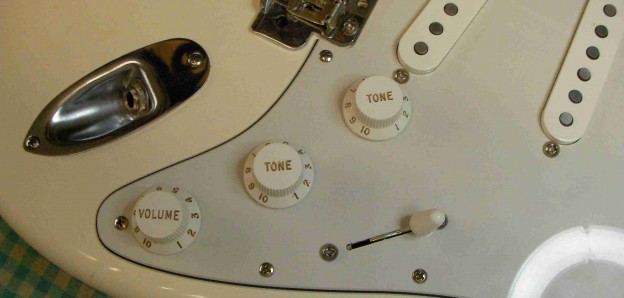 That’s where they should go.
 With strings at tension the tremolo came up a little to much…
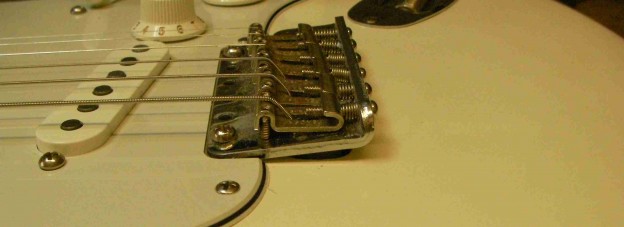
so tighten up the trem’ screws a little…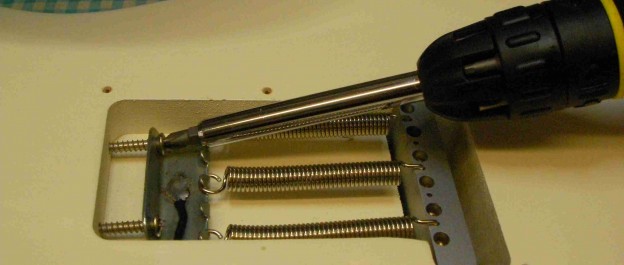
All that’s needed then is a standard 5 point setup..
First the neck set, just a little high.
The trouble is the truss-rod screw is on the heel of the neck, so you have to take the neck off to adjust it.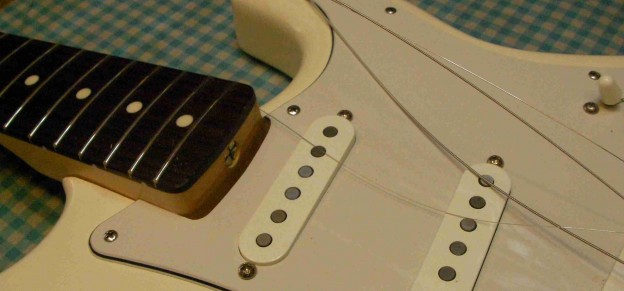
Then the action at the 12th fret. Rather high so lower the bridge.
Now the action at the top end. The slots in the new nut need to be cut down to lower the action..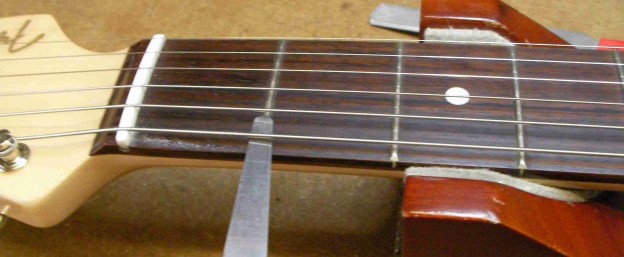
Lastly the intonation and pickup heights….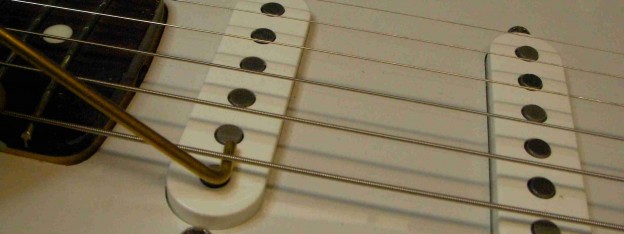 There we go, a rather lovely guitar…