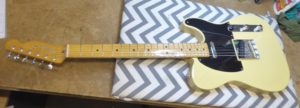
What a lovely guitar, The owner just wasn’t quite happy with the finish on the body and has found a subtly different one.
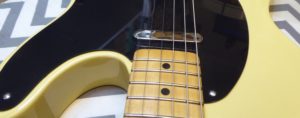
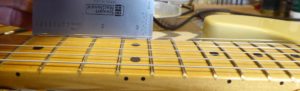
Before I start it’s clear that the neck will need a little adjustment when it goes back together, but I’ll address that later.
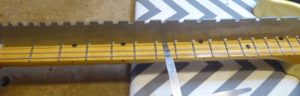
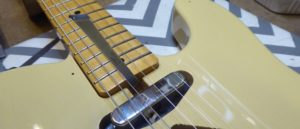
It’s also mounted at a very slight angle, the strings are a little offset to the right at the last fret. Again I’ll look at that closely when I mount it on the new body.
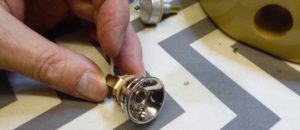
It has traditional screws with single slots rather than cross heads, I’ll need to be very careful with those, it’s a lot easier to slip and damage them.
.
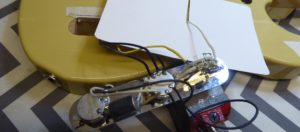
So, with the neck off next un-solder and remove the electrics.
Something I really don’t like are the cheaper Fender style jack cups. I’ll replace that with a much better one on the new body.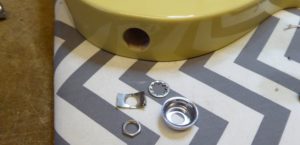
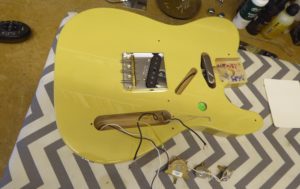
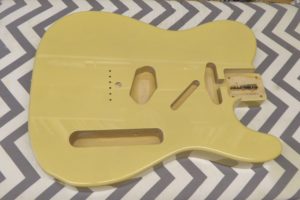
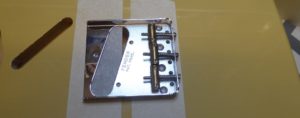
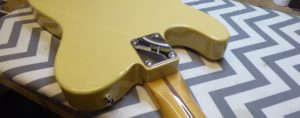
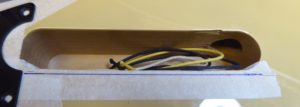
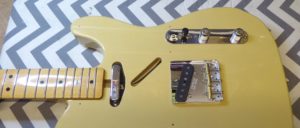
The new body, ready for the old hardware to be fitted, along with a new set of pickups and electrics.
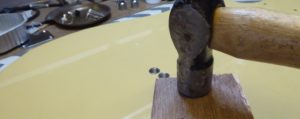
The string ferrules were nicely snug, at last they won’t fall out but need to be tapped in gently. The piece of wood just makes sure I don’t do any damage to the ferrules or the body.
The strap buttons were easy, the holes having been pre-drilled. It’s much easier to do that before the neck is fitted.
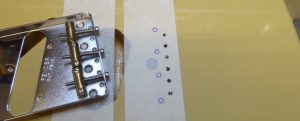
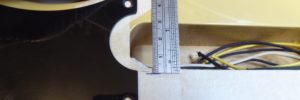
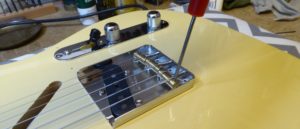
The location of the bridge is pretty simple, there really is only one place it can go, the holes for the strings just need to line up. 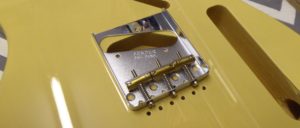
So line up the string holes and mark up the holes for the screws.
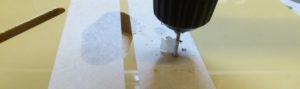
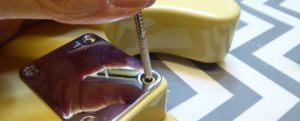
Starting off the holes with a sharp bradawl to make sure I get the holes drilled in exactly the right place. 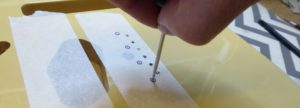
and to make sure the holes don’t go too deep, a small piece of tape on the drill bit…
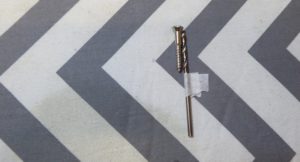
Just like that.
A nice new set of Bare Knuckle pickups so It’s going to sound great as well.
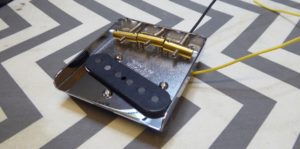
Not forgetting an earth wire for the bridge.

The bridge pickup should be nice and easy, just making sure exactly where it needs to go. The scratch-plate fits really nicely so I just need to mount the pickup centrally in the cavity.
Back to that jack socket, I do far prefer these recessed ones that screw into the body. A very simple upgrade to any Tele’. 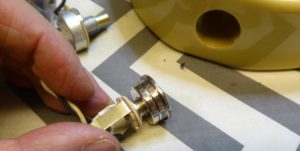
With most of the hardware fitted it’s time to refit the neck. I aways put a little candle wax on the screws to lubricate them, I find it helps them to screw in nicely.
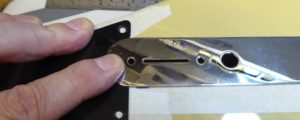
So, back to the pick-guard and control plate, and getting the position exactly right.

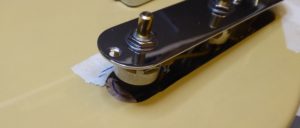
The scratch-plate fits really closely around the neck so there isn’t really any flexibility with where that will go. With the place for that worked out next where exactly will the control plate go? I marked the offset at one end on masking tape to judge where it was fitting over the cavity.
So it overlapped the cavity by about 3mm…
Marking off the same 3mm at the other end gave me the line that the control plate needs to follow…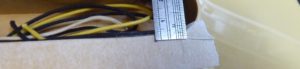
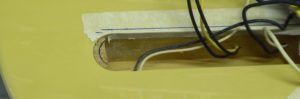
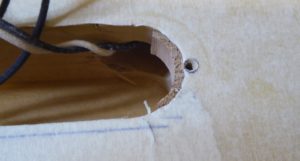
The next problem, if the control plate fits exactly there, the screw won’t have any wood to drill into?
So I need to add a little extra wood. I found in my spare wood a dowel with very nearly the same radius as the end of the control cavity.
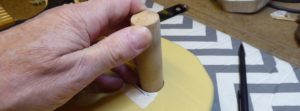
I cut it down and split a little off one side and sanded it down to more accurately fit.
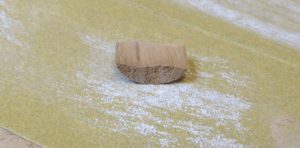
Then glued it into place.
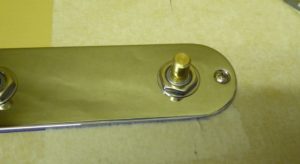
Next job, re-assemble the new pots’ on the control plate. I really don’t like the way they ended up. To my eye the shafts are too long so the volume and control knobs will leave the locking nuts exposed.

To lower them I put another nut on the inside…
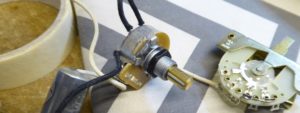
Now the knobs sit fairly flush, just a small gap.
Re-solder the new pots’ and switch.
Solving one problem often creates another, the piece of wood I added was just too big and now I can’t fit the new controls into the cavity!
I just need to carefully remove a little excess with a small router.
Fits nicely now. I drilled the hole and cut the thread using a modern cross head screw, I didn’t want to risk damaging the single slot screws.
At least the screw hole should be solid and not split out with time now.
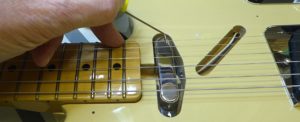
With the new hardware all together (apart from the scratch-plate) it’s time to fit the strings and check the setup.
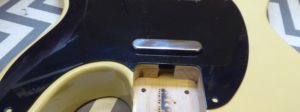
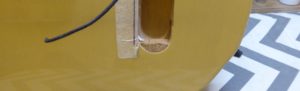
I’d already seen that the neck had slightly too much curvature in it, that’s why I left the scratch-plate off…..

so I could get to the truss-rod screw, on the heel of the neck. Luckily the new body has the cutout allowing access to the screw.
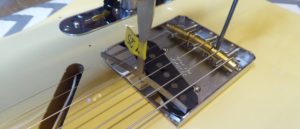
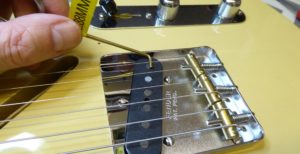
With the neck relief set just a slight adjustment needed on the bridge, the action at the 12th fret was a little low,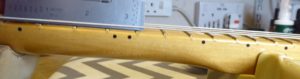
The same on the treble side.
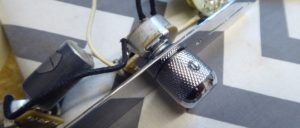
A minor adjustment to the bridge saddles.
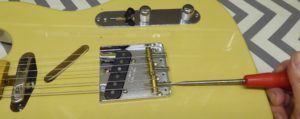
With the outside “E” strings set all that’s needed is a slight tweek on the other 4 so that the radius across the bridge matches the radius of the fretboard.
Then the intonation. I knew I would have to reset the E and A strings since I needed to move the saddles out of the way to get the mounting screws for the ashtray bridge out and back again. The others were just about right, just a very small adjustment.
Setting pickup heights is a little subjective, what sound do you really want and expect from the guitar? I start with some generic settings and then just plug it in and play it. Basically, a similar output on the bass and treble E strings and likewise, across the 2 pickups, perhaps just a little more punch from the bridge pickup.
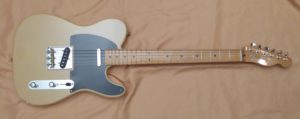
Last thing then, fit the scratch-plate and it’s good to go!! Rather a lot of work for such a small change in colour. The pickups should make a big difference though.
For help with anything else similar to this then just call or email.