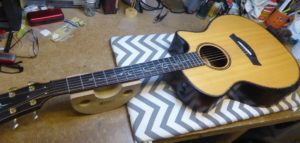
Taylor Setup
Not something I would expect to have to do, a setup on a top end Taylor.
A guitar setup is quite a personal thing though, so the standard factory setings may not suit everyone. The owner just wanted a slightly lower action.
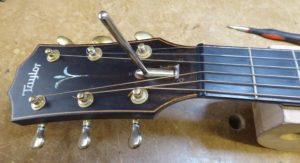
The neck had just a little more relief than I would normally like…
So tighten the truss-rod a little.
The action at the 12th fret was also just a little high…

Taylor guitars do have removable necks with angled shims which is the preferred way to adjust the action height but I’m afraid I don’t have access to those parts so I’m going to do it the traditional way and take a little off the bottom of the bridge saddle.
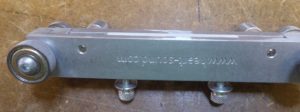
By clamping it with just the amount that I need to remove protruding.
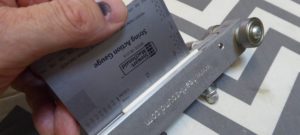
Simple then, just sand away until the bearings at each corner stop you going any lower…
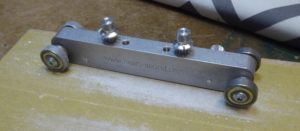
It also leaves the bottom exactly square and level, very important if the guitar has an under-saddle pickup.
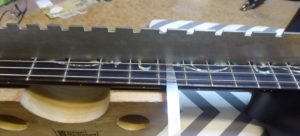
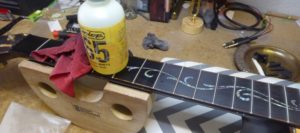
While the strings are off I can also give the fretboard a bit of a clean….
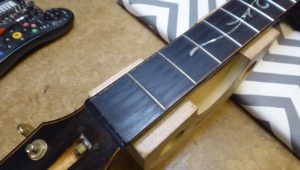
I use the finest grade of steel wool to just clean up the wood.
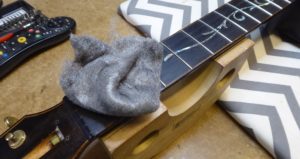
At the same time a little Lemon Oil to bring a little life back to the wood, it does tend to dry out with time.
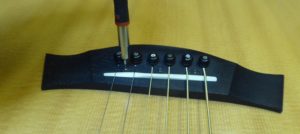
With a new set of strings just reset the pressure on the pickups, Taylor have a unique system where the pickup sits behind the saddle rather than underneath it.
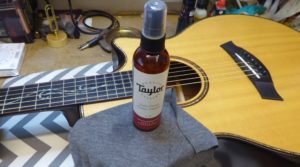
With it all done, a quick bit of a polish. I’m often asked what to use, with a satin finish Taylor the choice is easy, they make a special polish exactly for those…
So there we go, It wasn’t bad by any means, but now it has a nice low action.
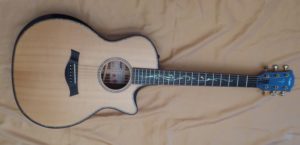
If you have anything similar that needs attention then just give me a call or drop me a line and I’ll take a look.