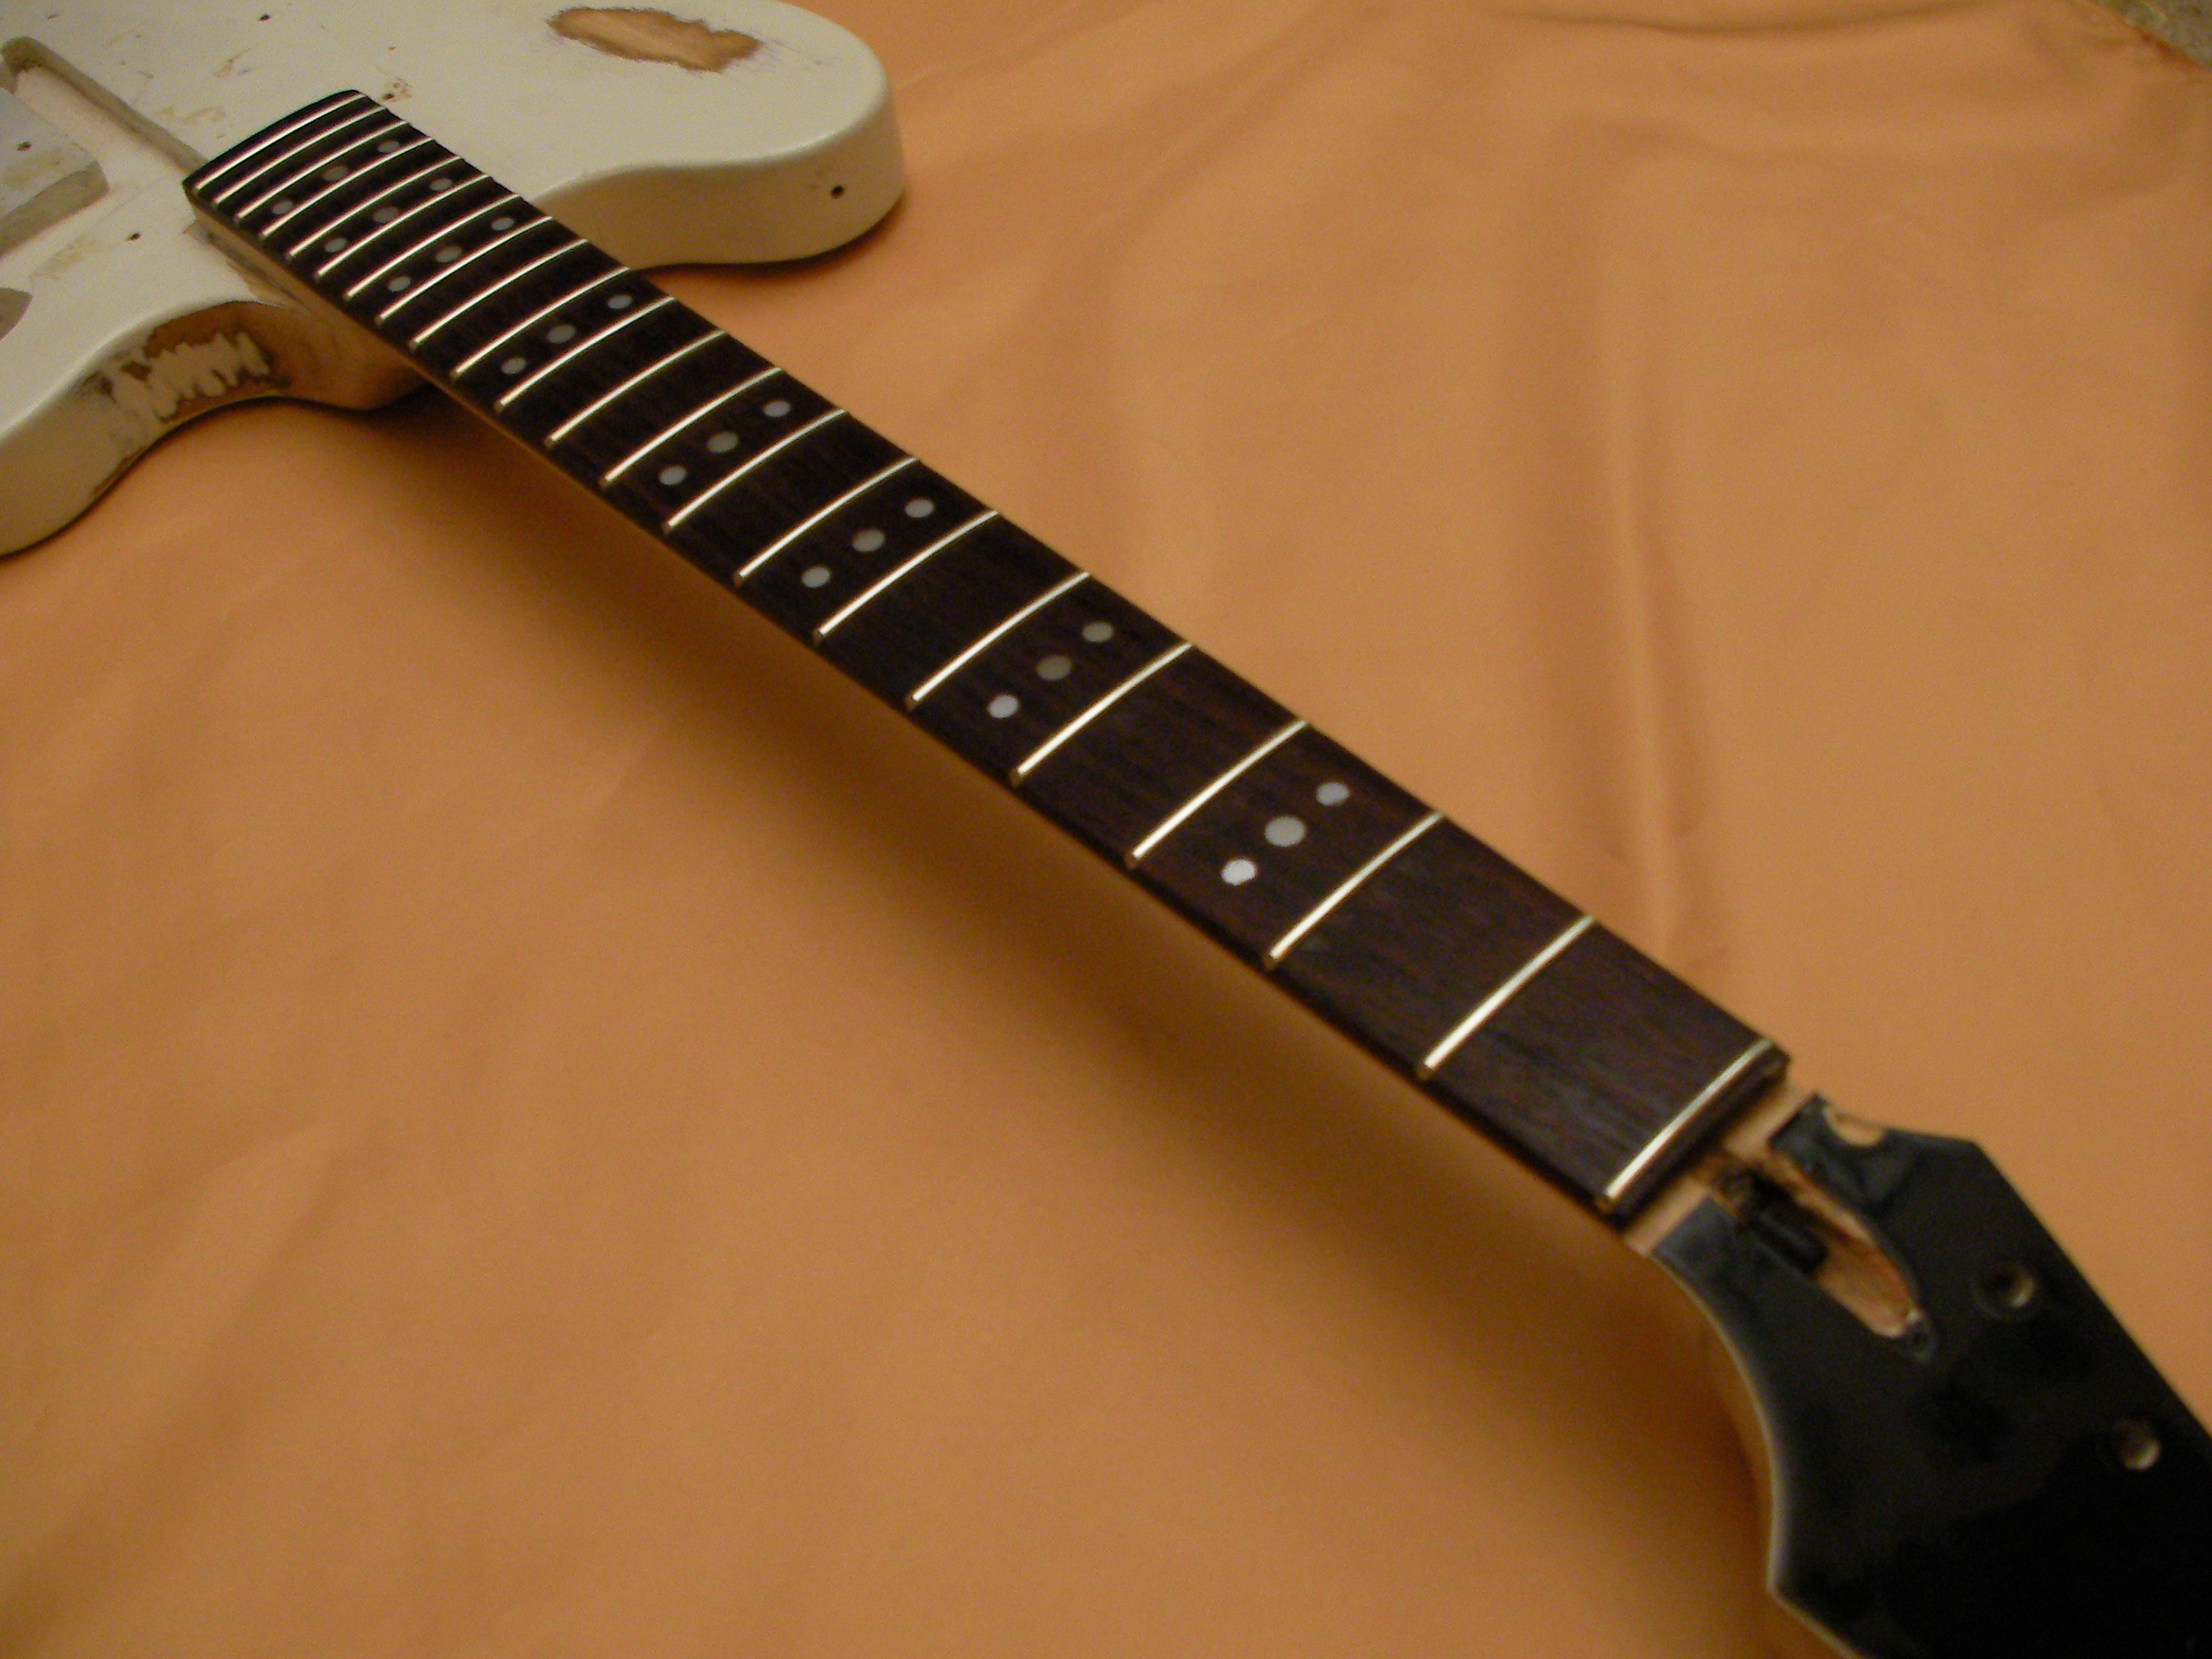
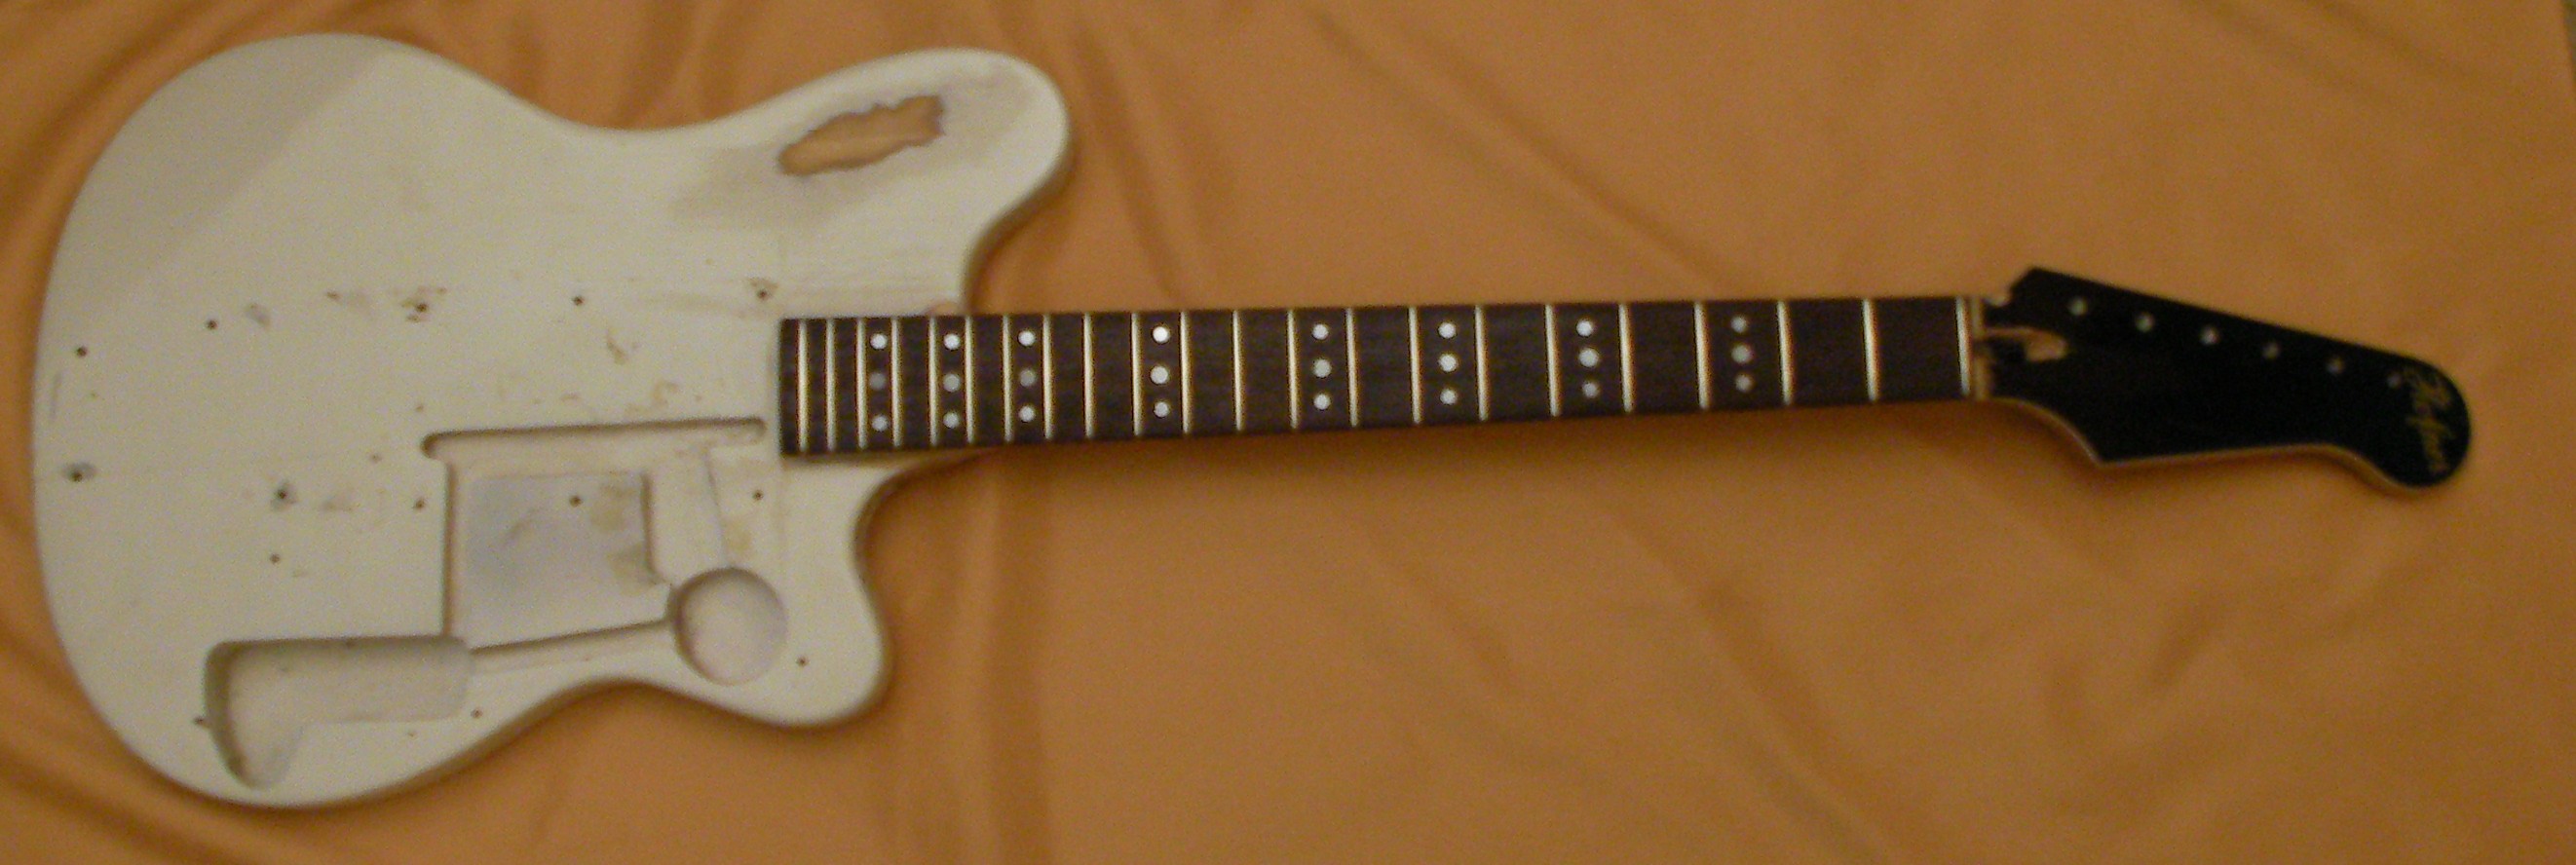
Well it was fretless when I started!
Someone elses project, already started, so all I’ve been handed is a body and neck.
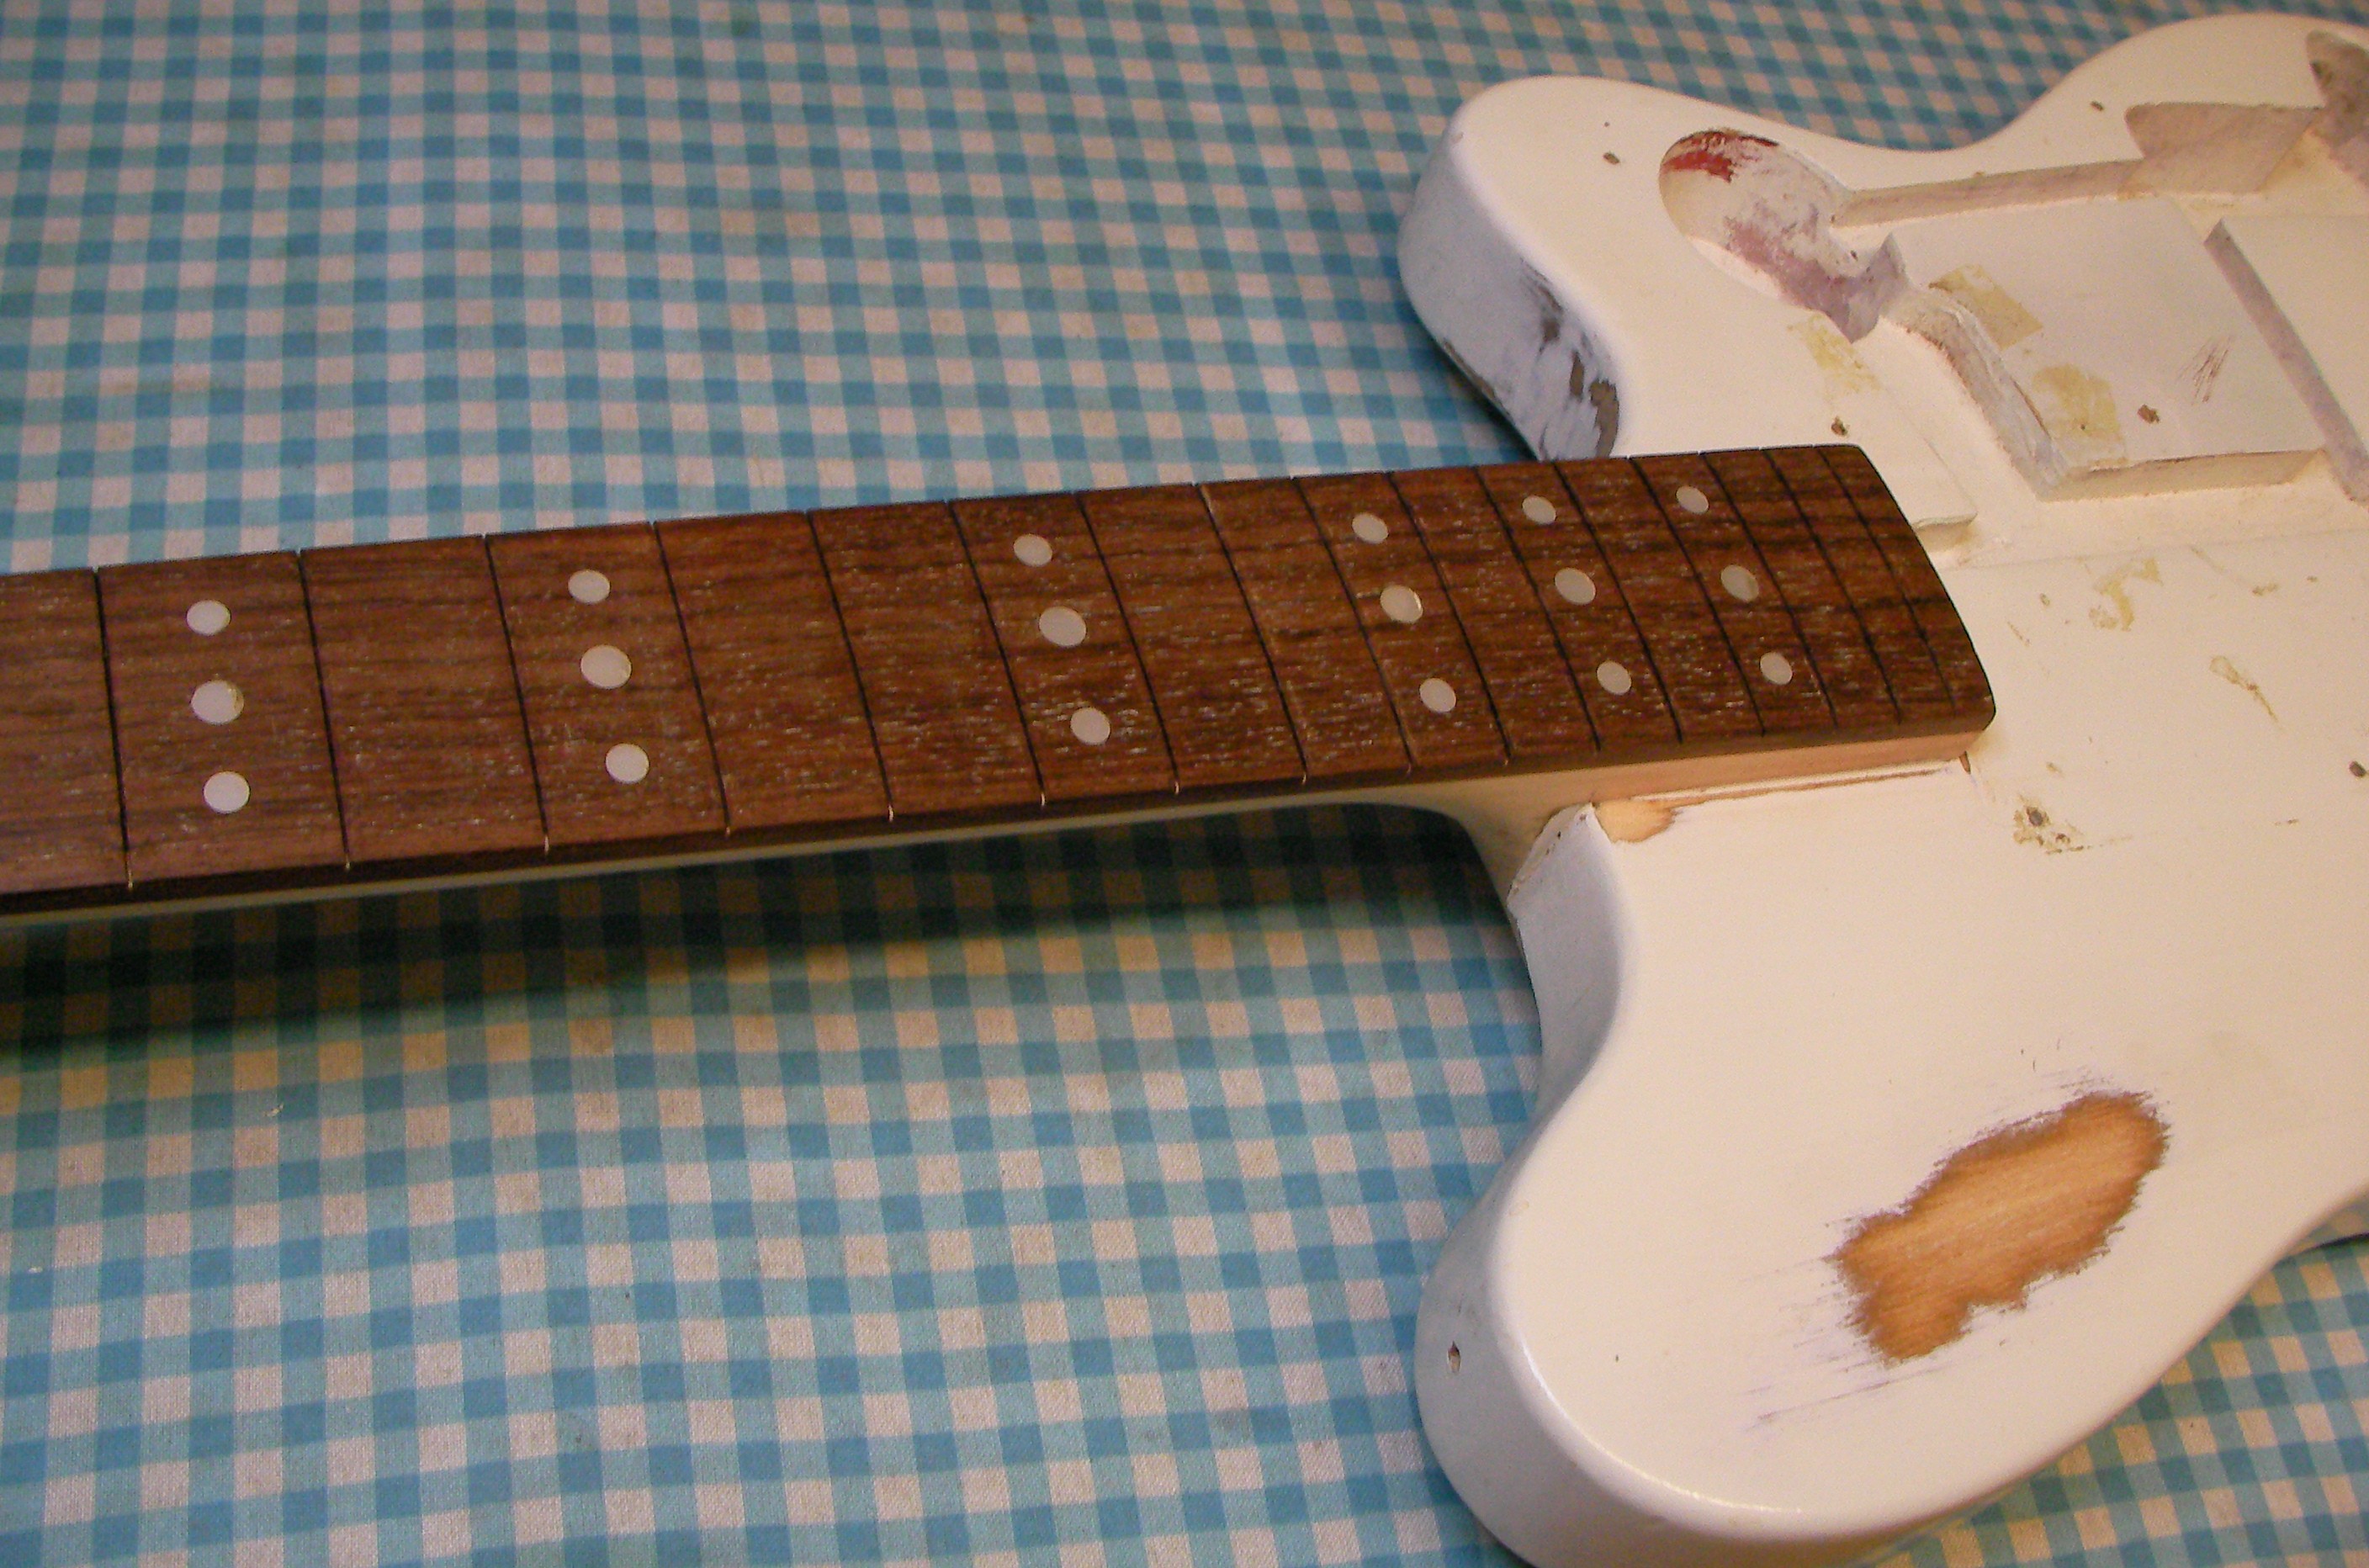
The first stage of the project is to fit new frets. So, step one, make sure the fret-board is nice and level. There are a couple of deep points but it’s mostly in good condition.
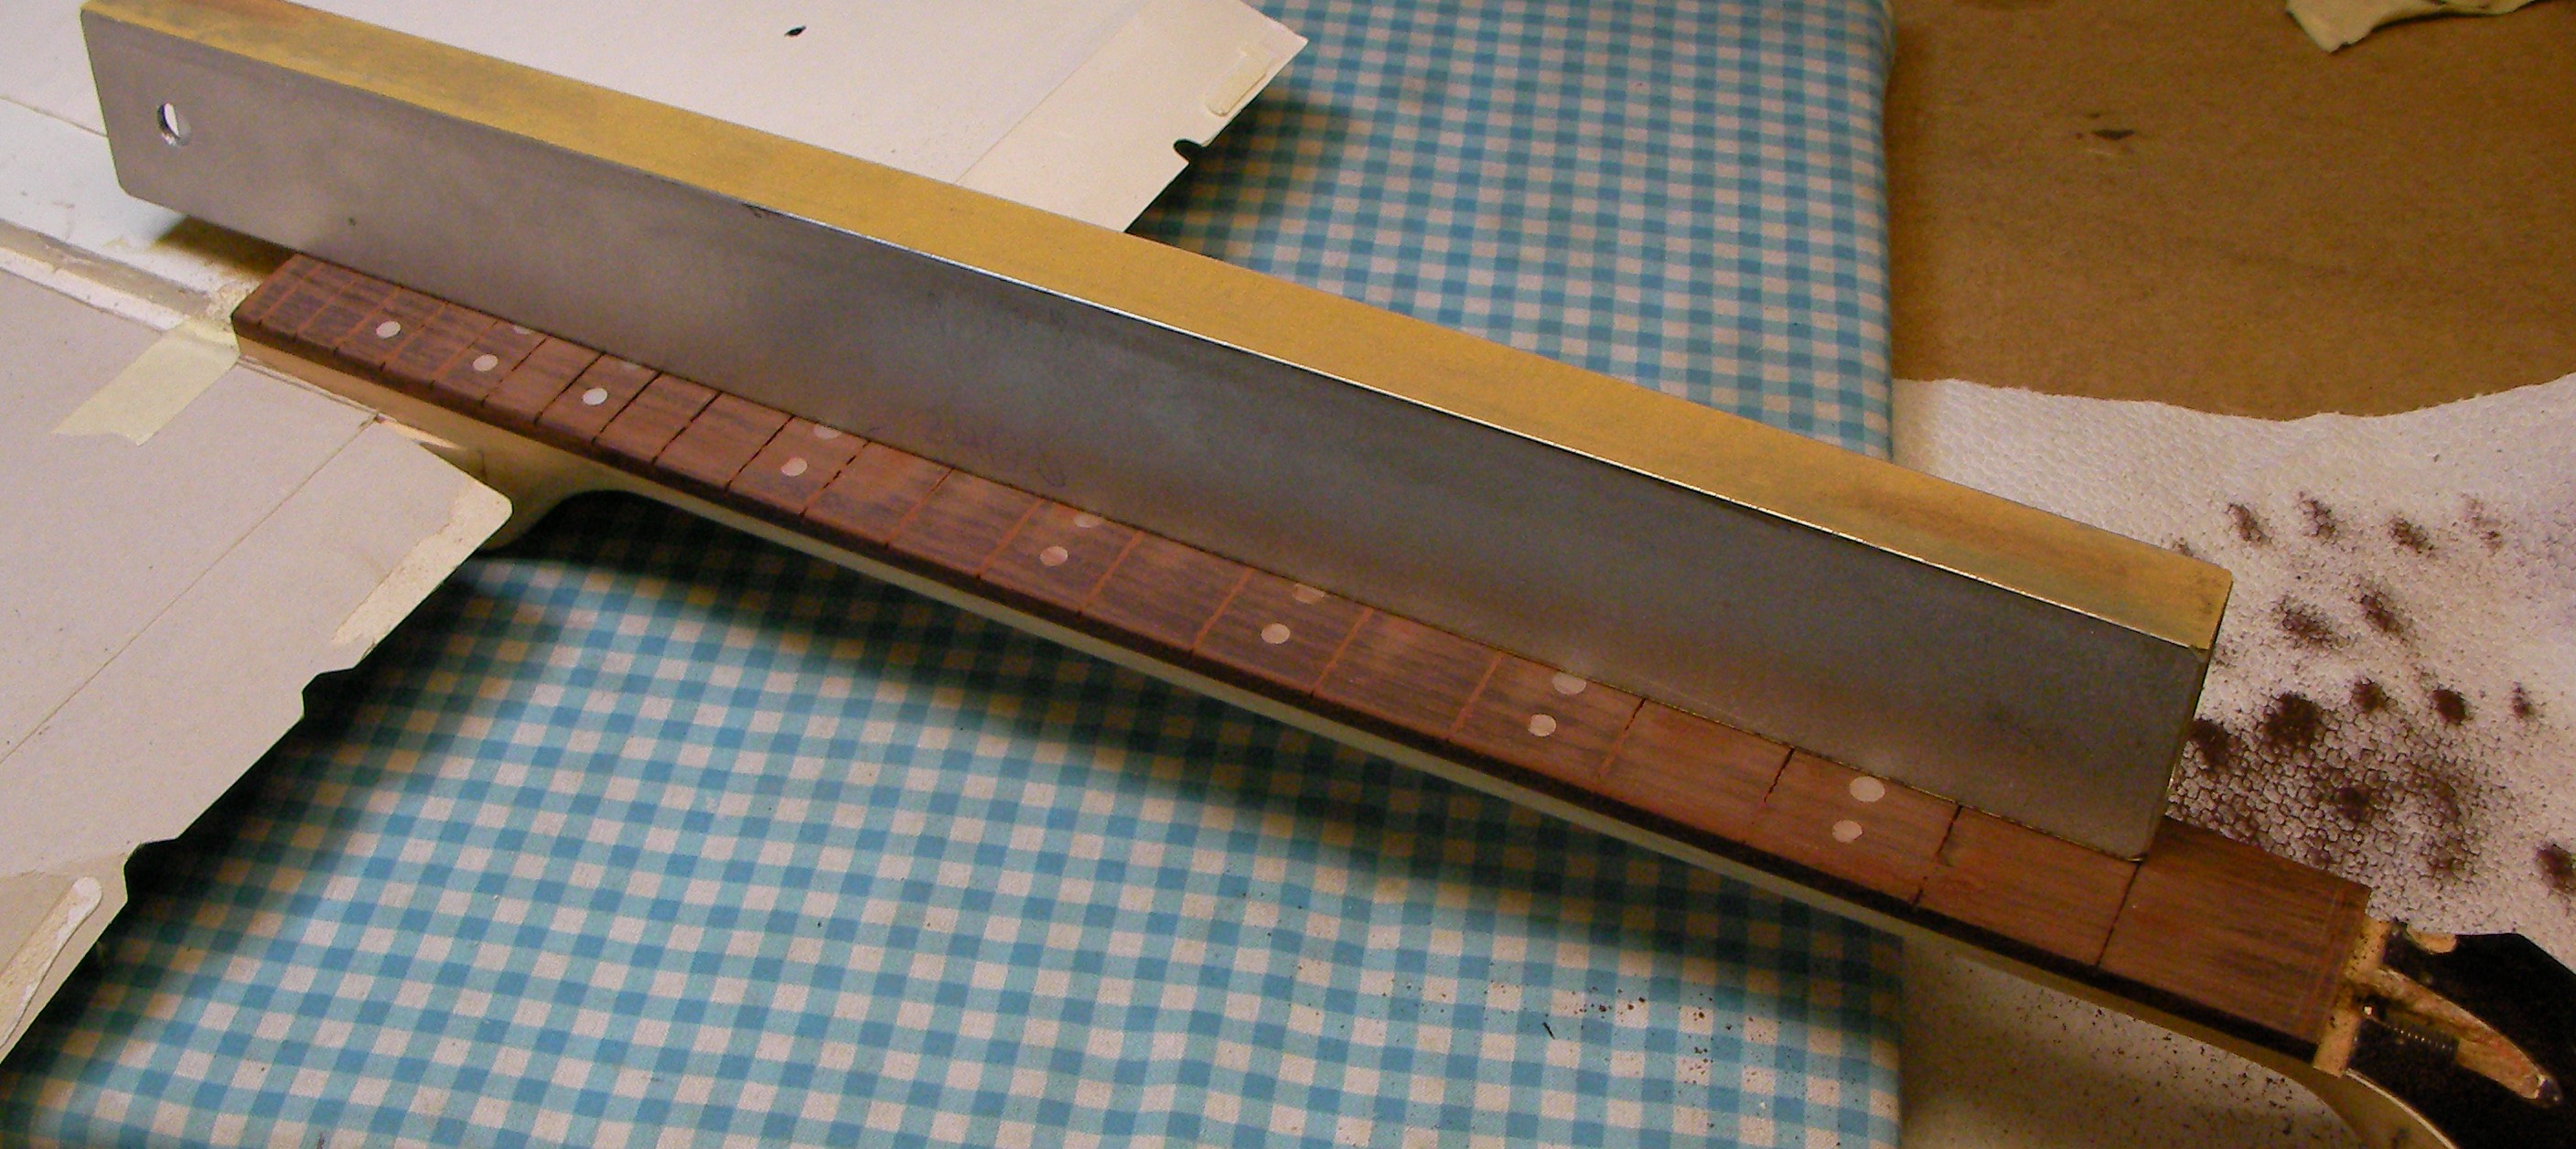
Next just clean up the slots for the new frets and make sure they are deep enough to take the new frets.
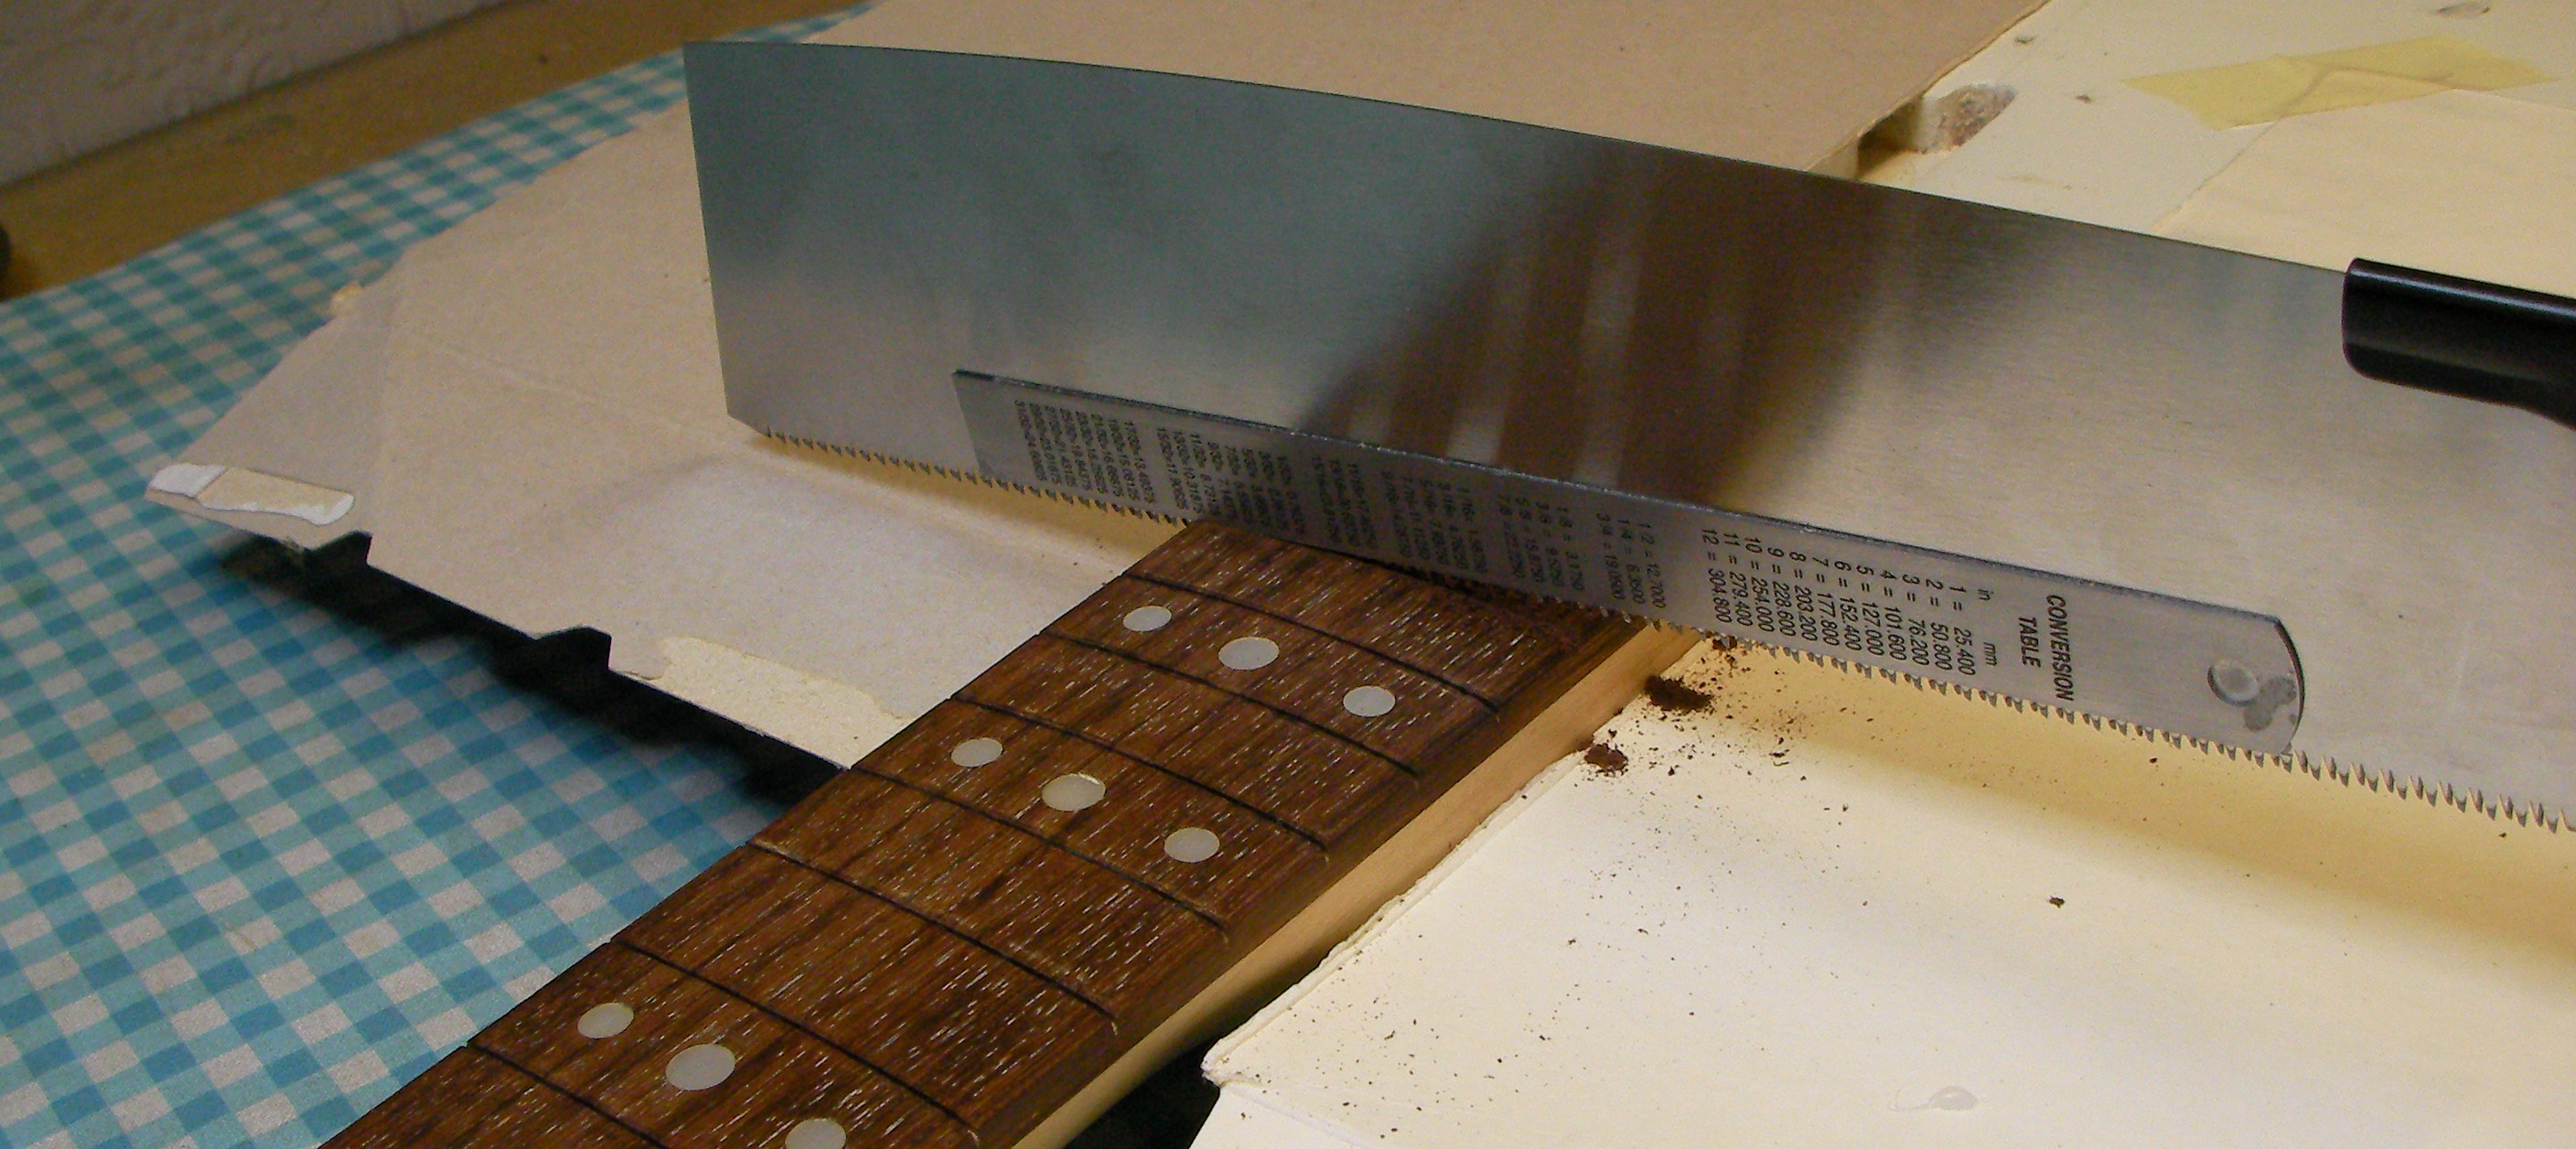
The steel rule is to make sure I don’t cut the slots deeper than the 2mm of the fret tang.
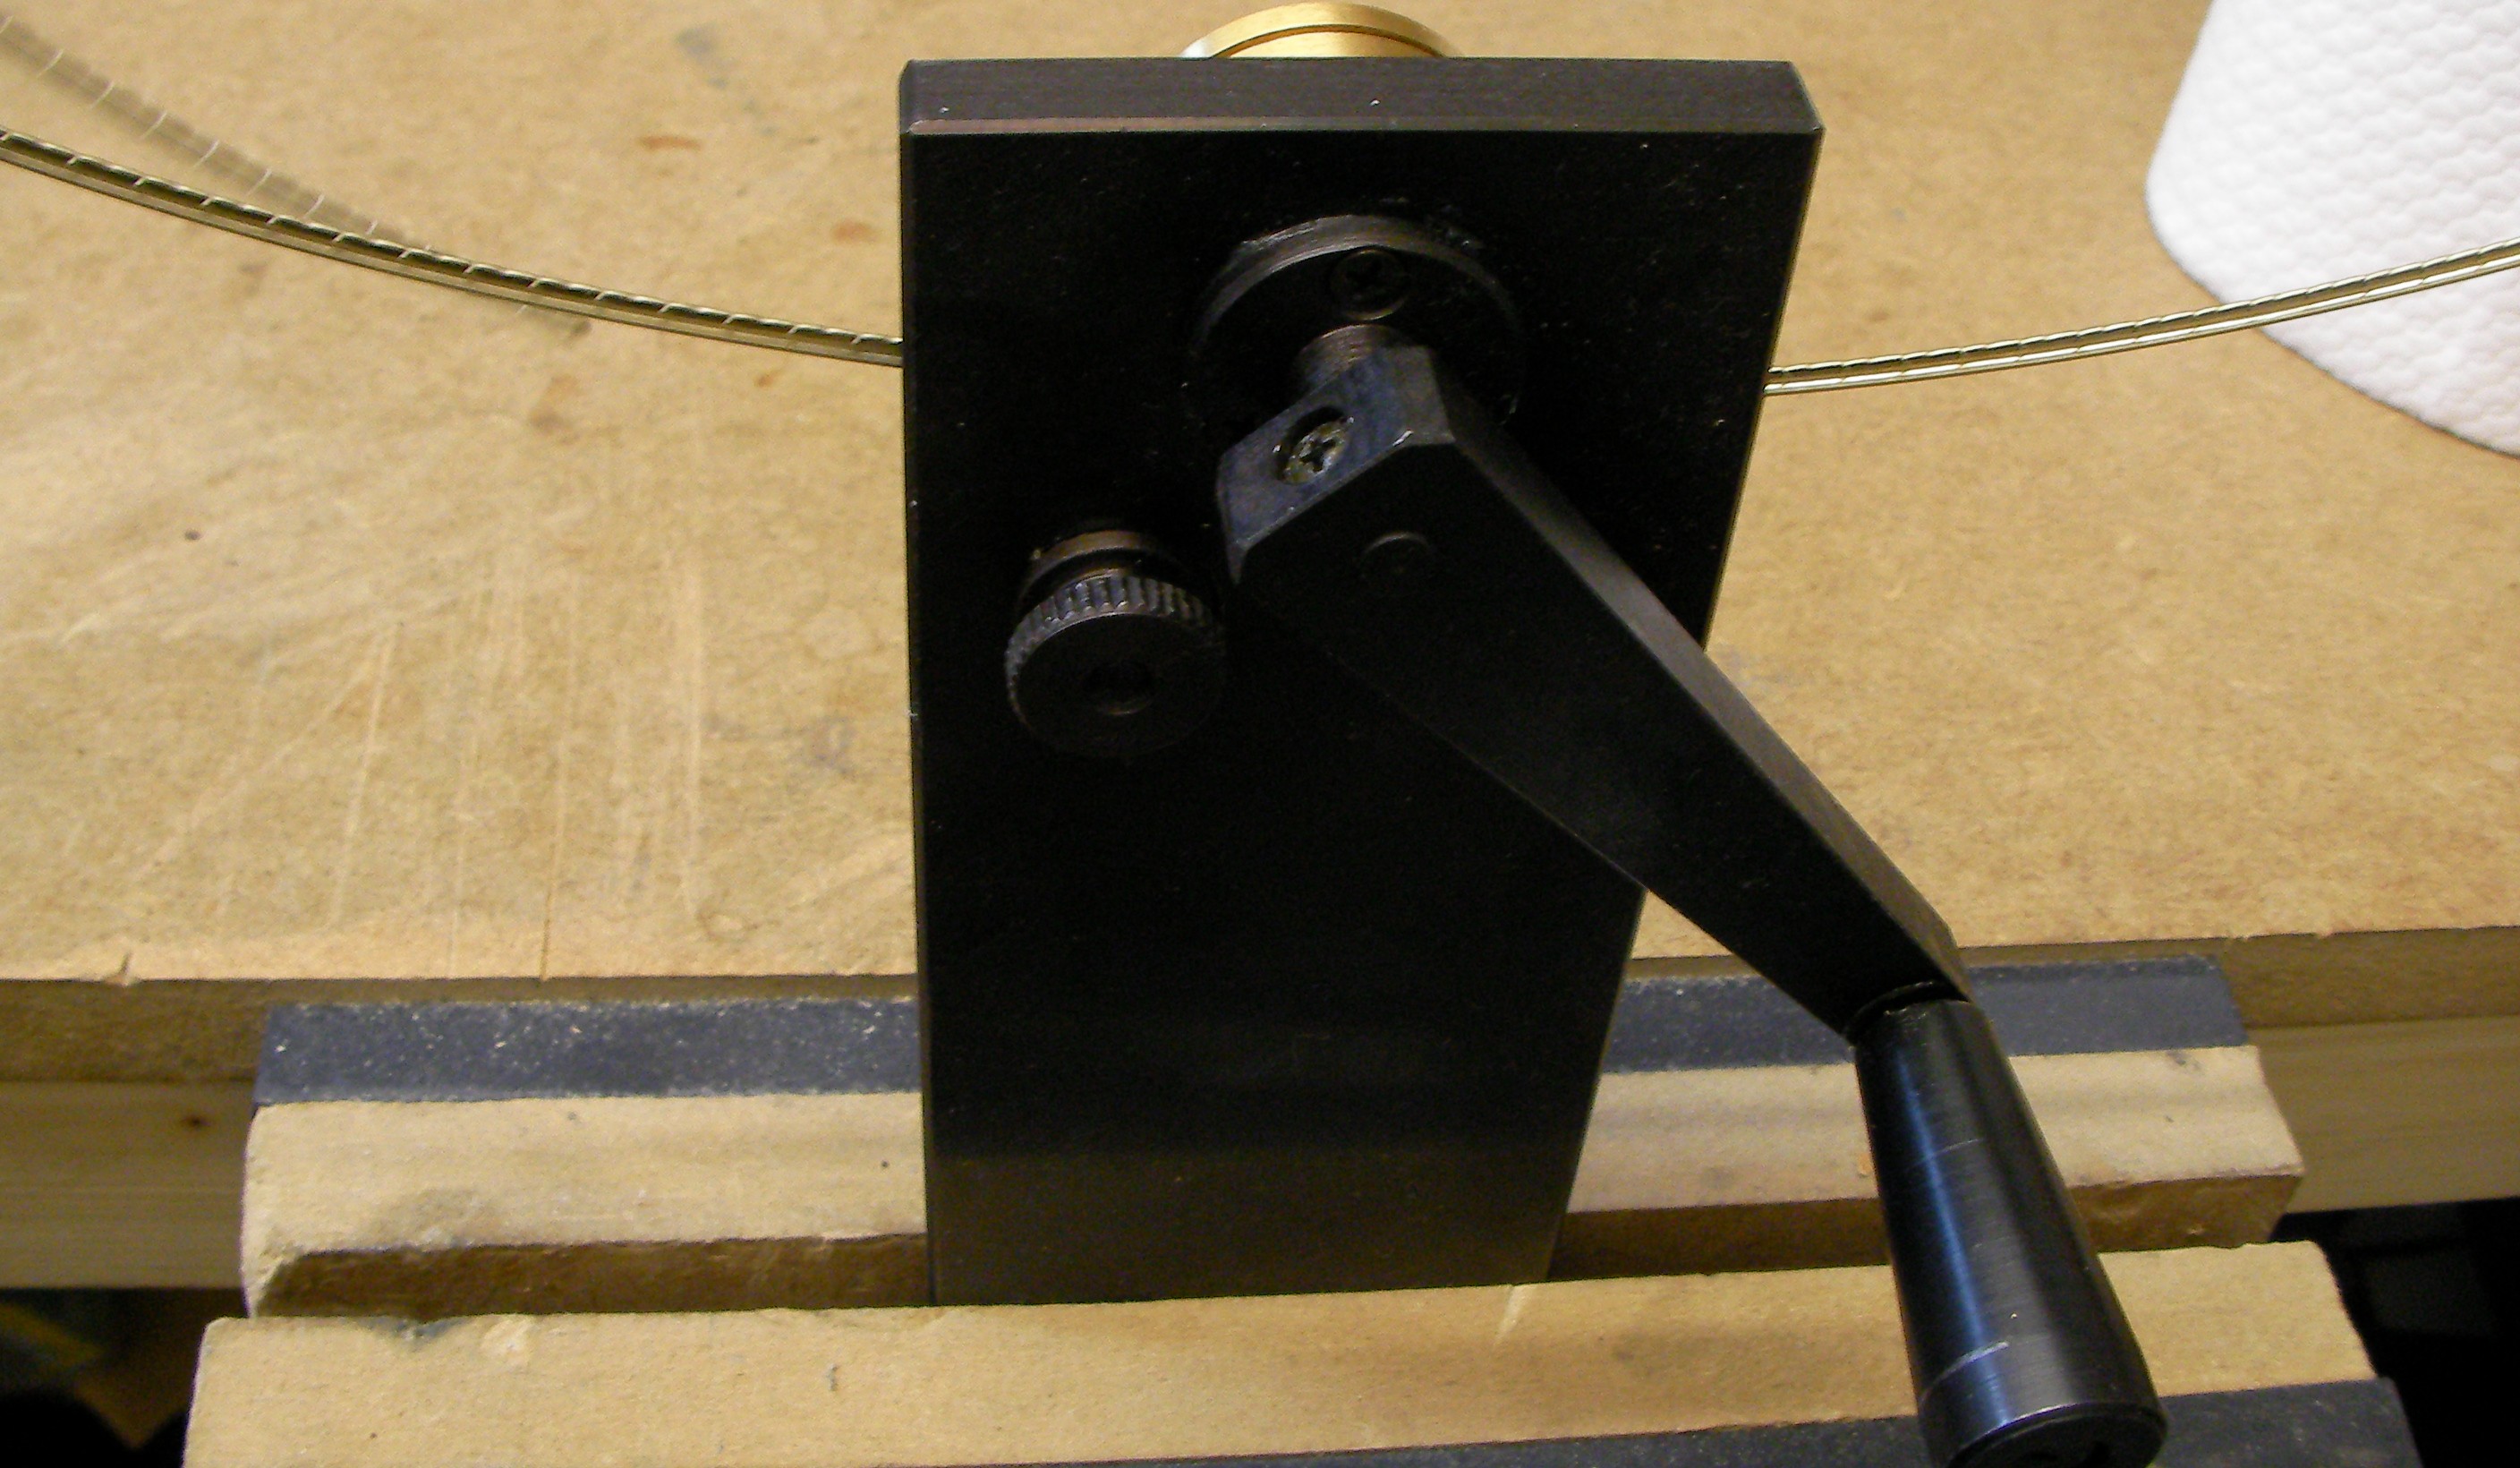
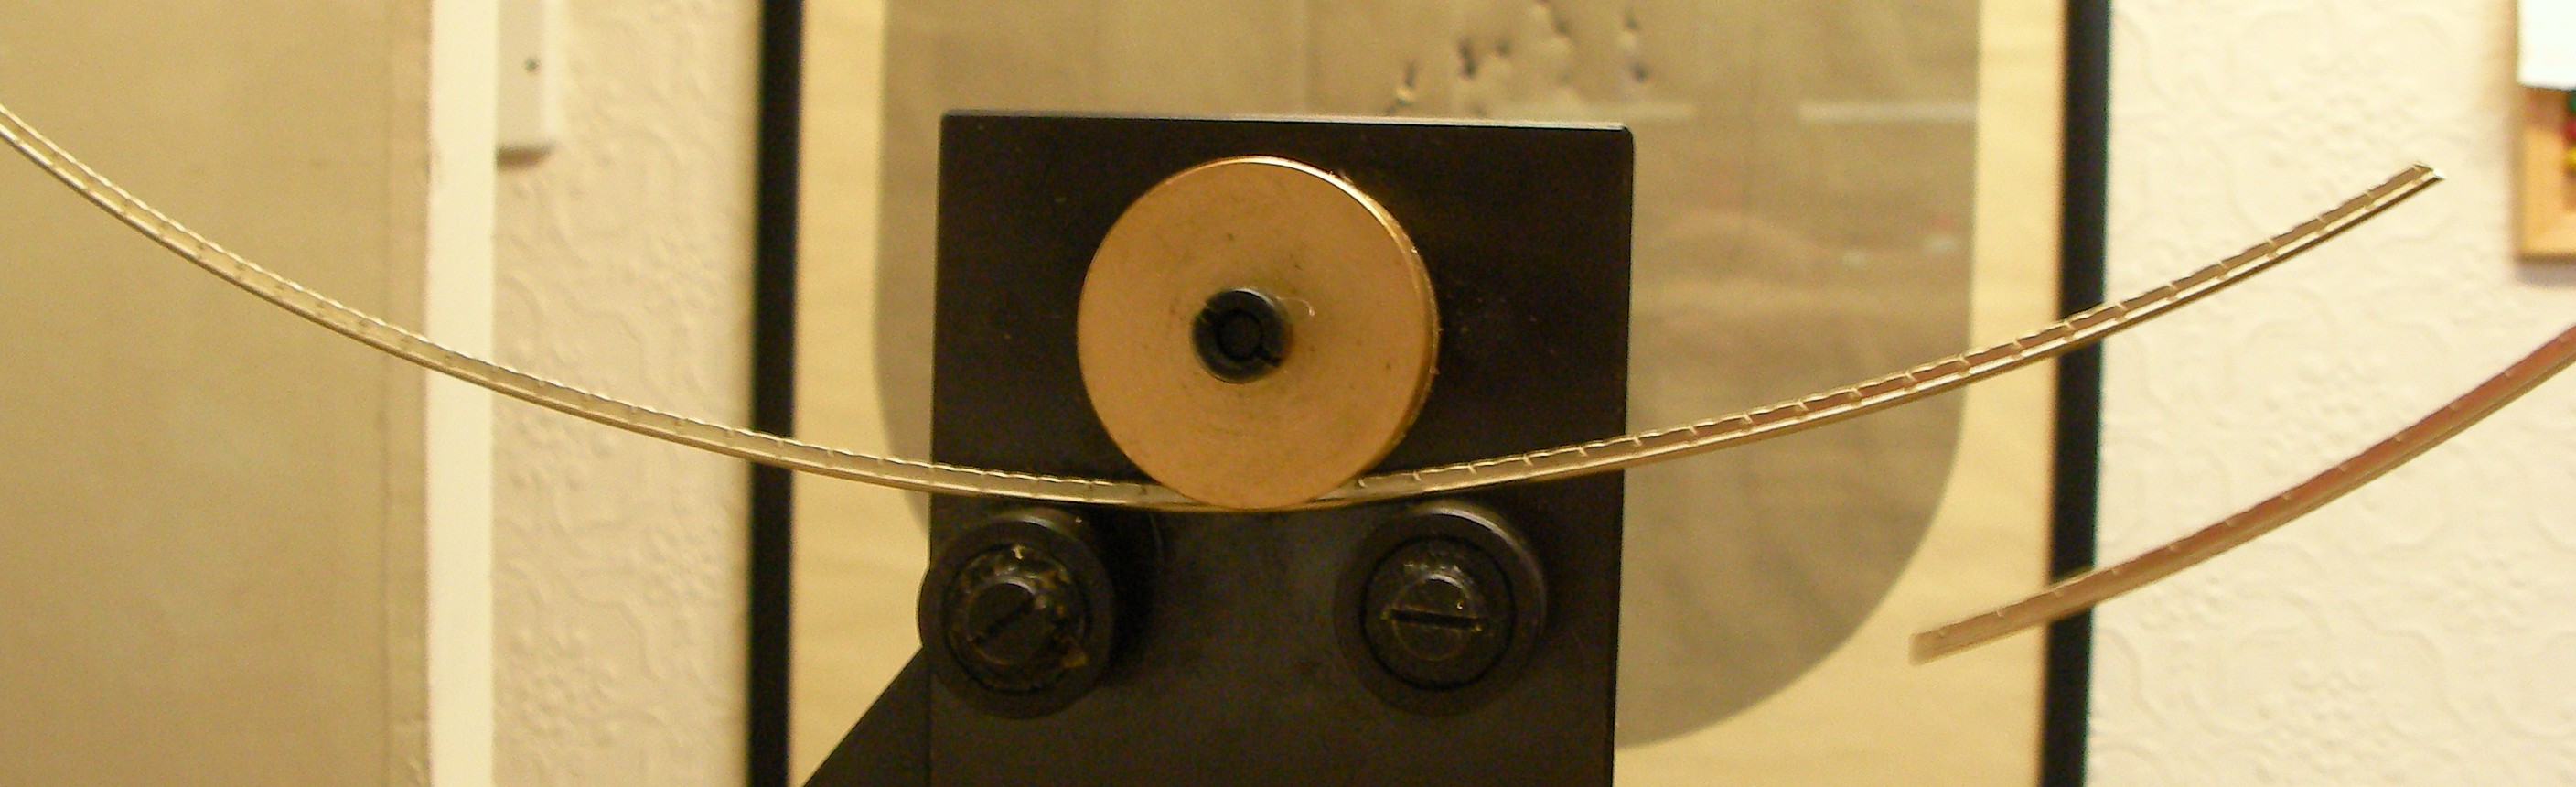
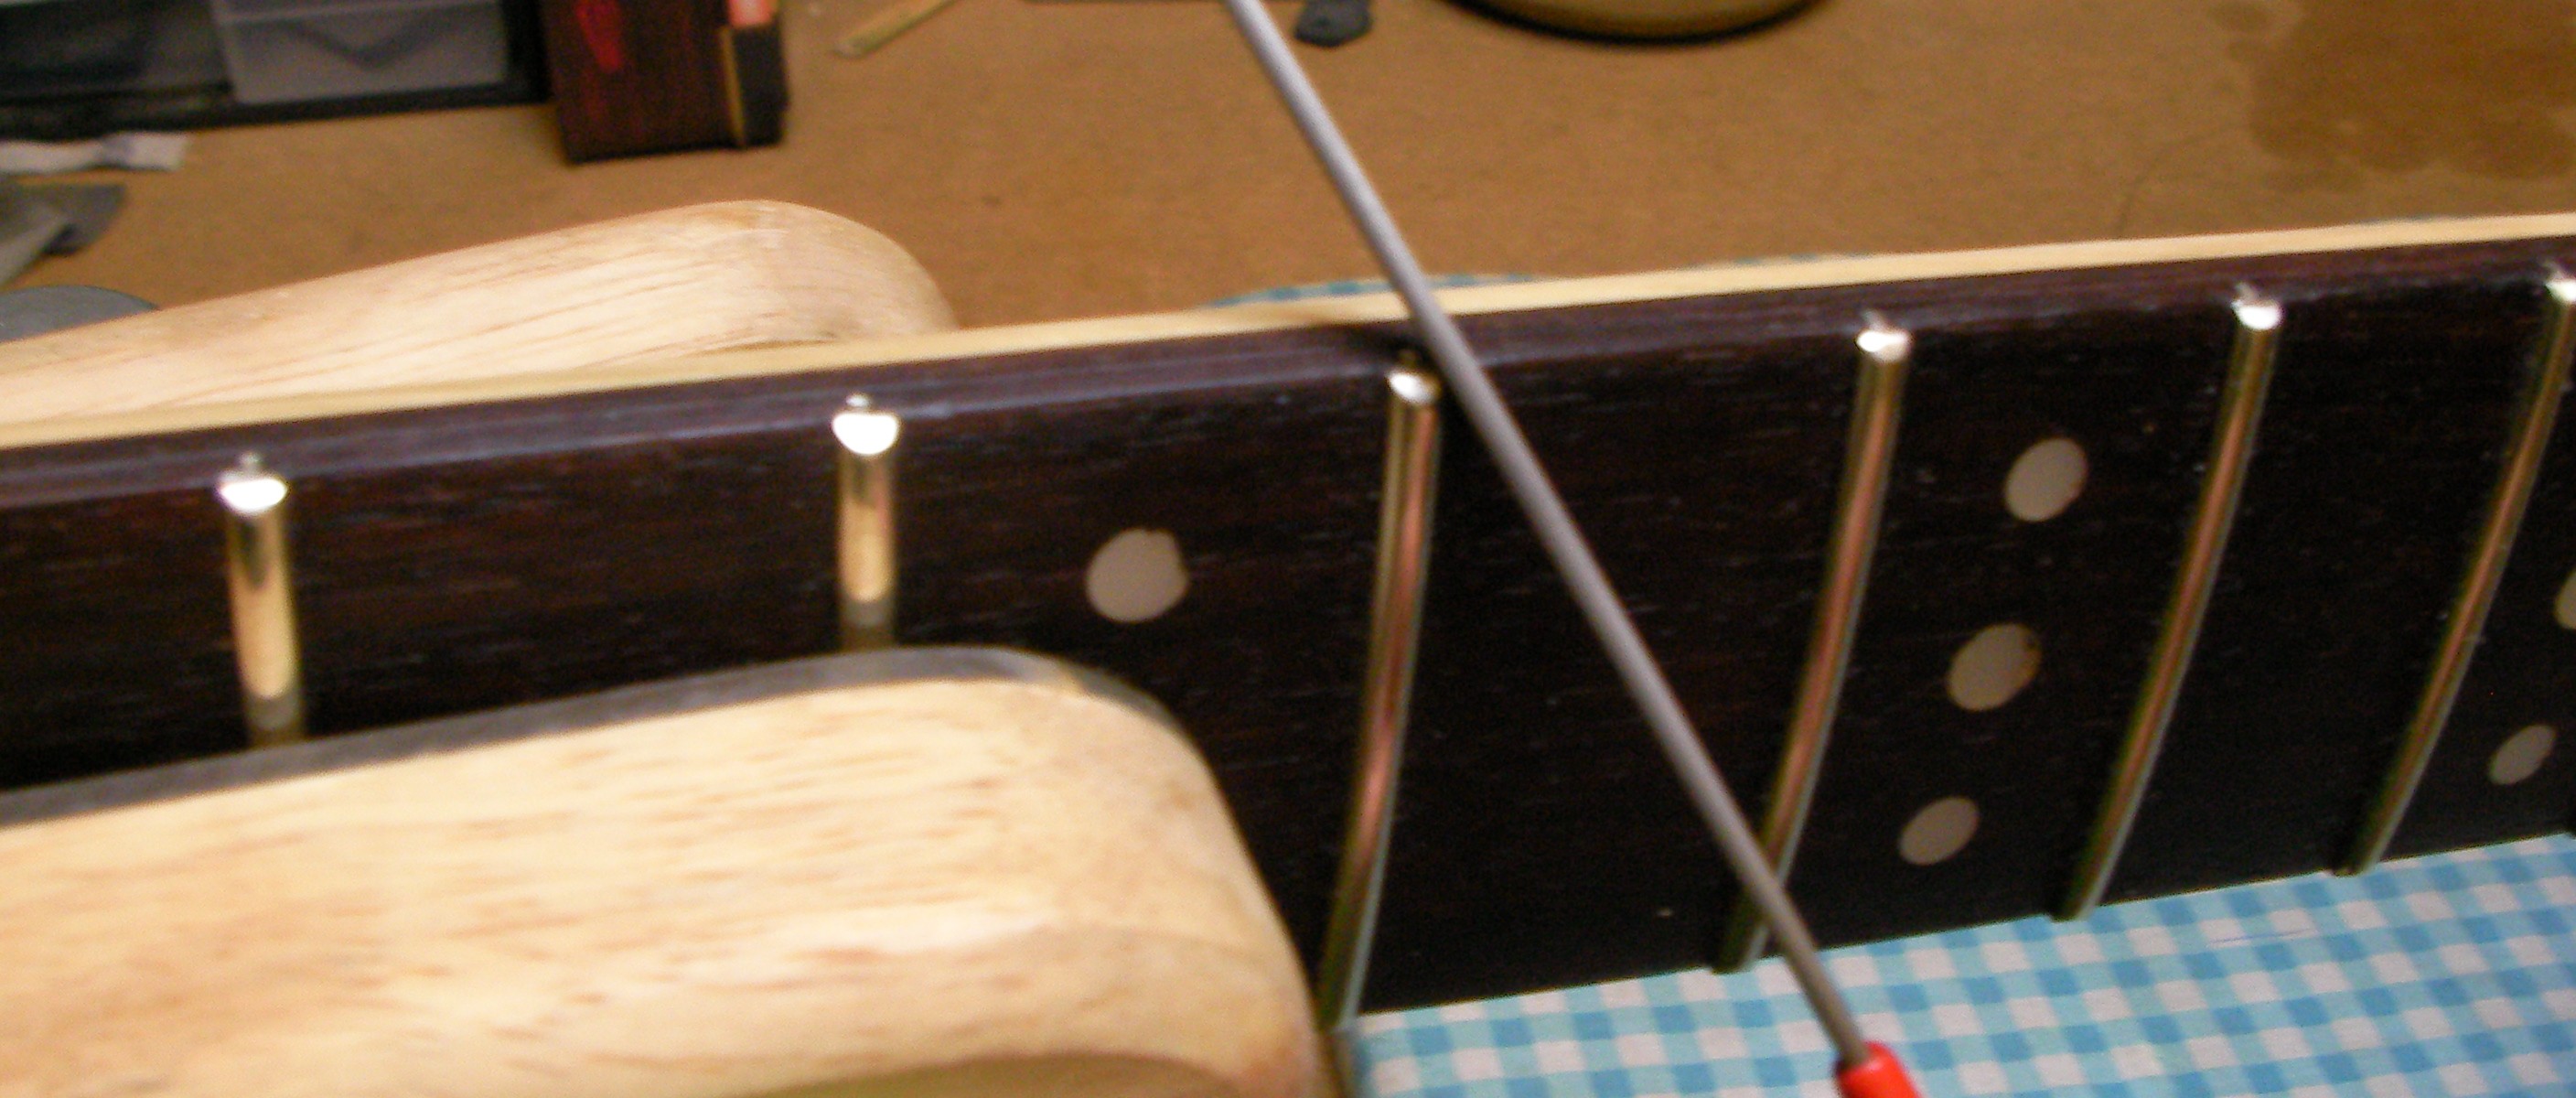
Next bend the fret wire into a curve, a tighter curve than the fret-board so that the edges are flush when the centre is tapped into place.
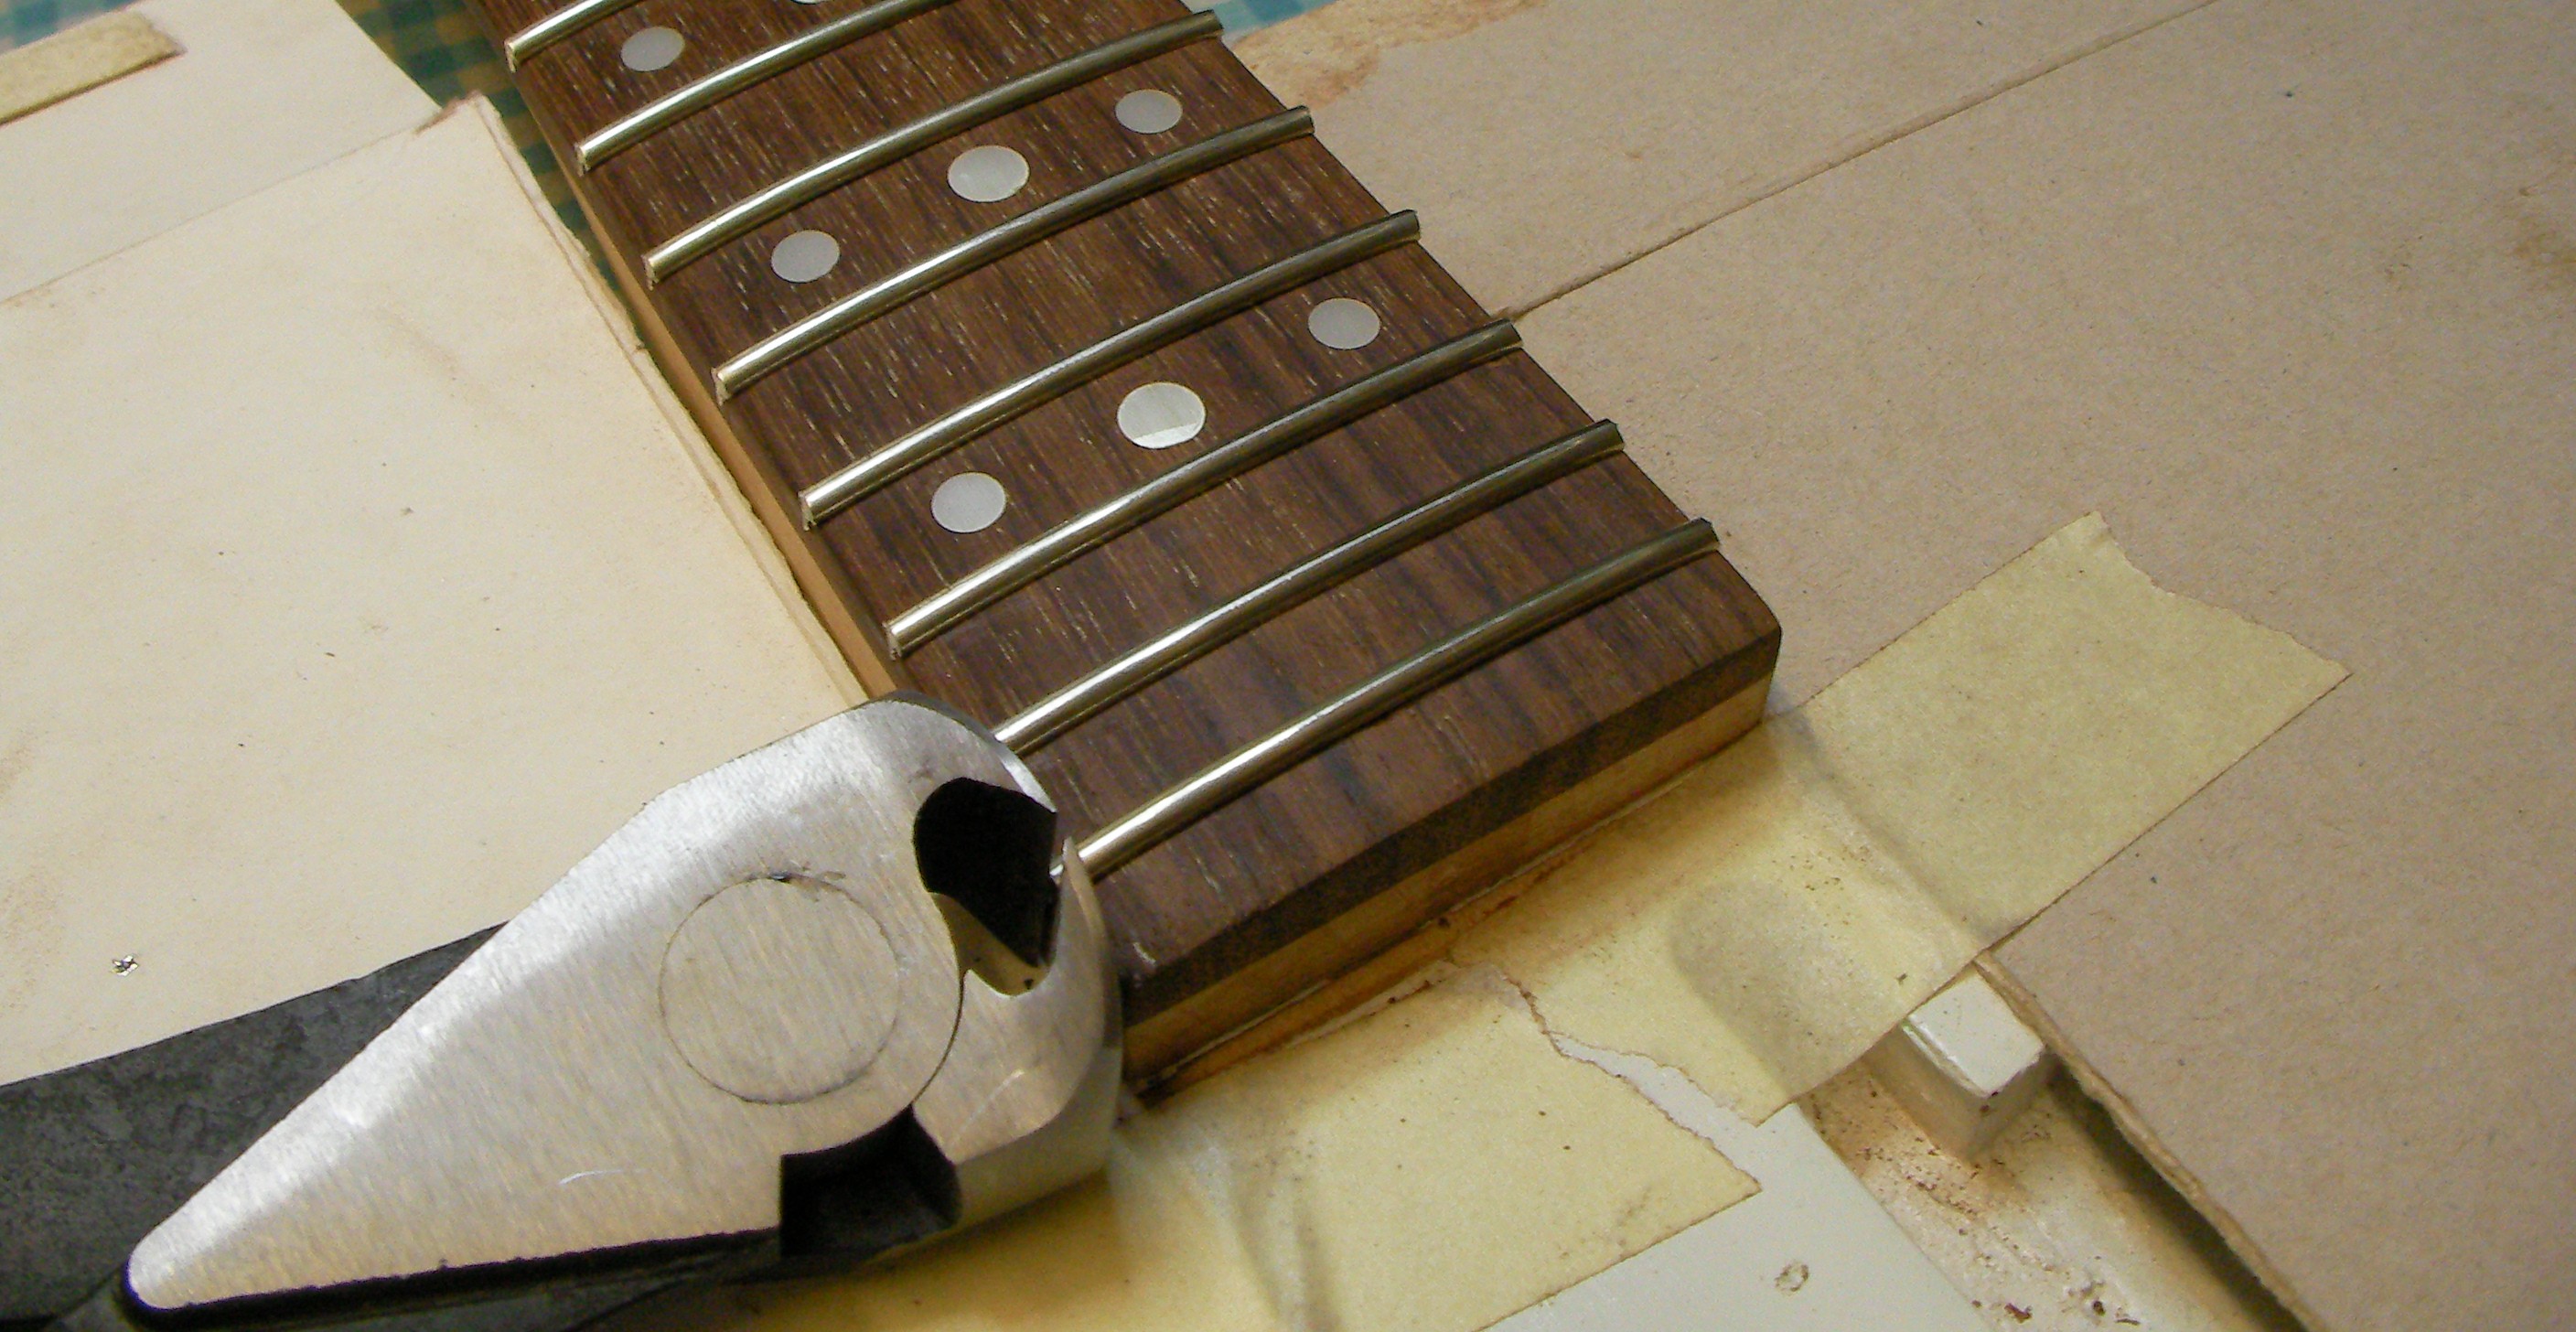
Once the wire is in place snip off the loose ends.
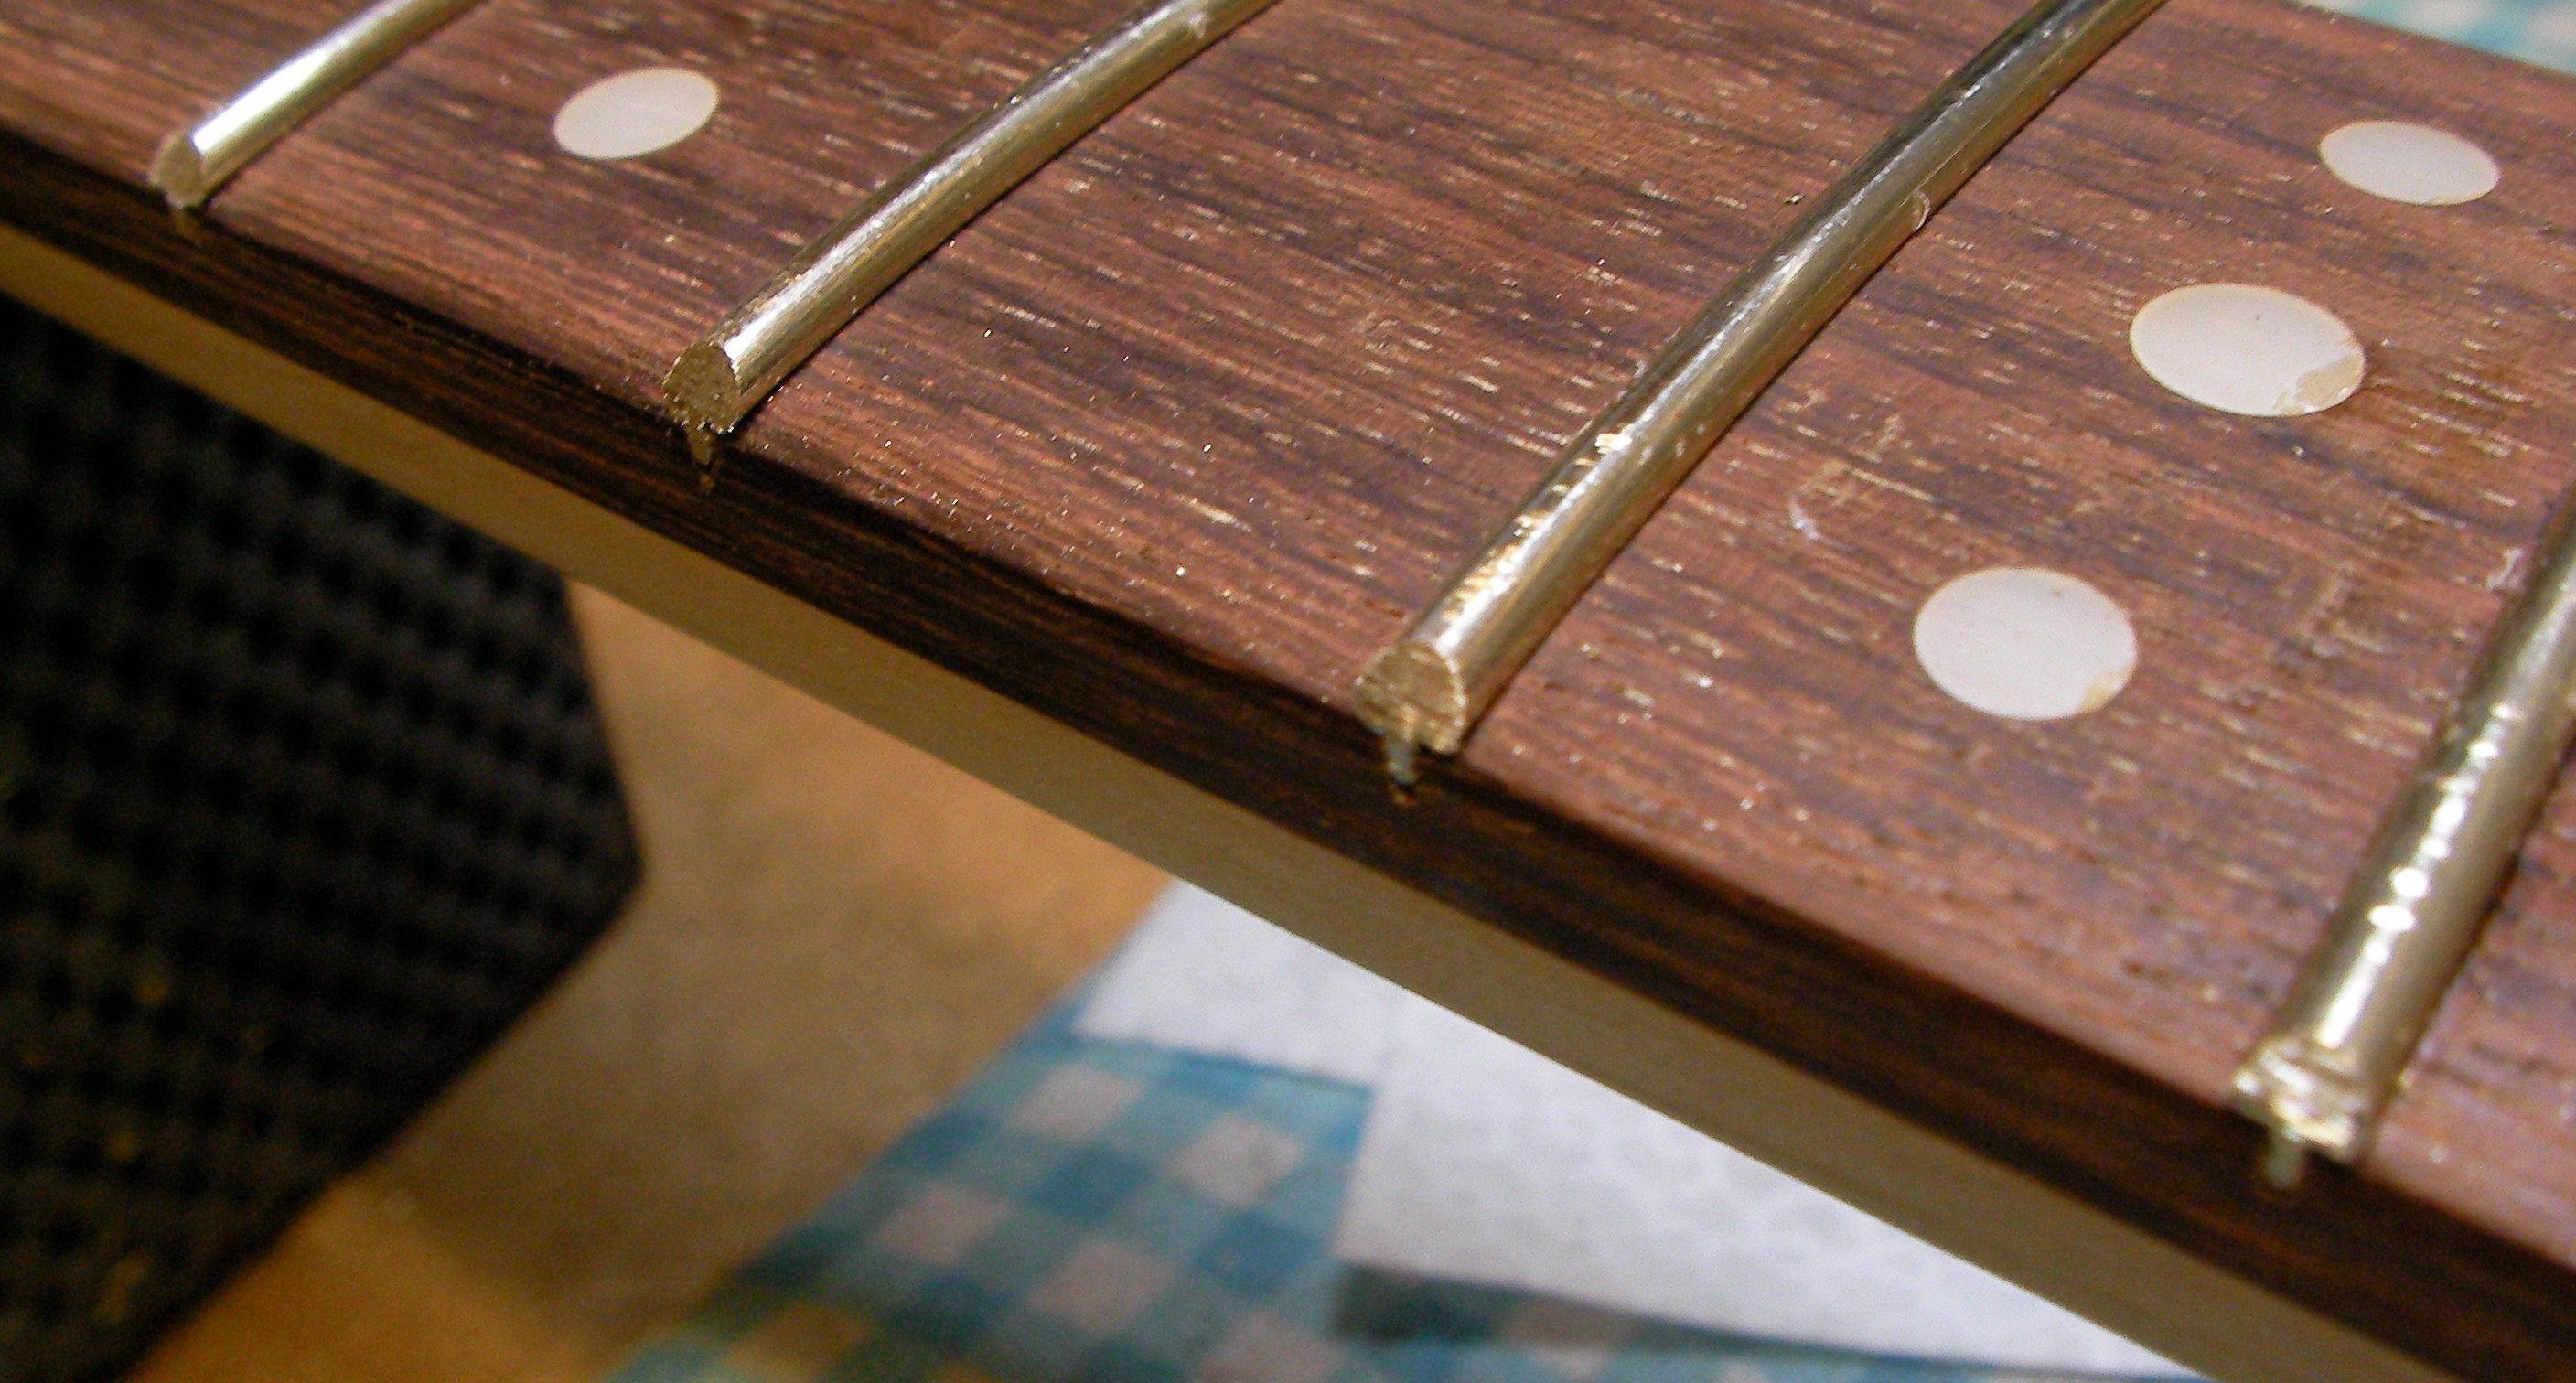
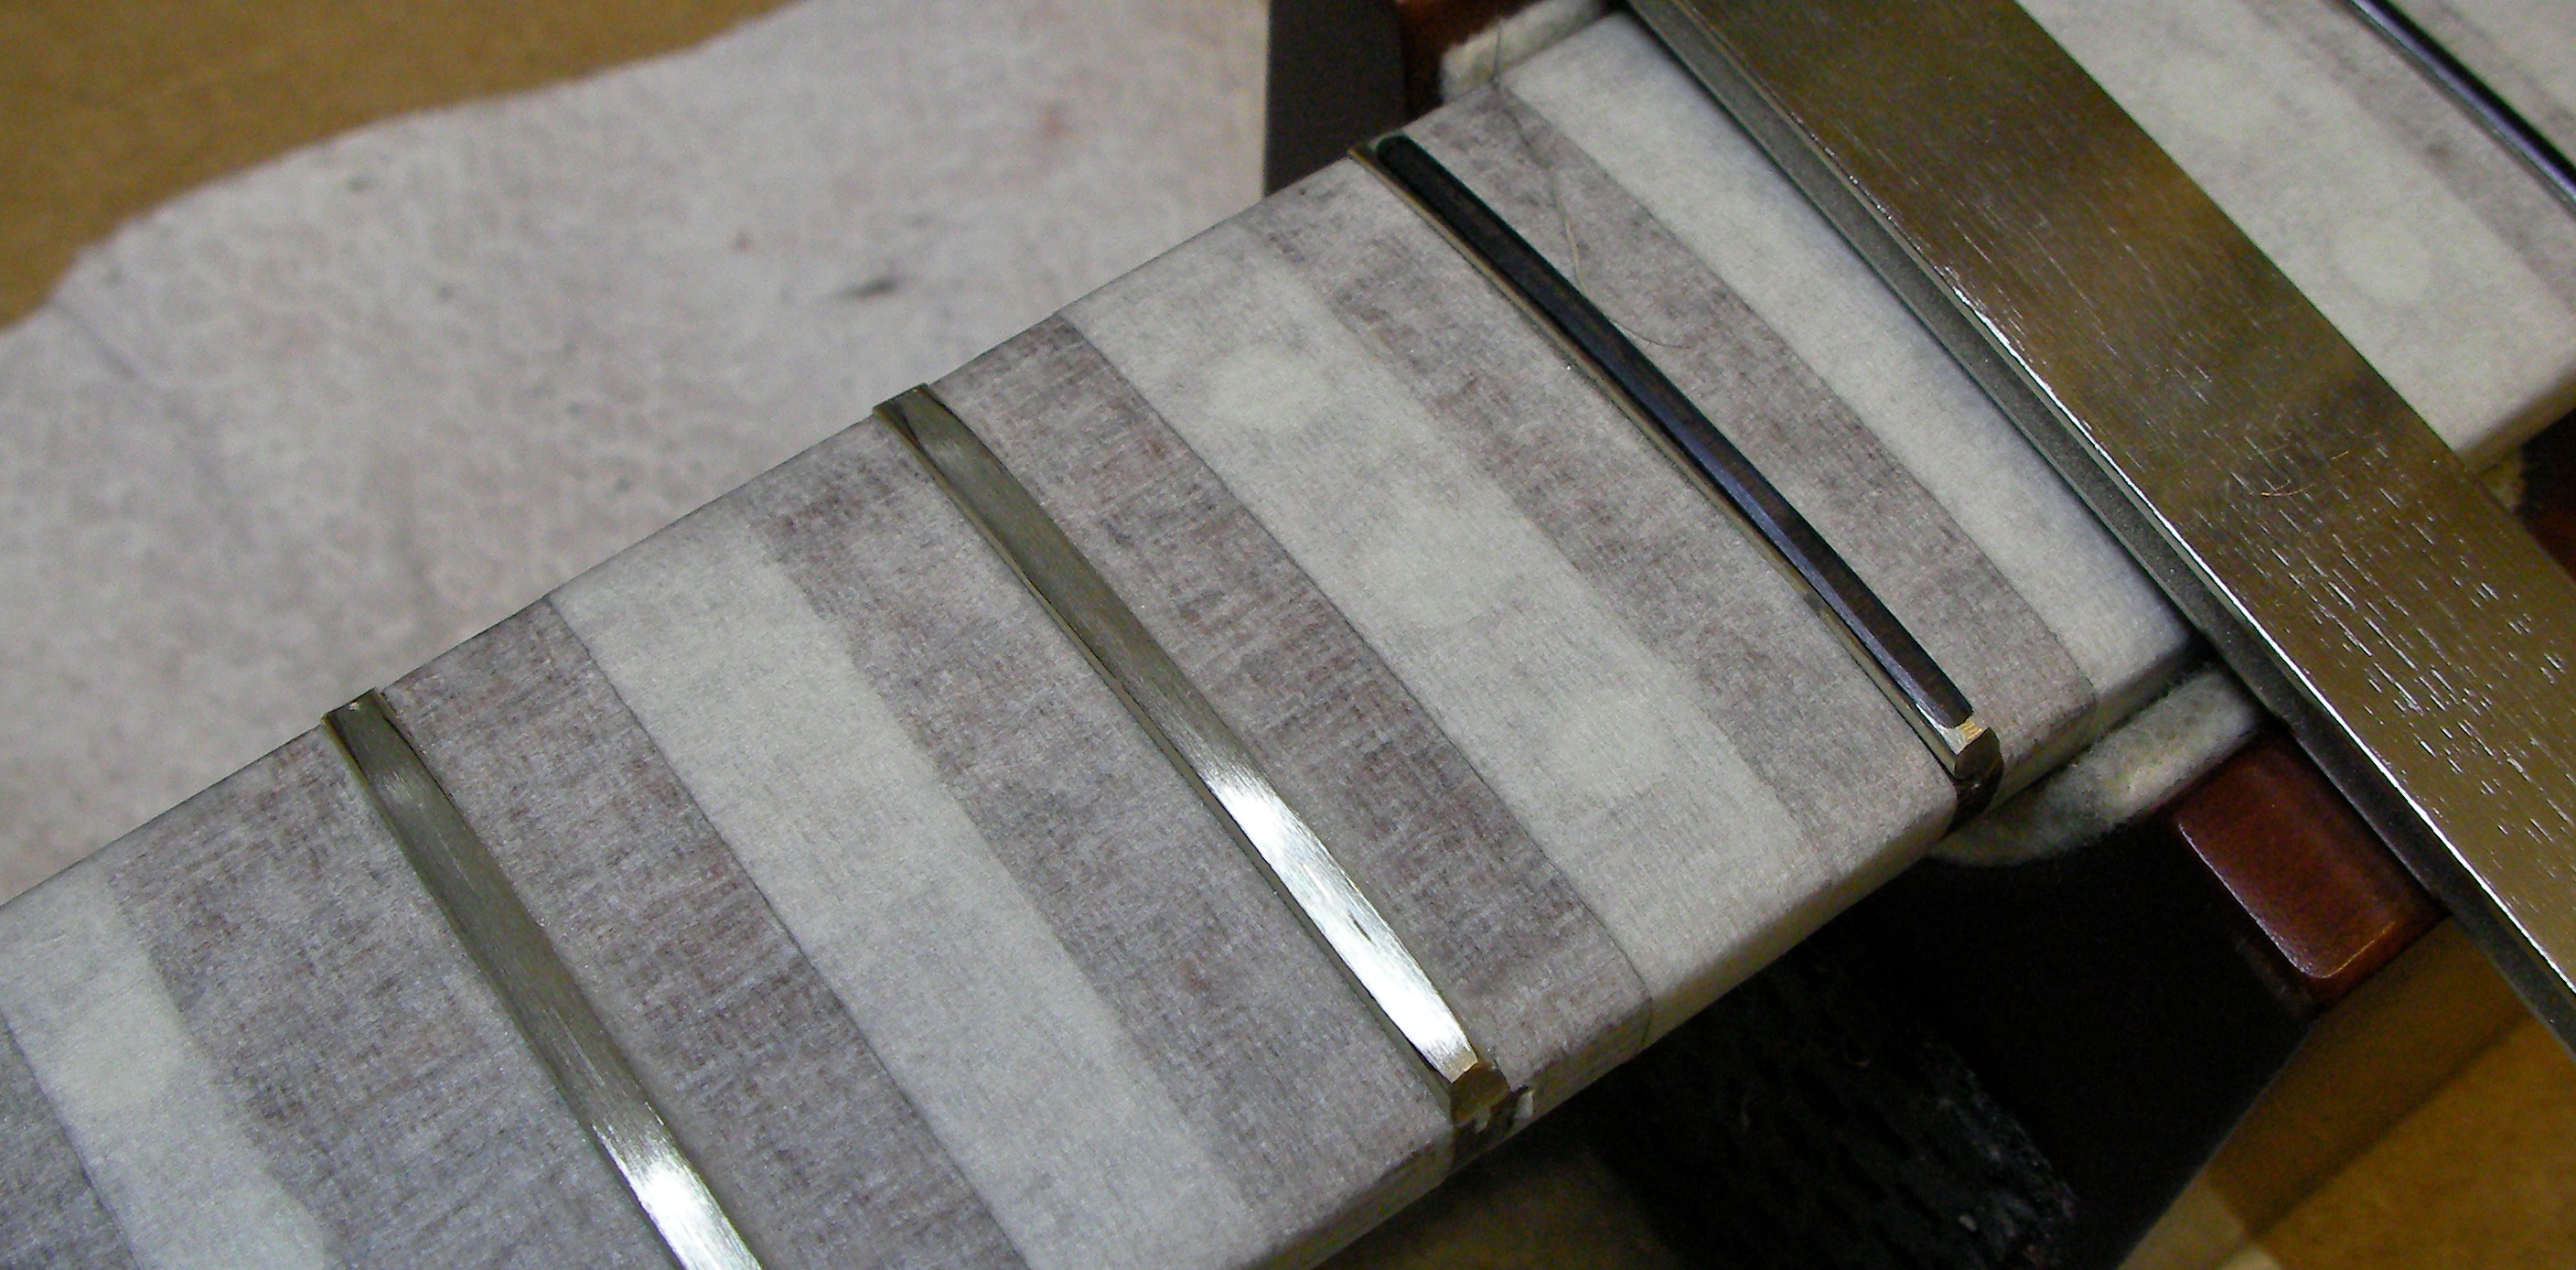
With then frets fitted, file the ends flush with the side of the neck…..

And then at an angle. The plastic block has 2 files set into it, one at 90 degreed and one at 45.
Once they are roughly in shape each fret end needs to be gently filled to take off the remaining sharp corners.
Having got the ends nice I’ll need to get the tops level. If the big boys can’t get frets level with all their huge machines, putting them in by hand means they are going to need dressing.
Once they are level they all need re-crowning, to round the tops off, and re-polish.

It’ll be interesting to see what it comes out like once it’s all done.
If the owner wants me to complete the rebuild then I’ll let you know how.