A fairly routine job, fit a new set of strings and check the setup. I found a few other bits and pieces that also needed putting right along the way.
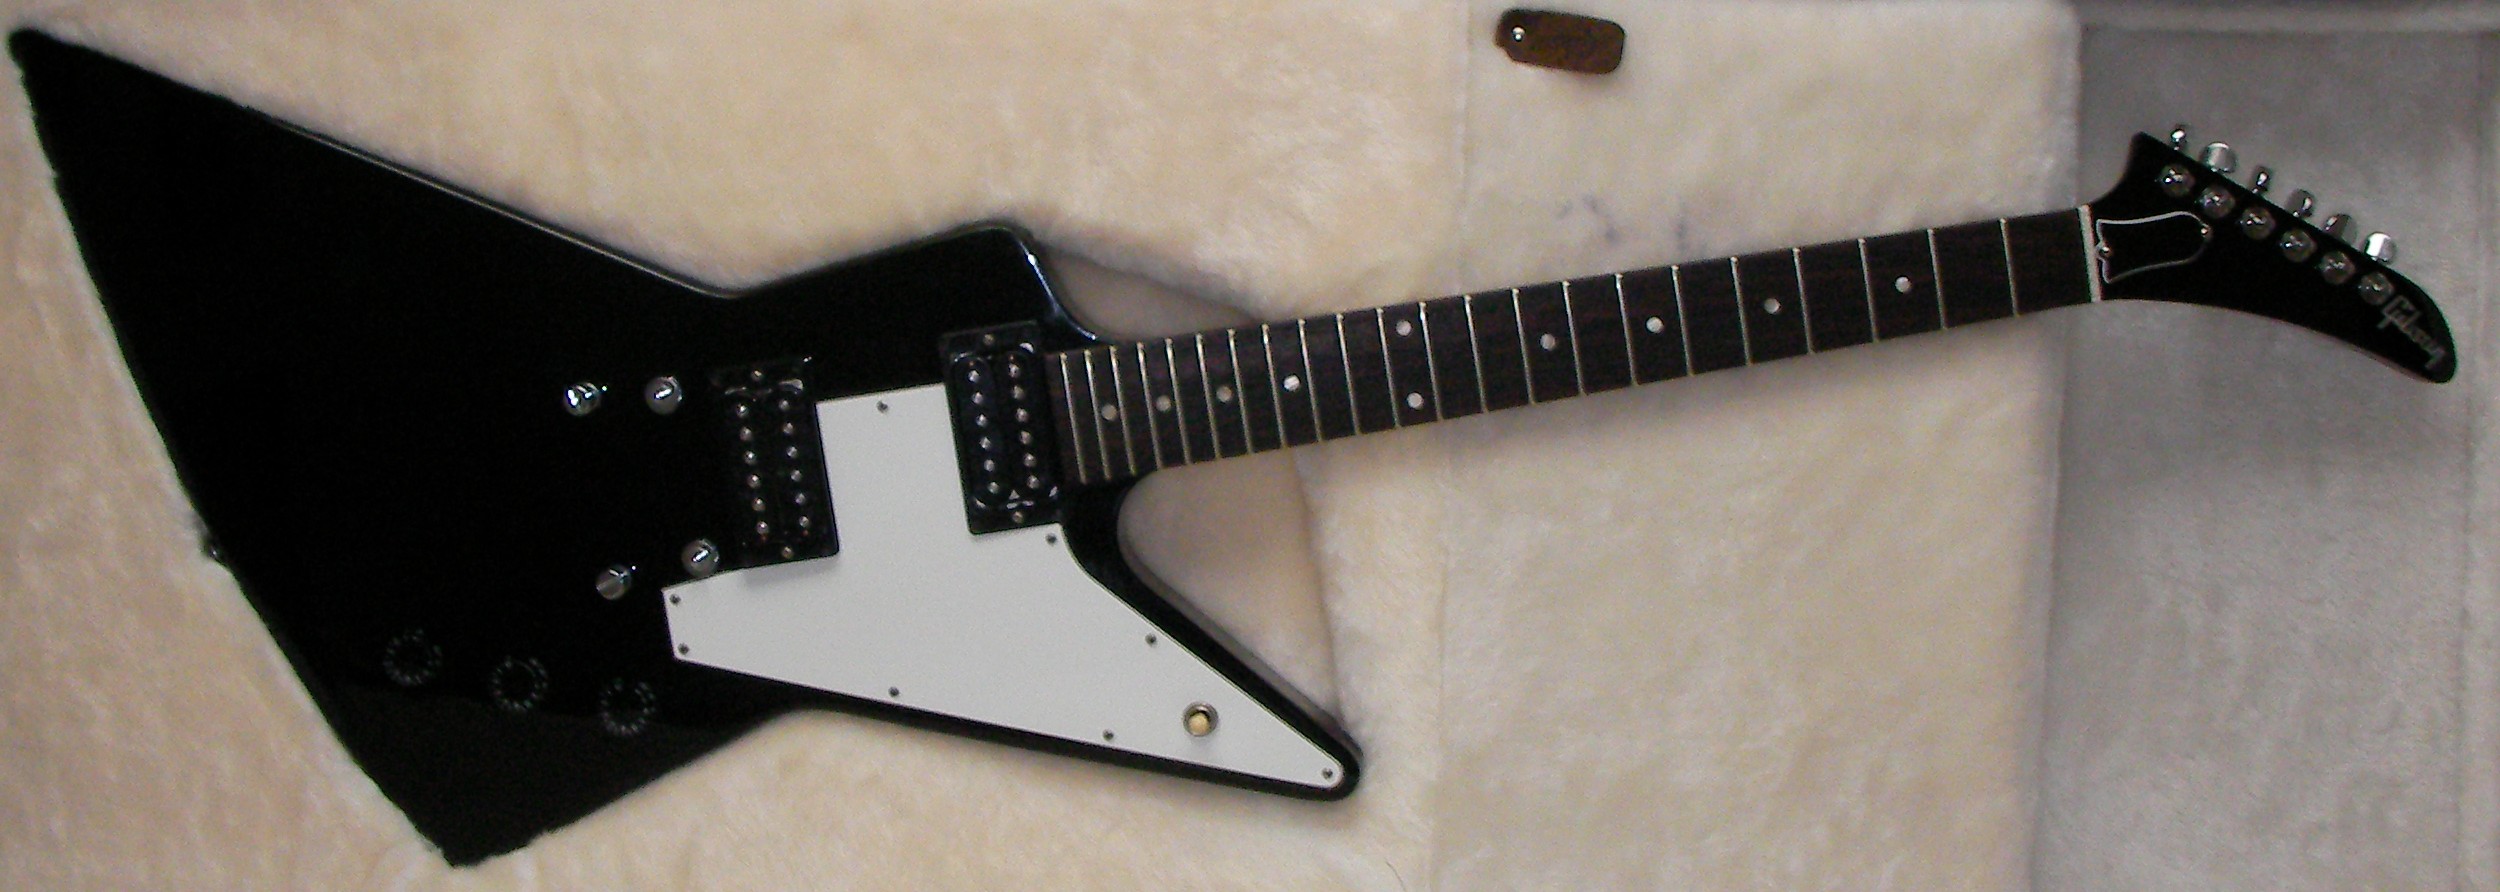
I’ve never really been a fan of these sort of guitars, one of the inevitable problems is you always end up bashing the ends on something! To make sure it’s not me, my workshop is quite small, the first thing I did was put some protective padding over the end.

One of the first things I noticed was the pickup switch. It wouldn’t stay in the “up” position.
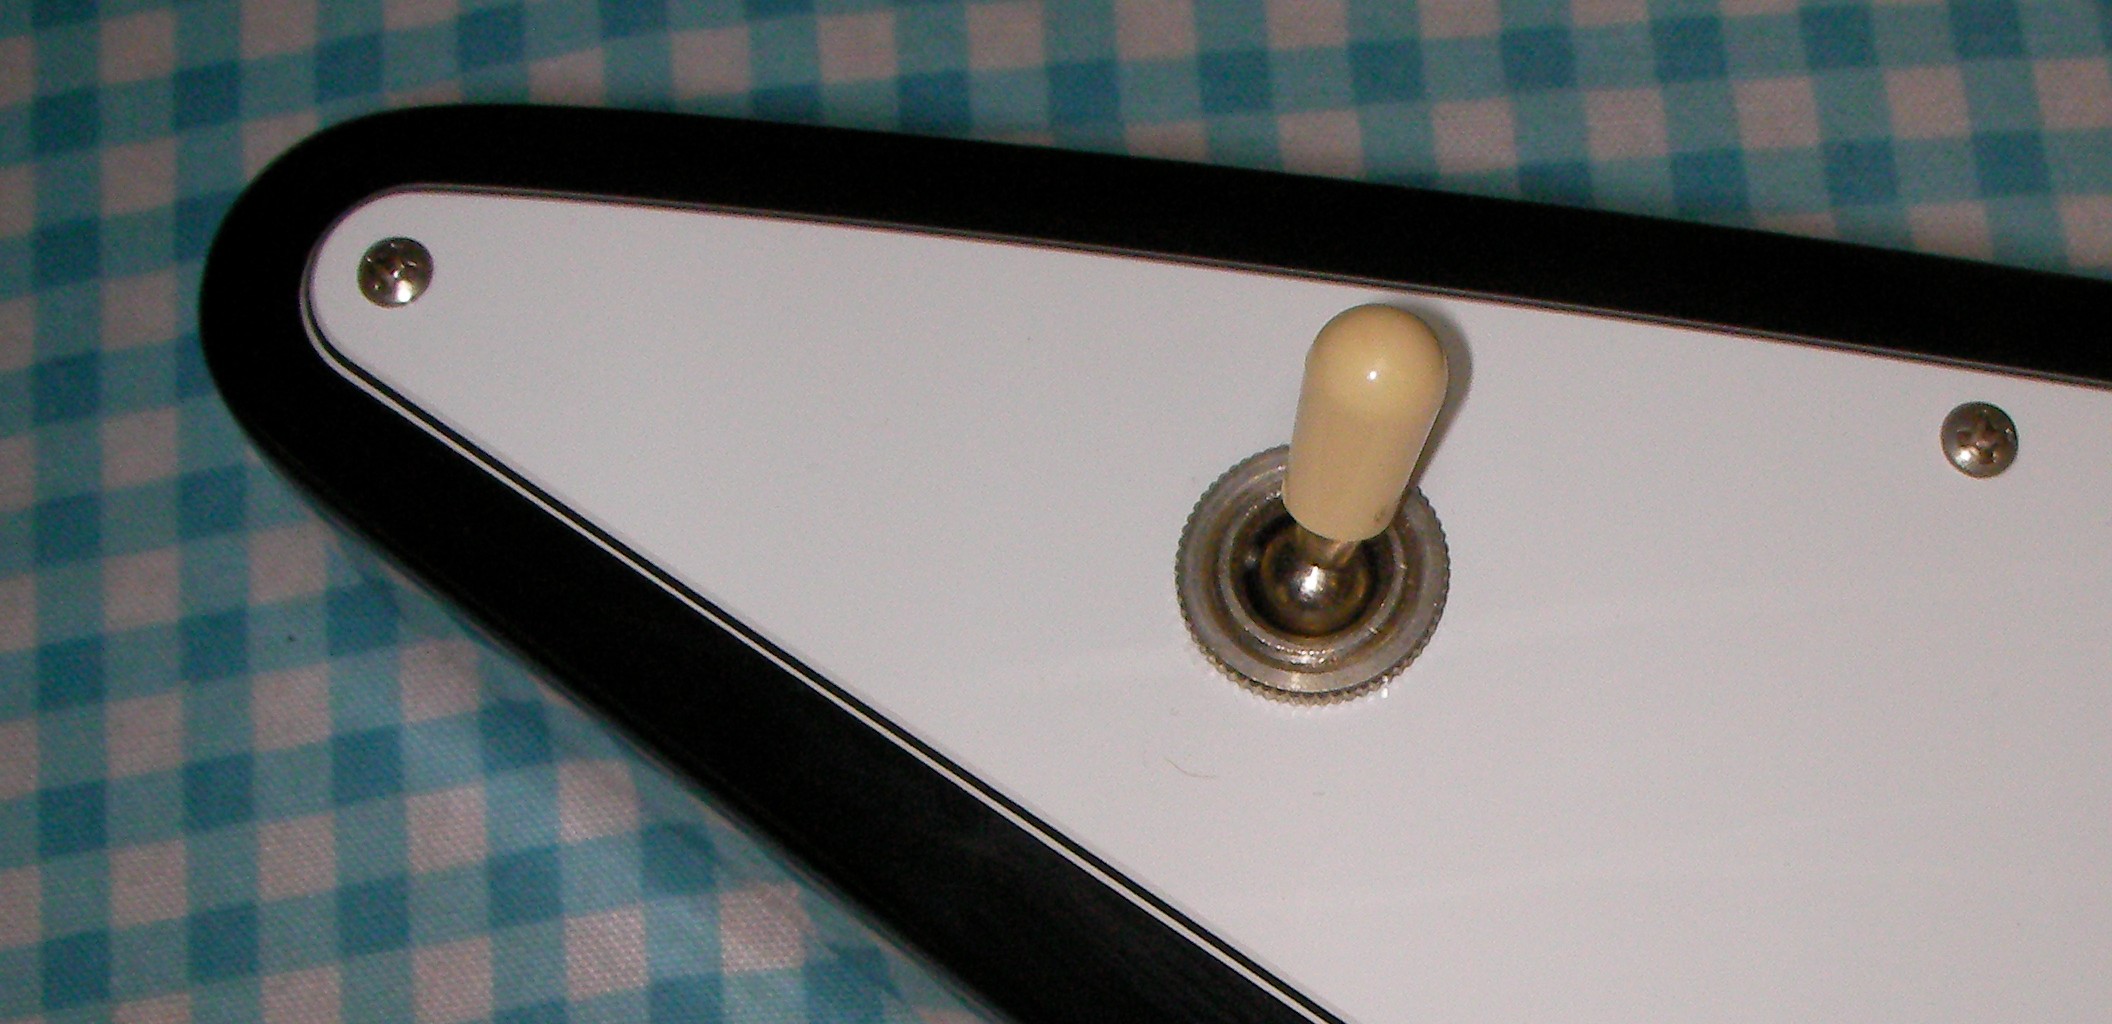
That’s quite an easy fix. I removed the scratchplate and took the switch out.
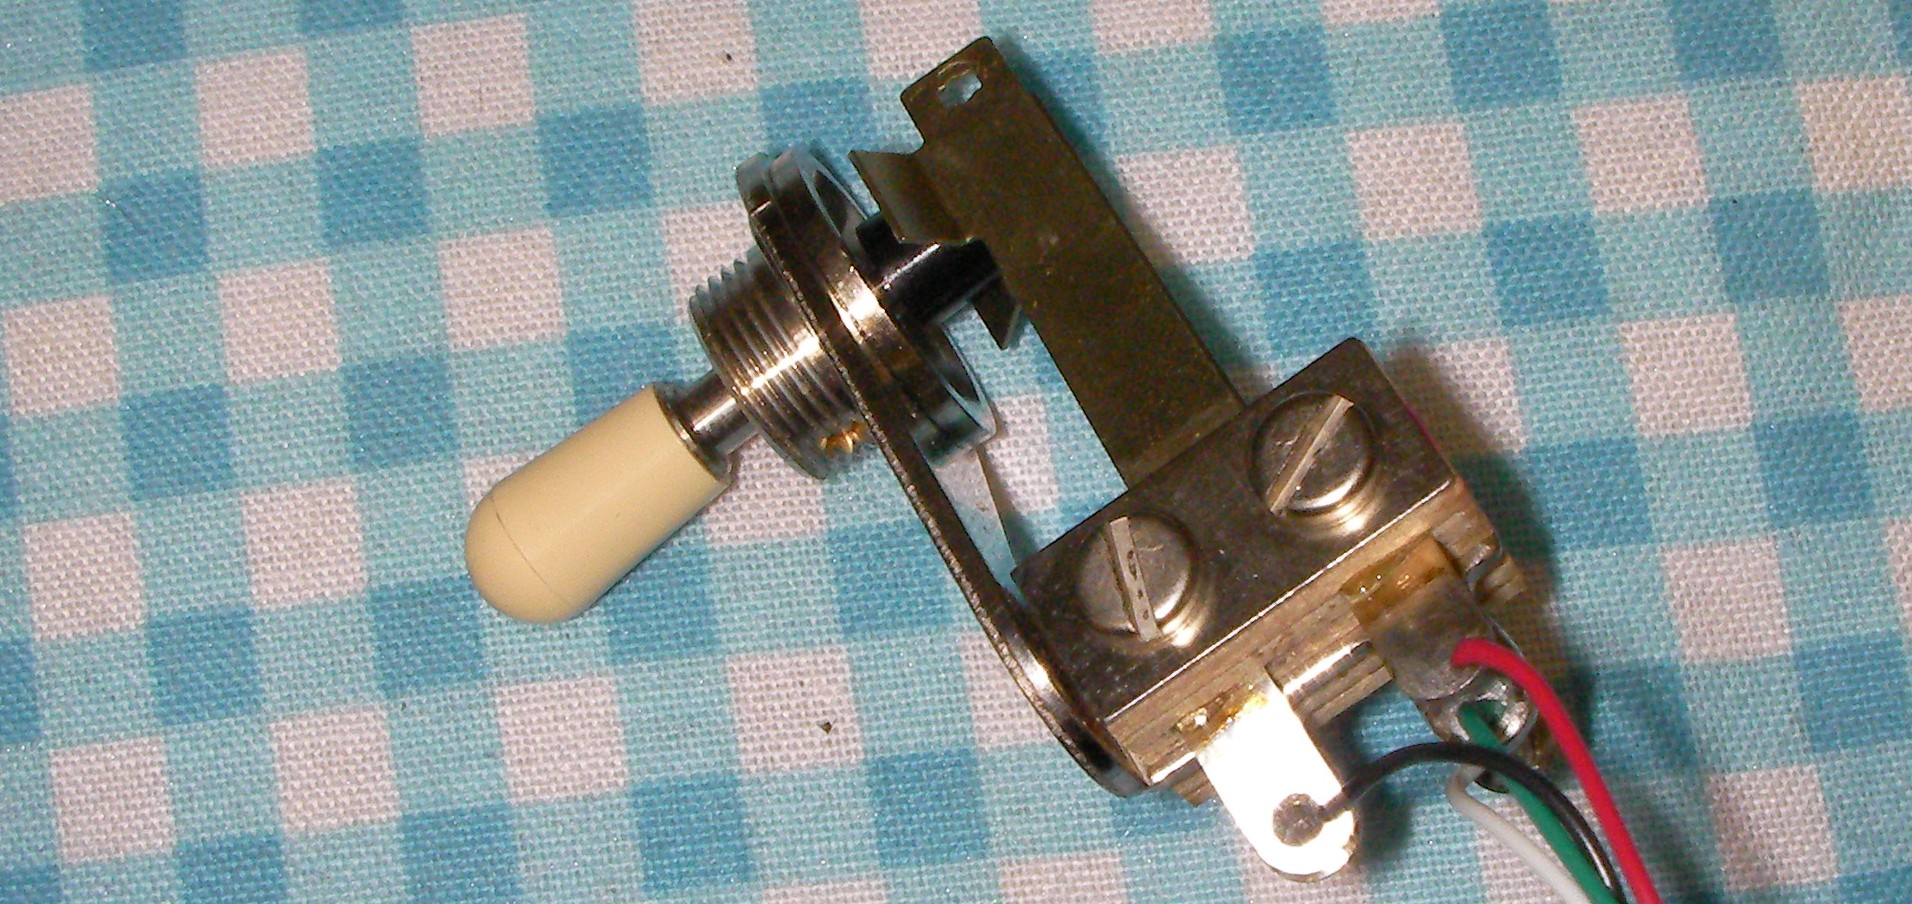
By loosening off the screws I was able to move the contact a little so that it now stays “on” in either position.
Having a good look at the neck I found it has a little too much set in it. I measured it at 0.003″, once the strings are fitted I think this will increase too much.
I also had a look at the height of each fret, Some of them are a little high, not excessively, but it will detract from the final setup.

Removing the truss rod cover I found that one of the screw holes had been striped out.
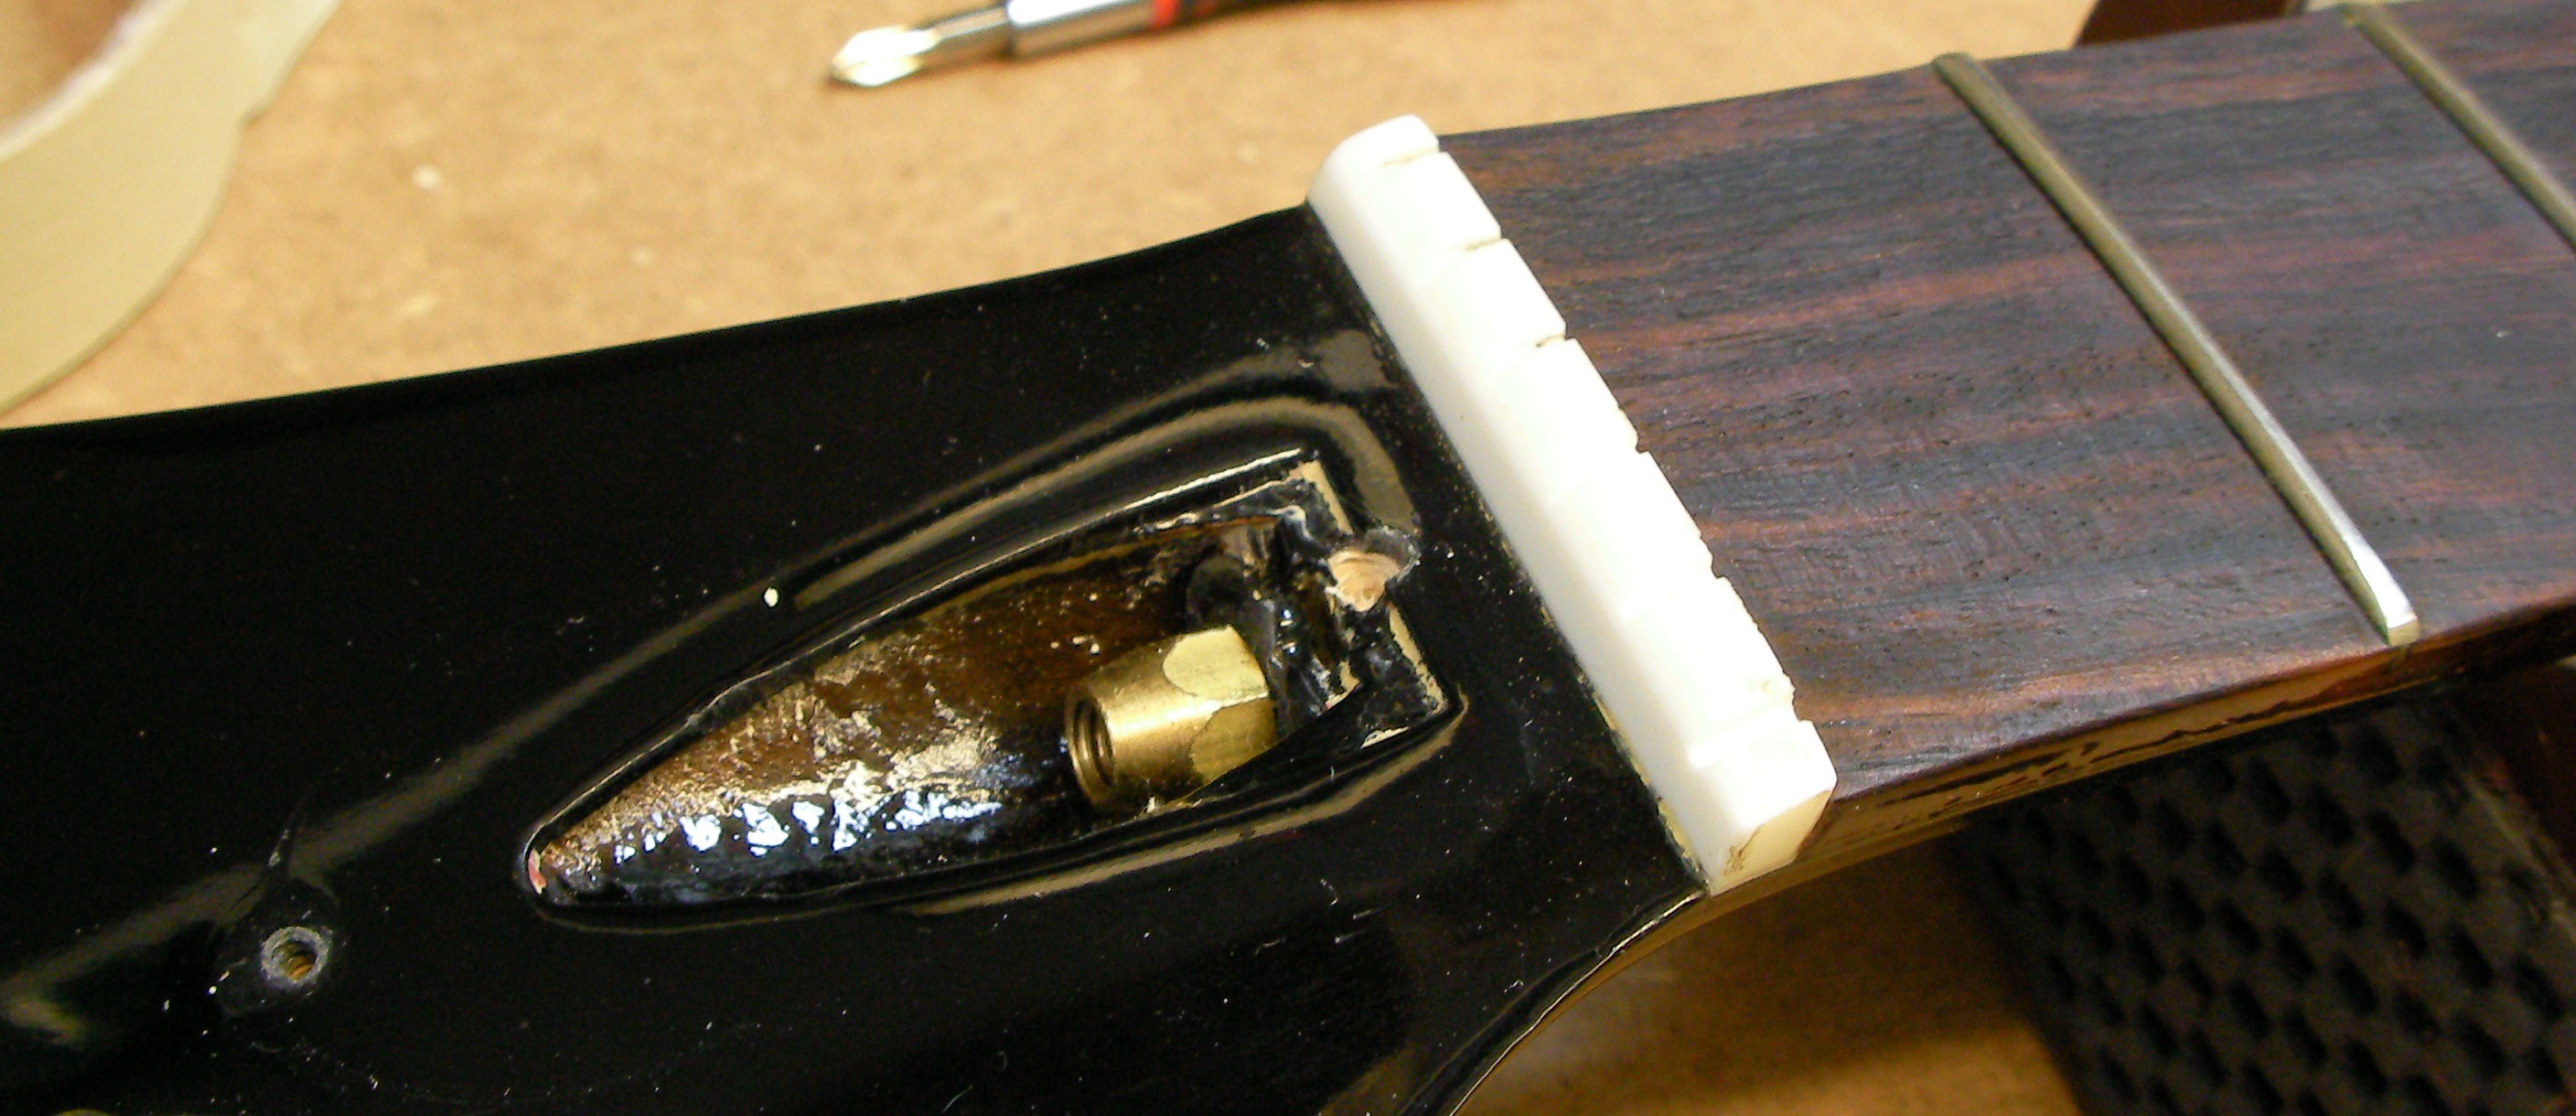
Small holes like this, that are hidden from final view, are easily filed by glueing in a matchstick, wait for it to dry and cut it off level with a sharp chisel.

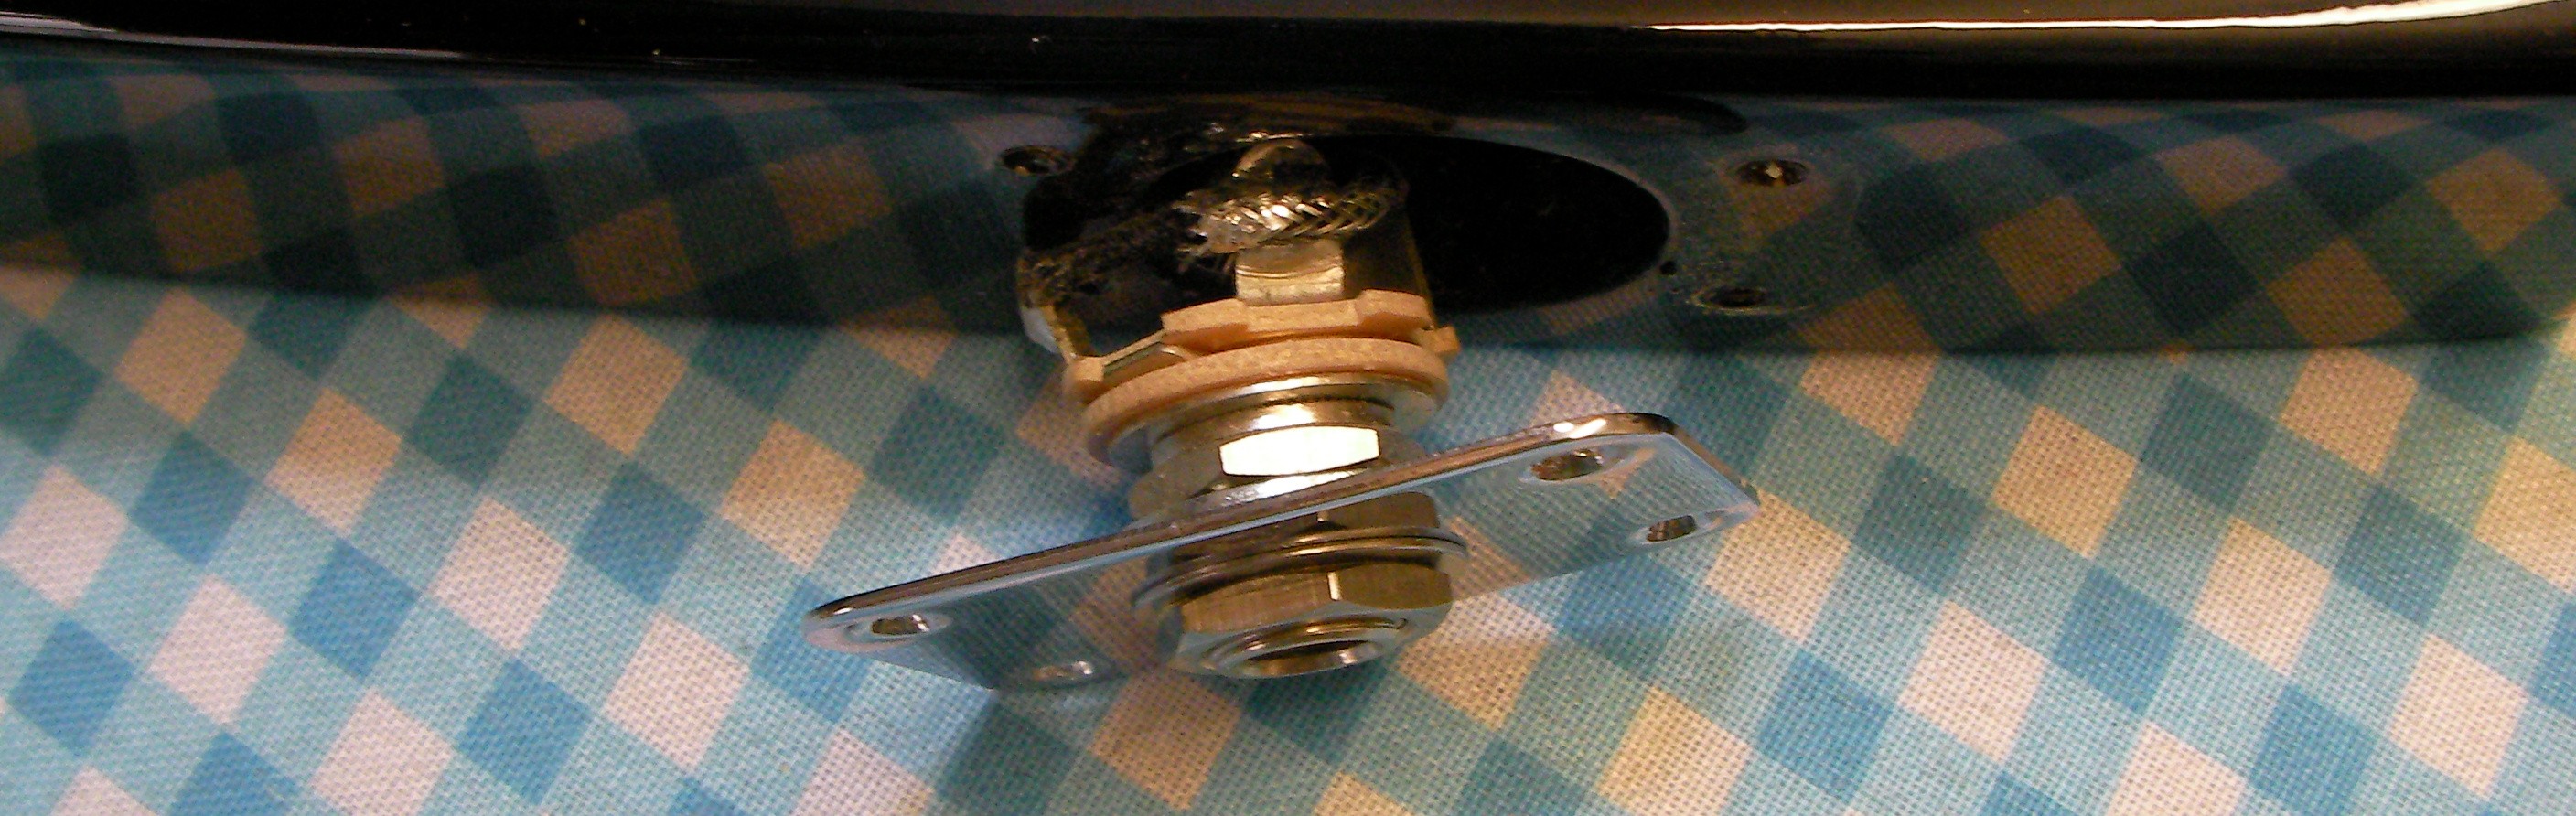
The Jack socket was also a little loose so I took the jack-plate off and tightened it up a little.
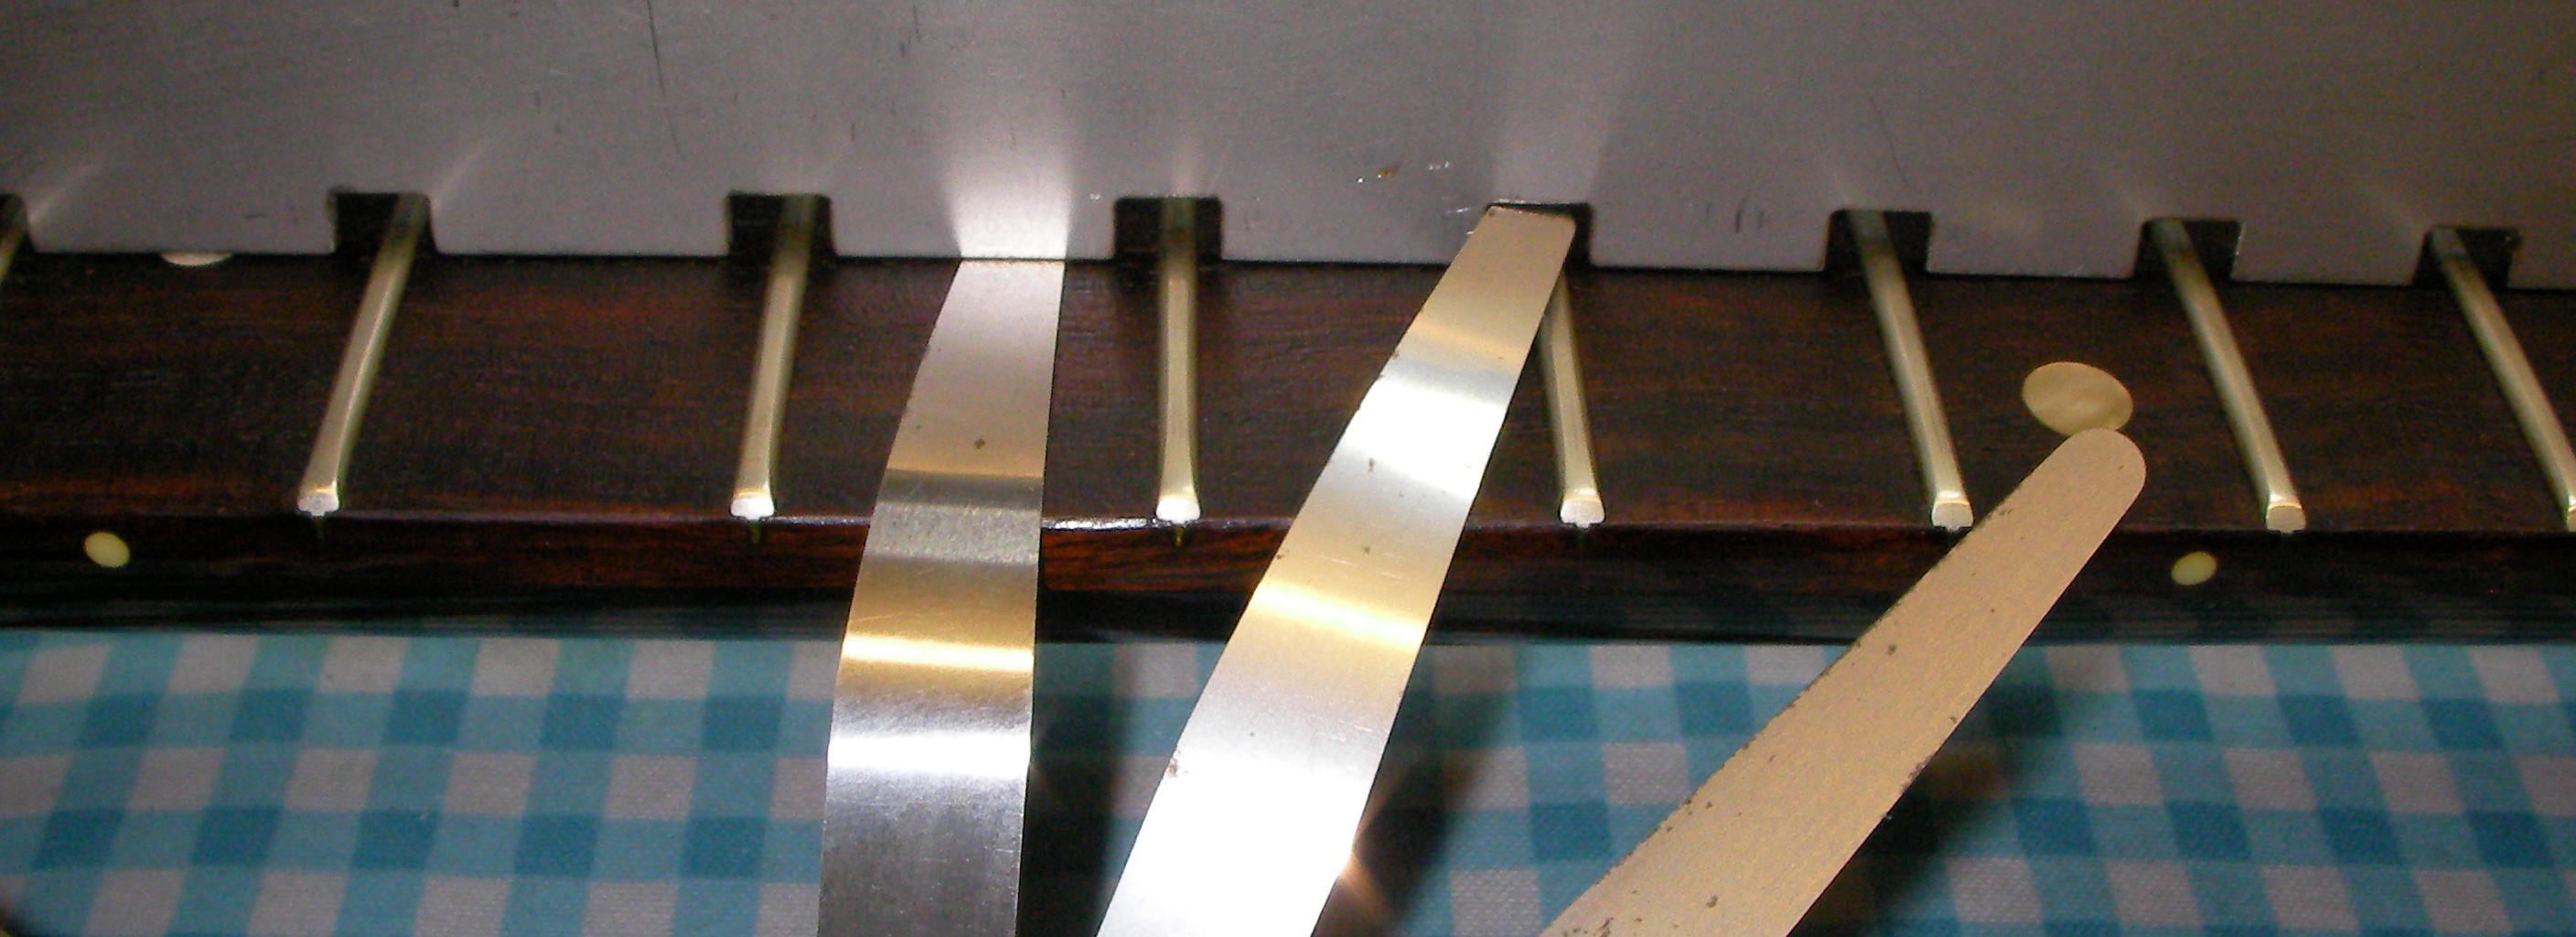
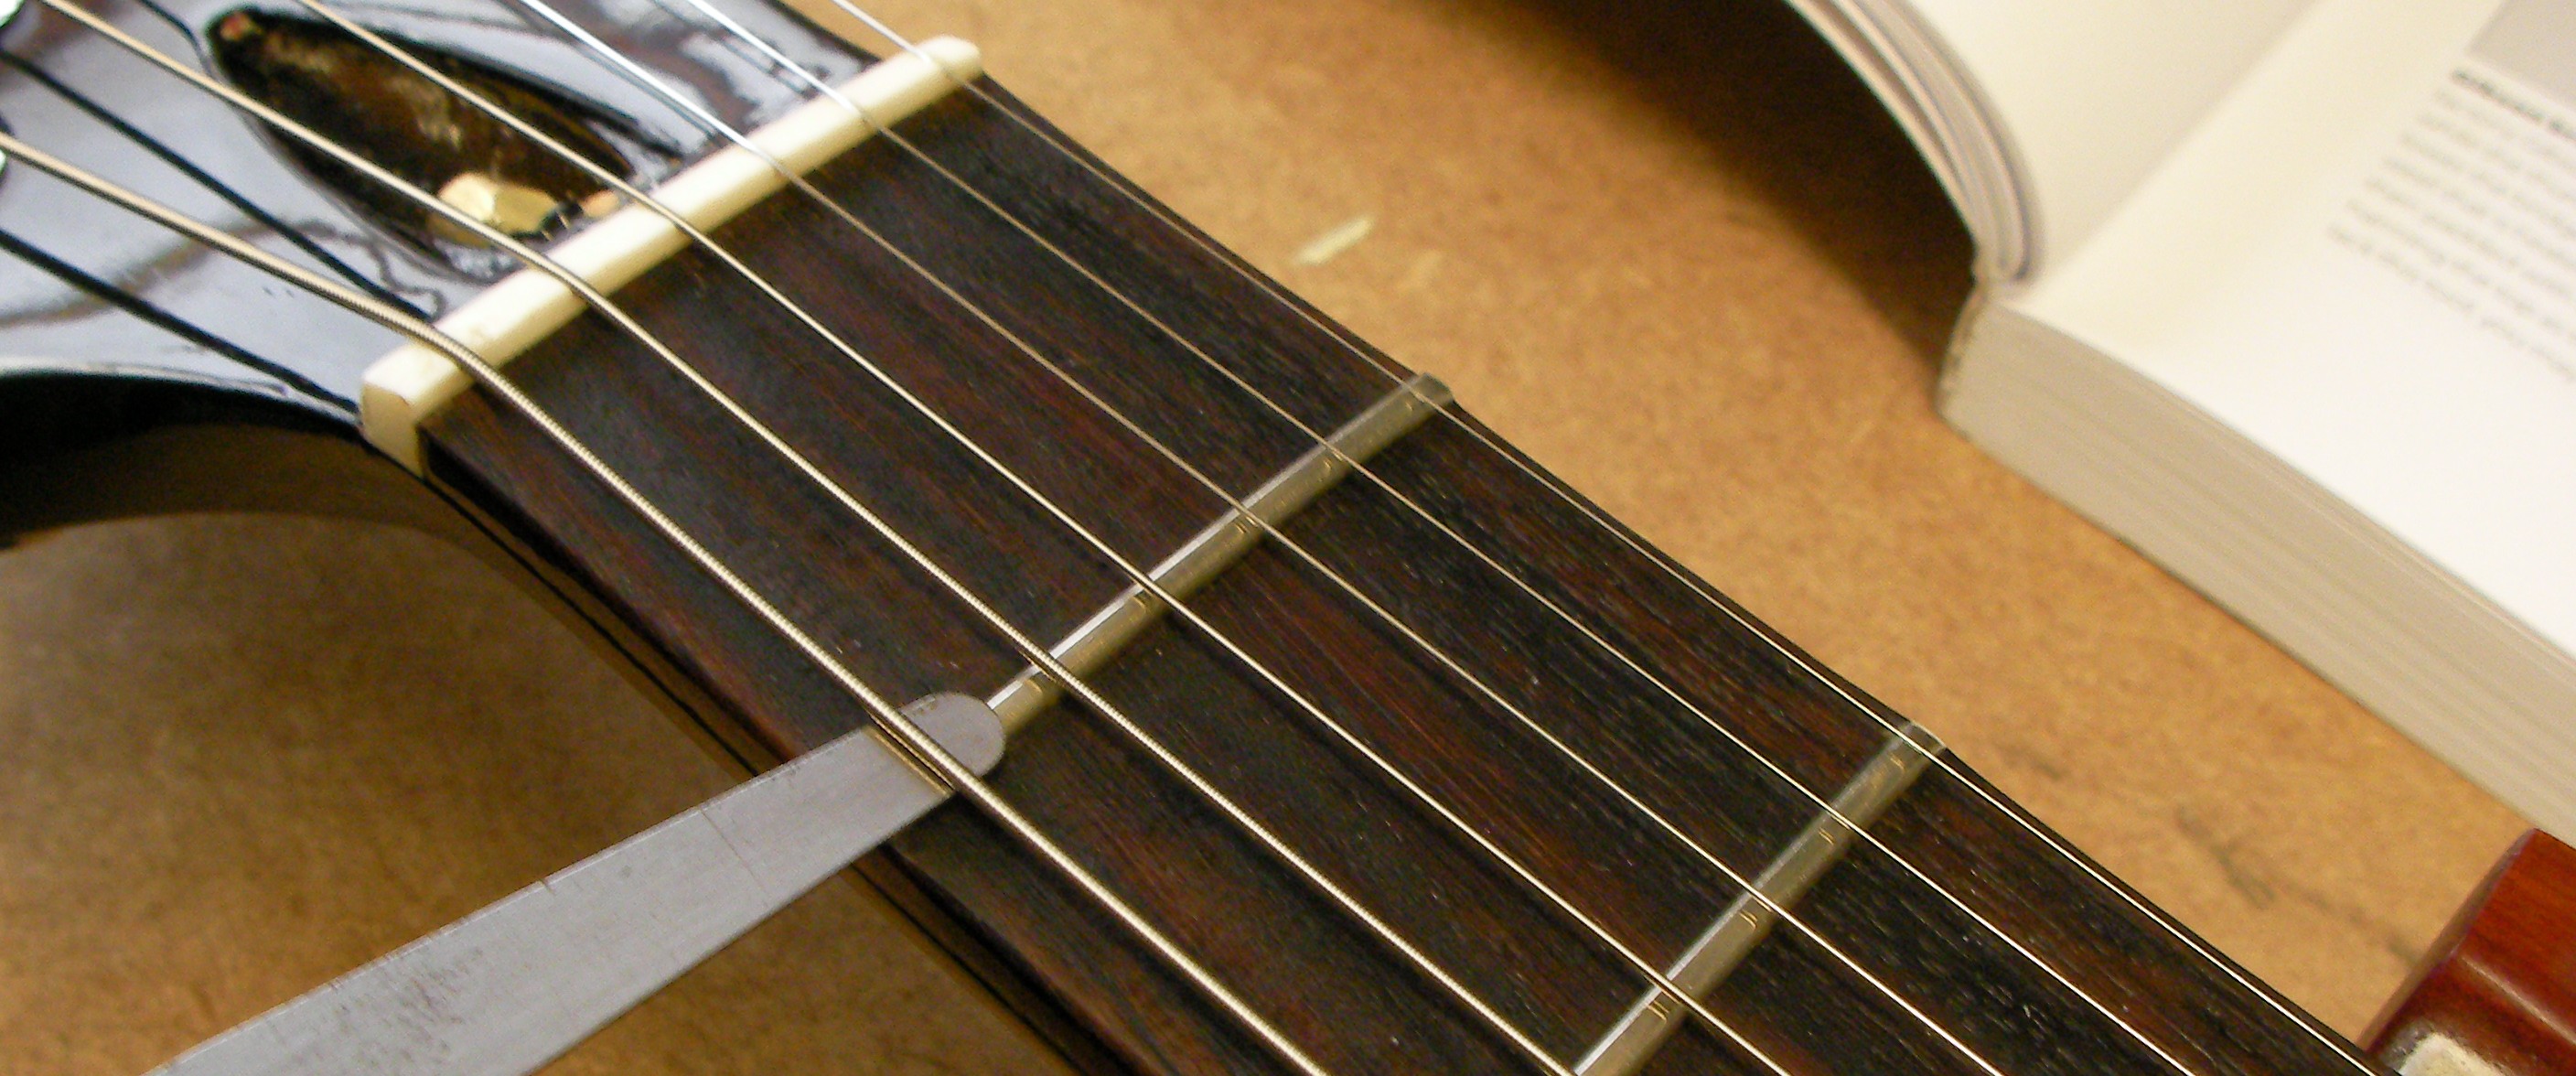
The frets are in good condition so all they need is a quick polish up. I use a small guard to make sure I don’t damage the fingerboard.

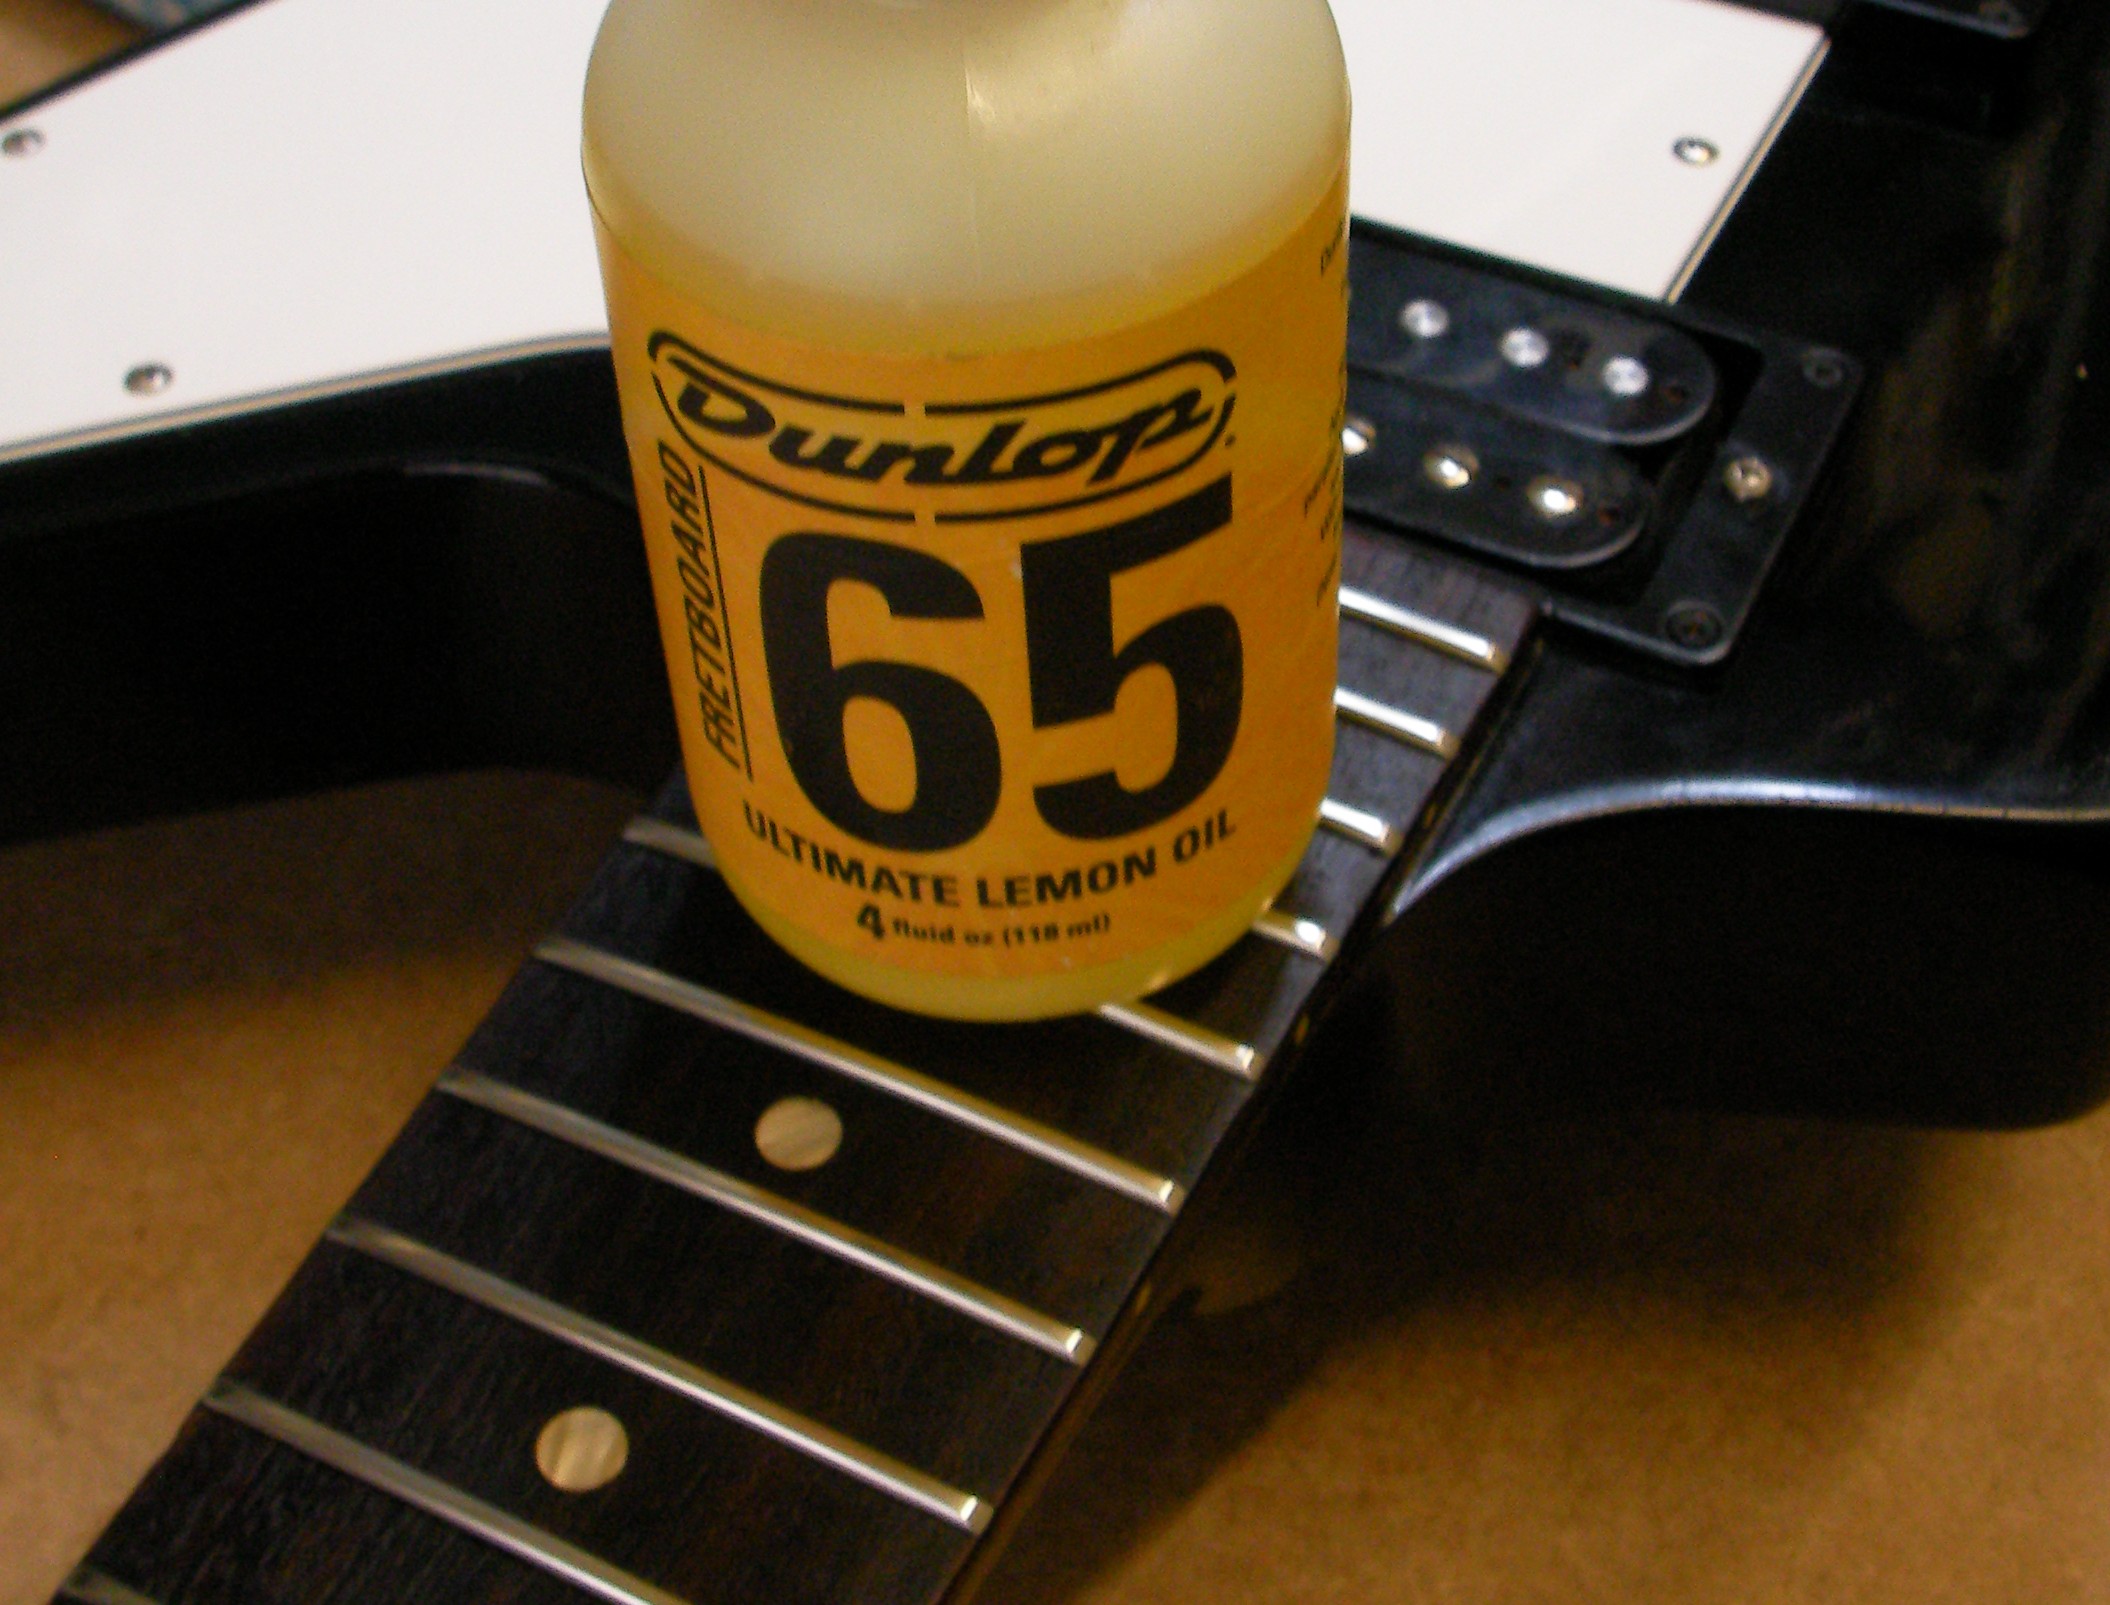
The fingerboard is in good condition but a little lemon oil will bring it fully back to life.
After a good clean and polish I fitted the new strings and started the setup.
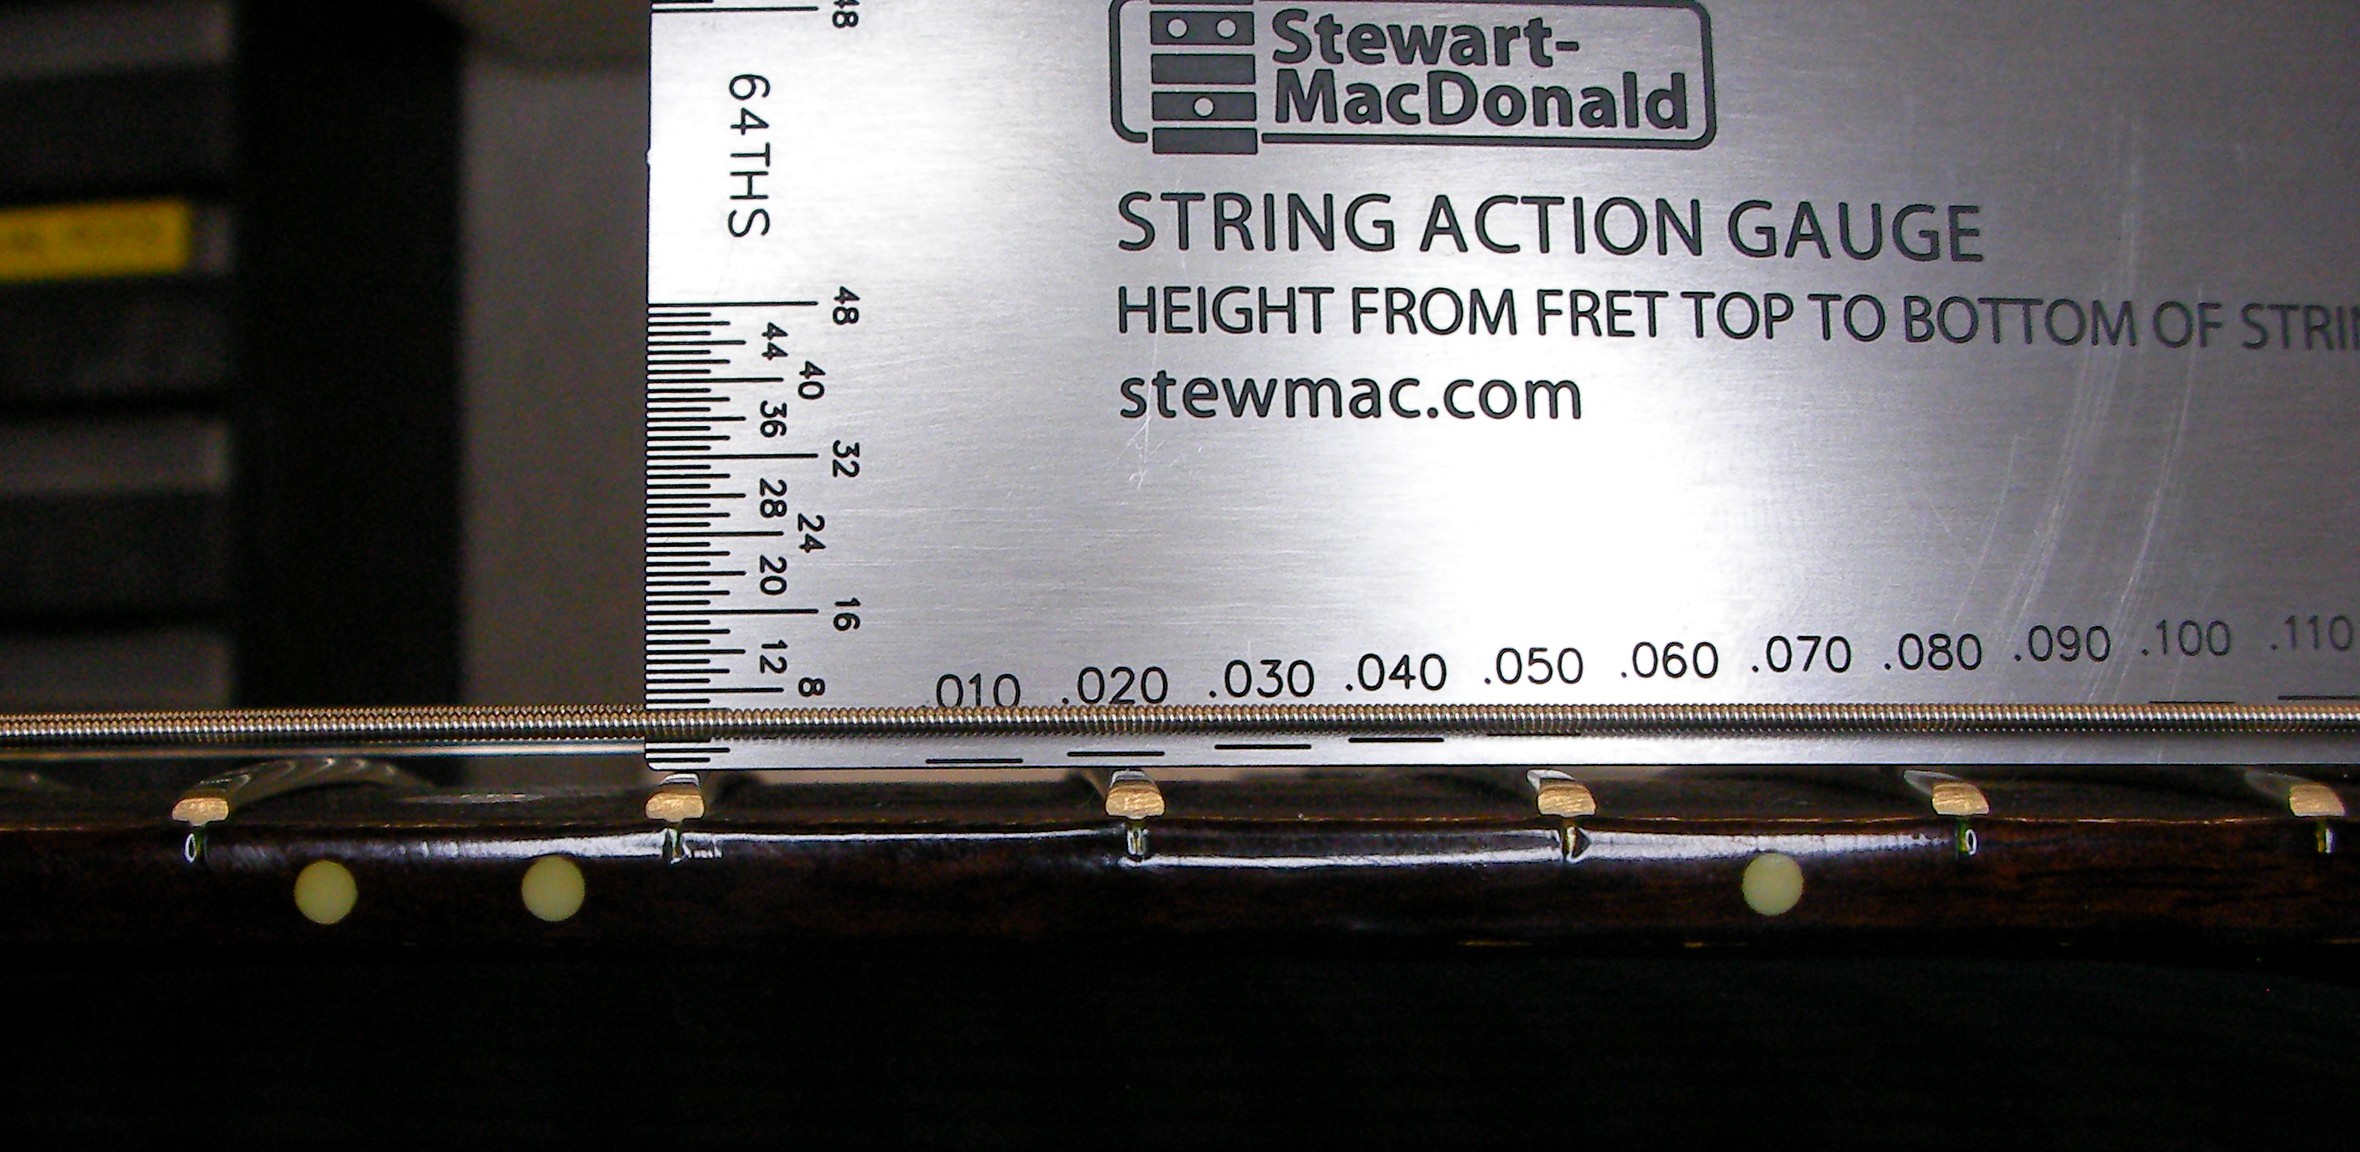
The string heights at the first fret are about right for Gibson, They should be really shouldn’t they!
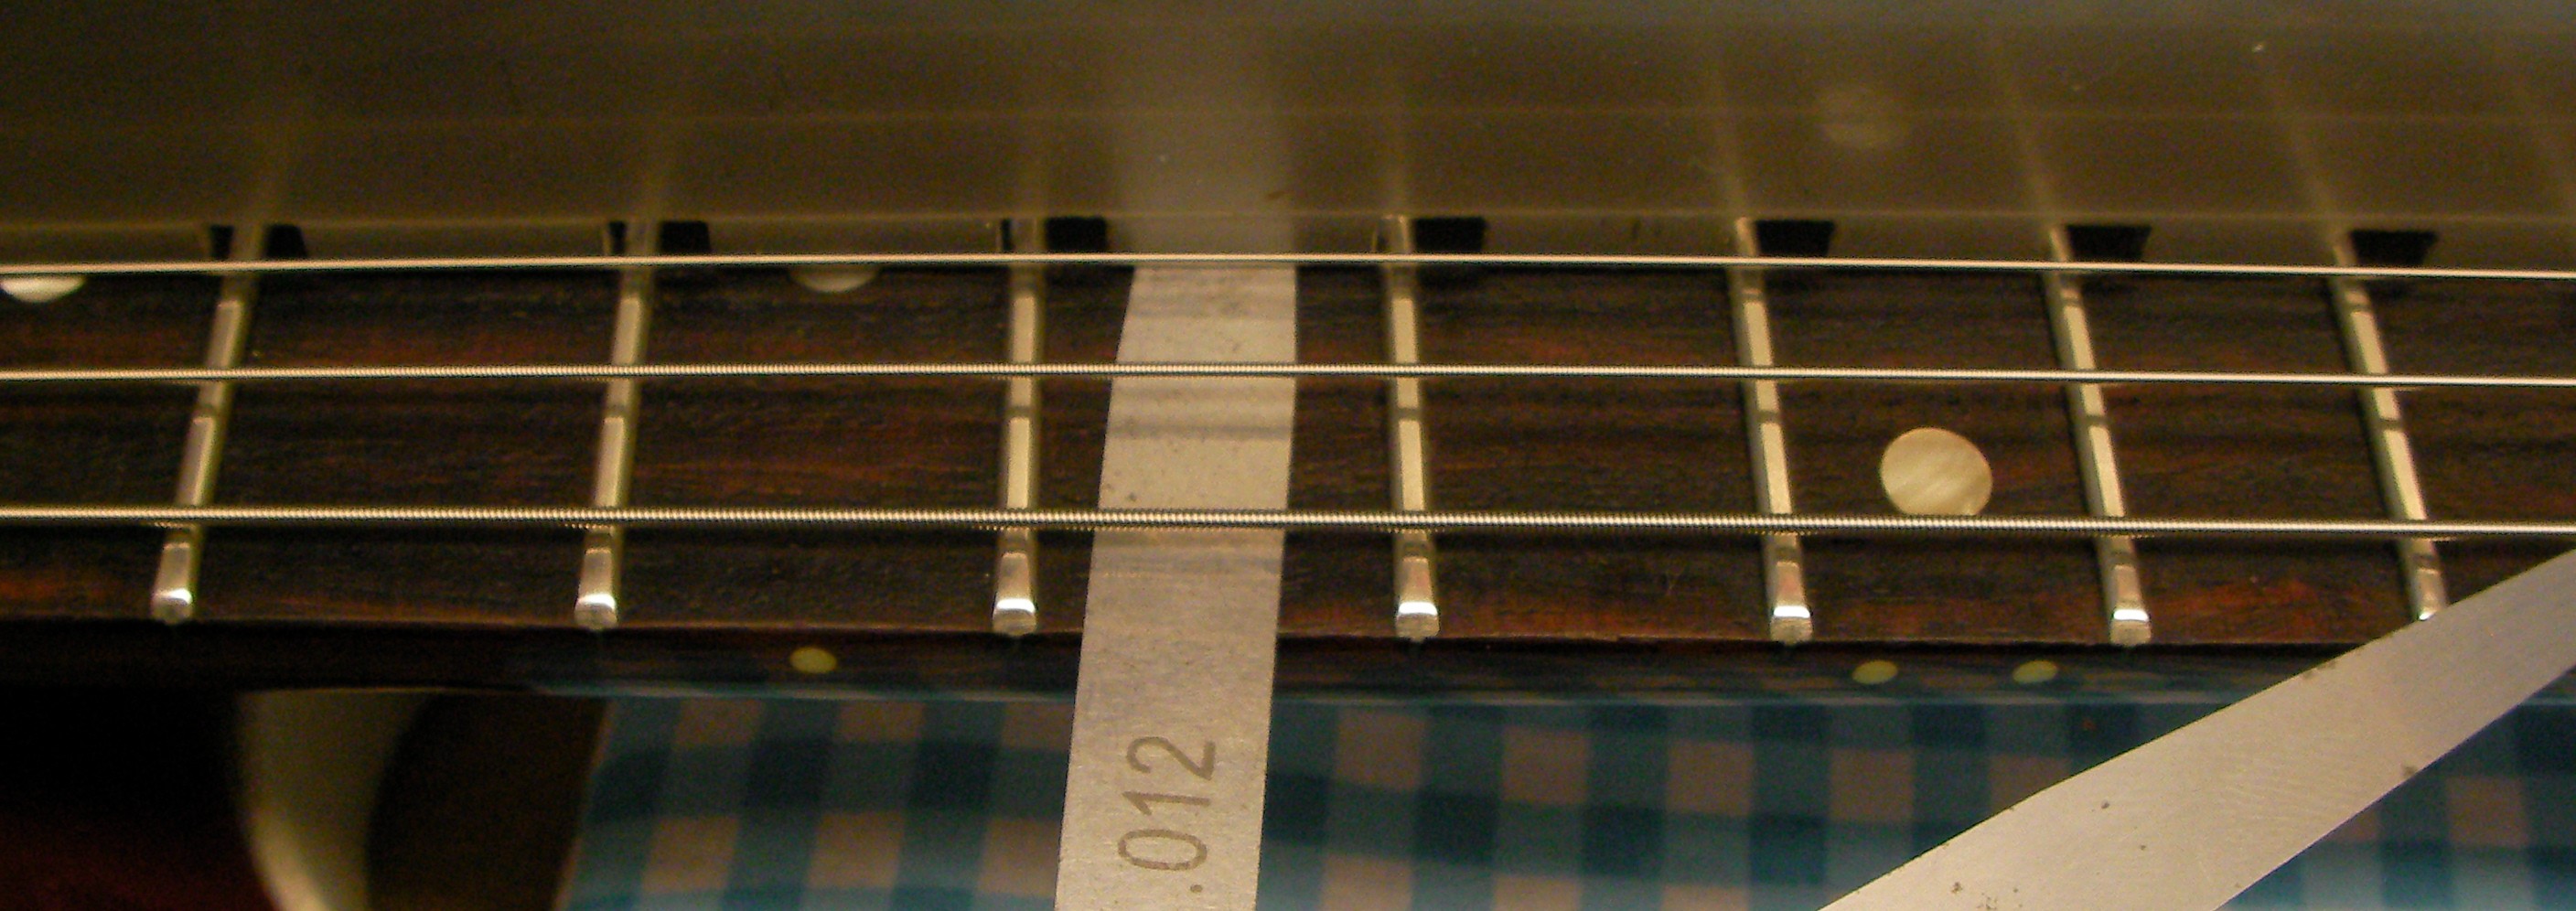
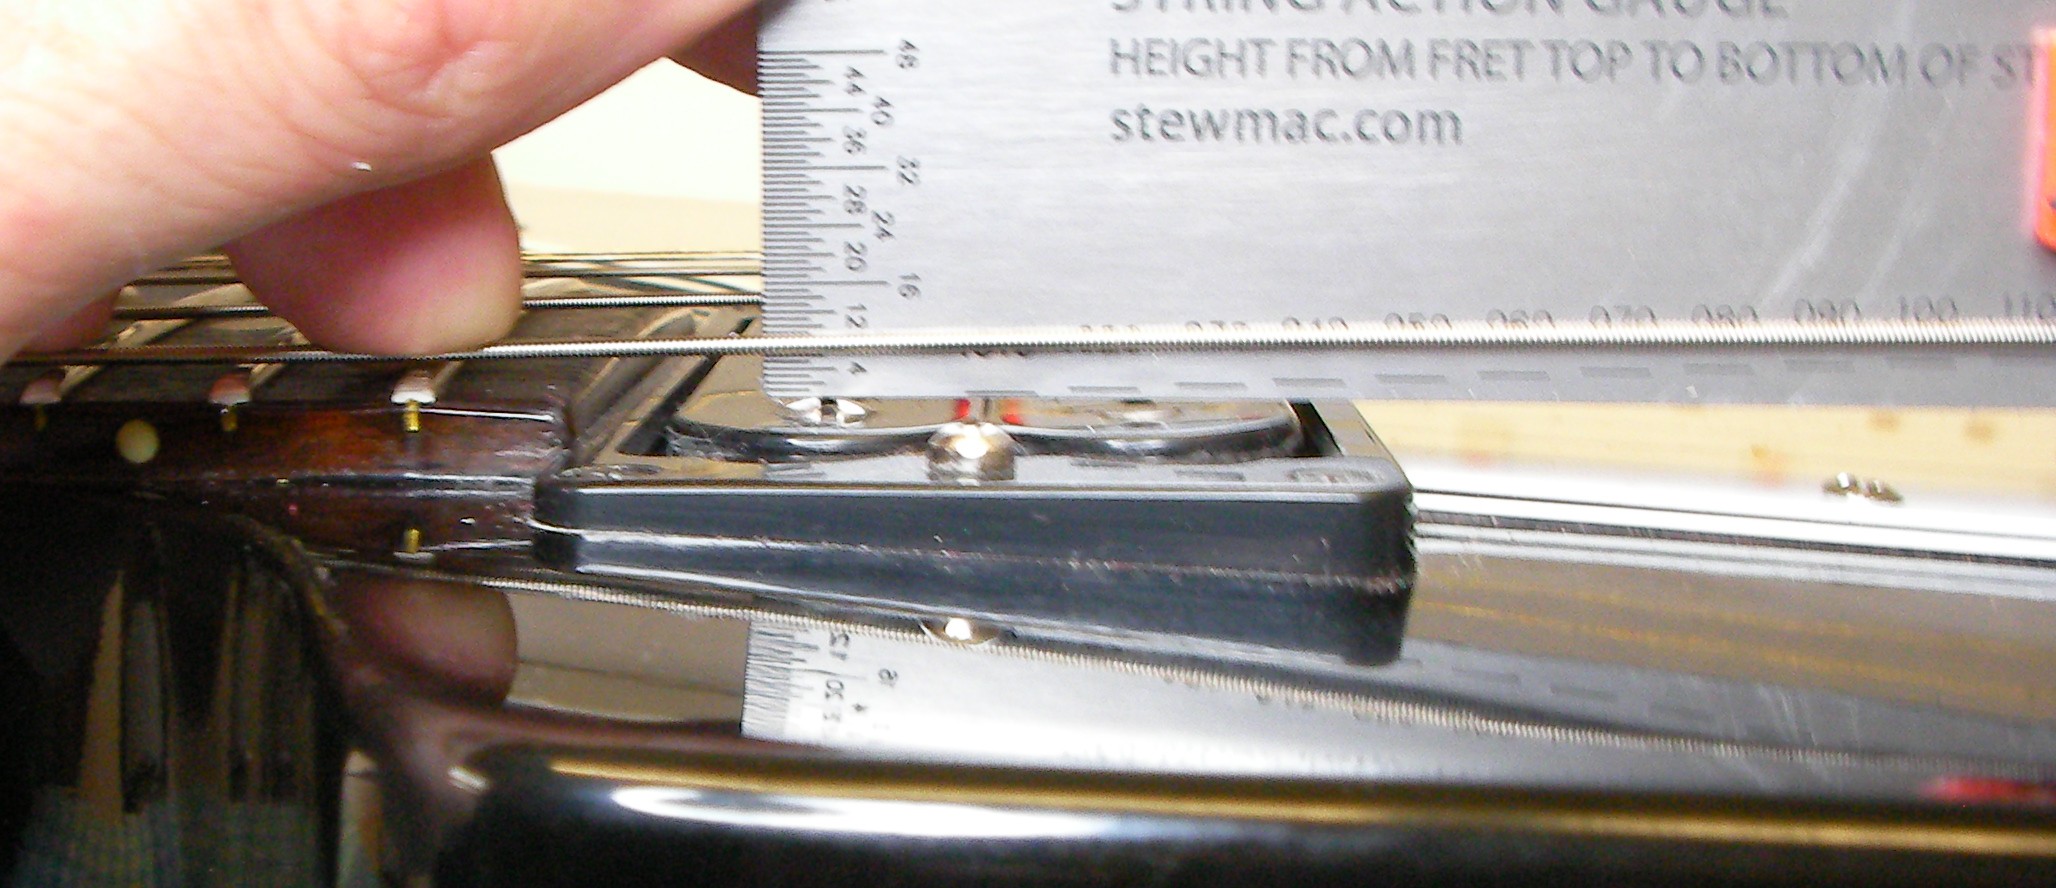
As I thought, with the strings fitted, the neck has more of a set than I would like. Gibson standard settings are for 0.012″ at the 7th fret and I measured it at 0.016″. For a really slick action I would aim to achieve about 0.004″ but I don’t think I’ll get that with the slightly high frets. not without some buzzing anyway.
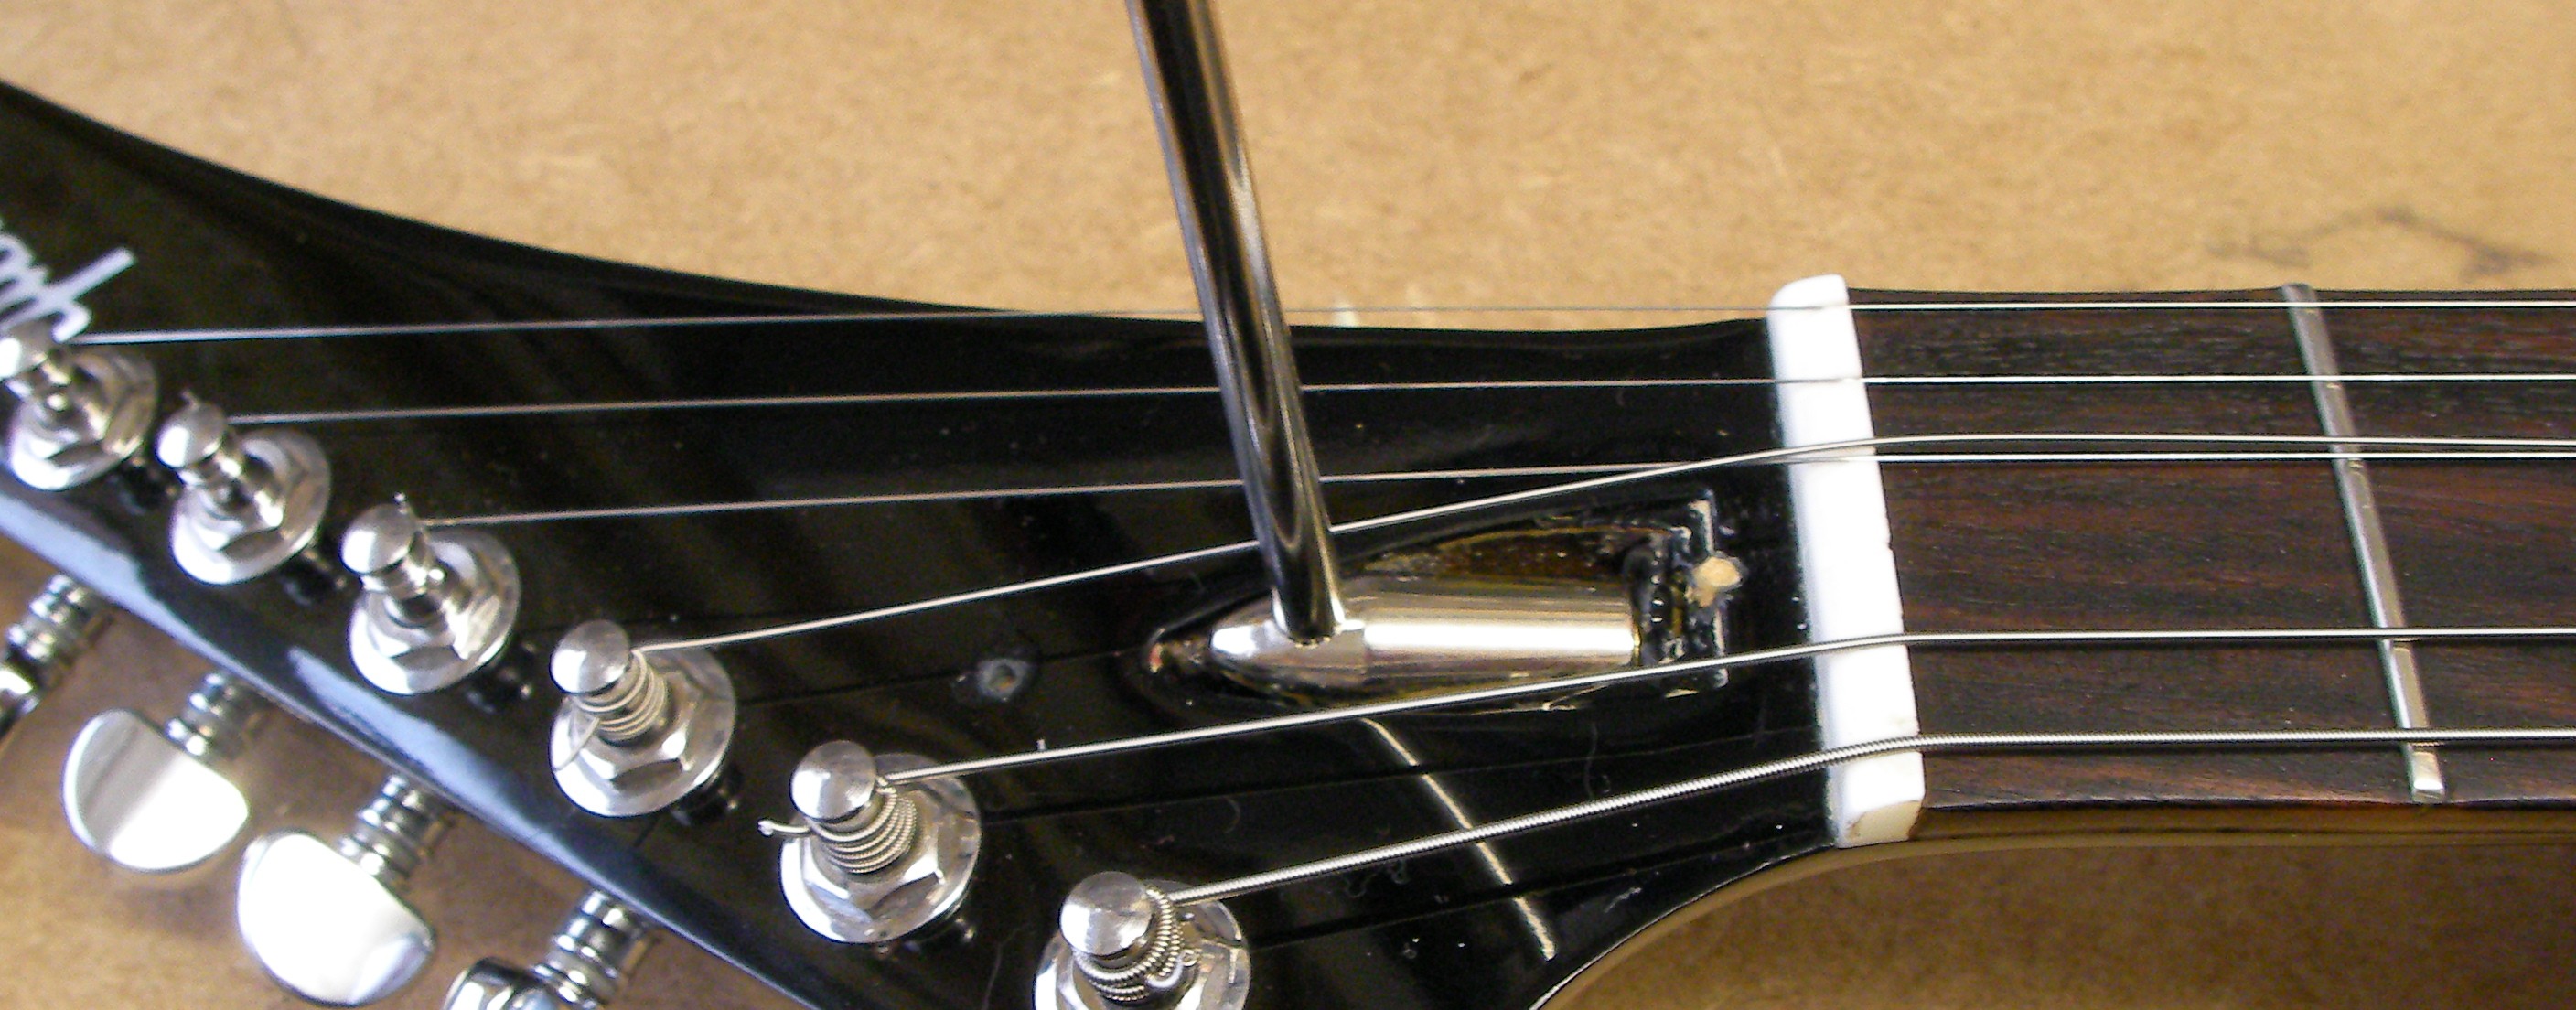
A quick tweak of the truss rod, I’ve started at 0.004″ and will see how it plays when I’m done.
With the neck set correctly I set the bridge height. Here again Gibson standard settings are for 5/64″ on the bass E and 3/64″ on the treble E (at the 12th fret). If I can I like to aim for something slightly less on the bass side, again 3/64″. There was a little bit of buzzing so ended up with something between the two.
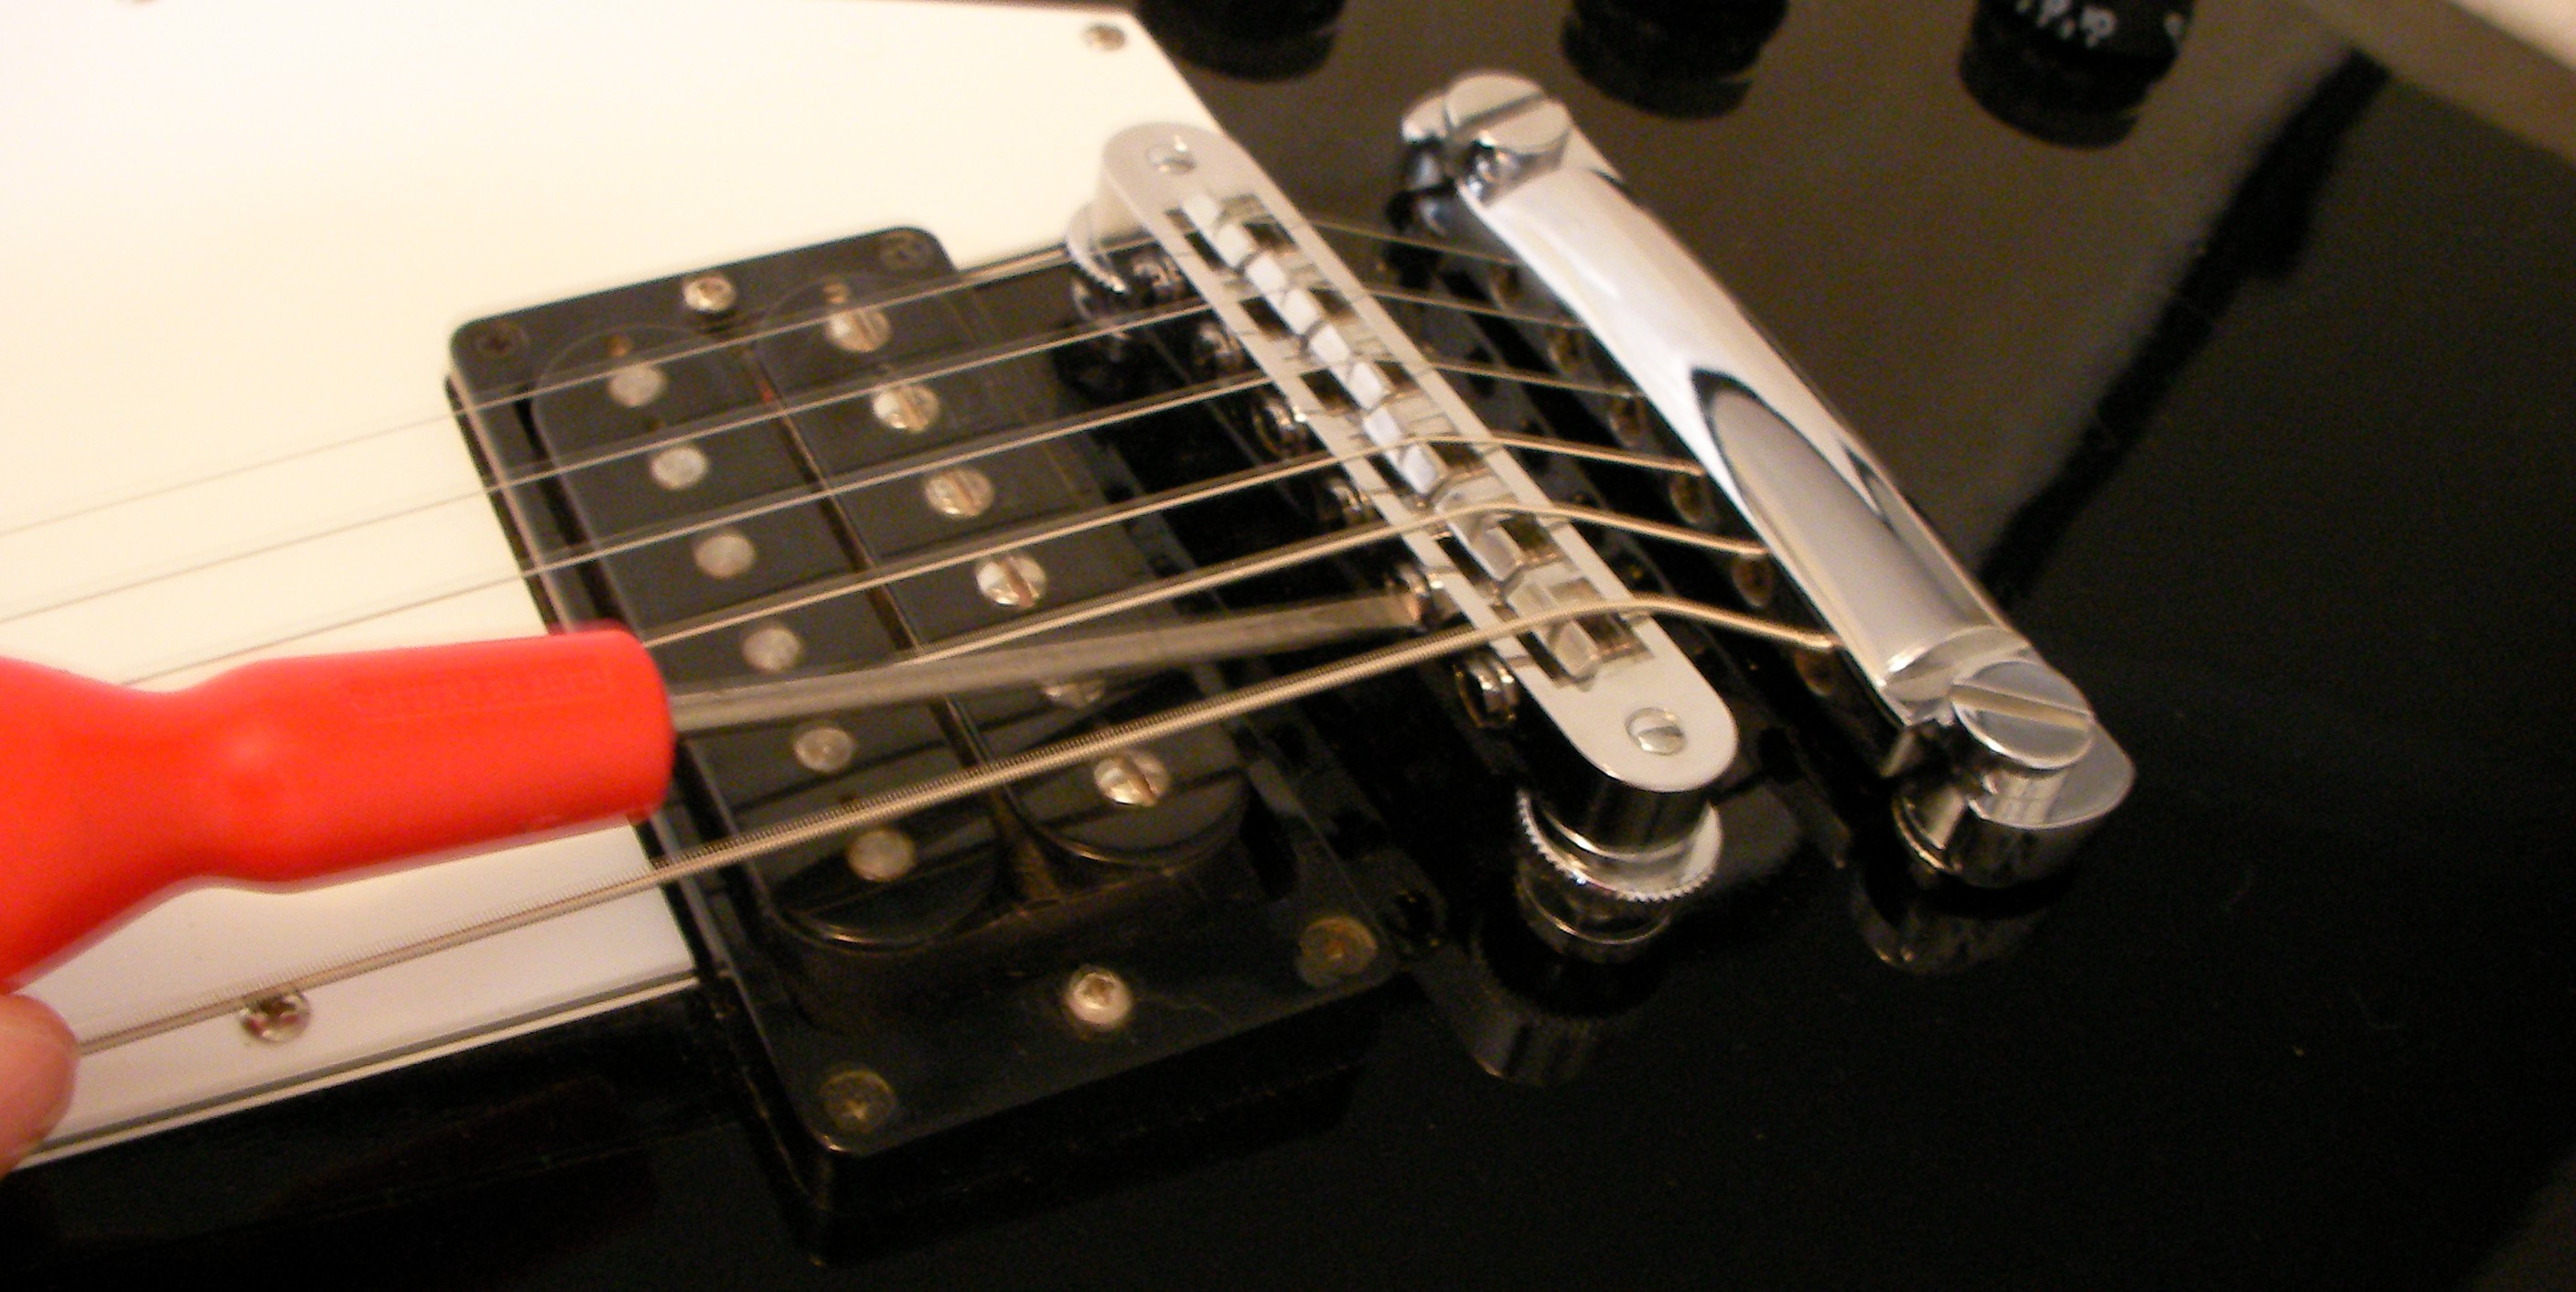
Once the string height is set the last setup adjustment is the Intonation. If the bridge isn’t in the right place the guitar will never really sound properly in tune. It’s also the most time consuming part of the setup
Intonation adjustment screws on the bridge….
With the setup of the action complete the last thing to adjust is the pickup height. The neck pickup particularly was very low, the standard setting is 3/32″ and it was double that. The output was consequently low but since it wasn’t possible to select it in its own perhaps the owner never really noticed? Anyway, I’ve put that right now.
With that done a quick “test drive” to make sure it all plays and feels right without any string buzzing etc. As I thought I did have to raise the action just a little.
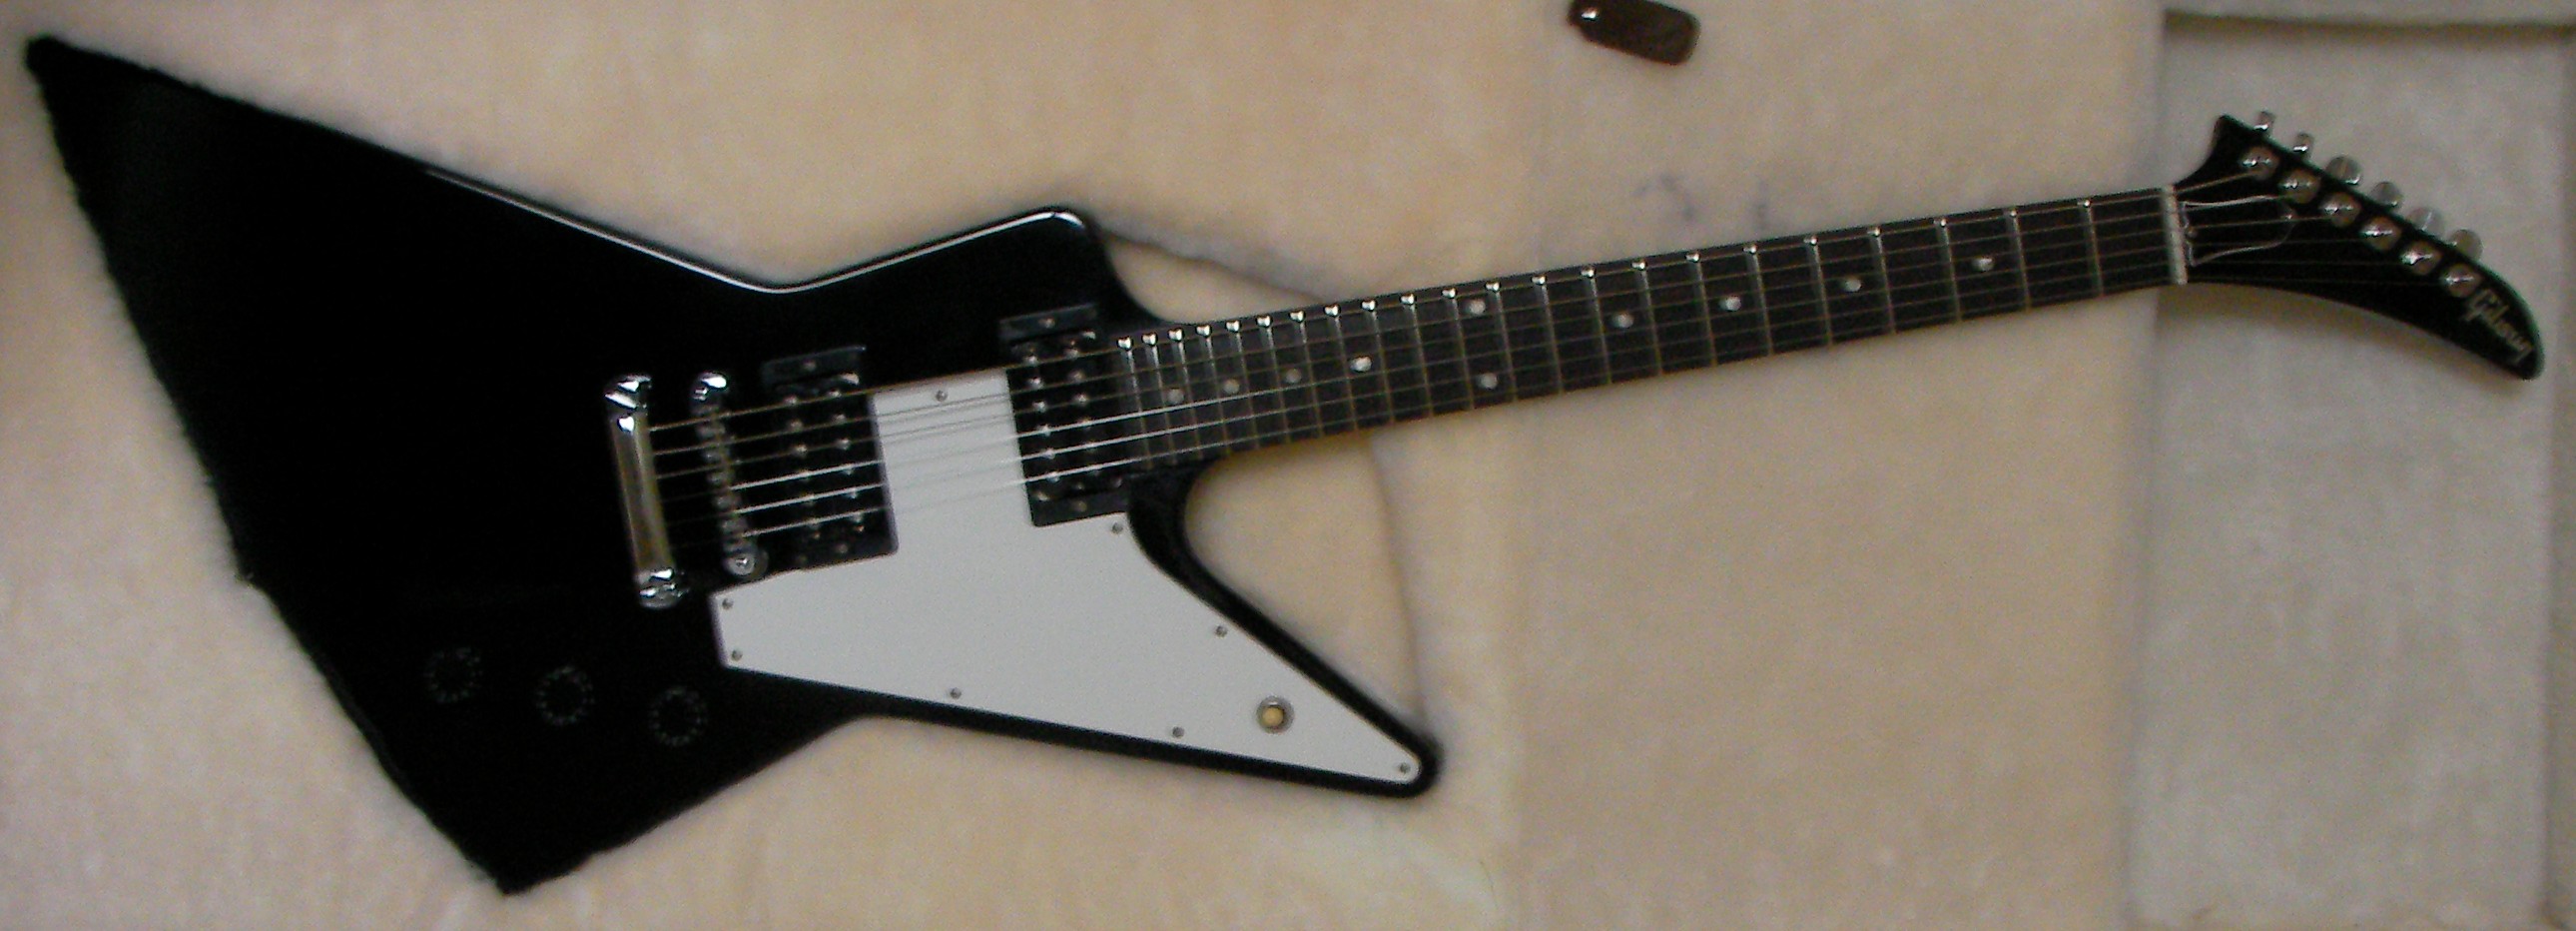
There we have it, job done………..
Thanks, You have very good site , no BS just info. Thank you .