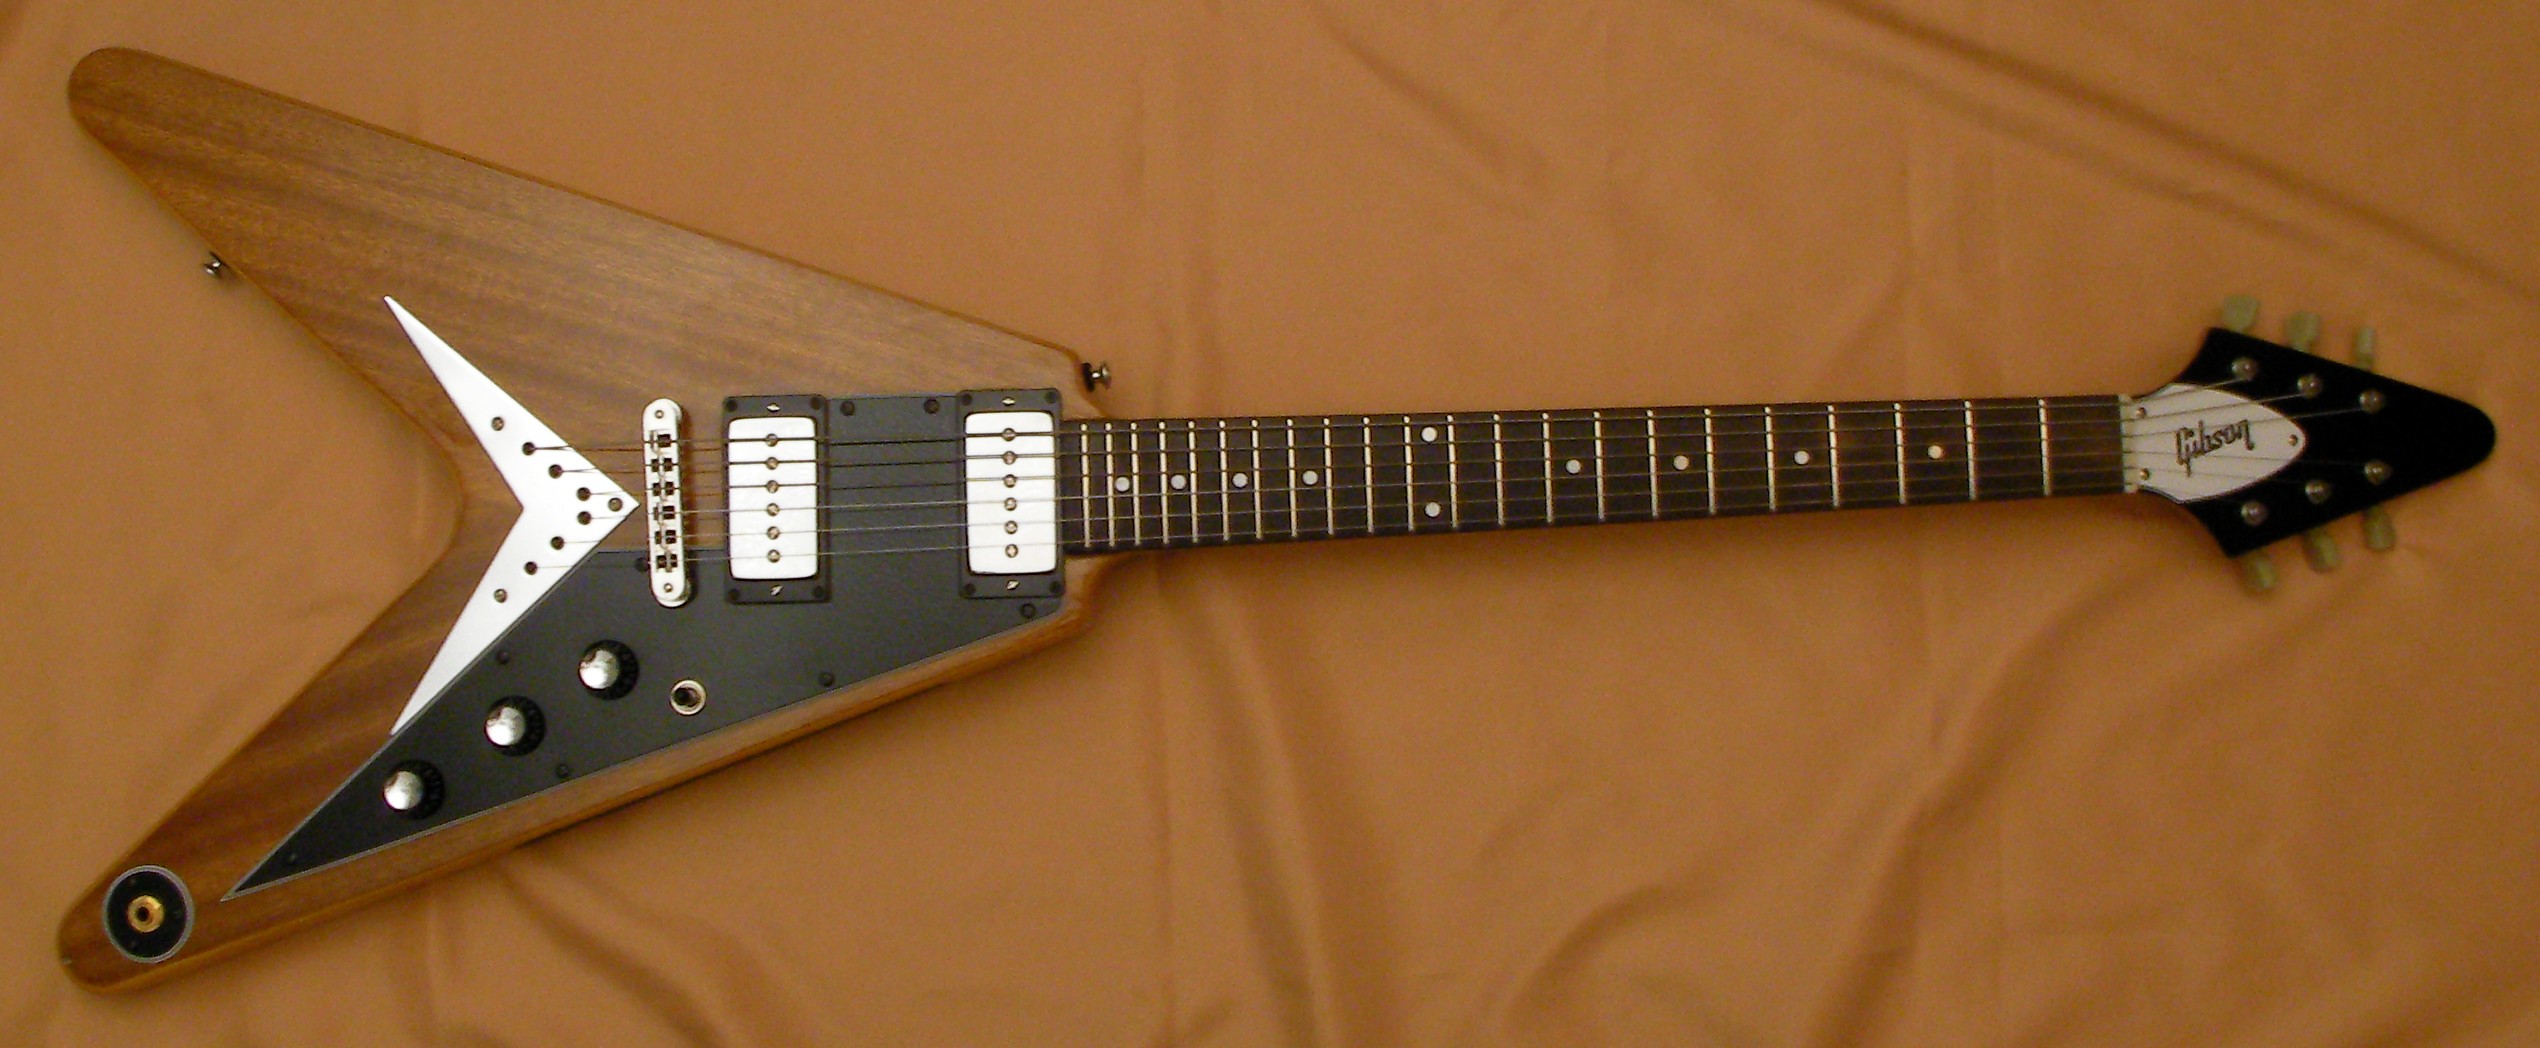
Gibson Flying-V Restoration
This is bit of a long term job. I started a couple of months ago with a fret-dress but it’s time to start the rest of it. It should be quite simple apart from a couple of sheered off and striped out screw heads.
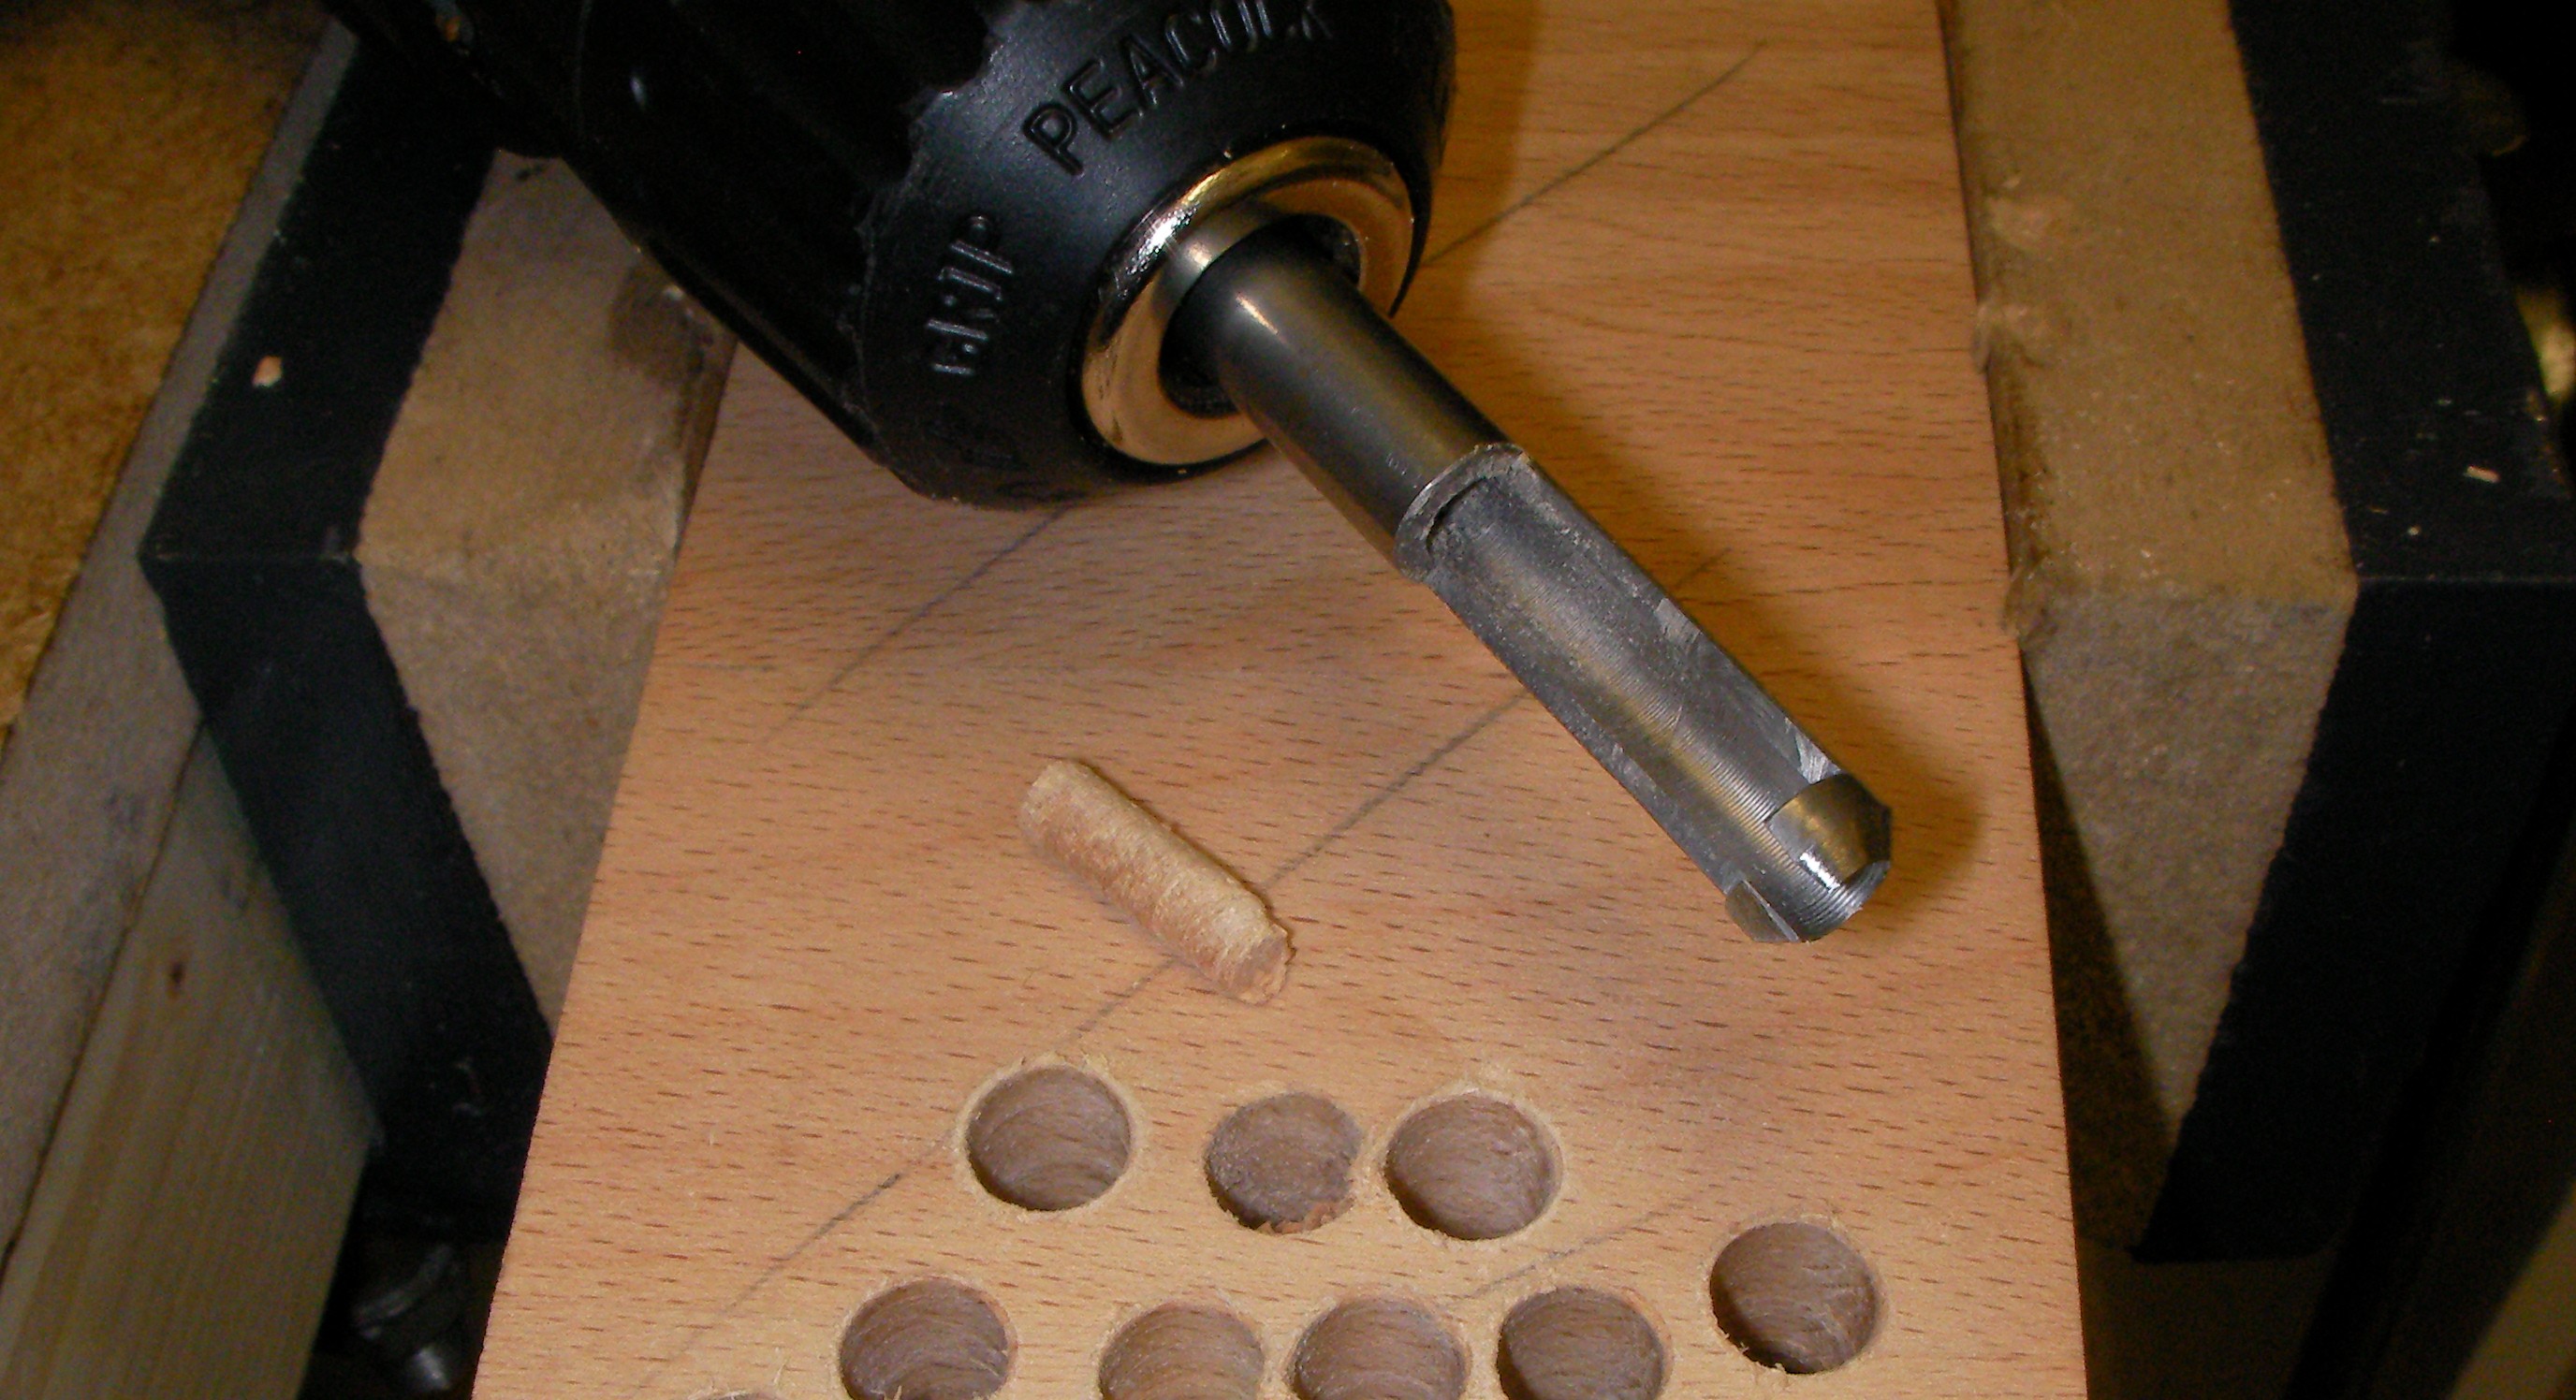
The only way to get that screw out is bit by bit!
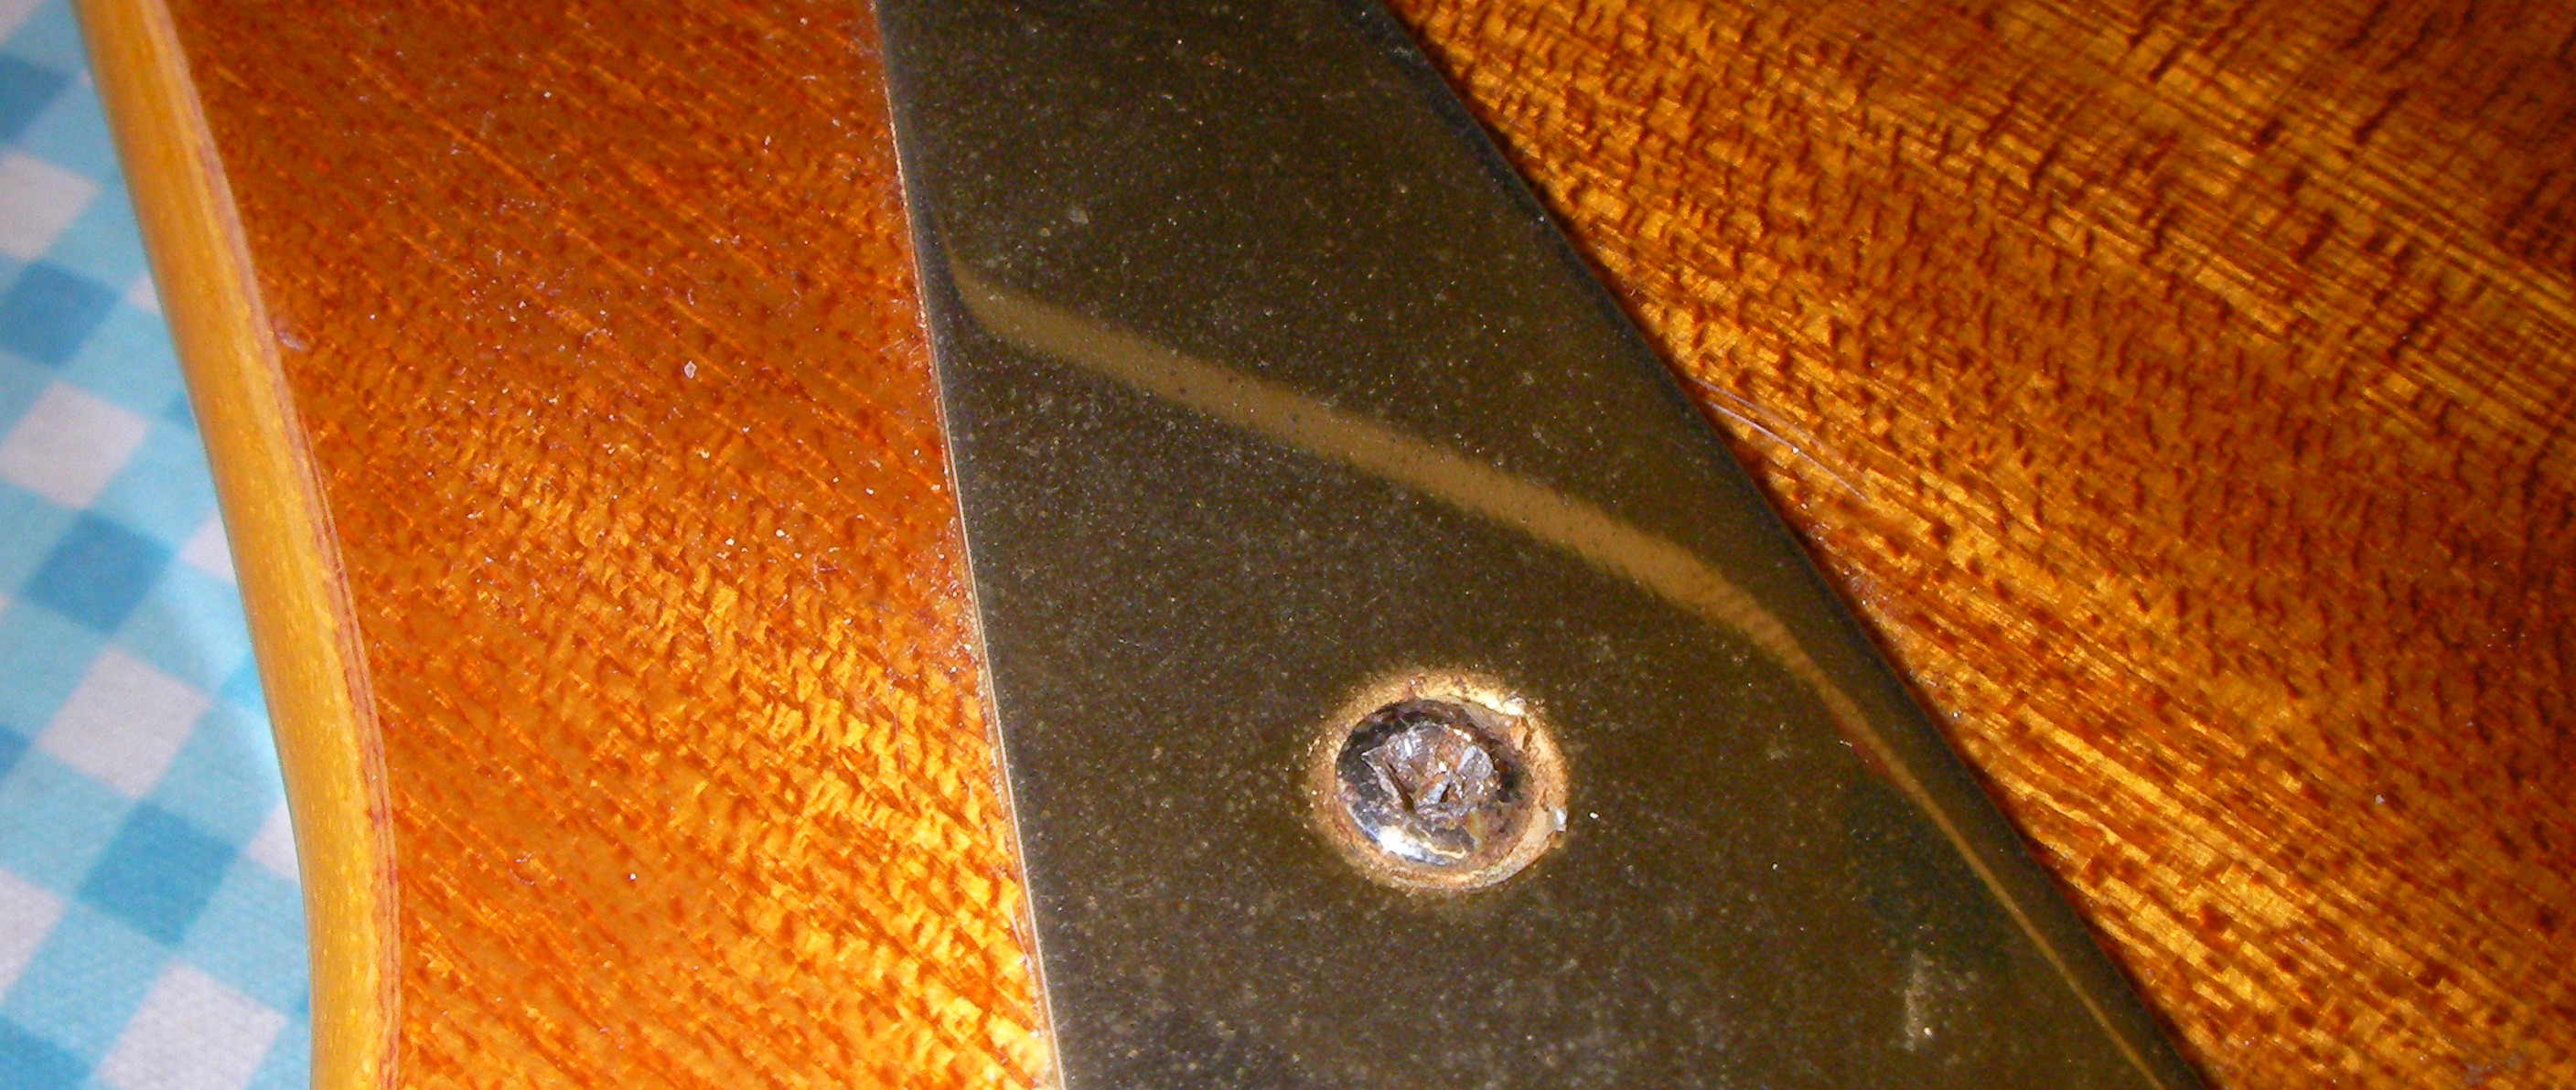
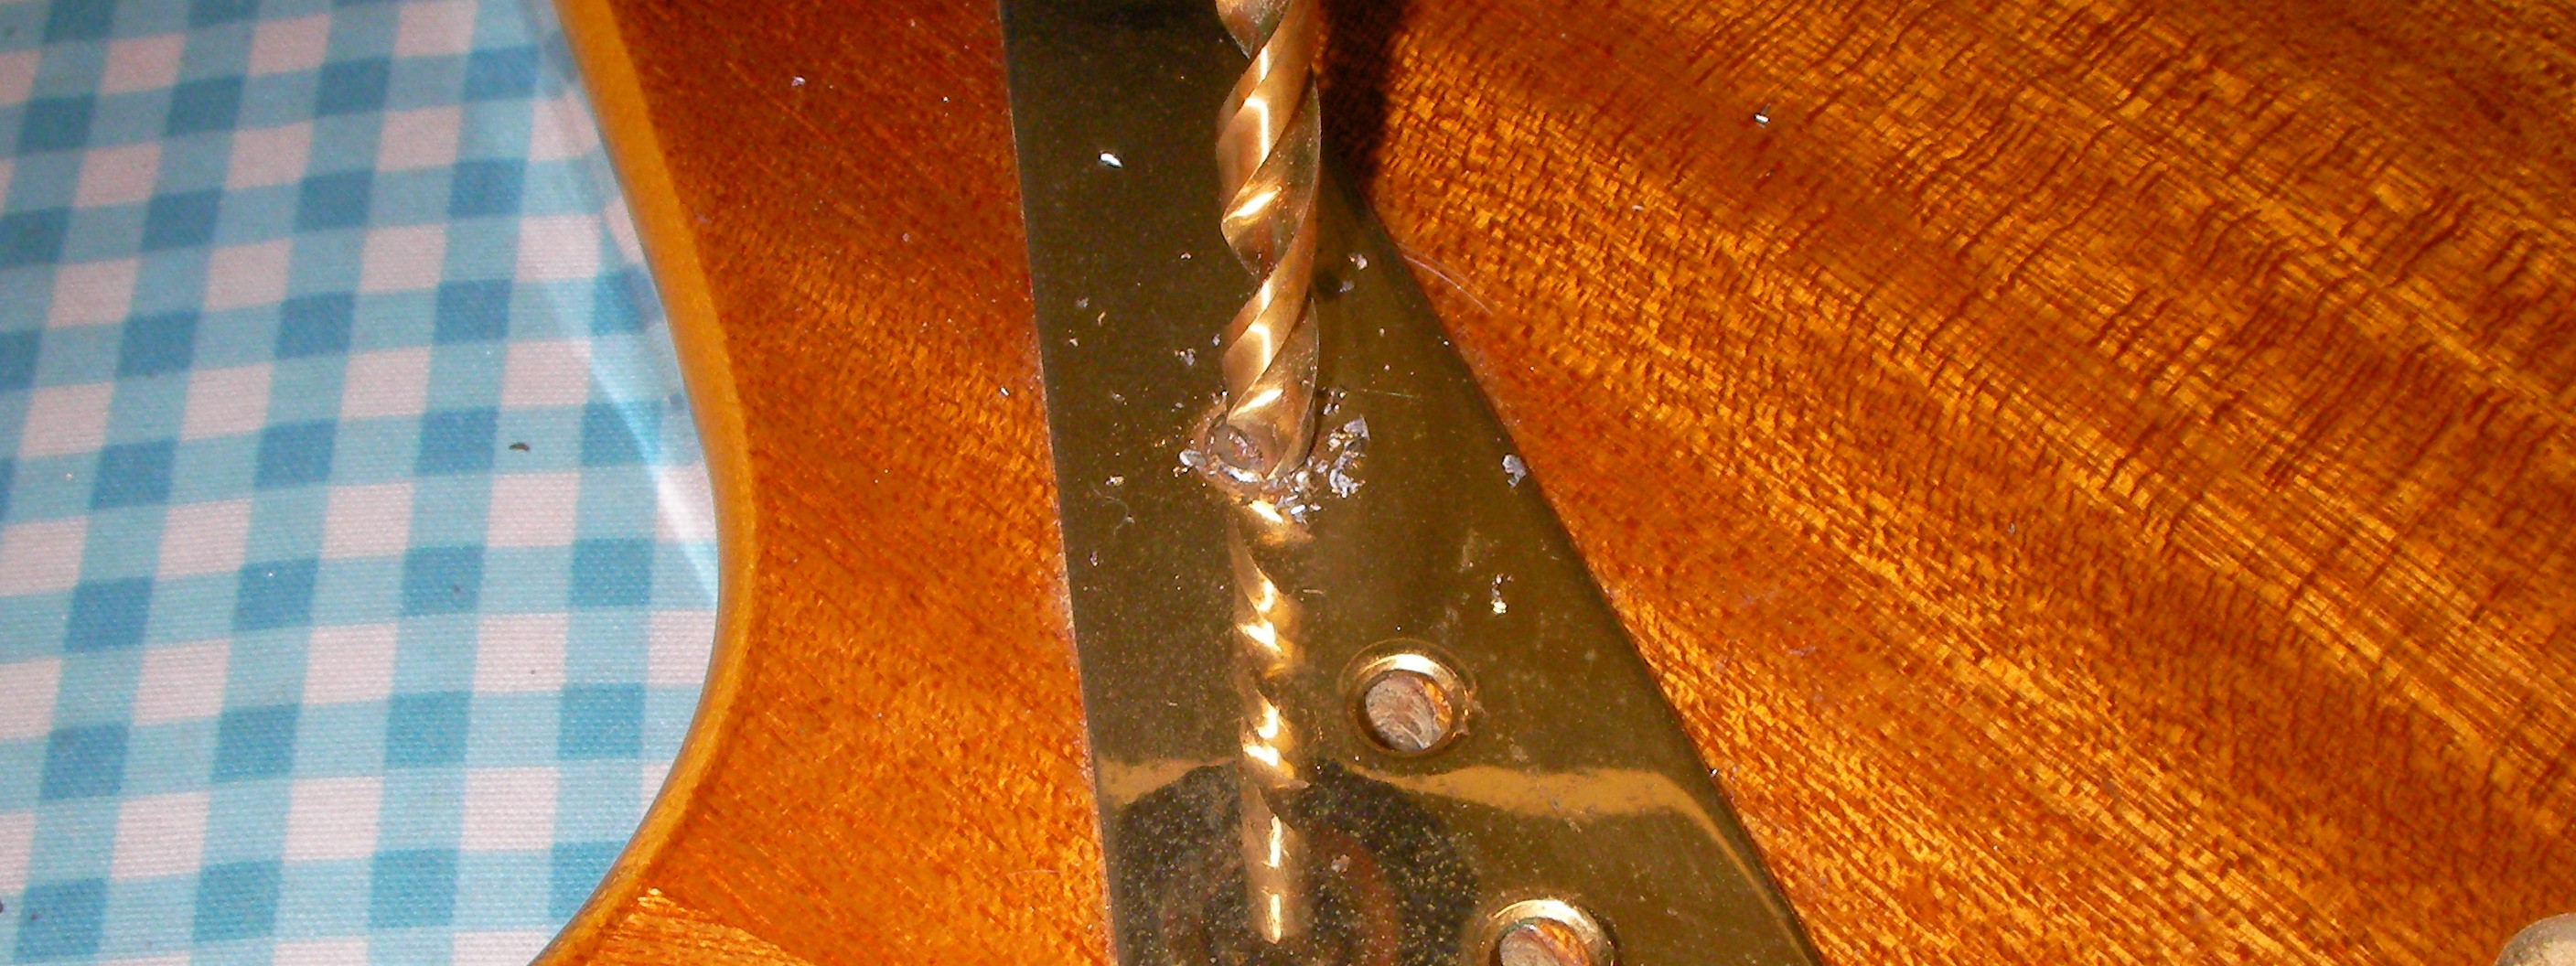
first drill off the head…
Then once the plate is off I’ve got a hollow drill bit that will drill out around the screw..
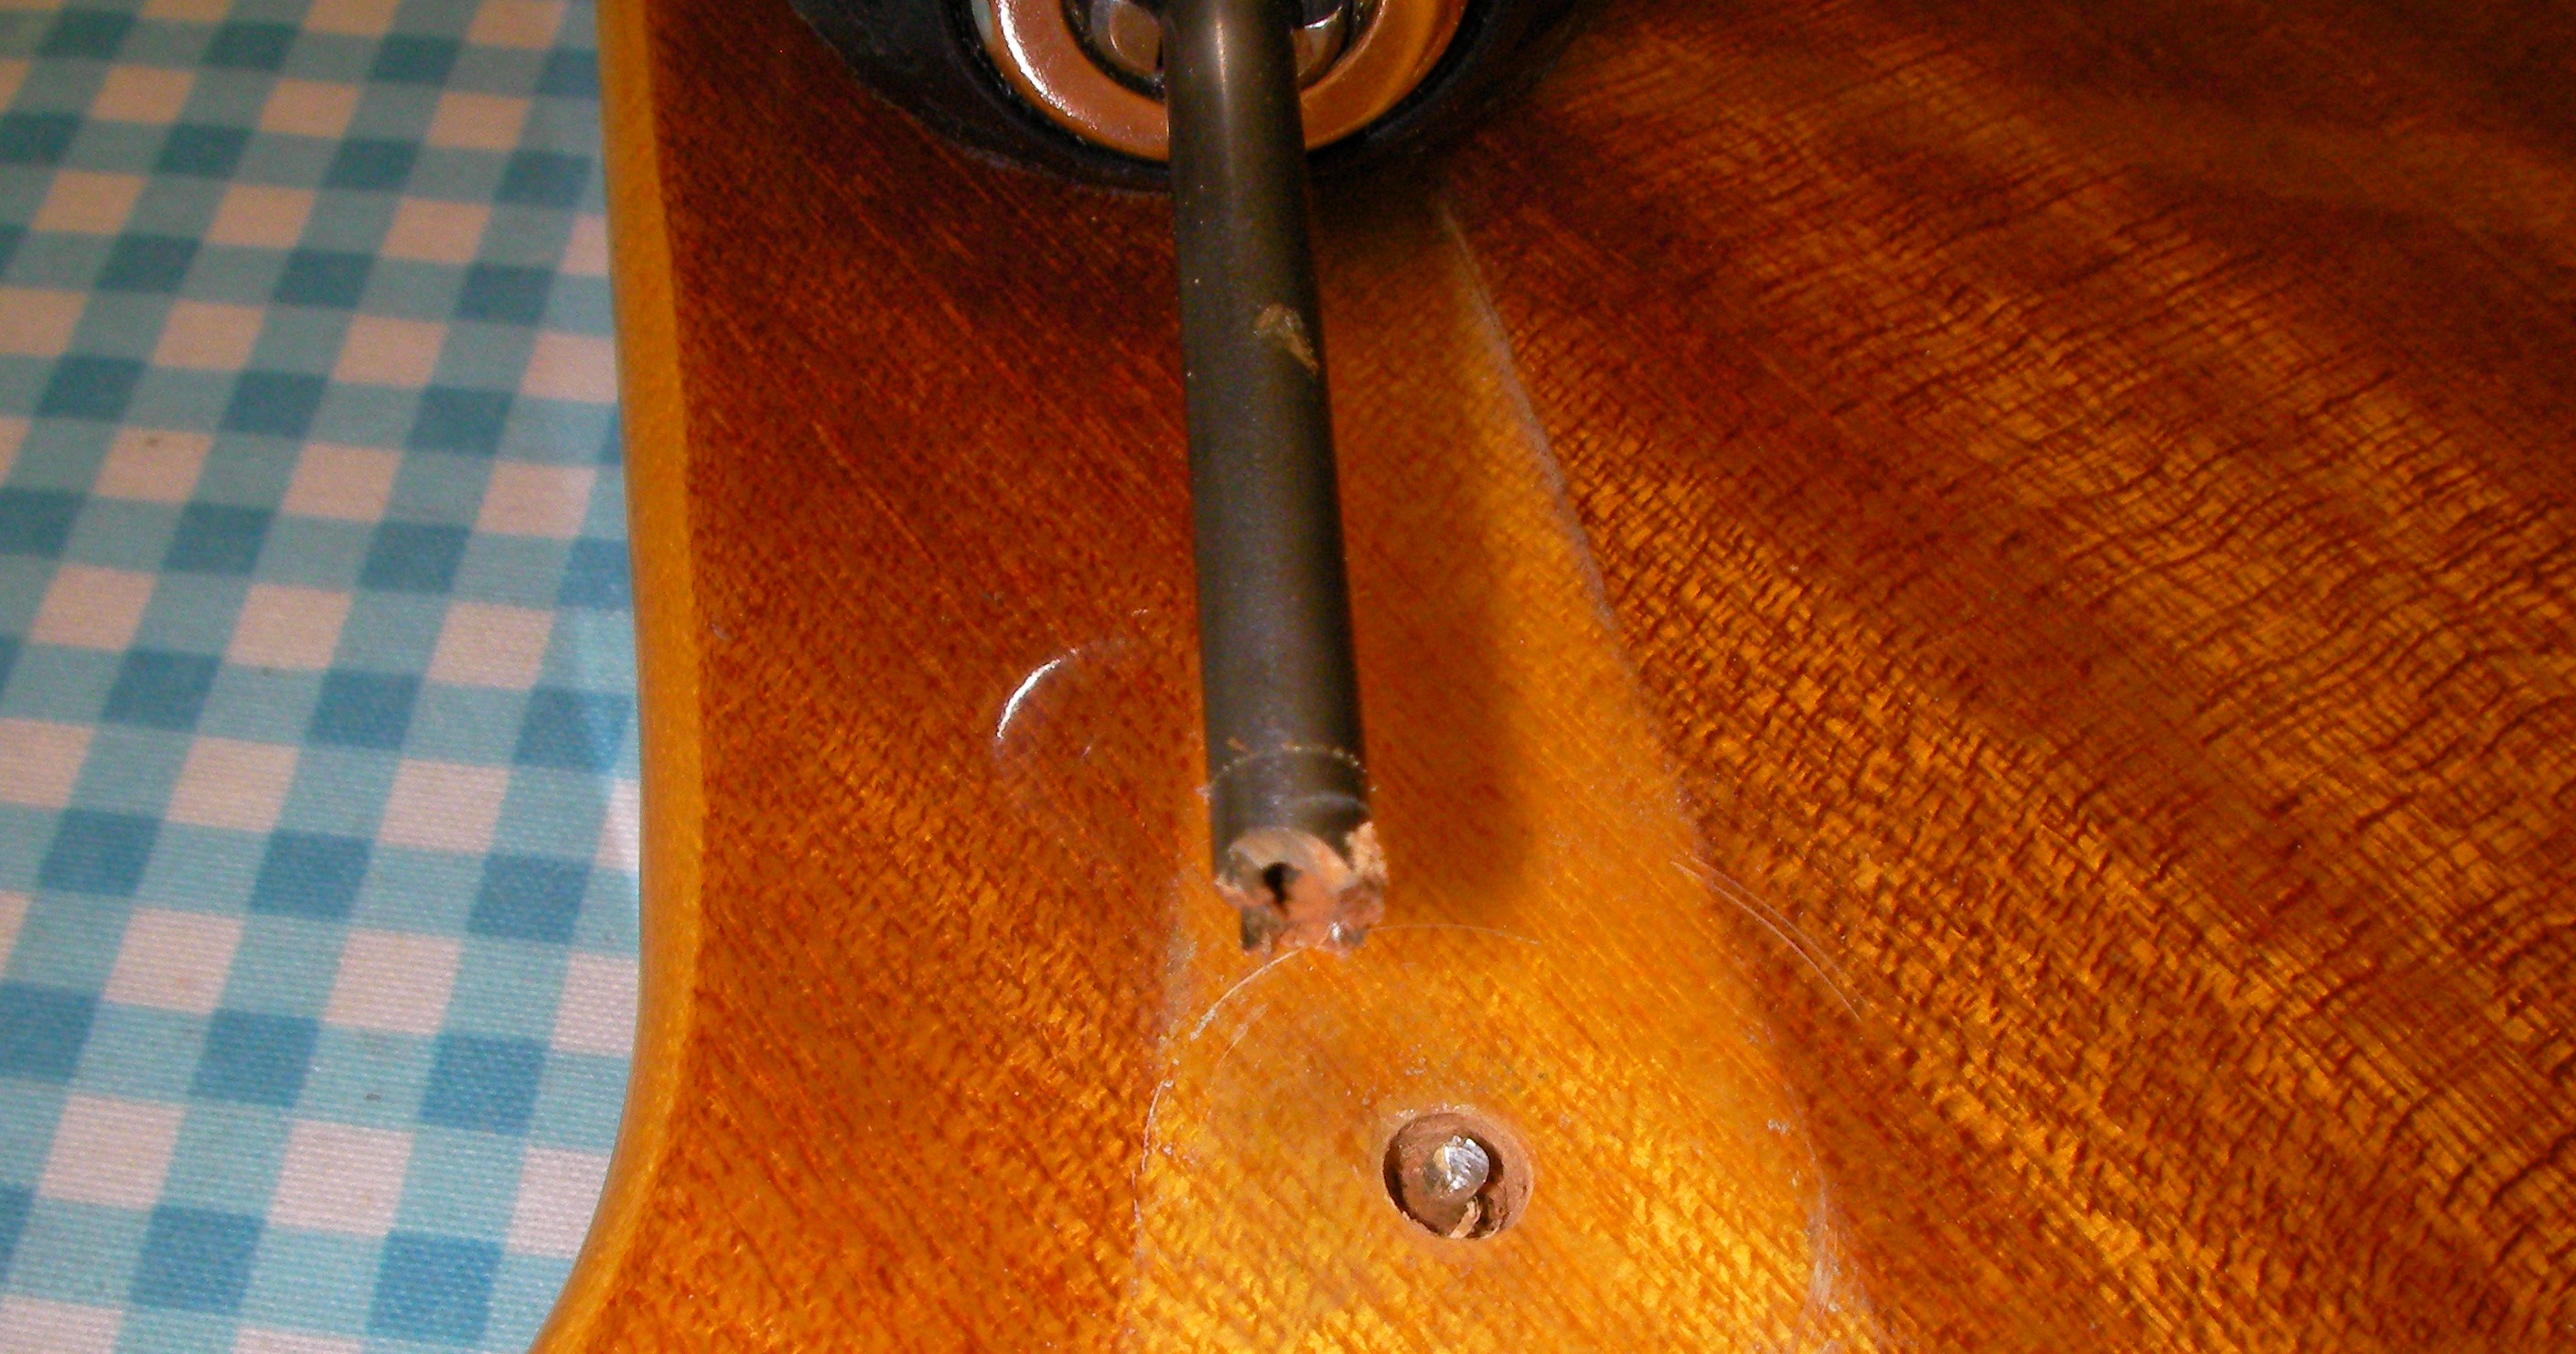
Drill just enough to get out the old screw..

Using a block of suitable wood I then cut a hardwood plug exactly the right size to fit the hole I’ve created..
Gently glue it into the hole..
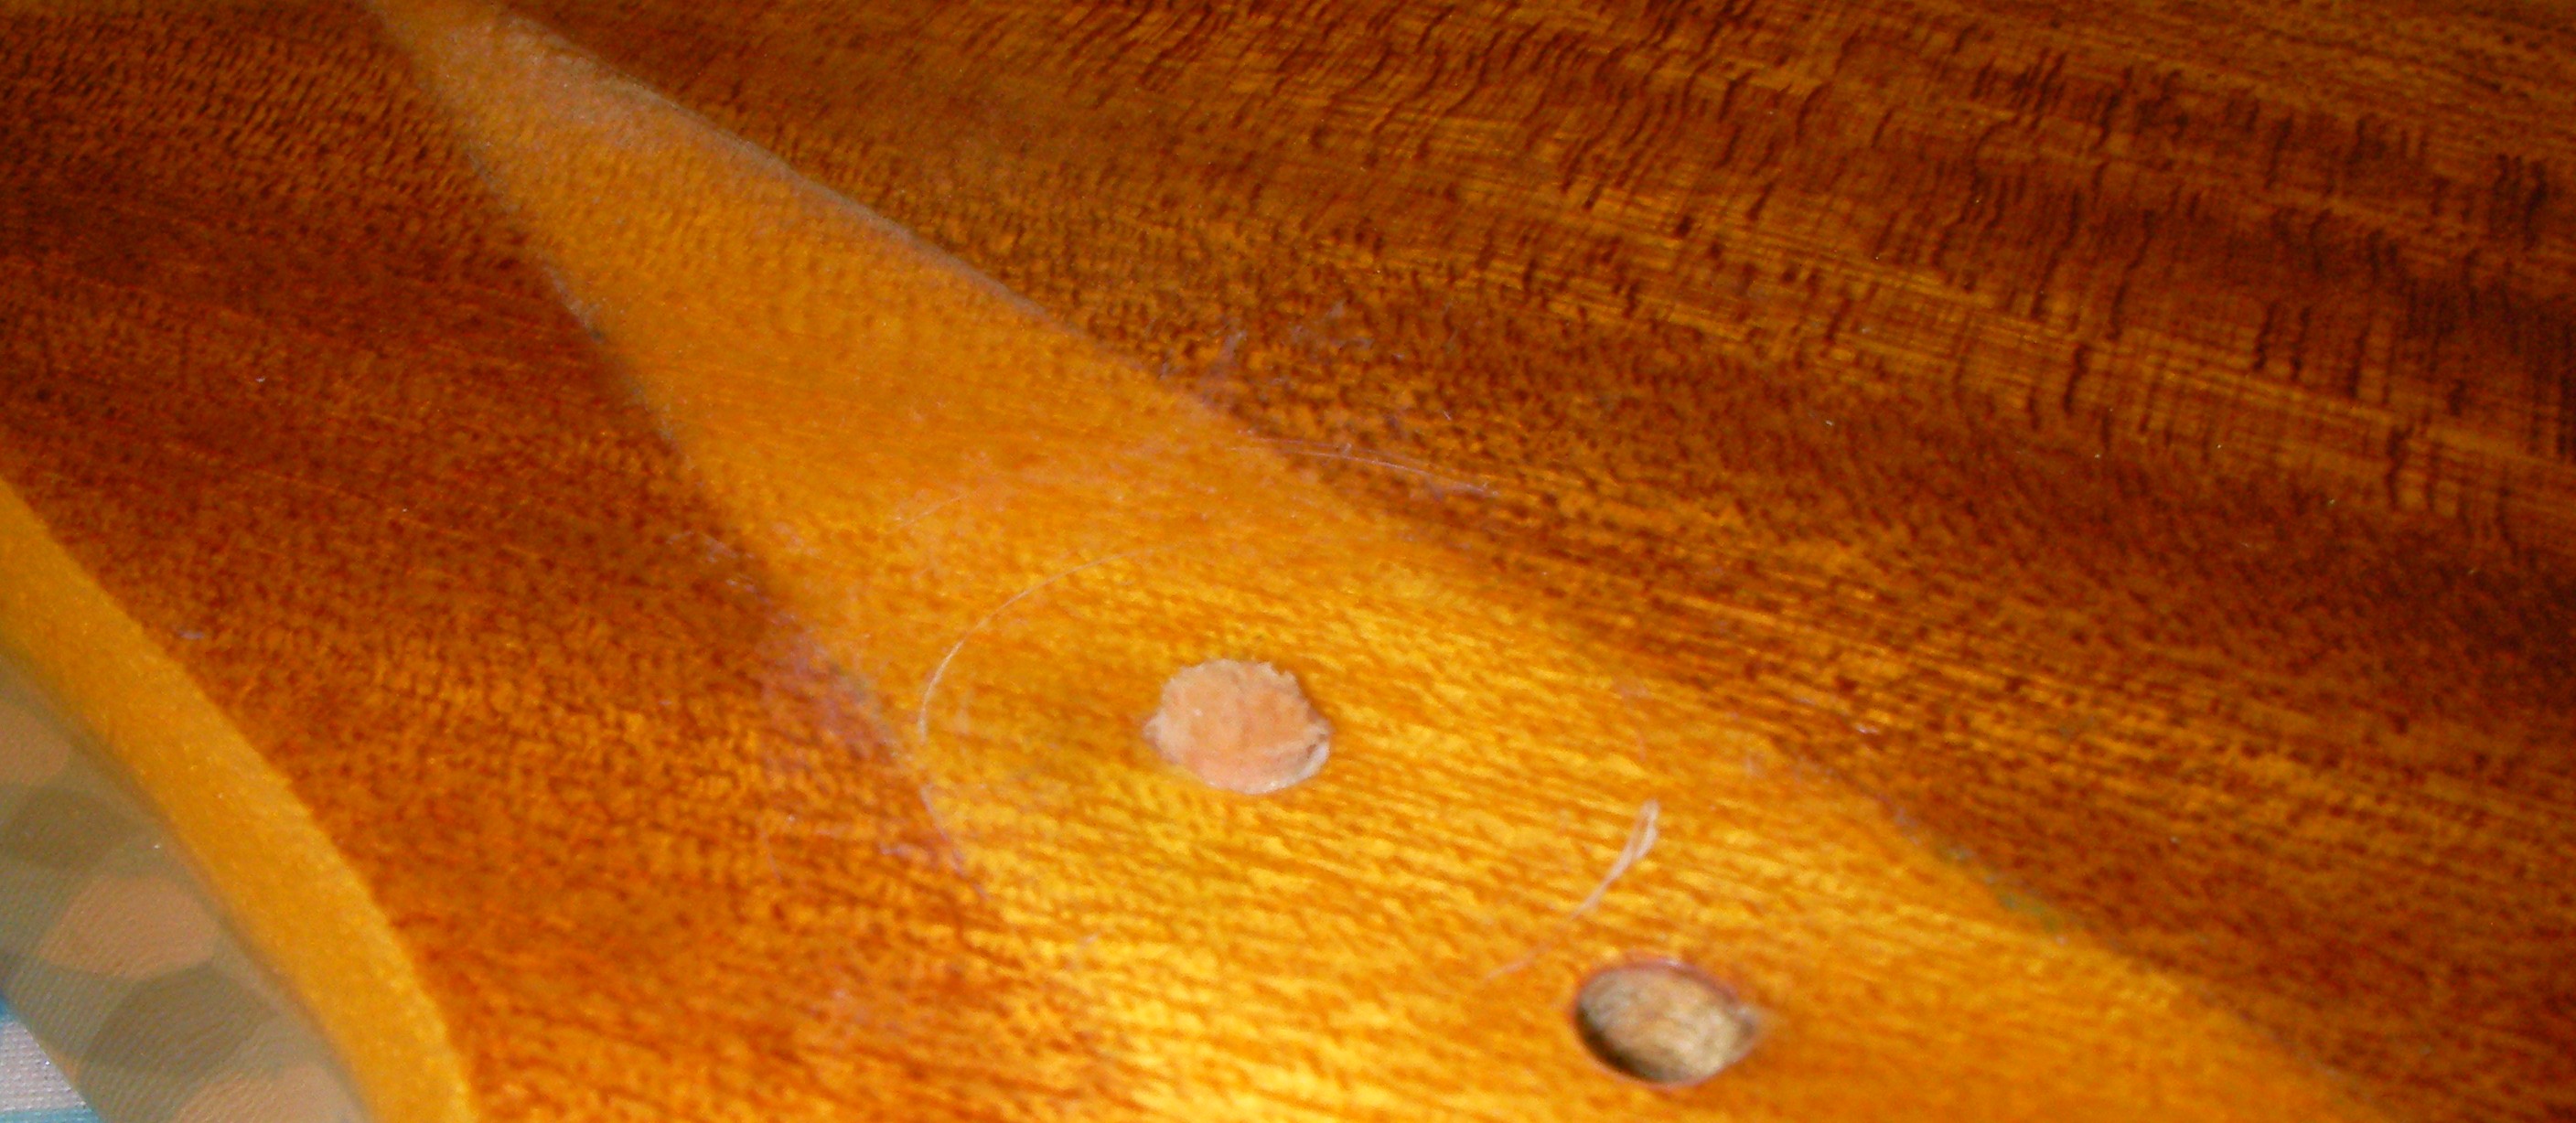
It’s going to be hidden anyway but once the glue has dried I’ll level it off with a sharp chisel leaving it ready to re-drill once I’ve got the new parts.
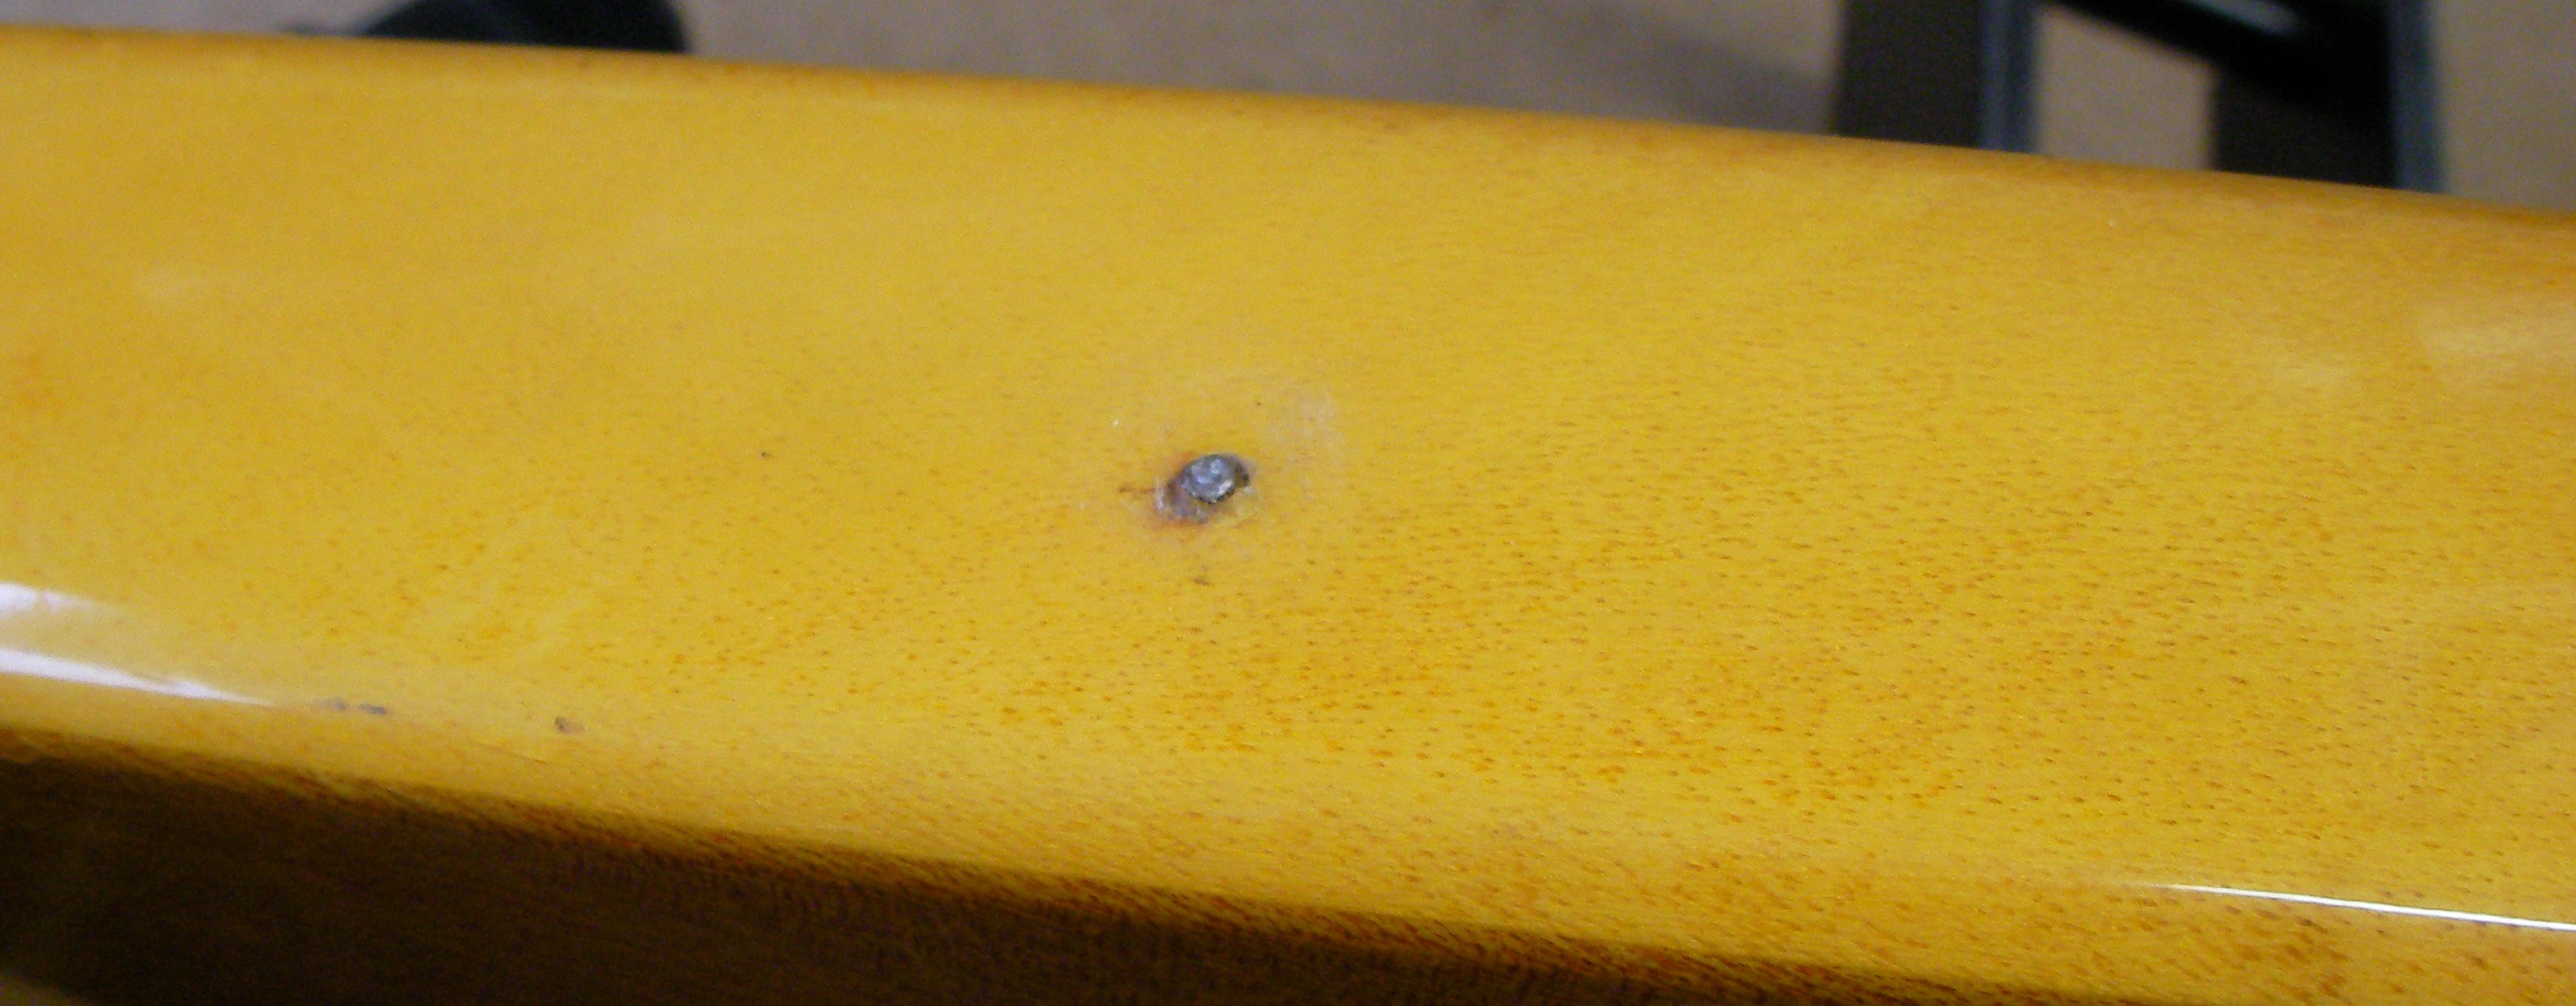
I’ve got the same problem with the strap buttons as well. The one in the “V” has also been sheered off so I’ll do exactly the same with that..
Before..
After..

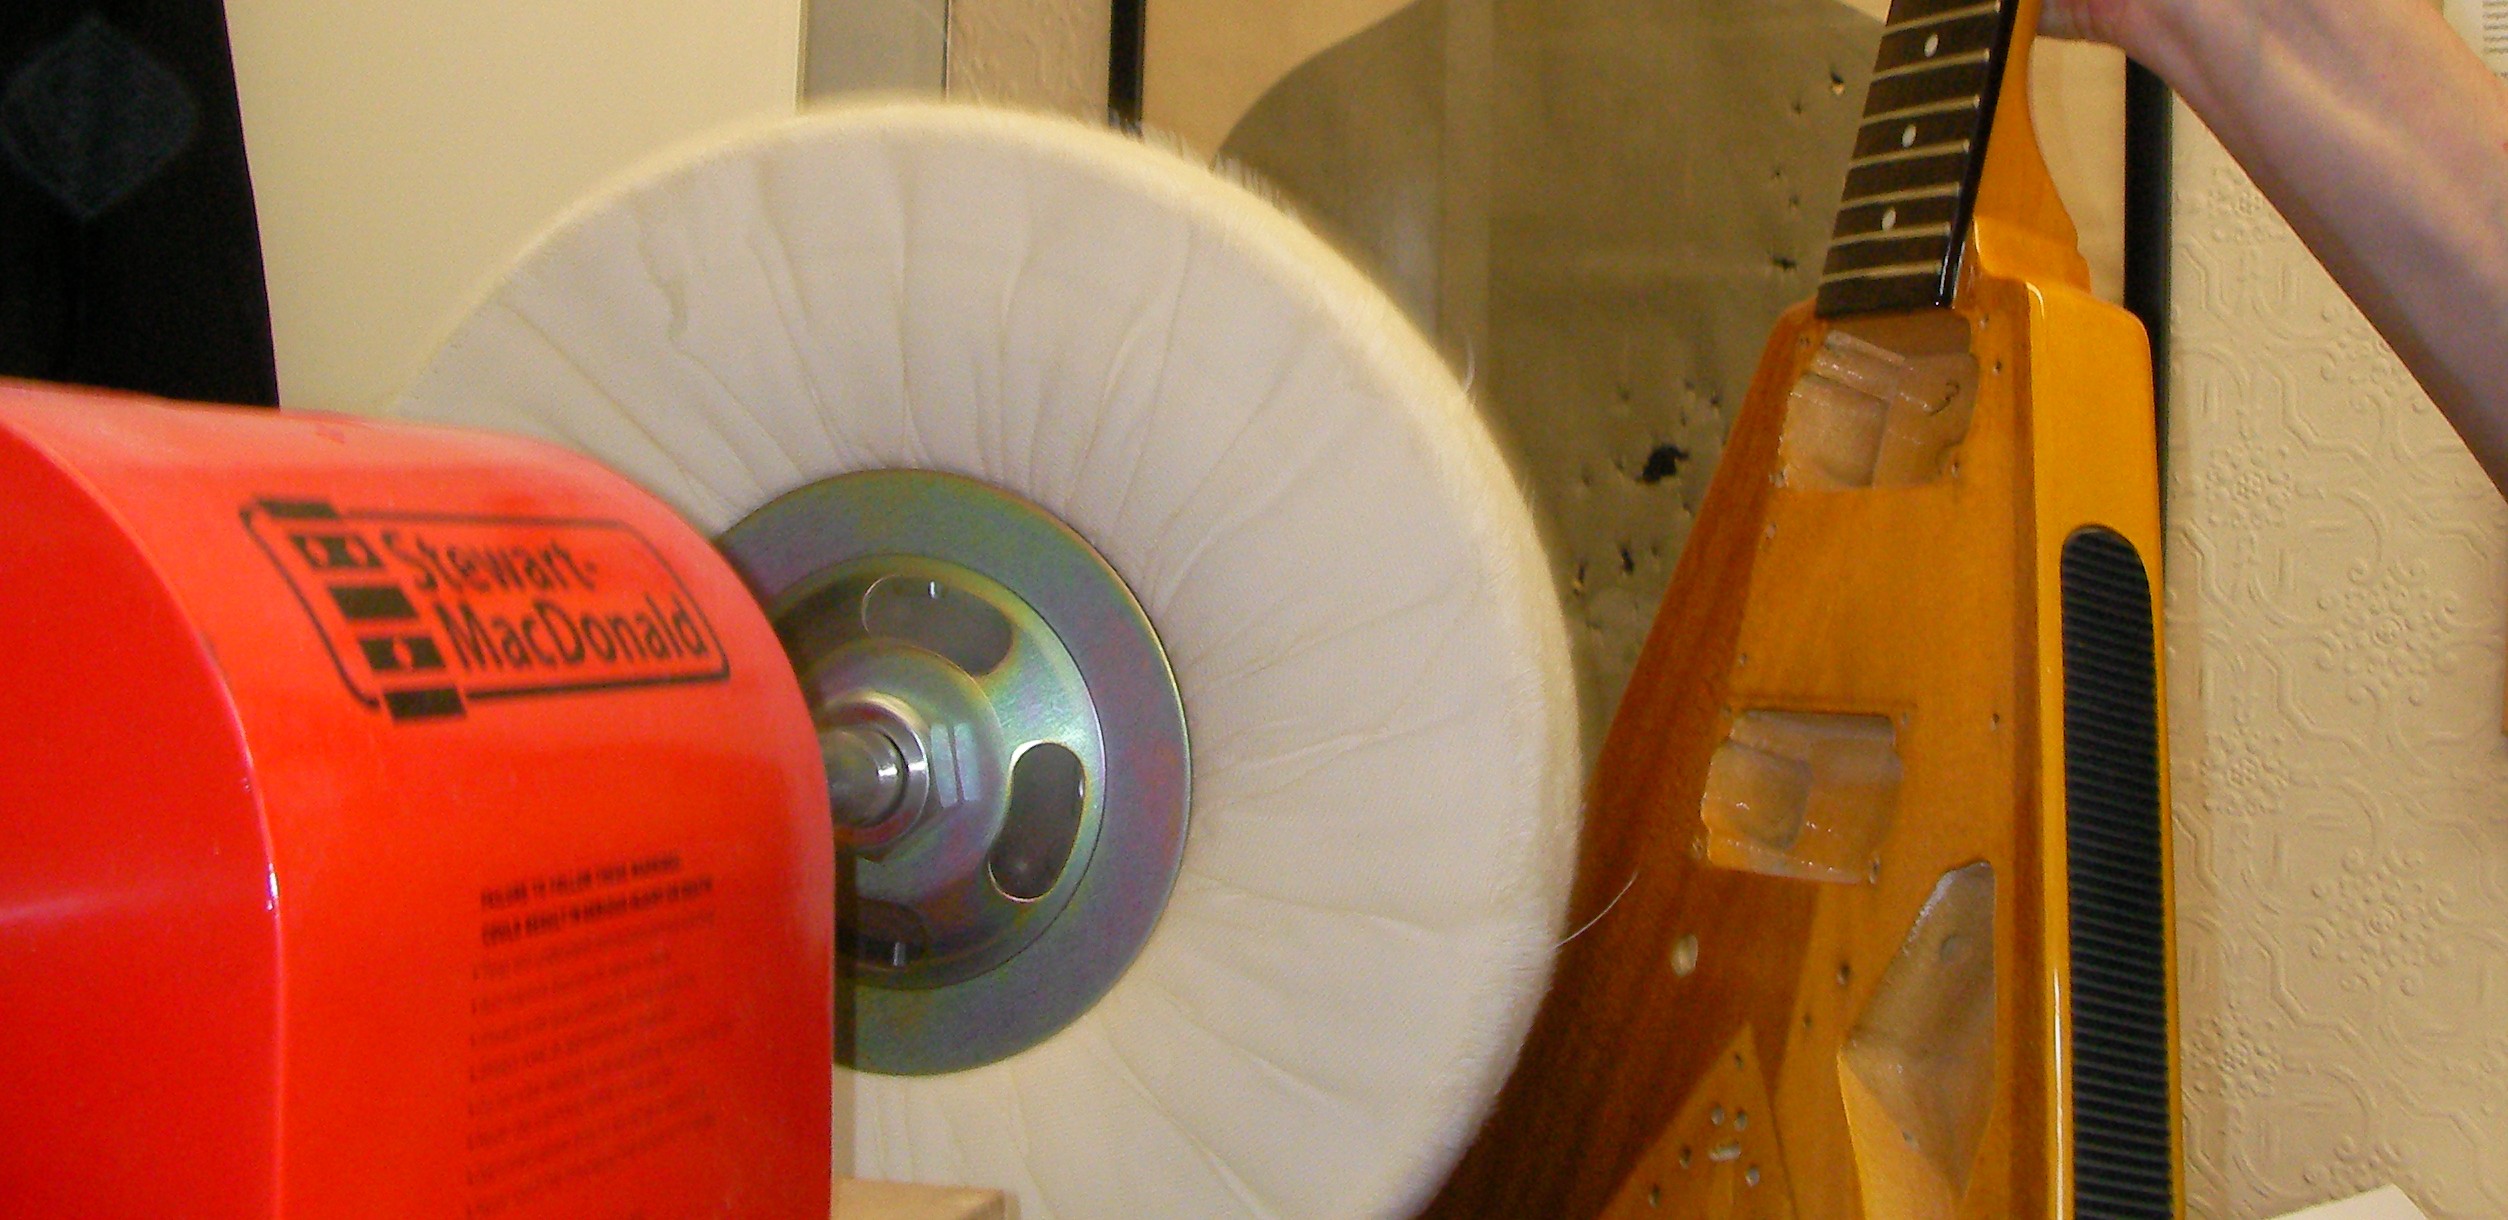
Having sorted out the sheered off strap button screws etc. Next I removed all the old bits and pieces, pickguard with electrics before giving the body a good polish to remove all the old dirt and minor scratches.
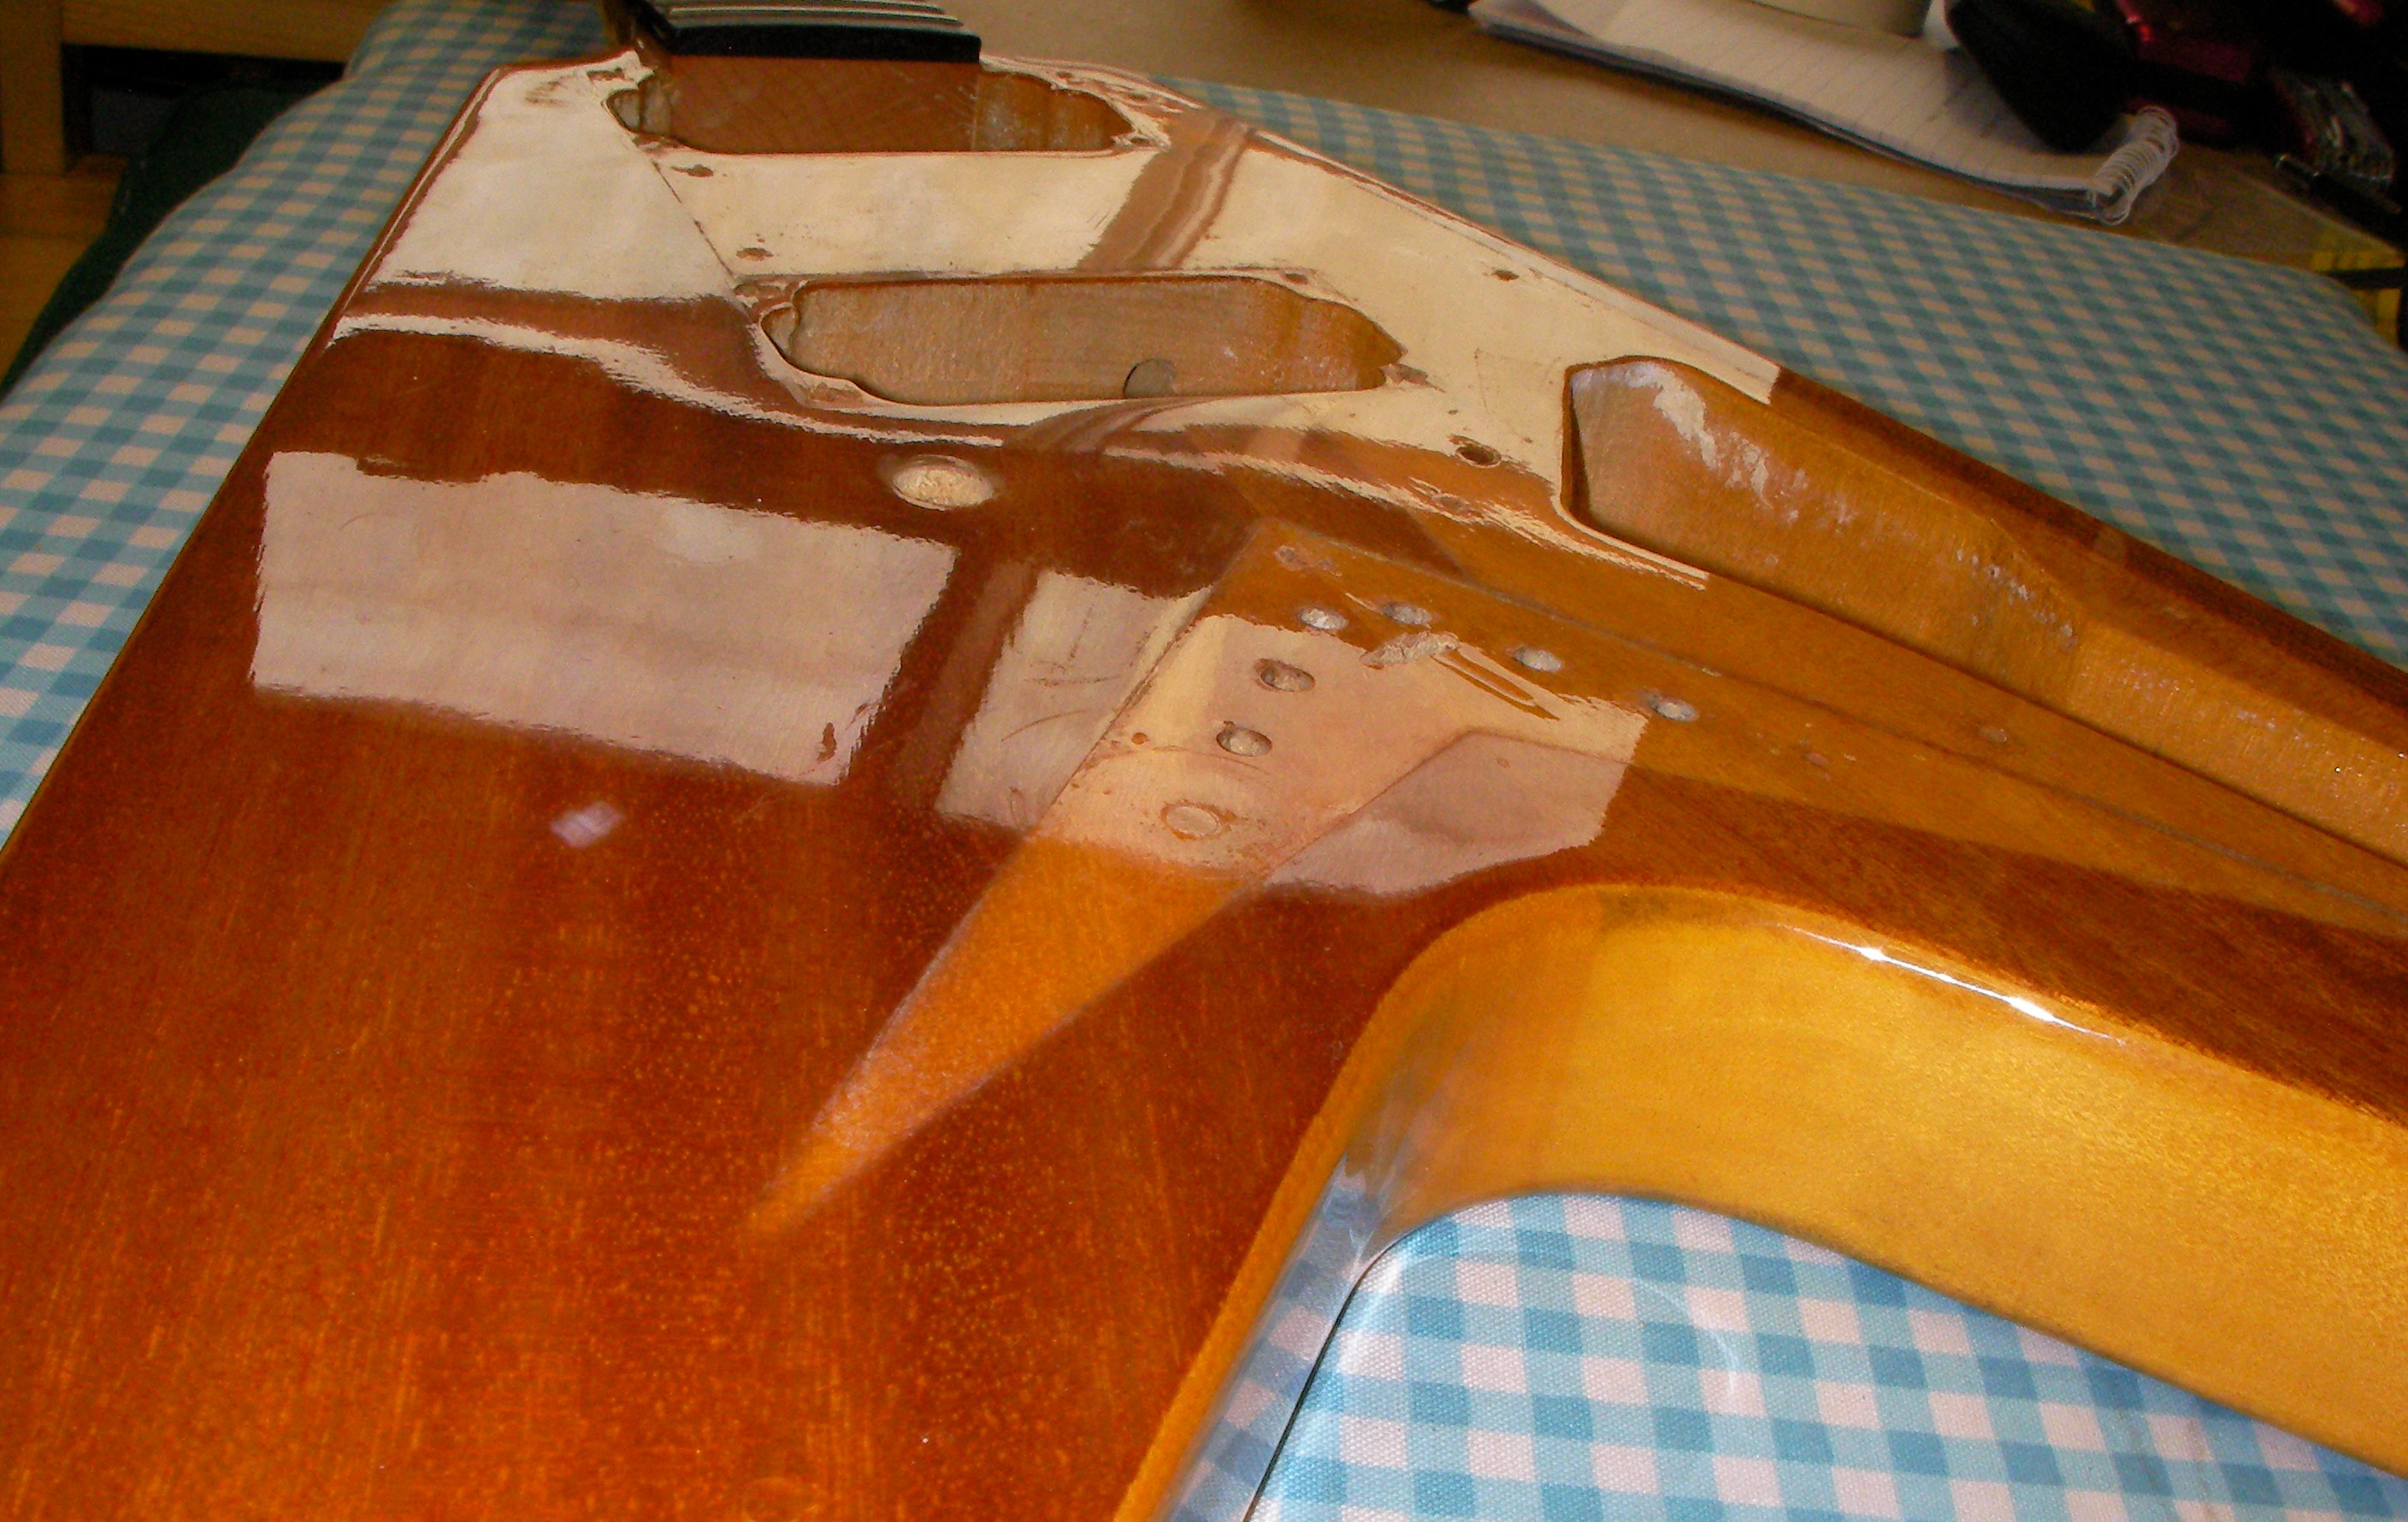
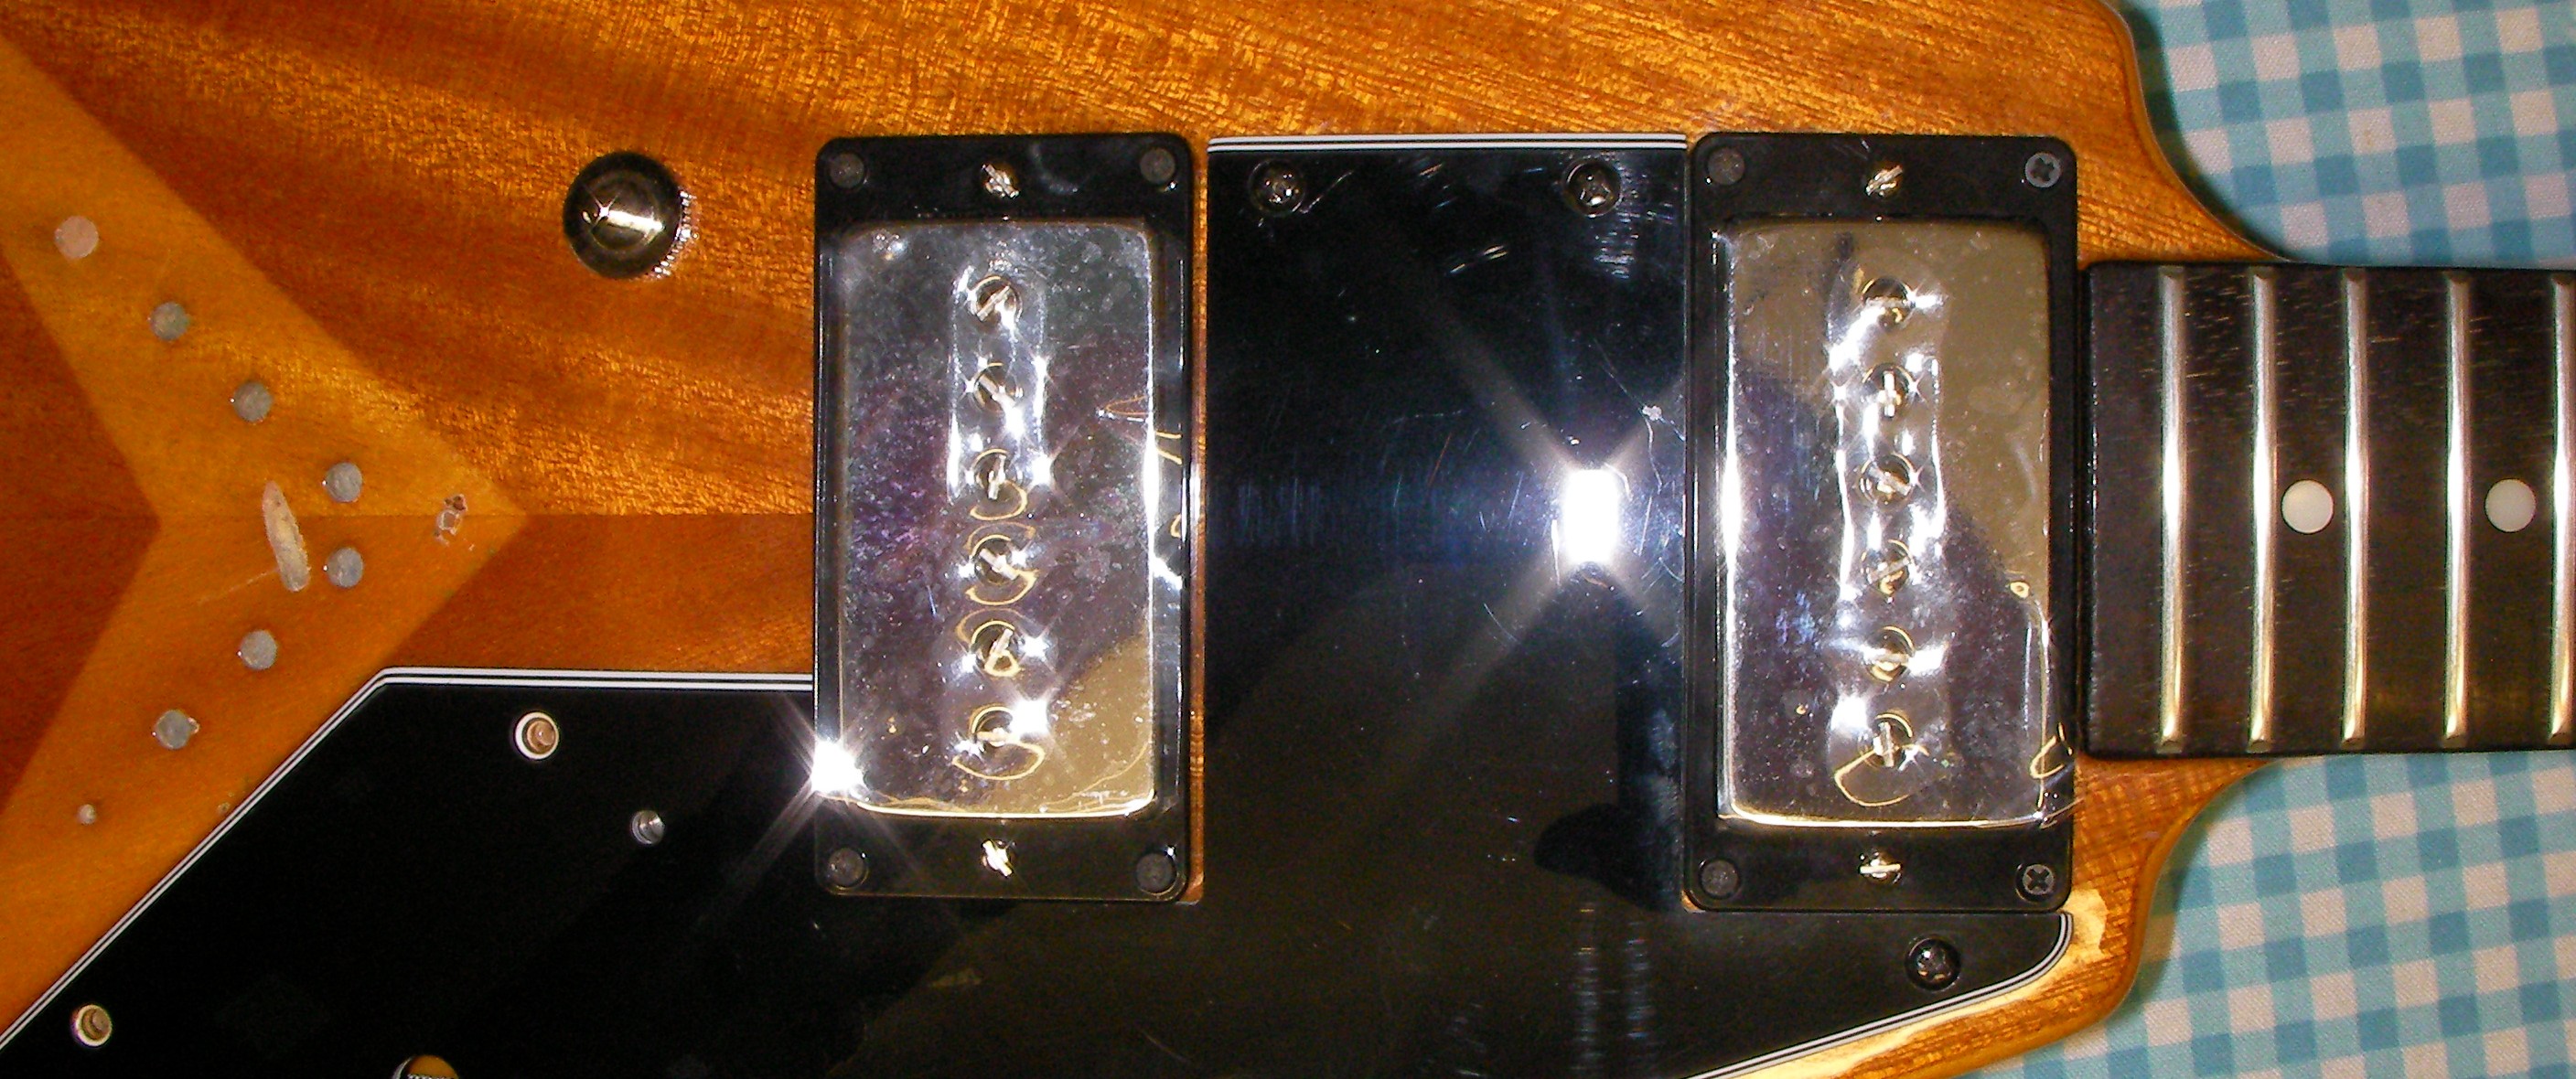
With the body clean and polished time to add the new parts. The first problem is that the holes for the pickup rings are in the wrong place so the pickups don’t sit straight.
A fairly simple job, fill in the old holes and re drill new ones.
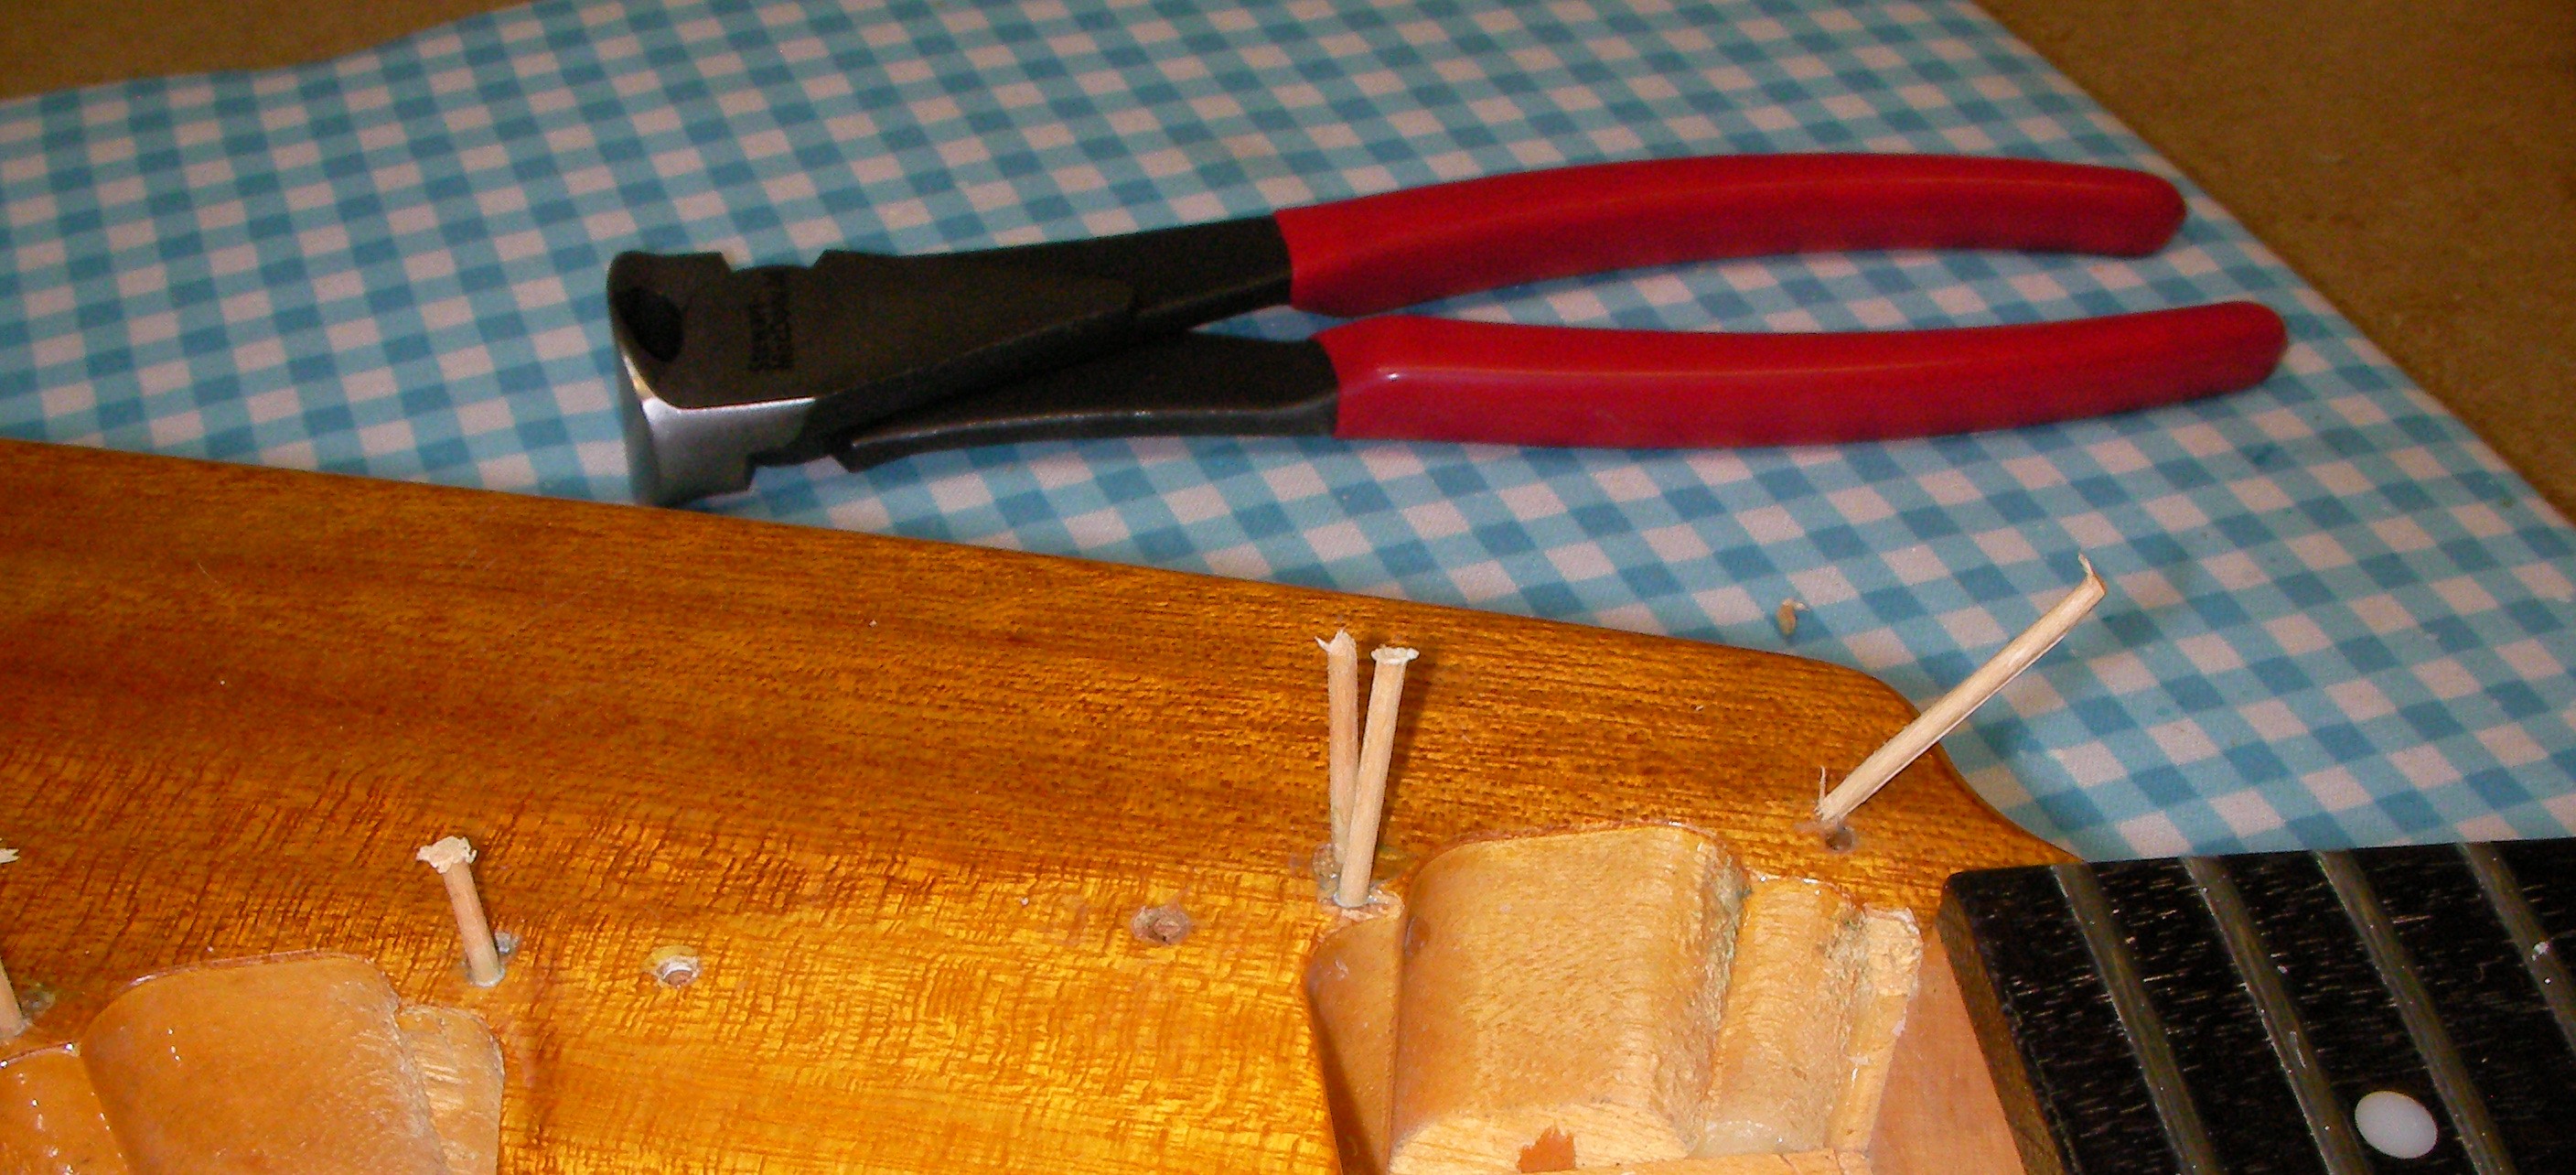
Now that the glue has dried and I’ve leveled off the wooden stakes I can refit the pickups to drill the new holes. I’ve used cotton in place of the E-strings to make sure the location is right.
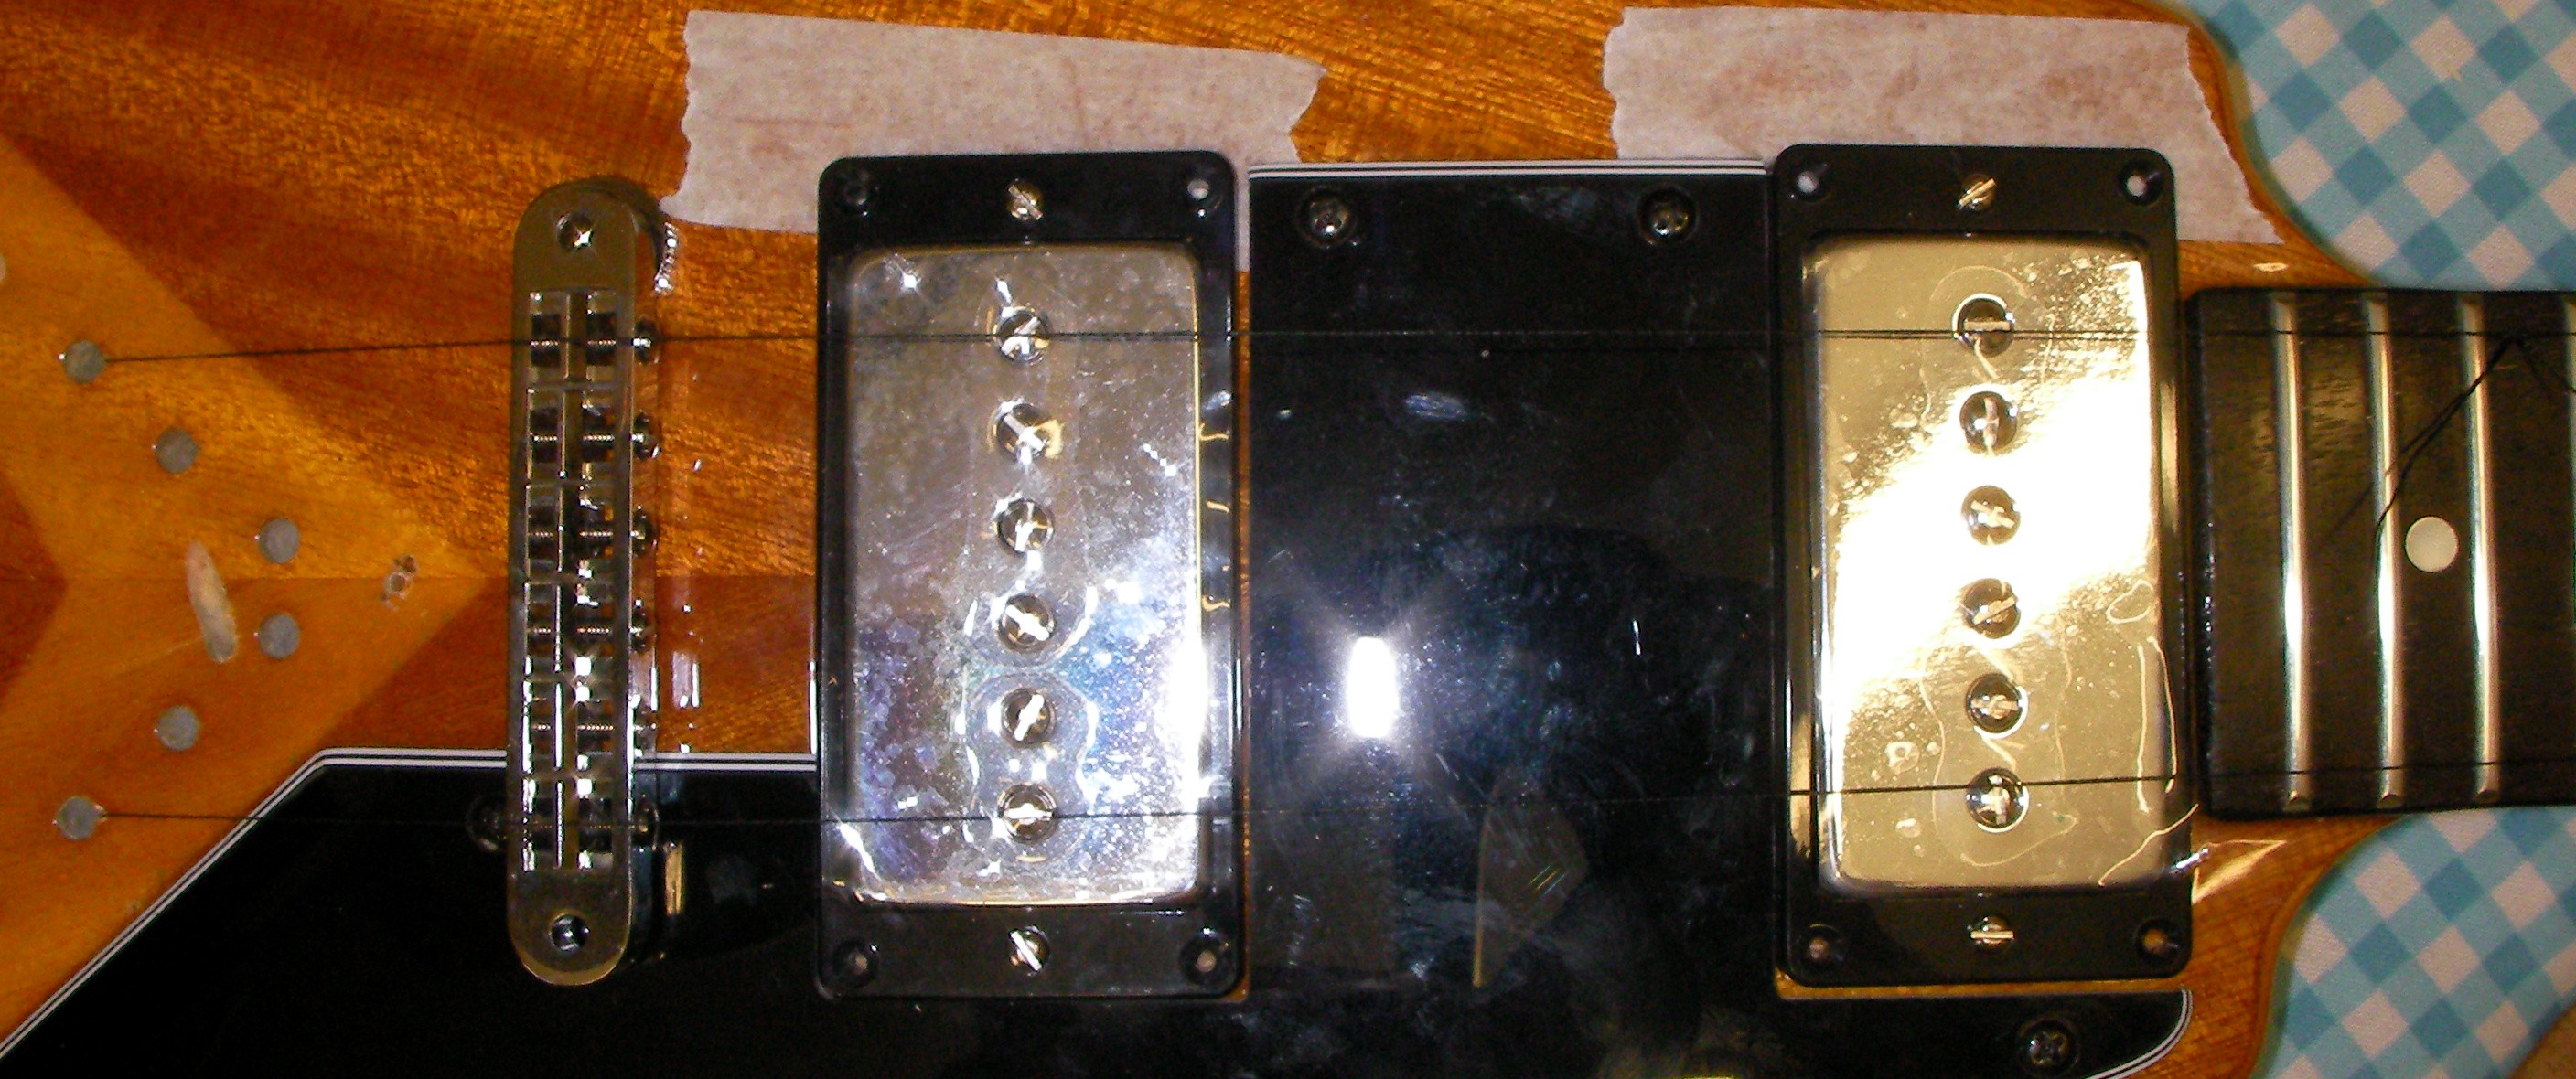
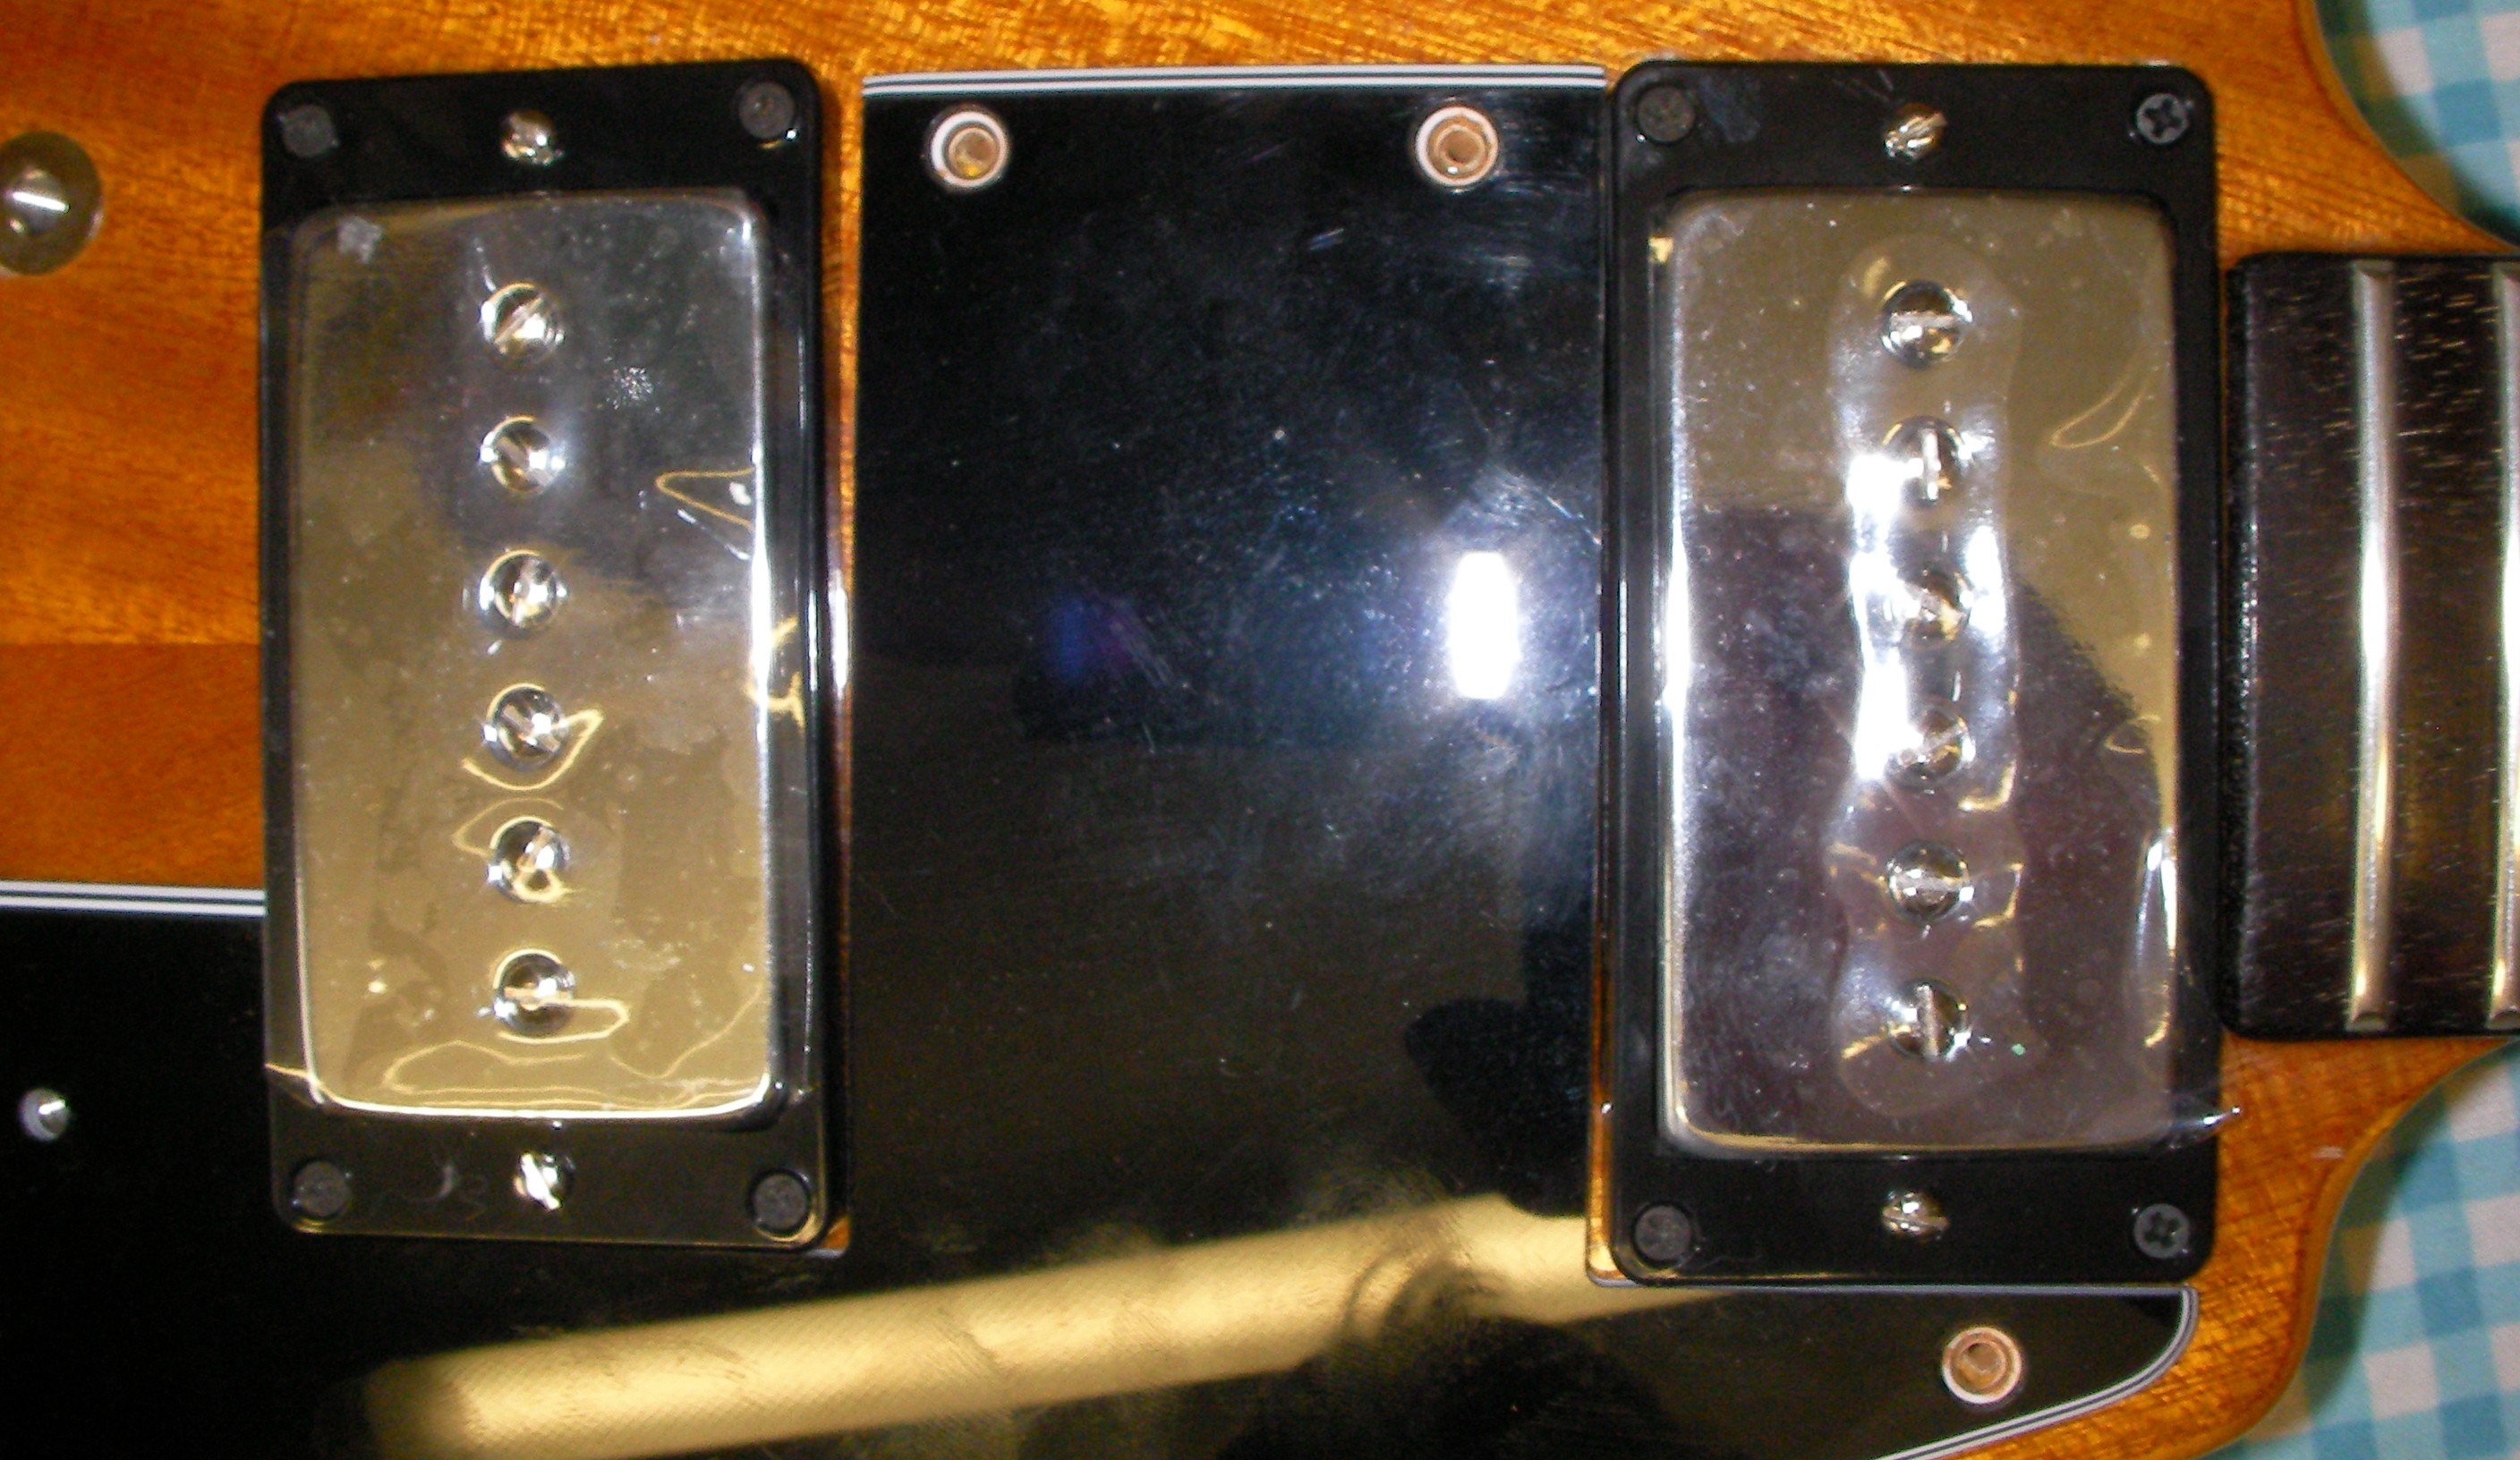
Holes drilled and pickups installed. I’ve left a slight gap between the bridge pickup and the pickguard otherwise the hole for pickup would be visible on the other side.
The next step will be to re-wire the electronics.
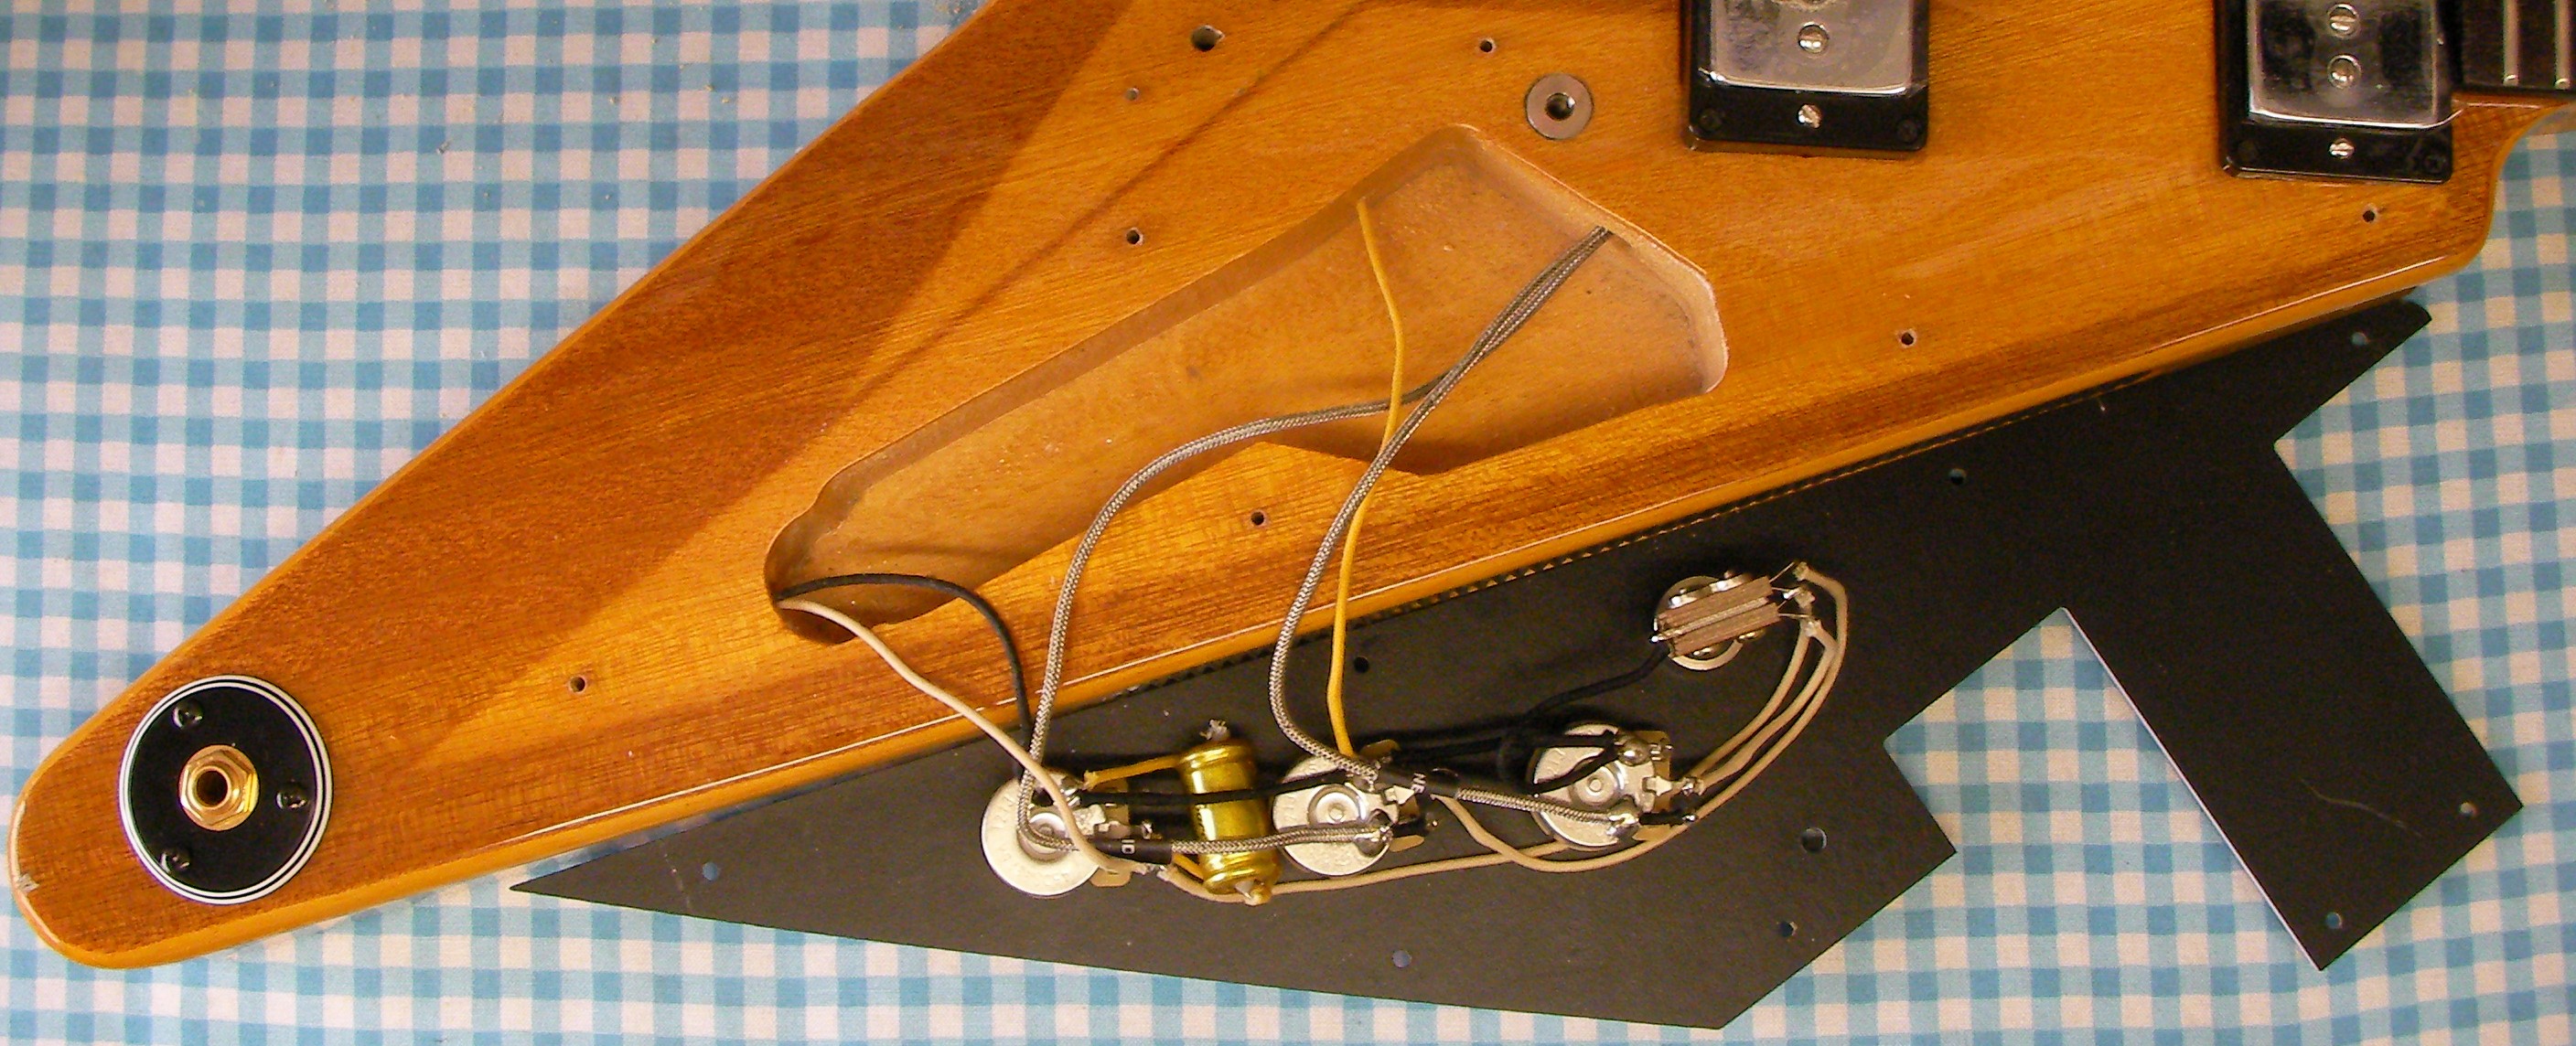
A simple guitar, 2 pickups, 2 volumes, one tone, one switch and a jack socket. Nothing particularly fancy although I’ve been asked to include the volume tone fade fix.
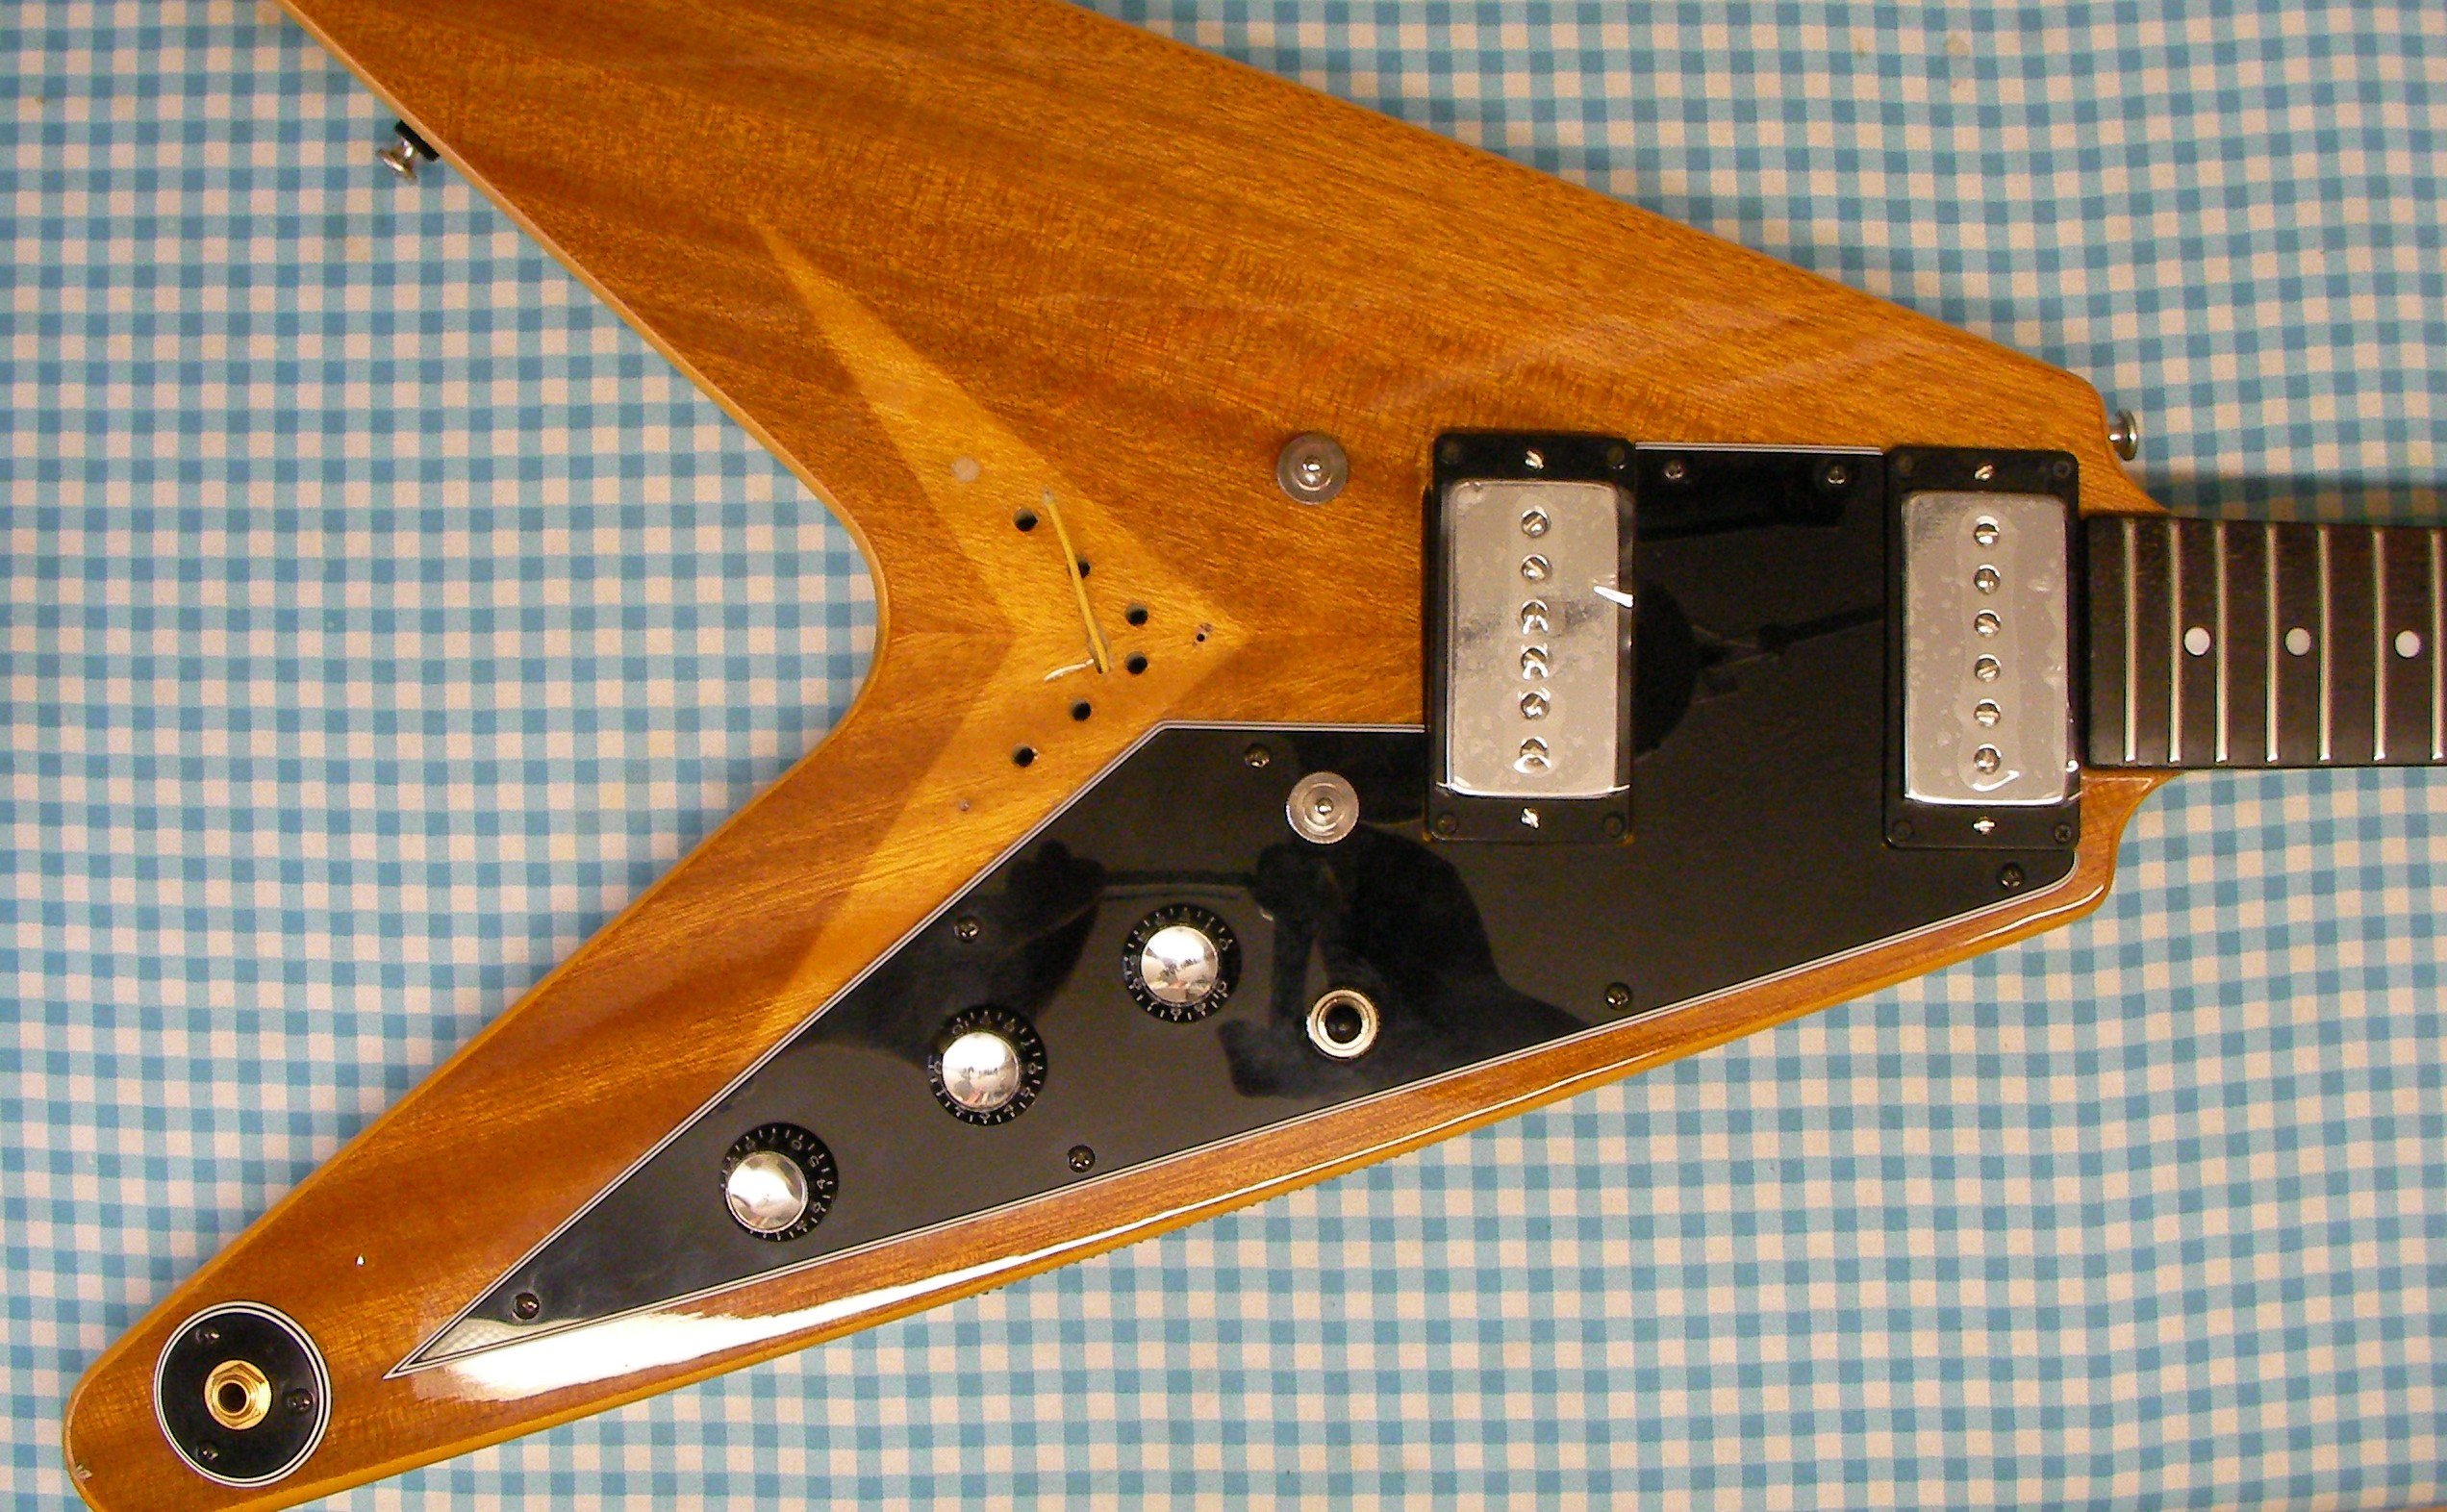
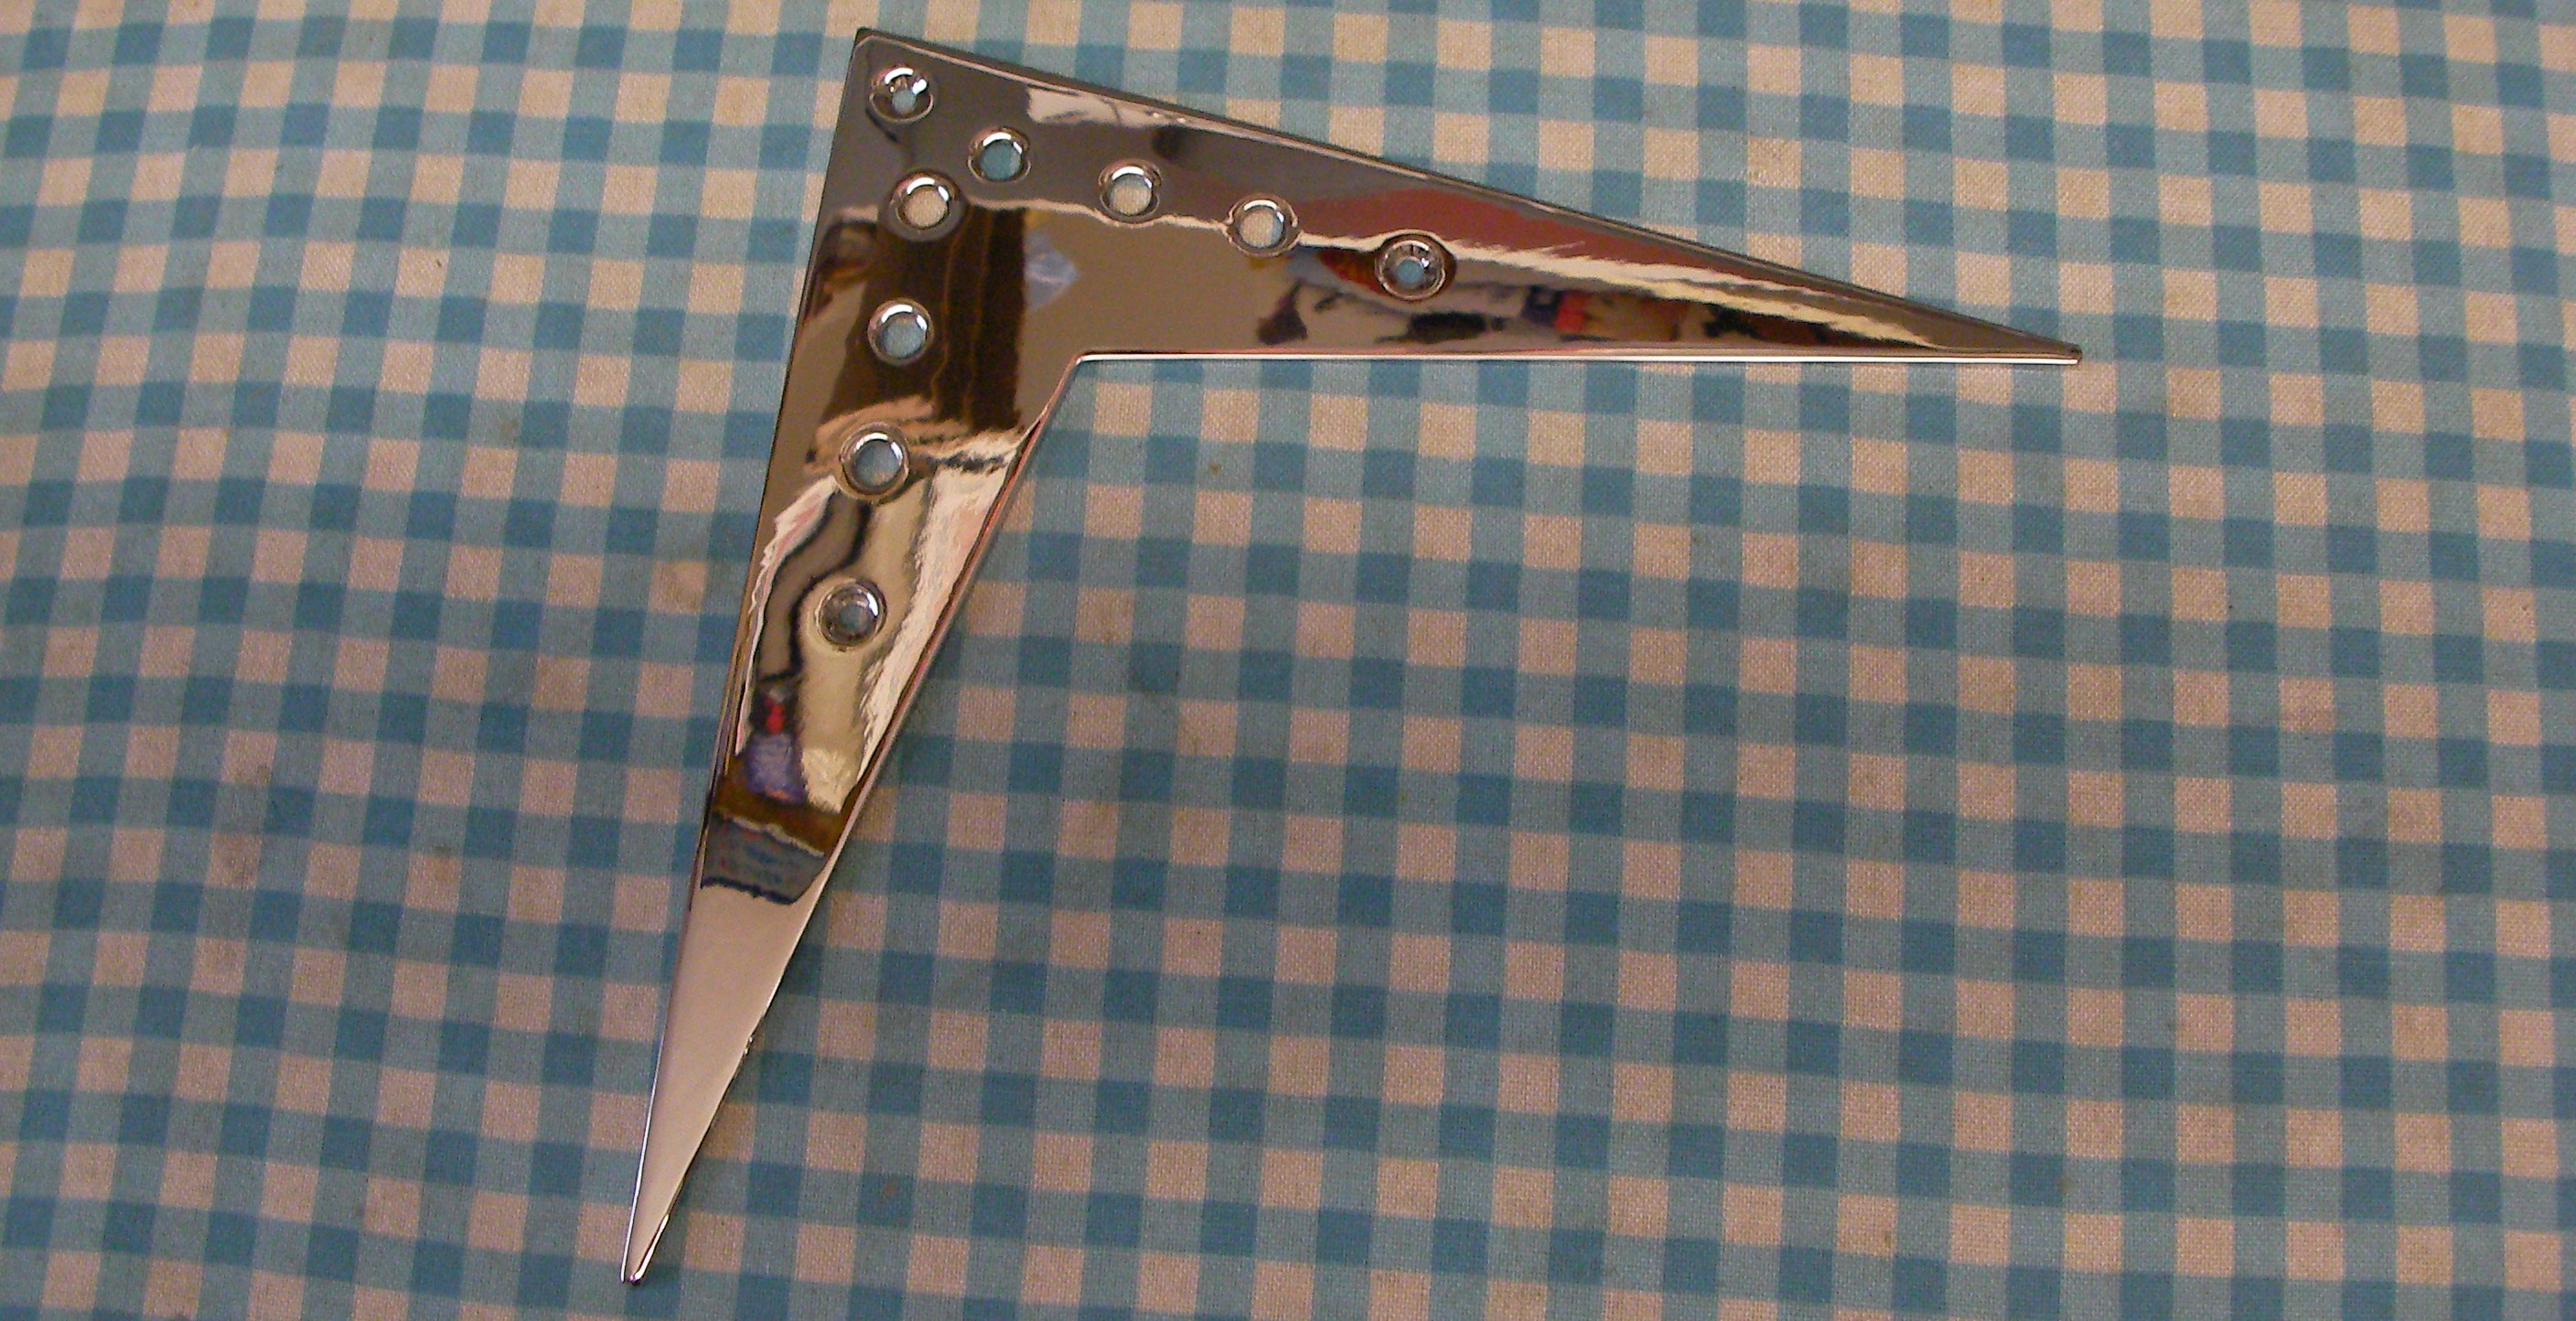
With the wiring finished and all the bits and pieces back in place there is Just one part missing, it needed re-chroming which I really can’t do! Once that comes back all it’ll need is a new set of strings.
Now that the final piece has arrived I casn finally finish this one off. I was just waiting for it to be re-chromed, only took 3 months!!!
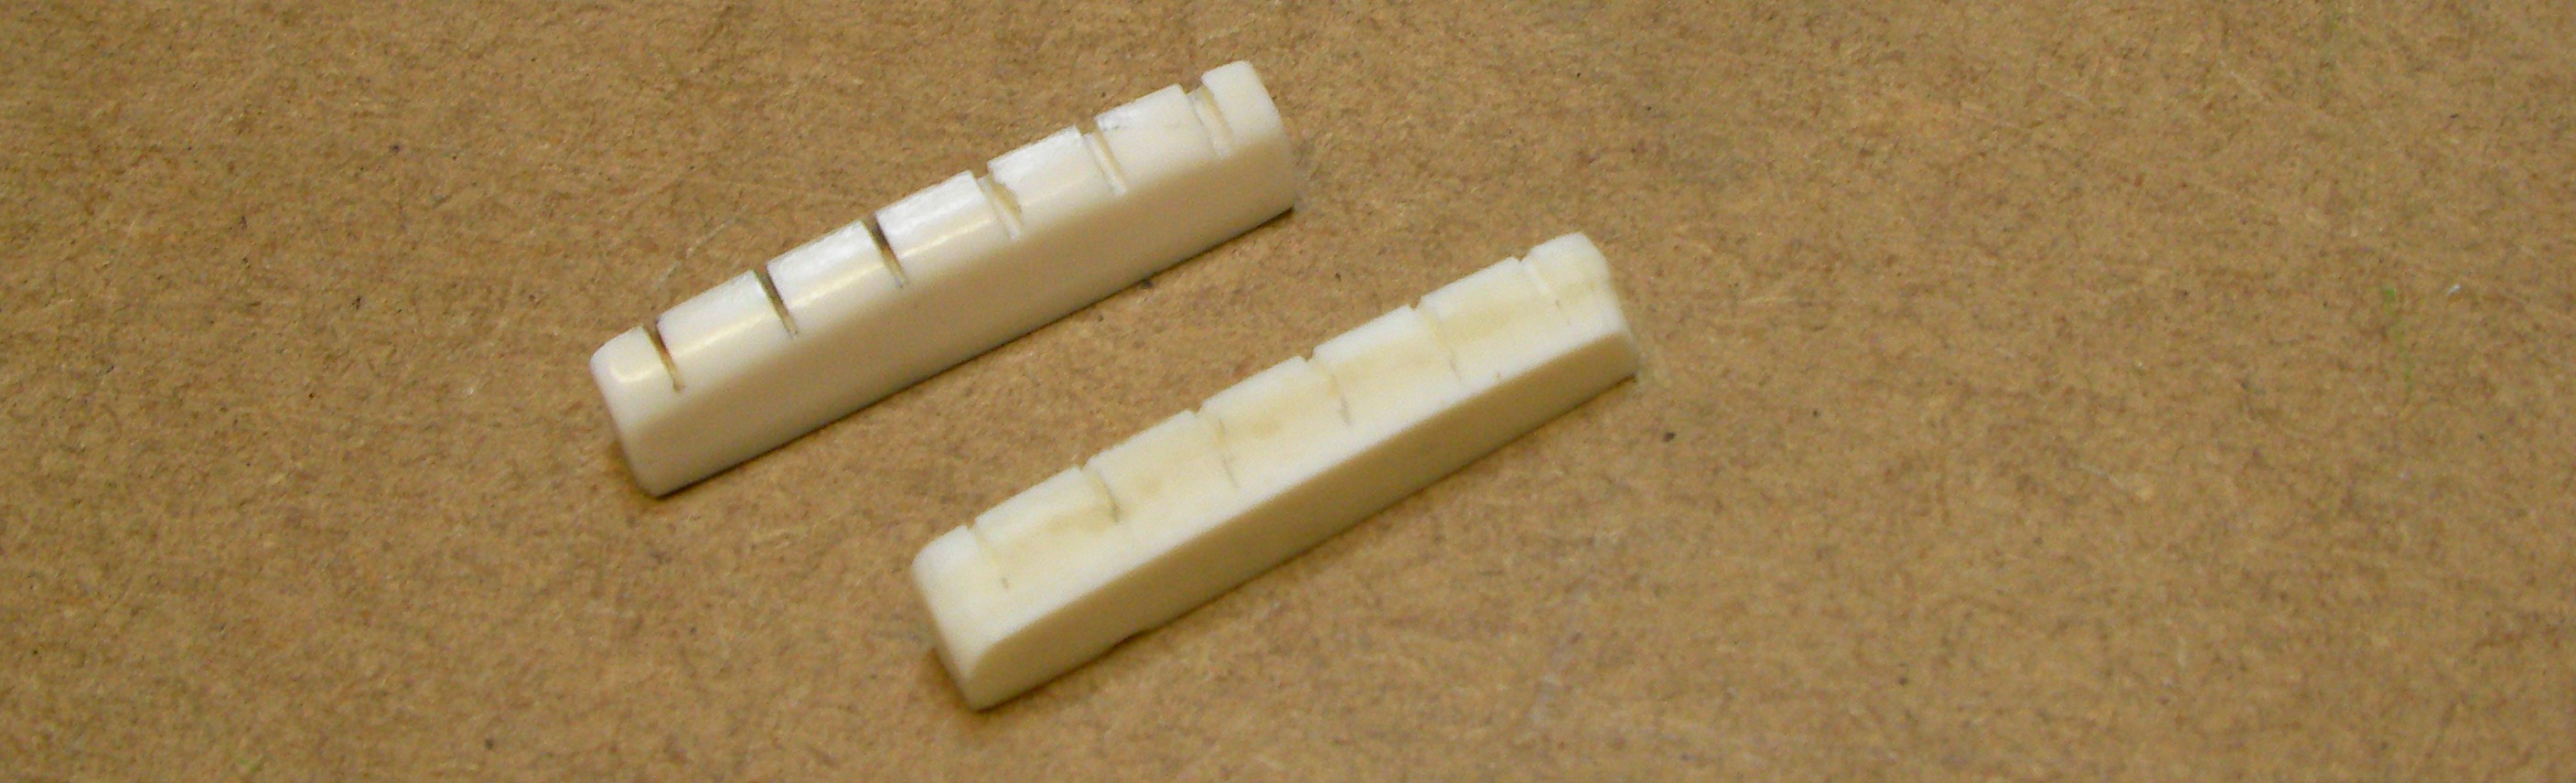
While I was waiting I thought I’d better do something to keep the owner happy so I’ve thrown in a bone nut. Since the guitar has such nice pickups, which should sound great, it seems a pity to take the edge off the sound with a plastic nut!
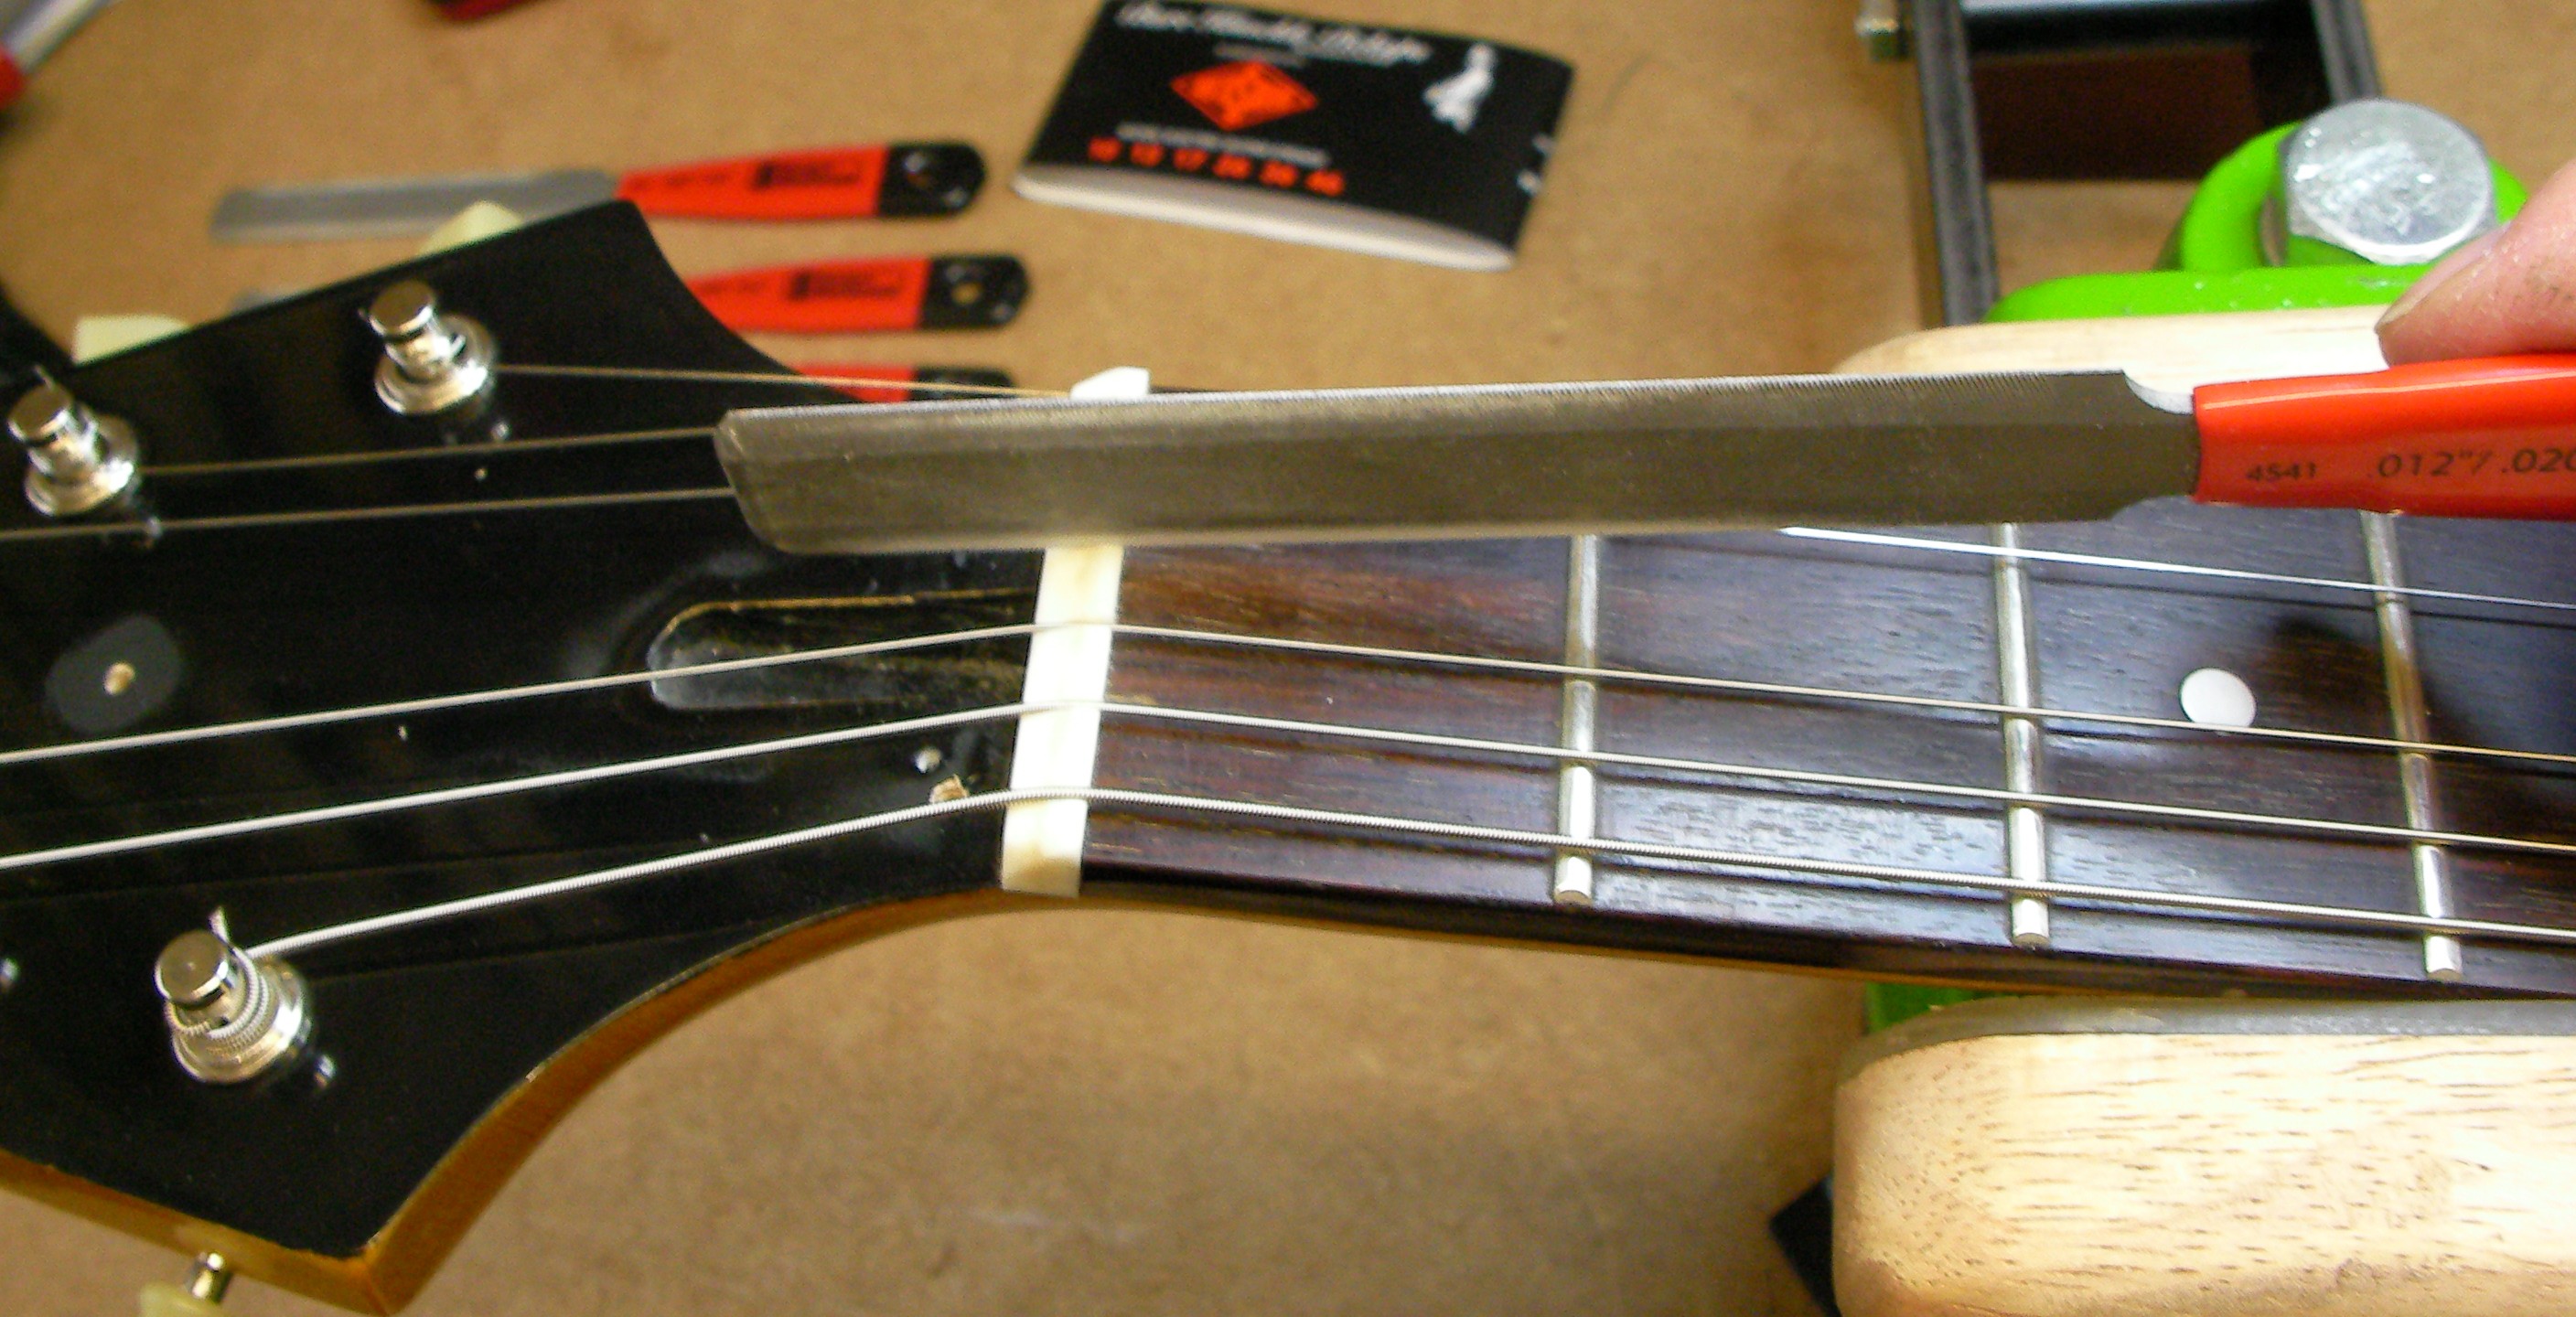
Cutting the nut slots to get the correct action height at the 1st fret…..
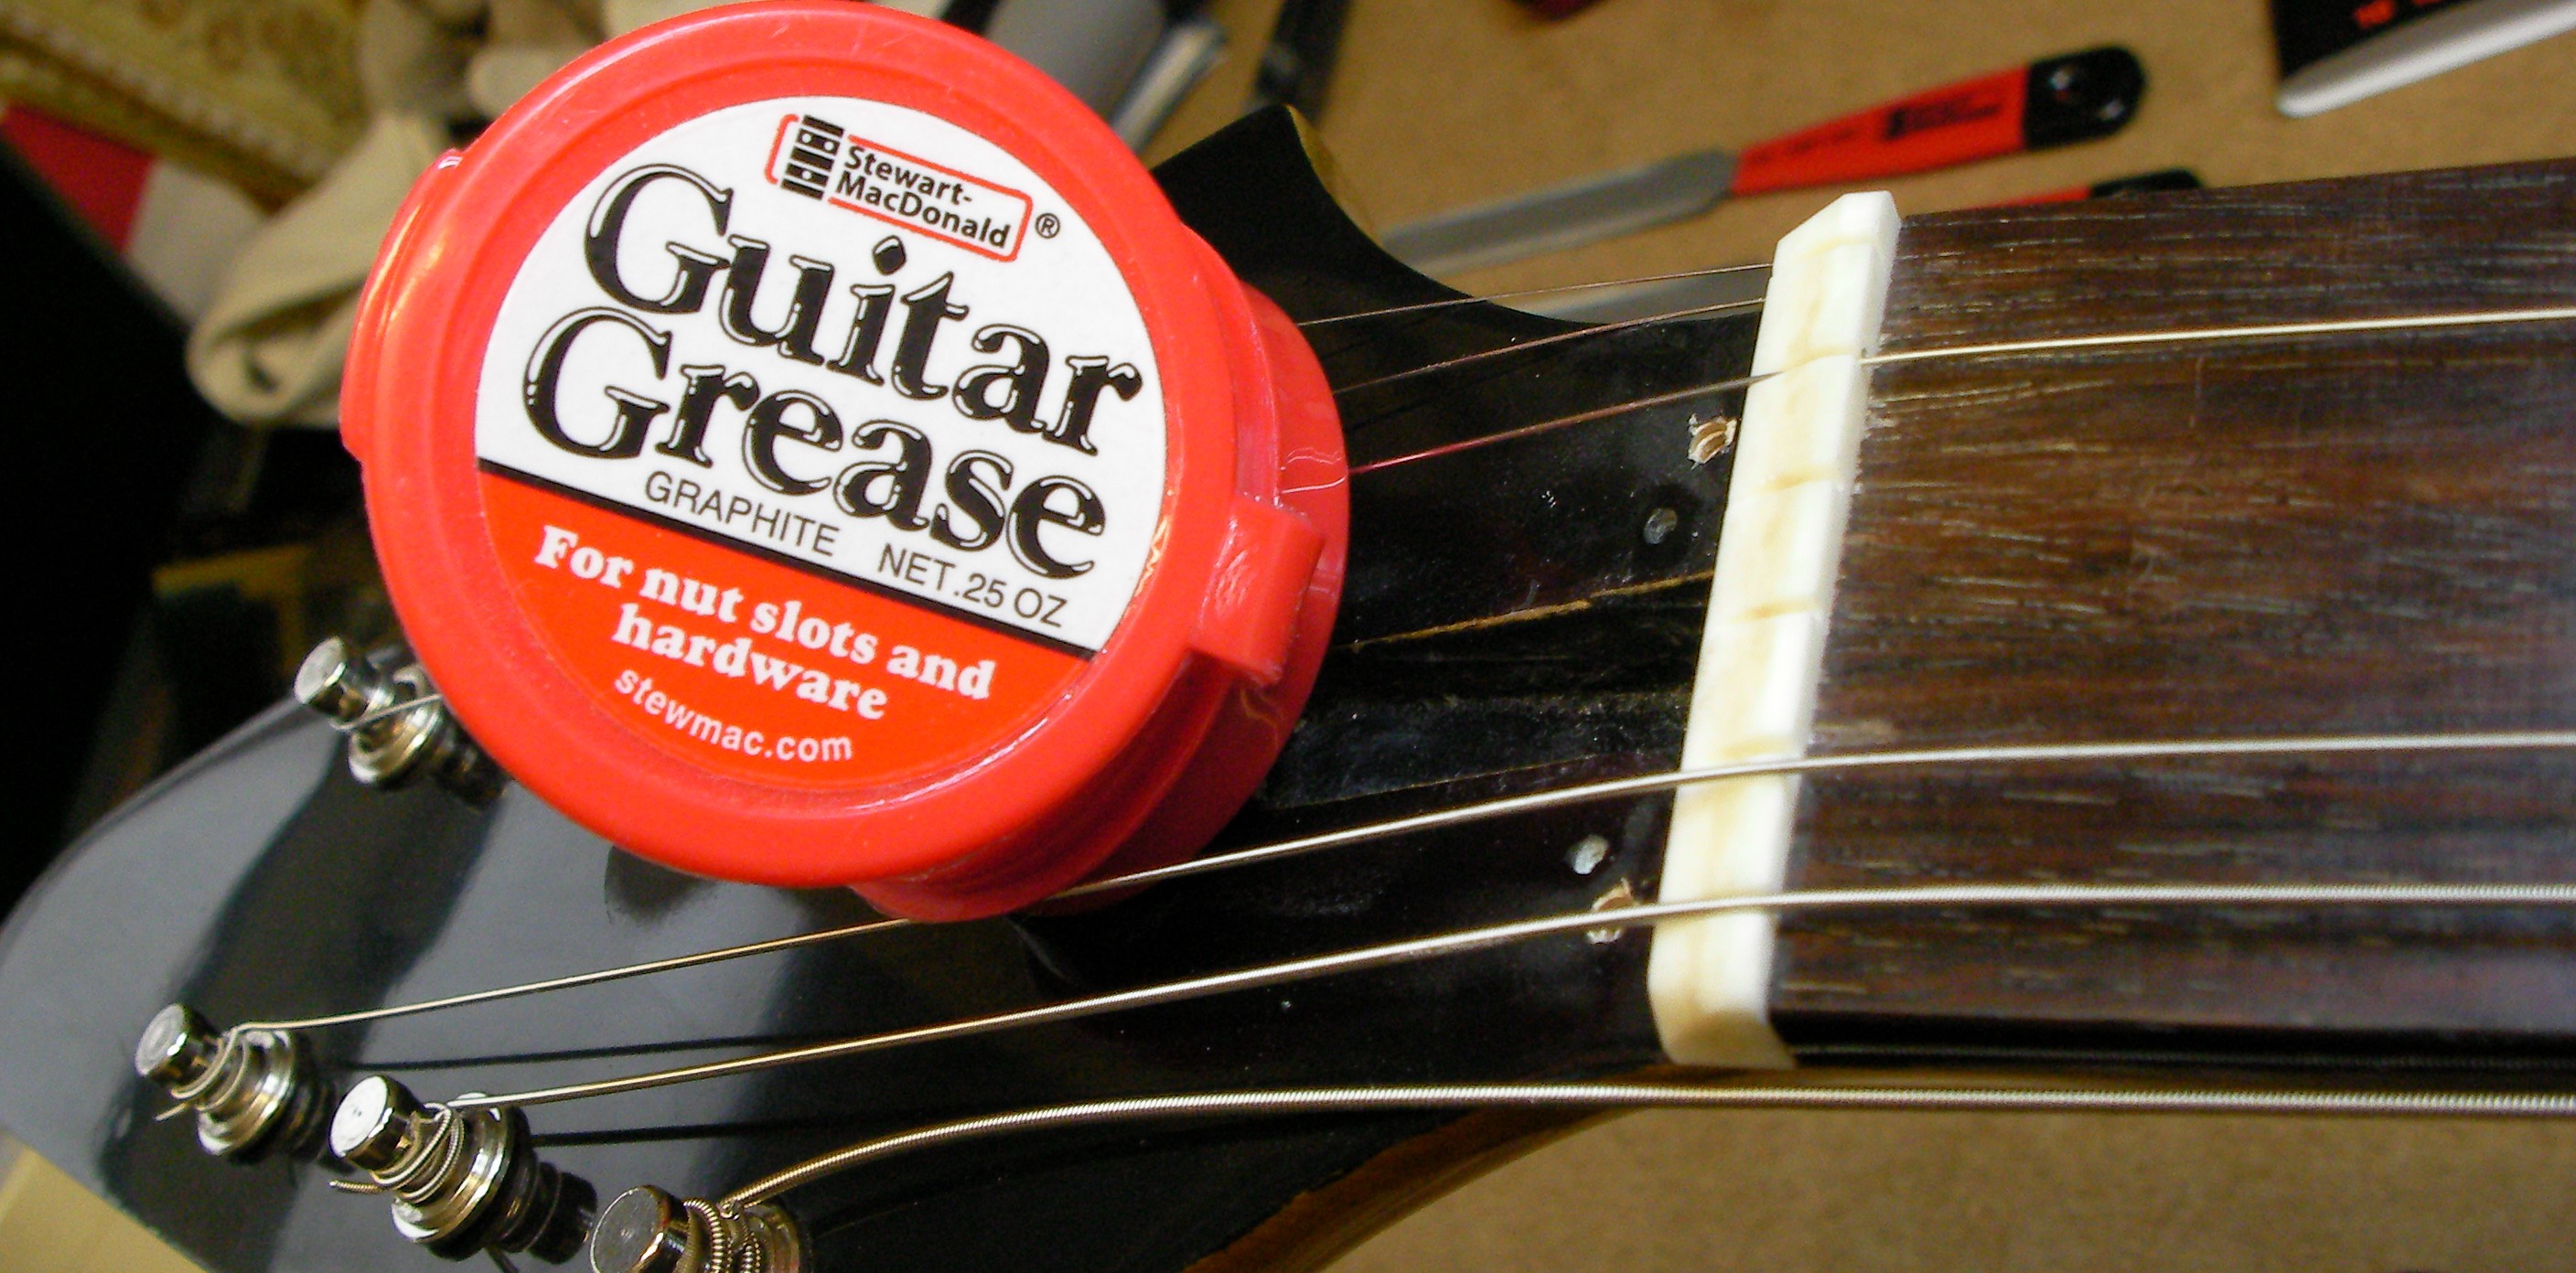
A little grease in the slots so that it stays in tune.
I’m not really a fan of these styles of guitar but I have to say it’s looking great. Feels and sounds fantastic too!