I was asked to have a look at a Les Paul with a view to improving the setup, a nice easy couple of hour job, (or so I thought)!
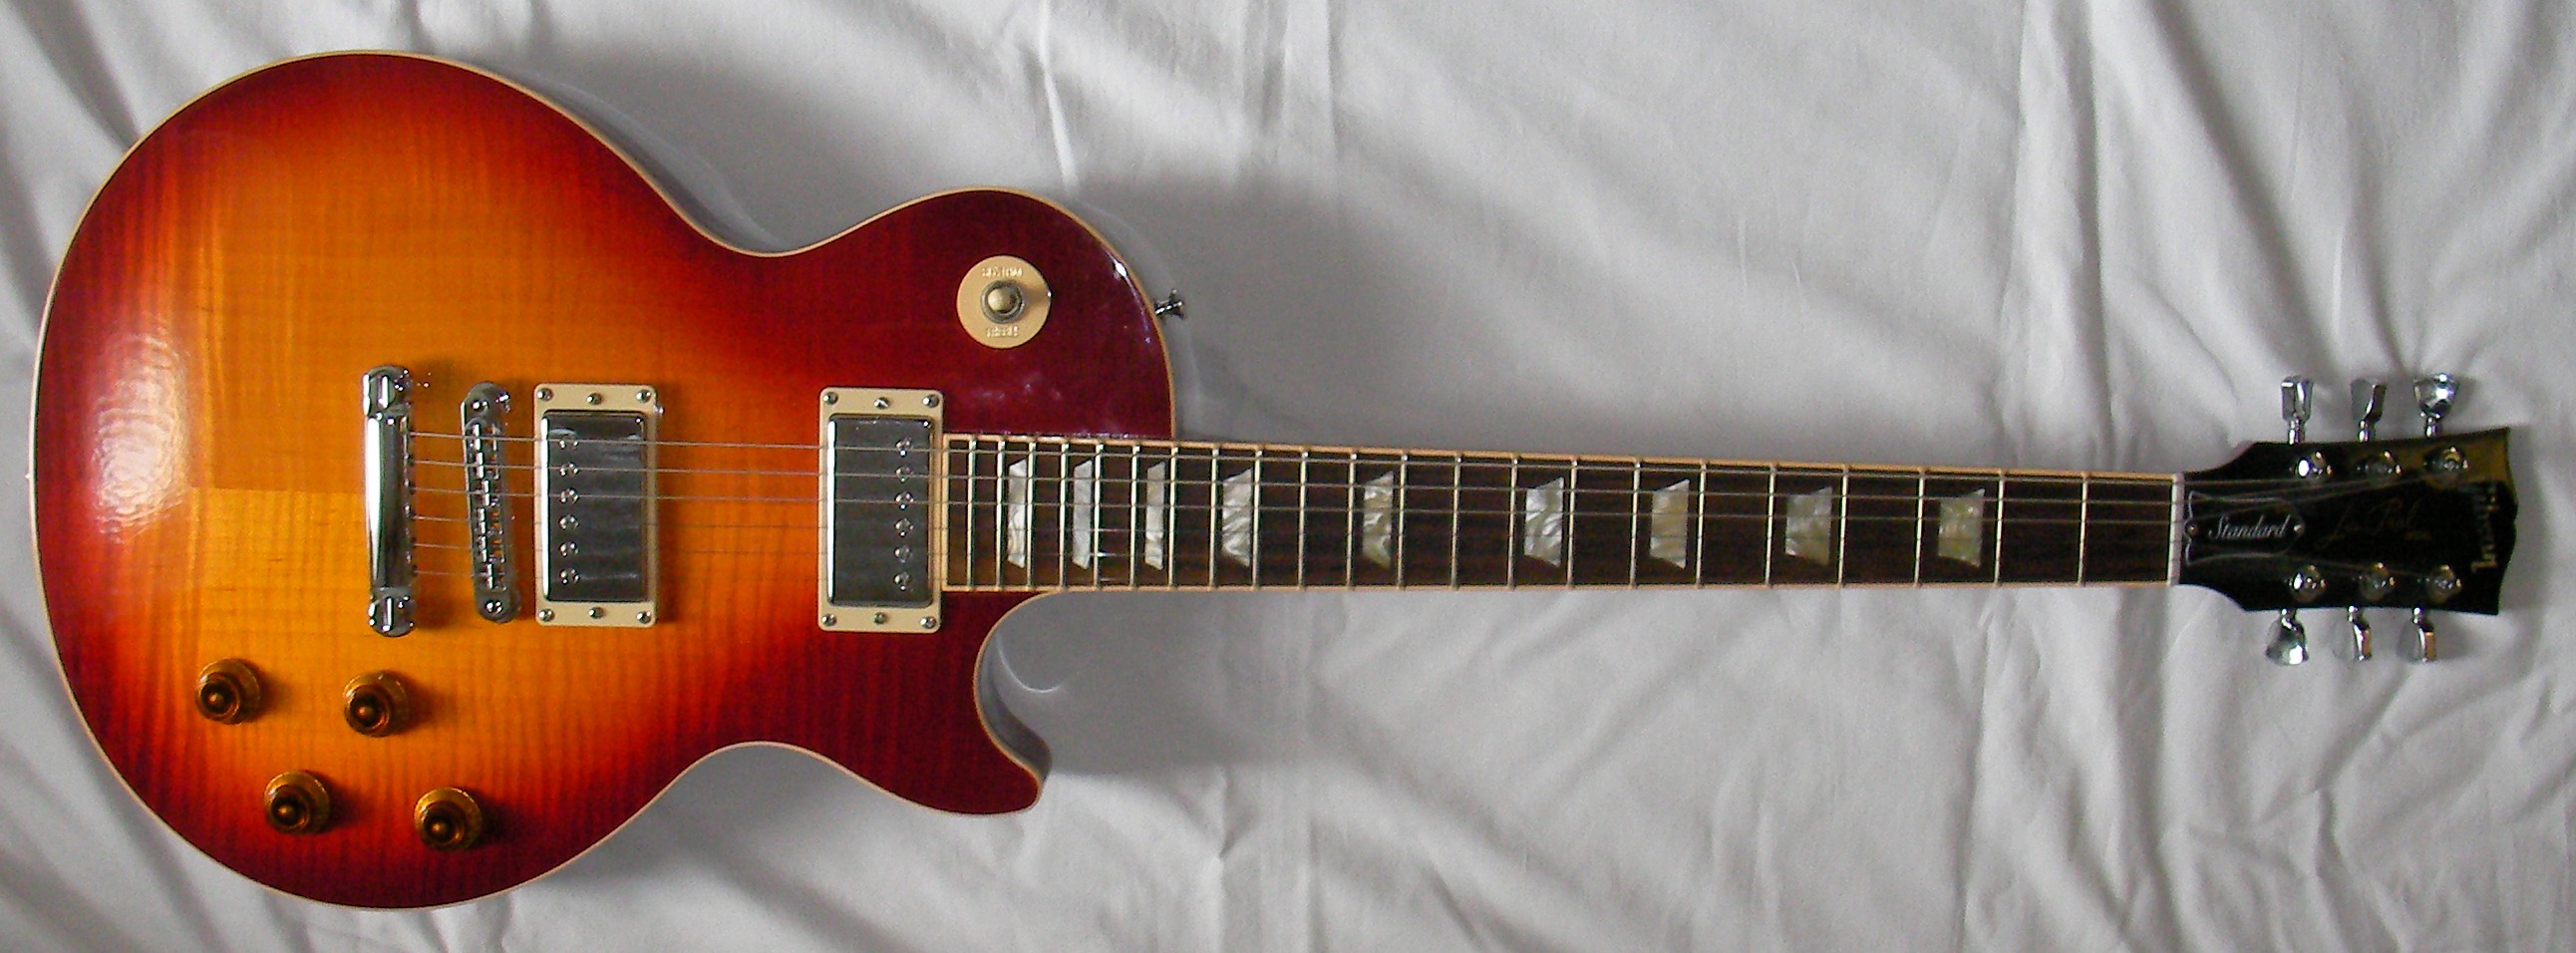
The first thing of course is to have a close look to see exactly what needs doing to improve the playing. If the owner was completely happy with it then I guess he wouldn’t have called me.
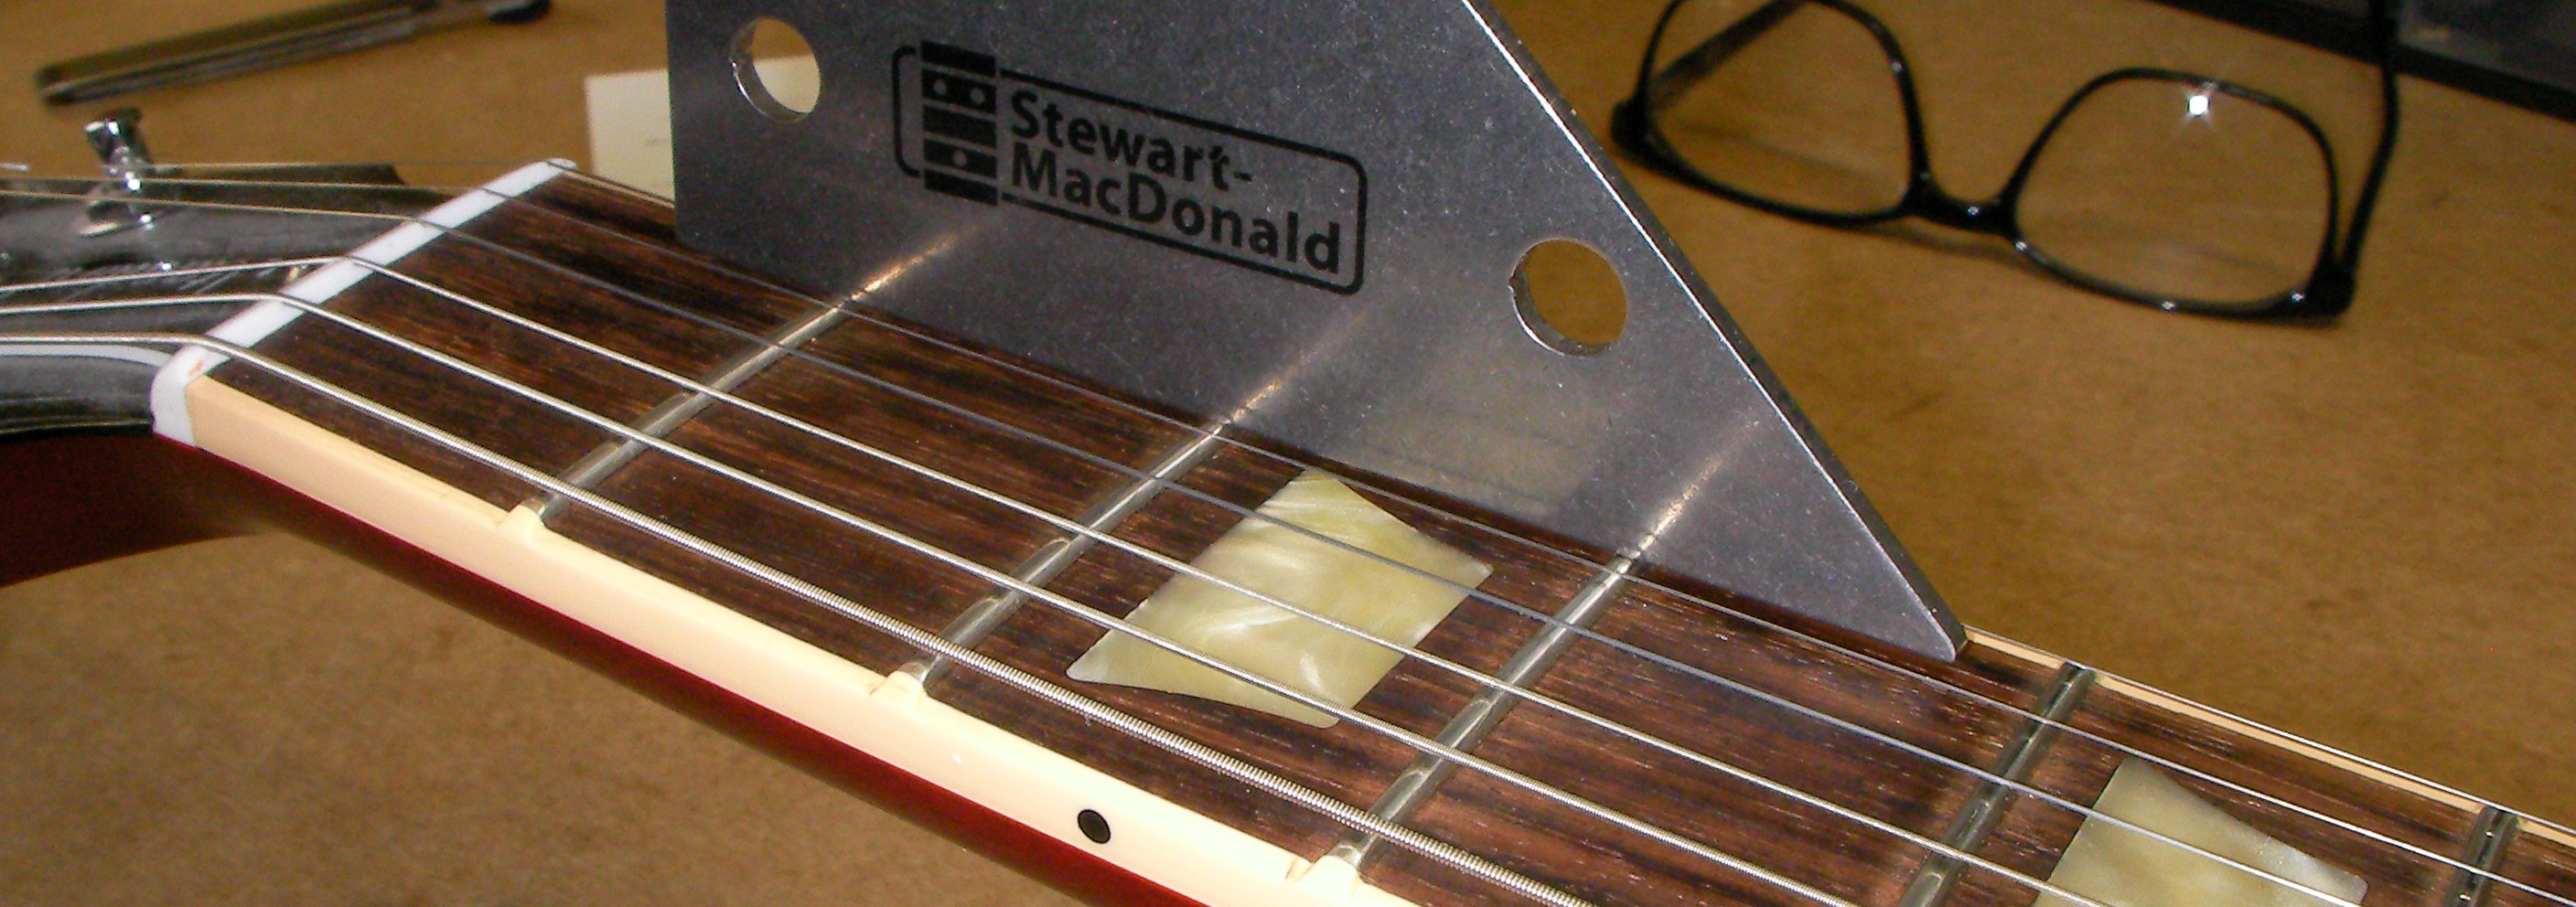
First the set in the neck..
Not bad, I measured it at 0.006″, about right. The 7th fret is exactly half way but the inlaid fret markers are actually a little lower than the fretboard.
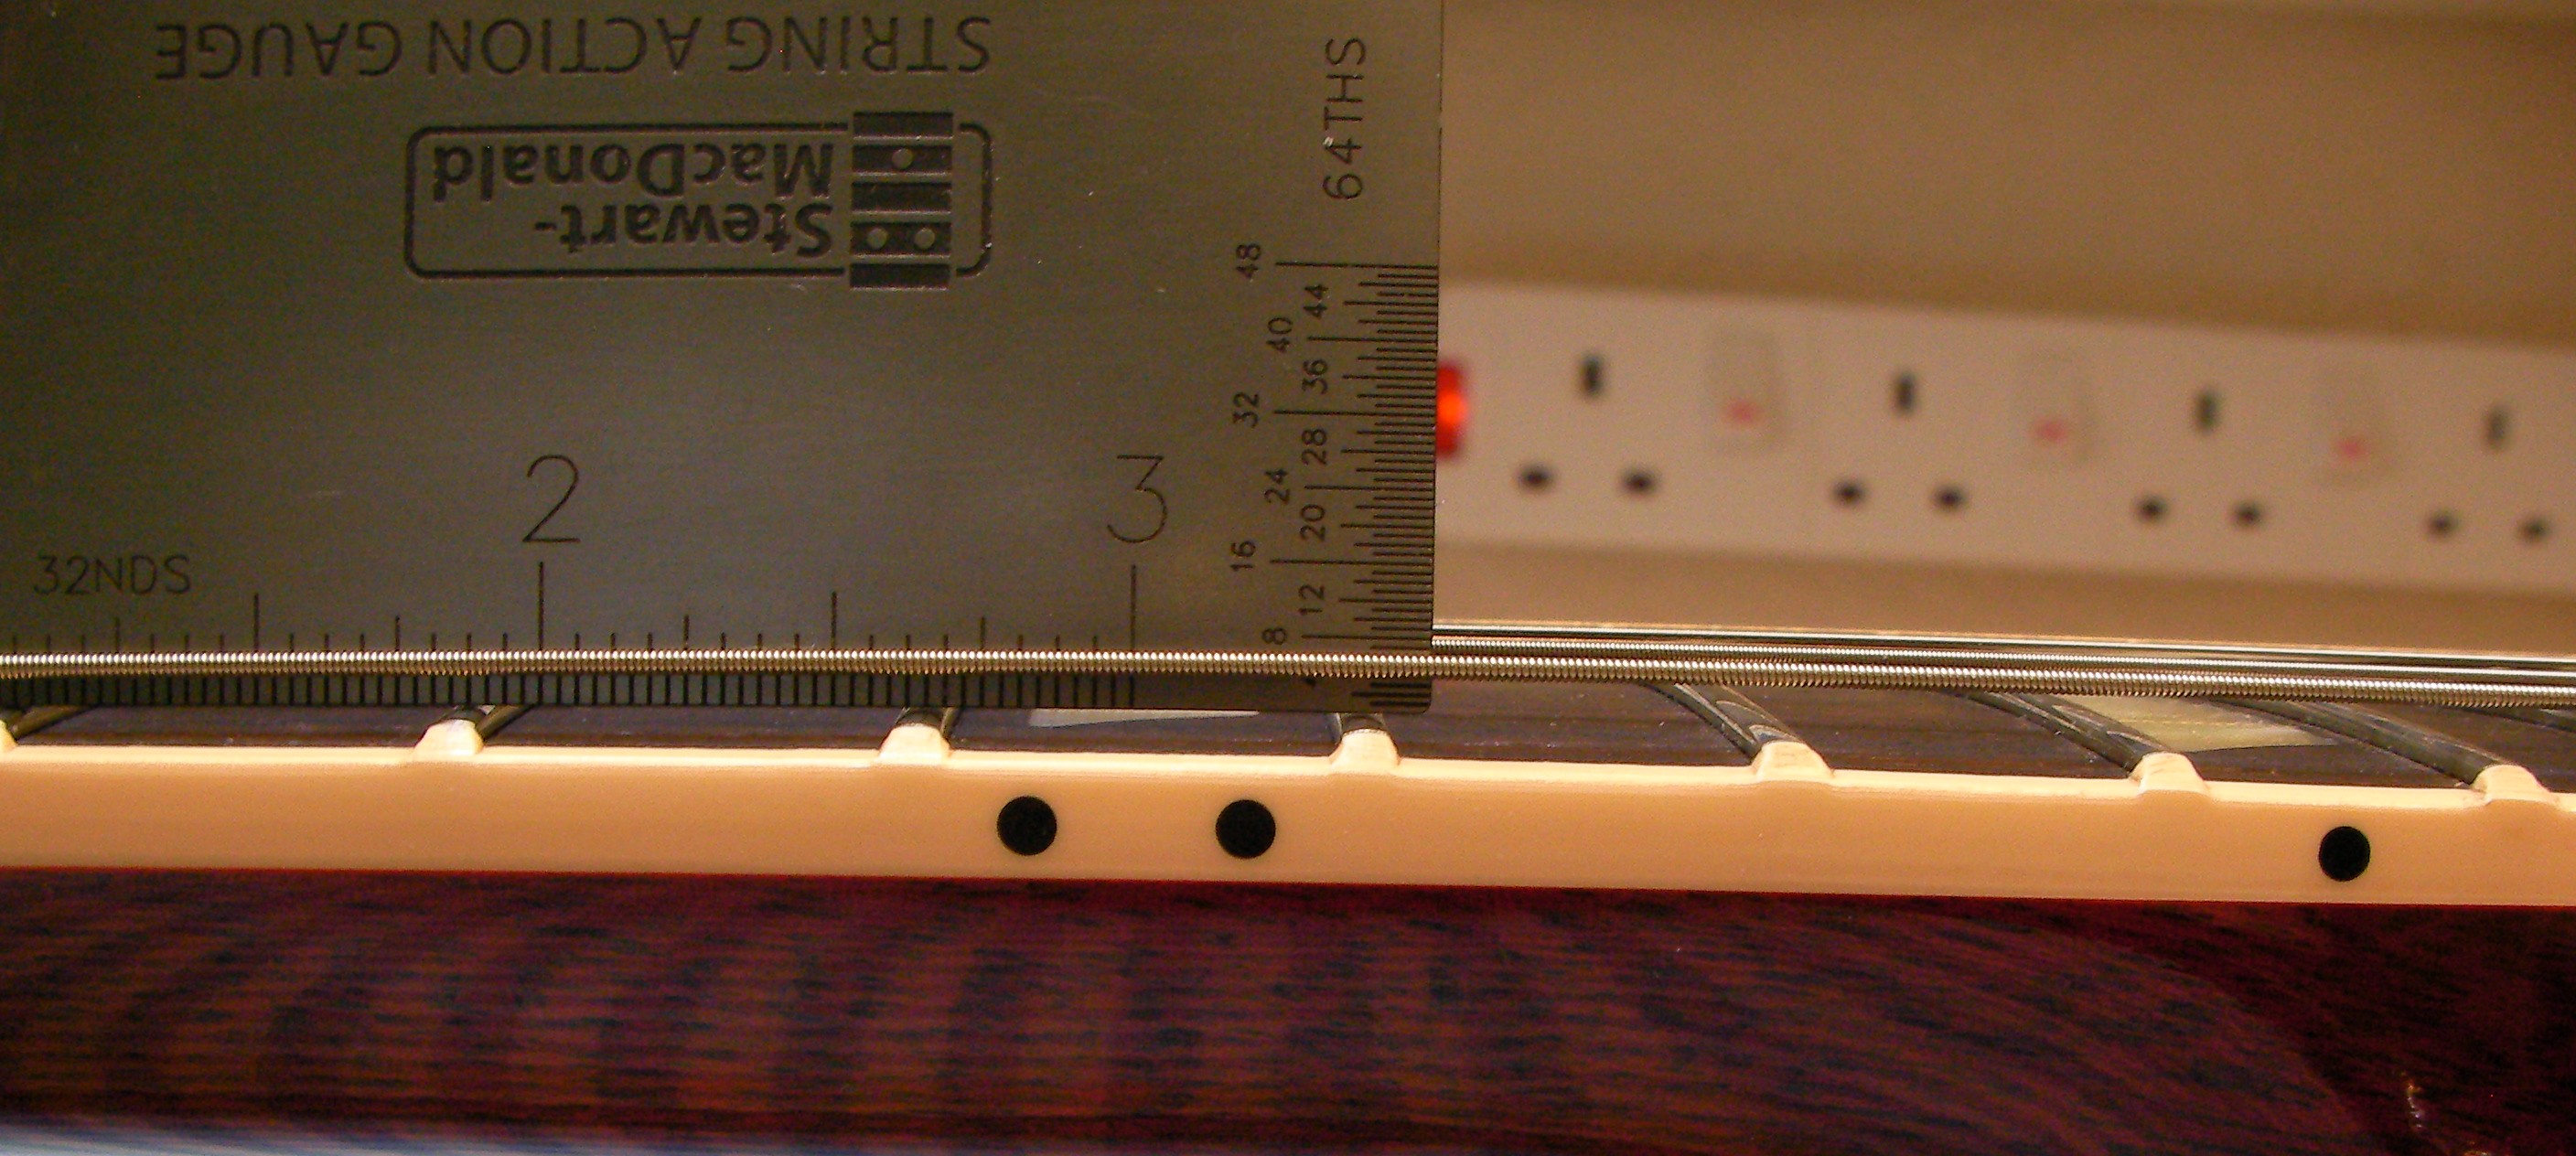
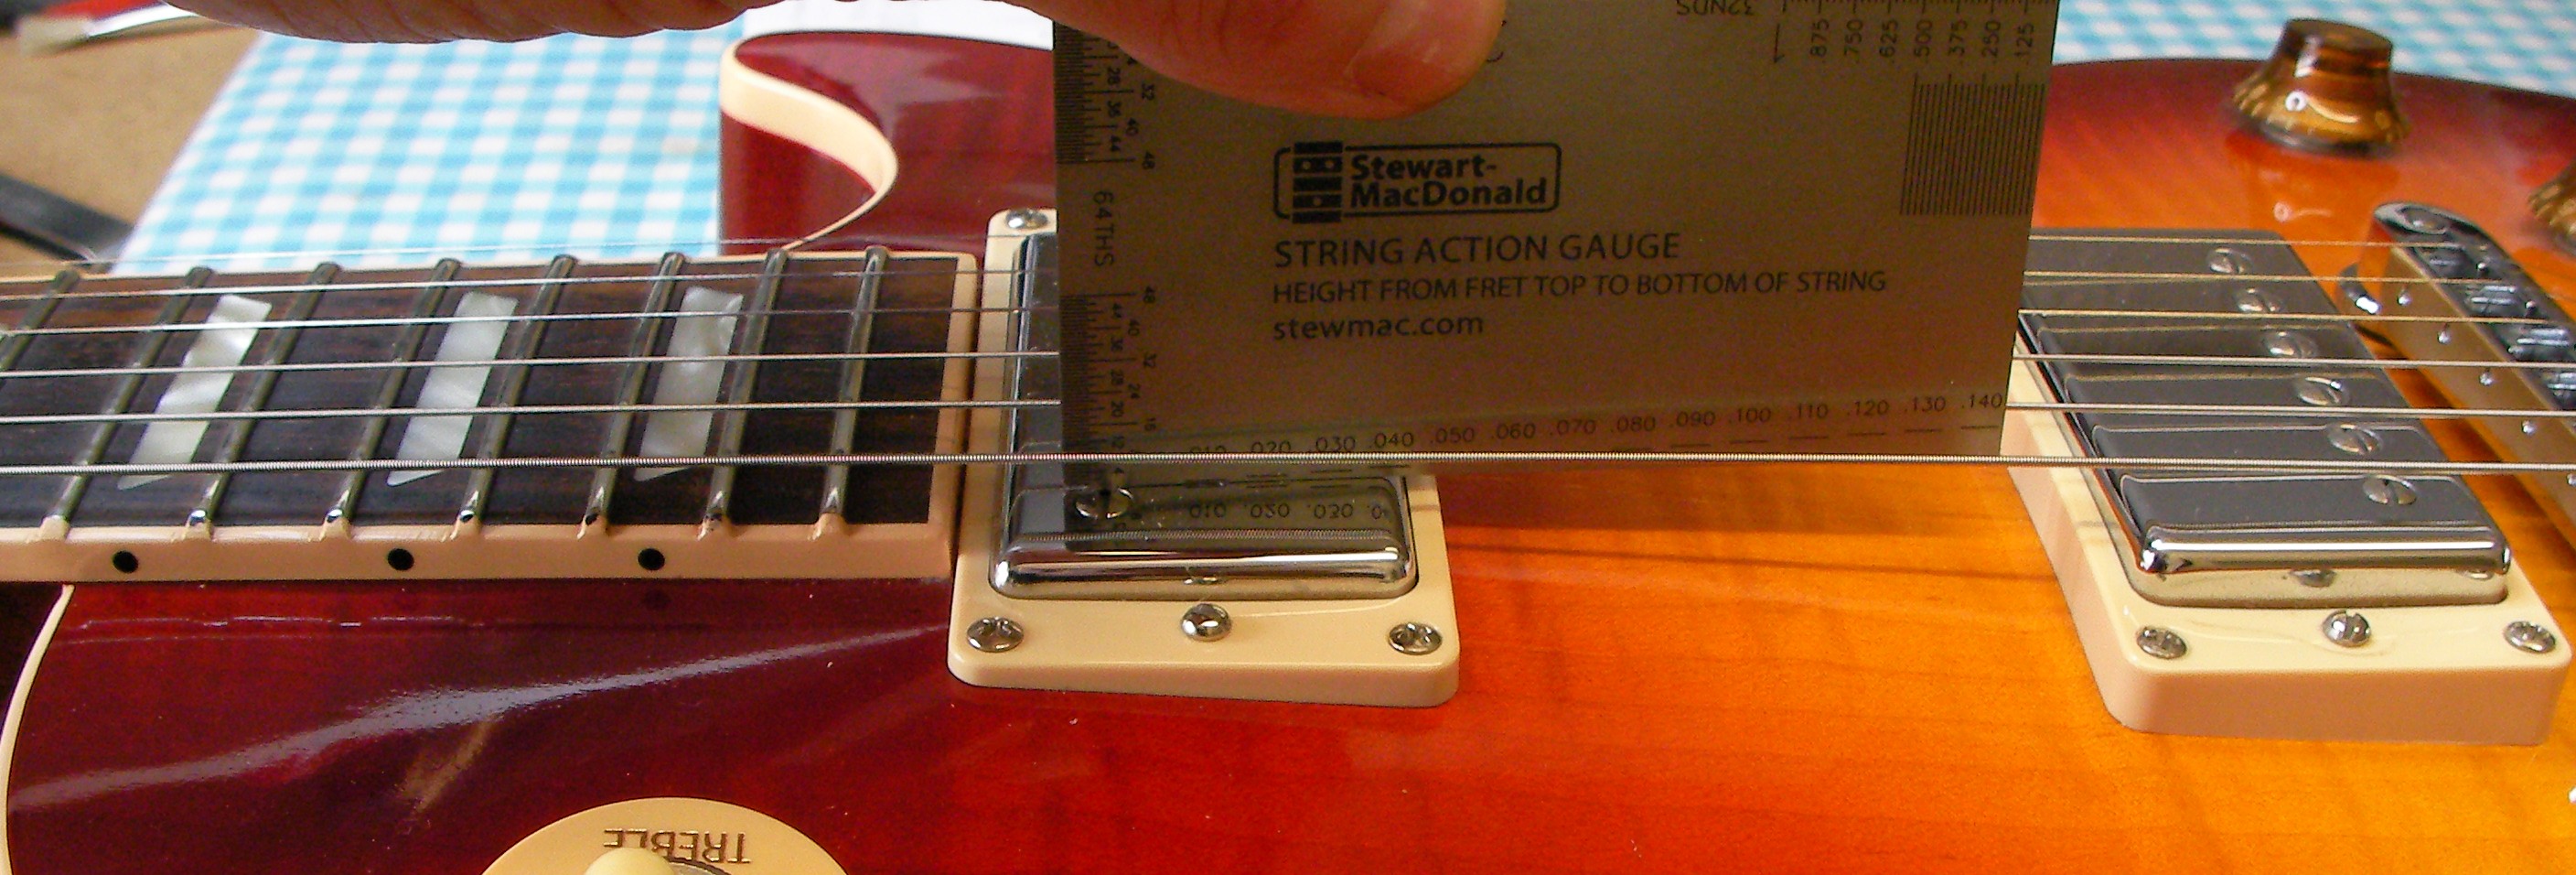
Next the action height, firstly at the 1st fret..

That was quite low, especially on the treble side. It should be OK but can cause problems if the frets aren’t level.
At the 12th fret the height again was about right.
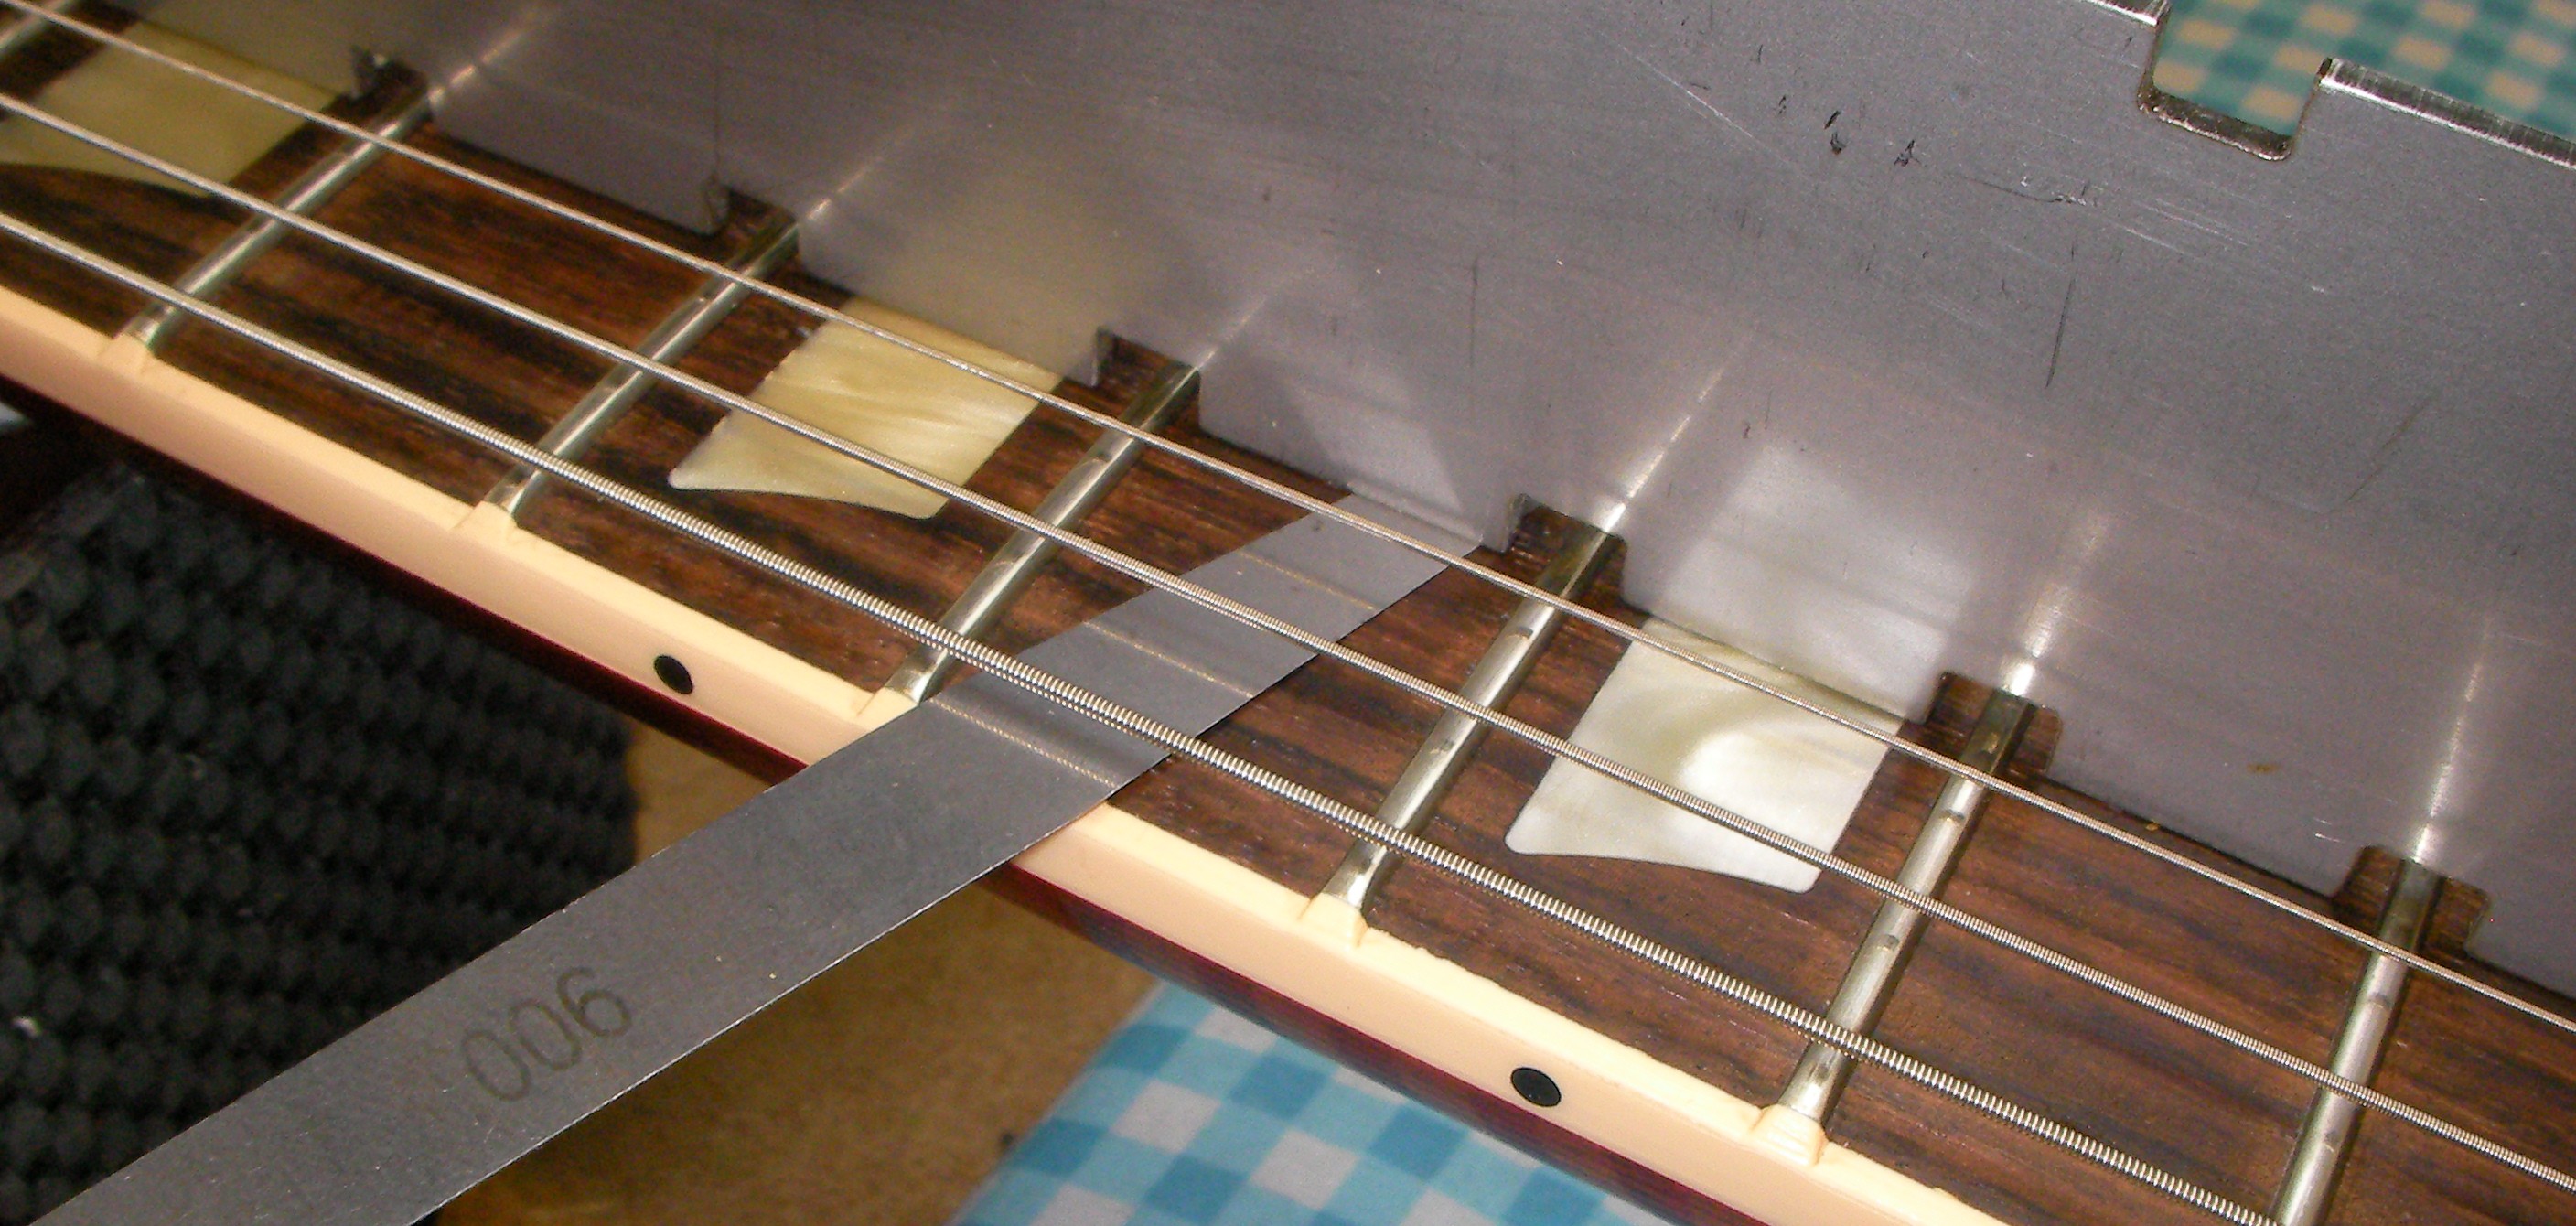
To be honest there is nothing much I could do to improve a setup like that so where is the problem? Sadly a common problem I’ve found with some of these guitars, uneven frets…
If any single fret is higher than its neighbours the straight edge will rock backward and forward. The only way to get a better setup is to dress the entire fretboard.to get a common level, a much bigger job I’m afraid.
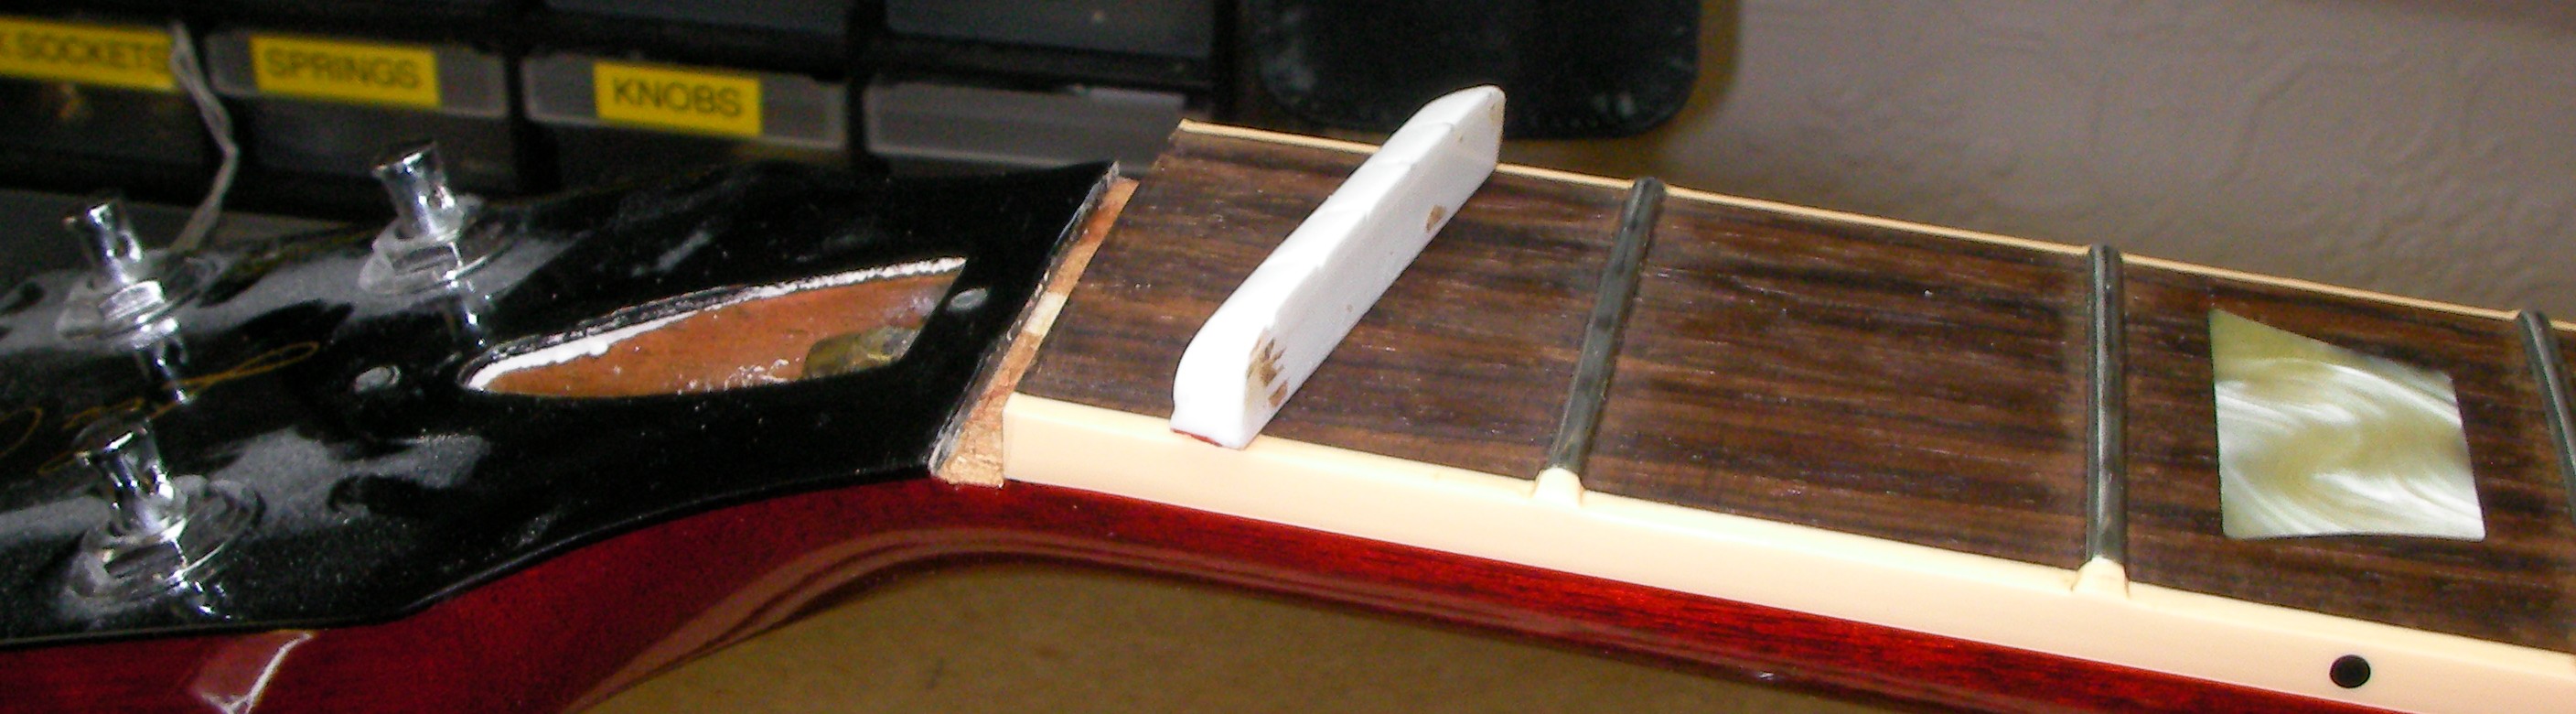
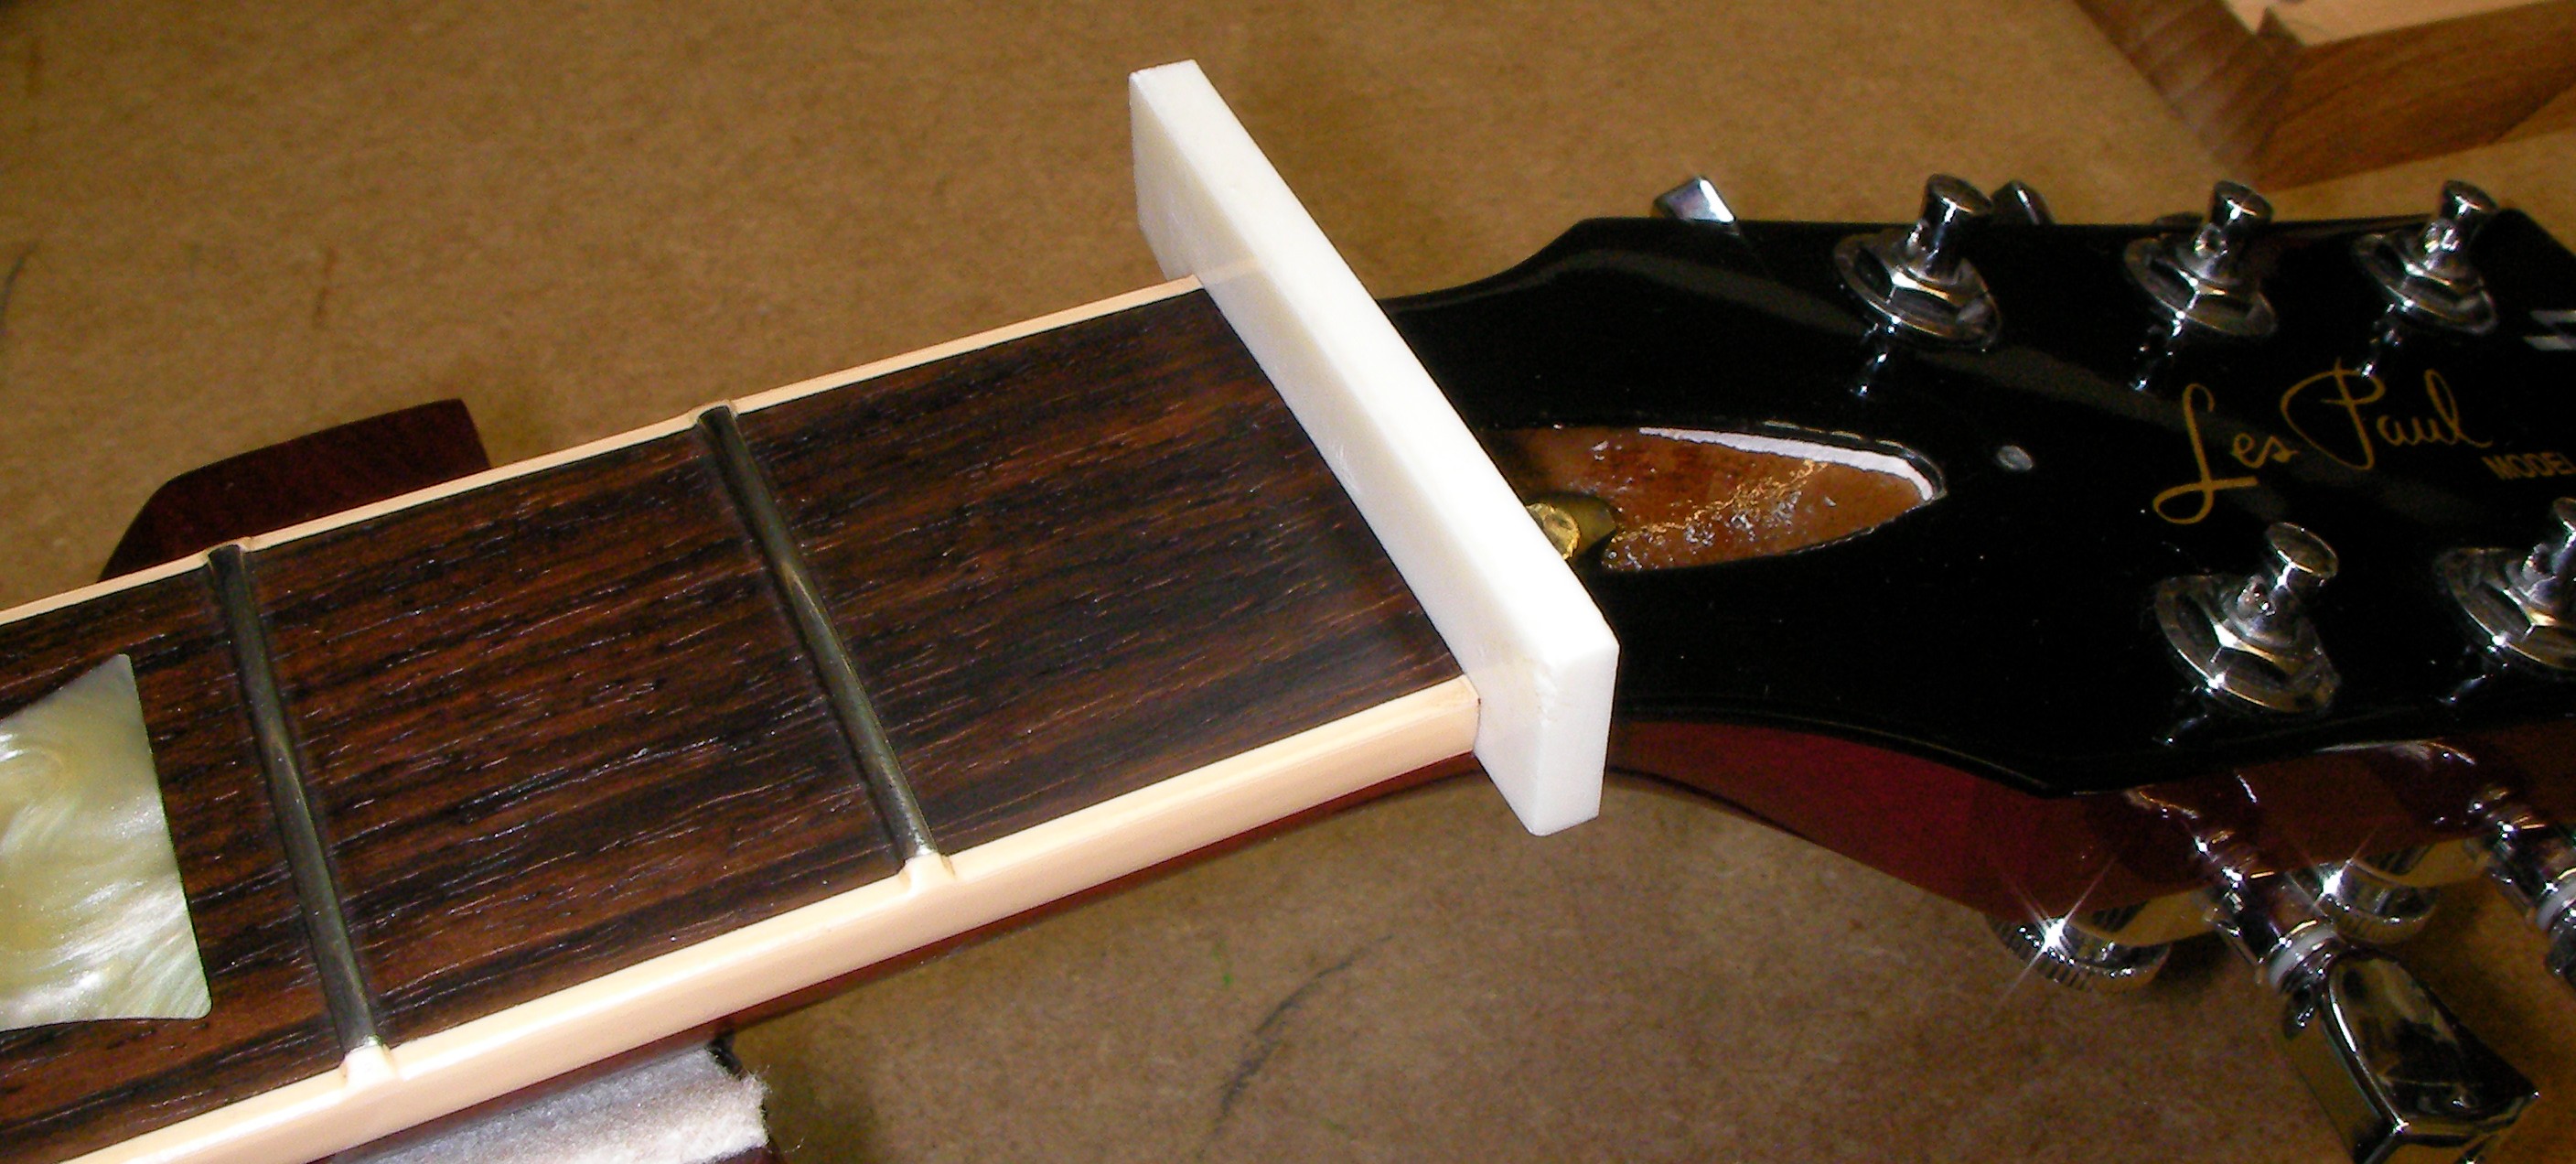
First step then is to gently remove the nut. Since it was a little low the owner has decided he wants a new Bone one, it’ll improve the sound anyway. I’ll come to that once the fretboard is done.
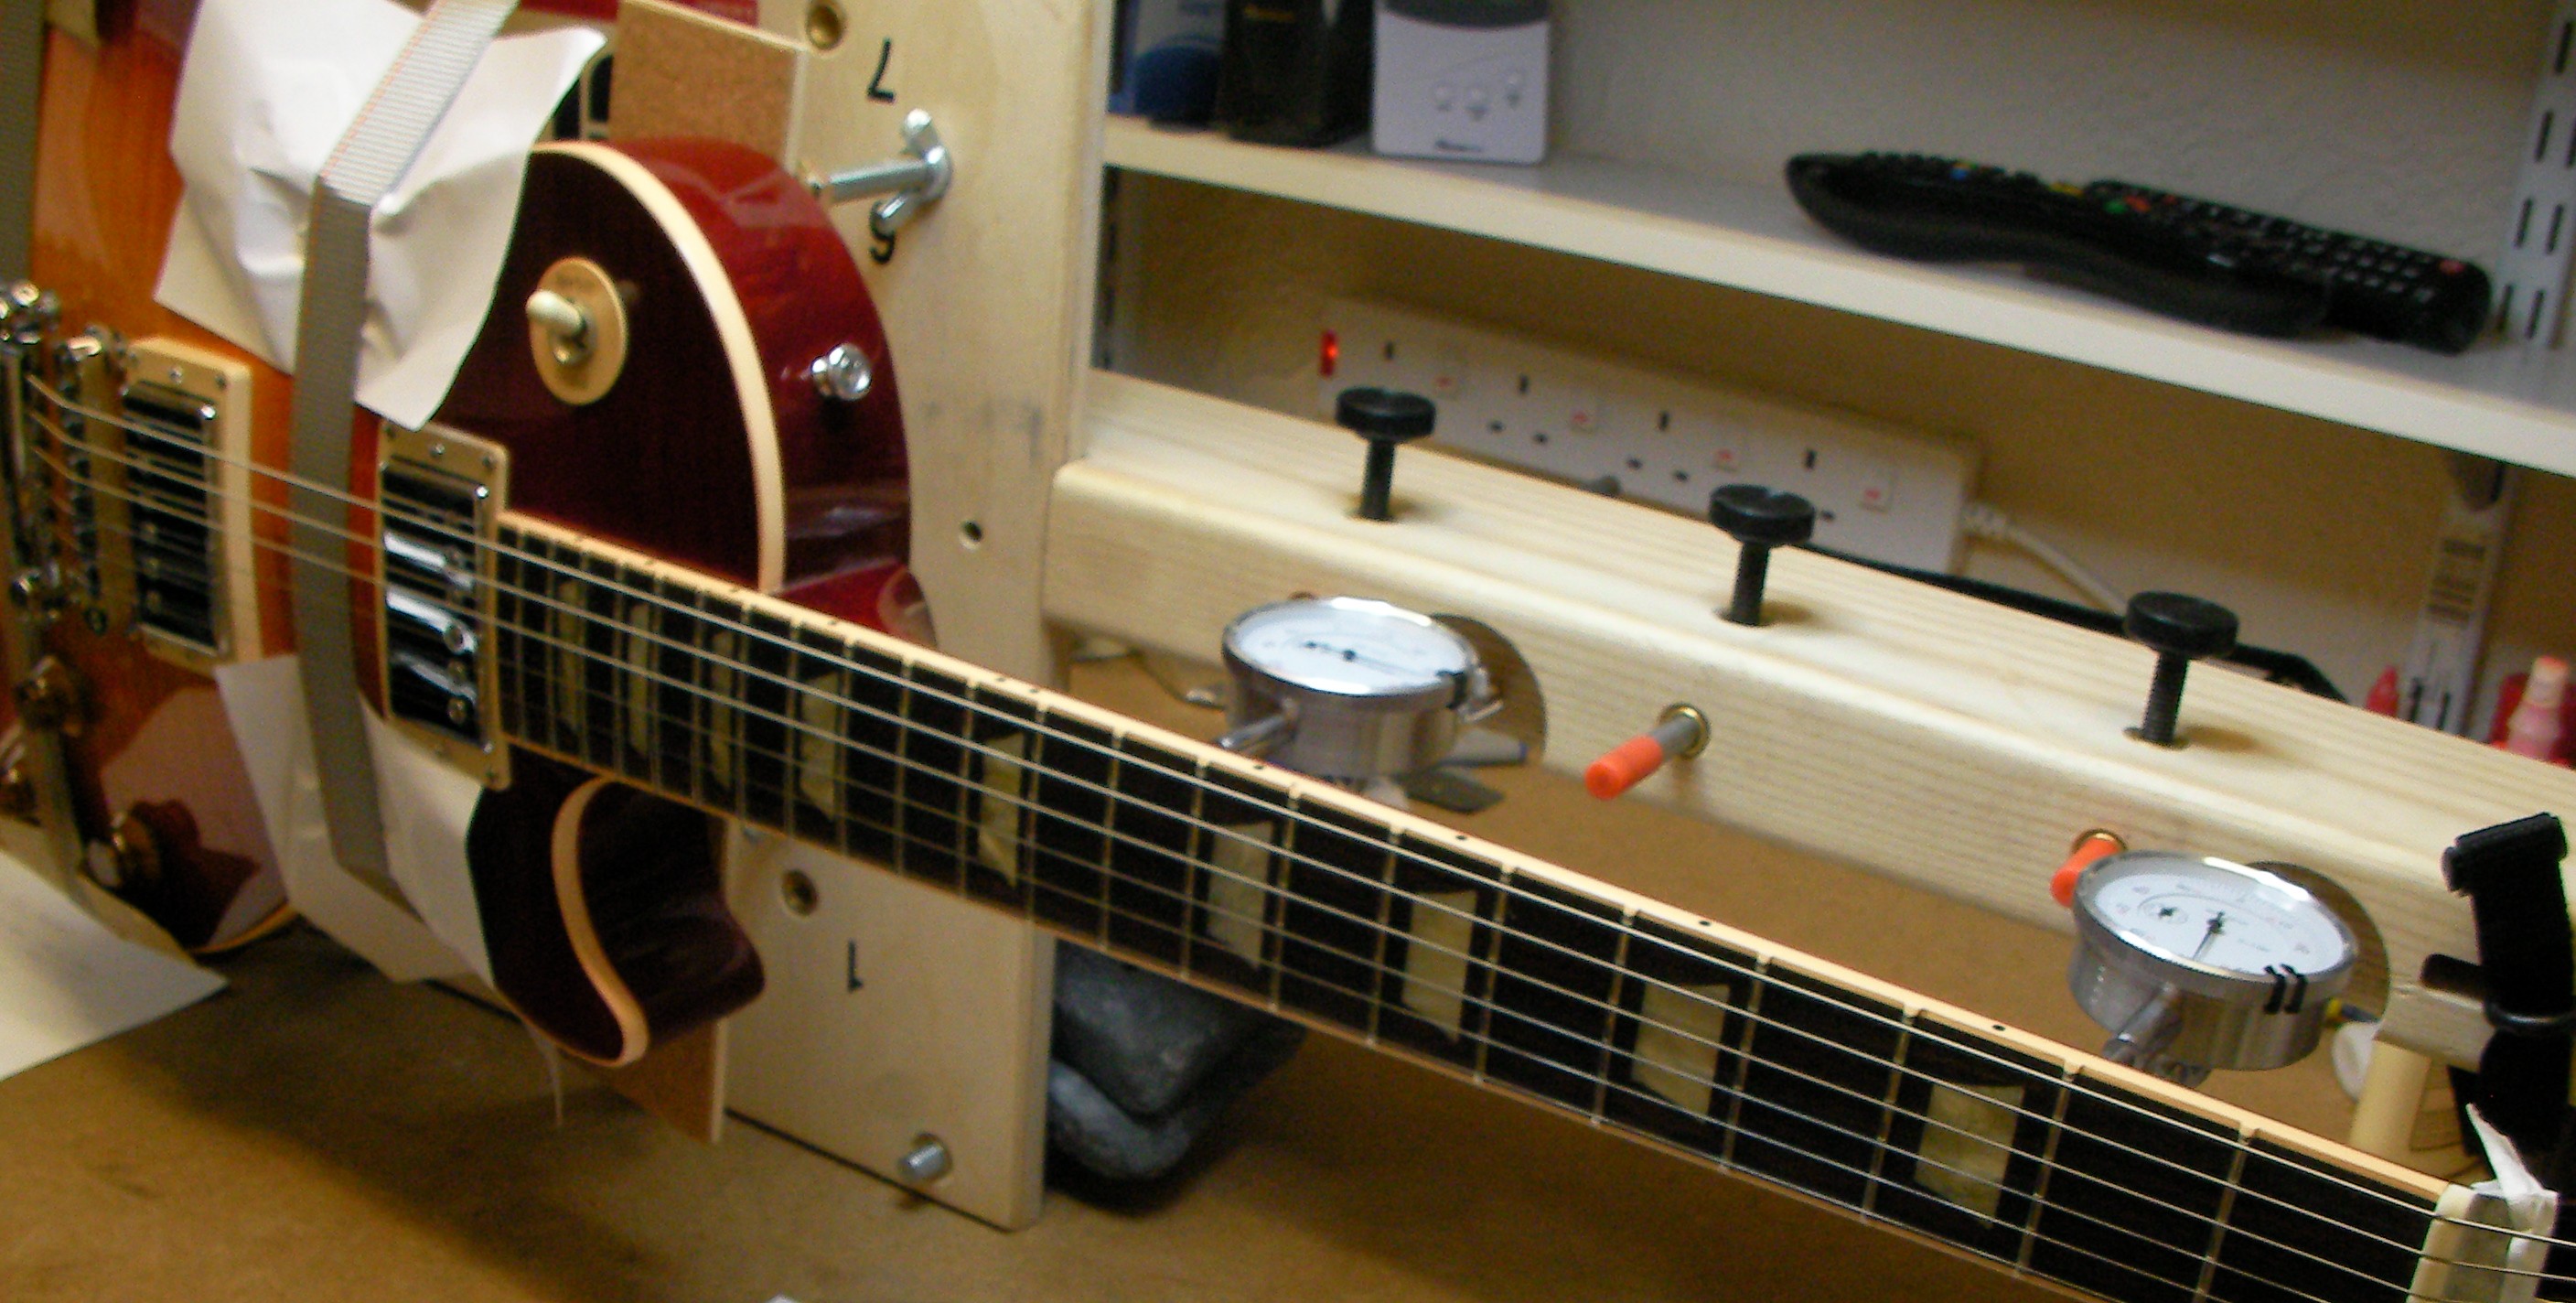
To make sure I get a really good datum I’ve mounted the Guitar on my neck jig.
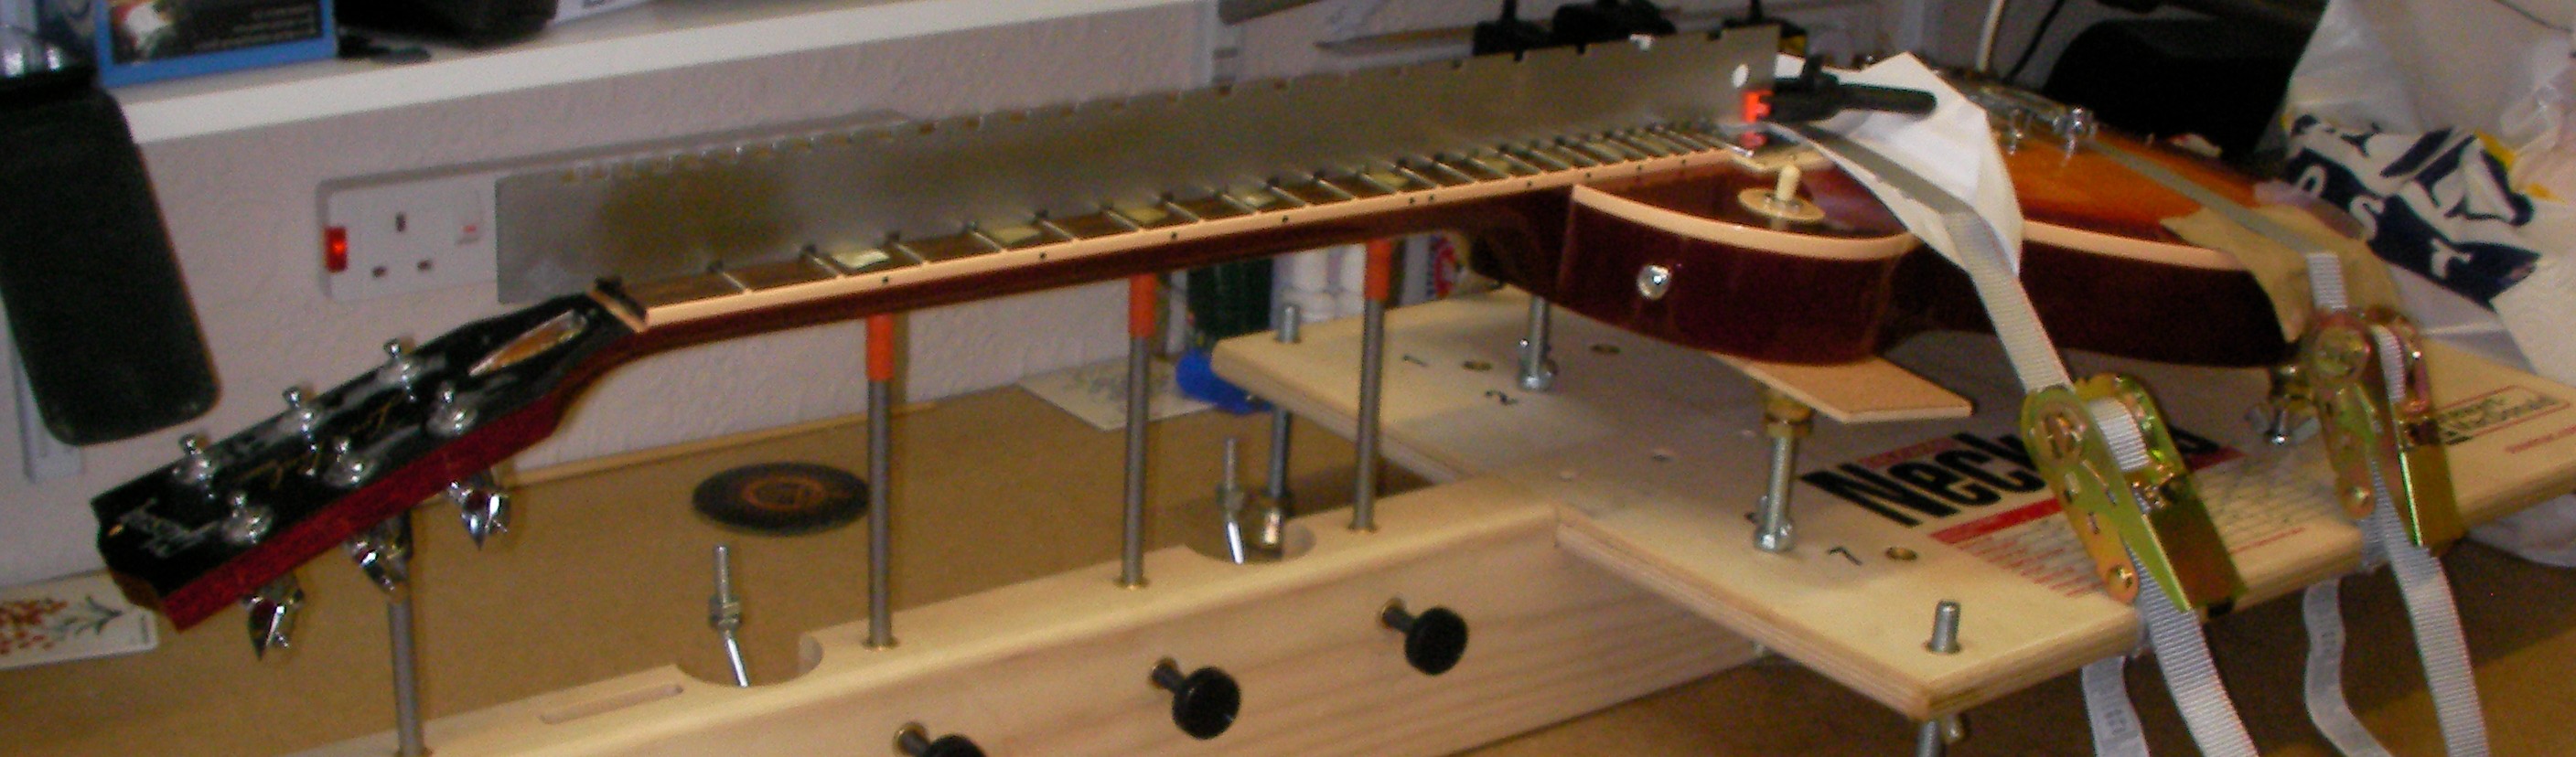
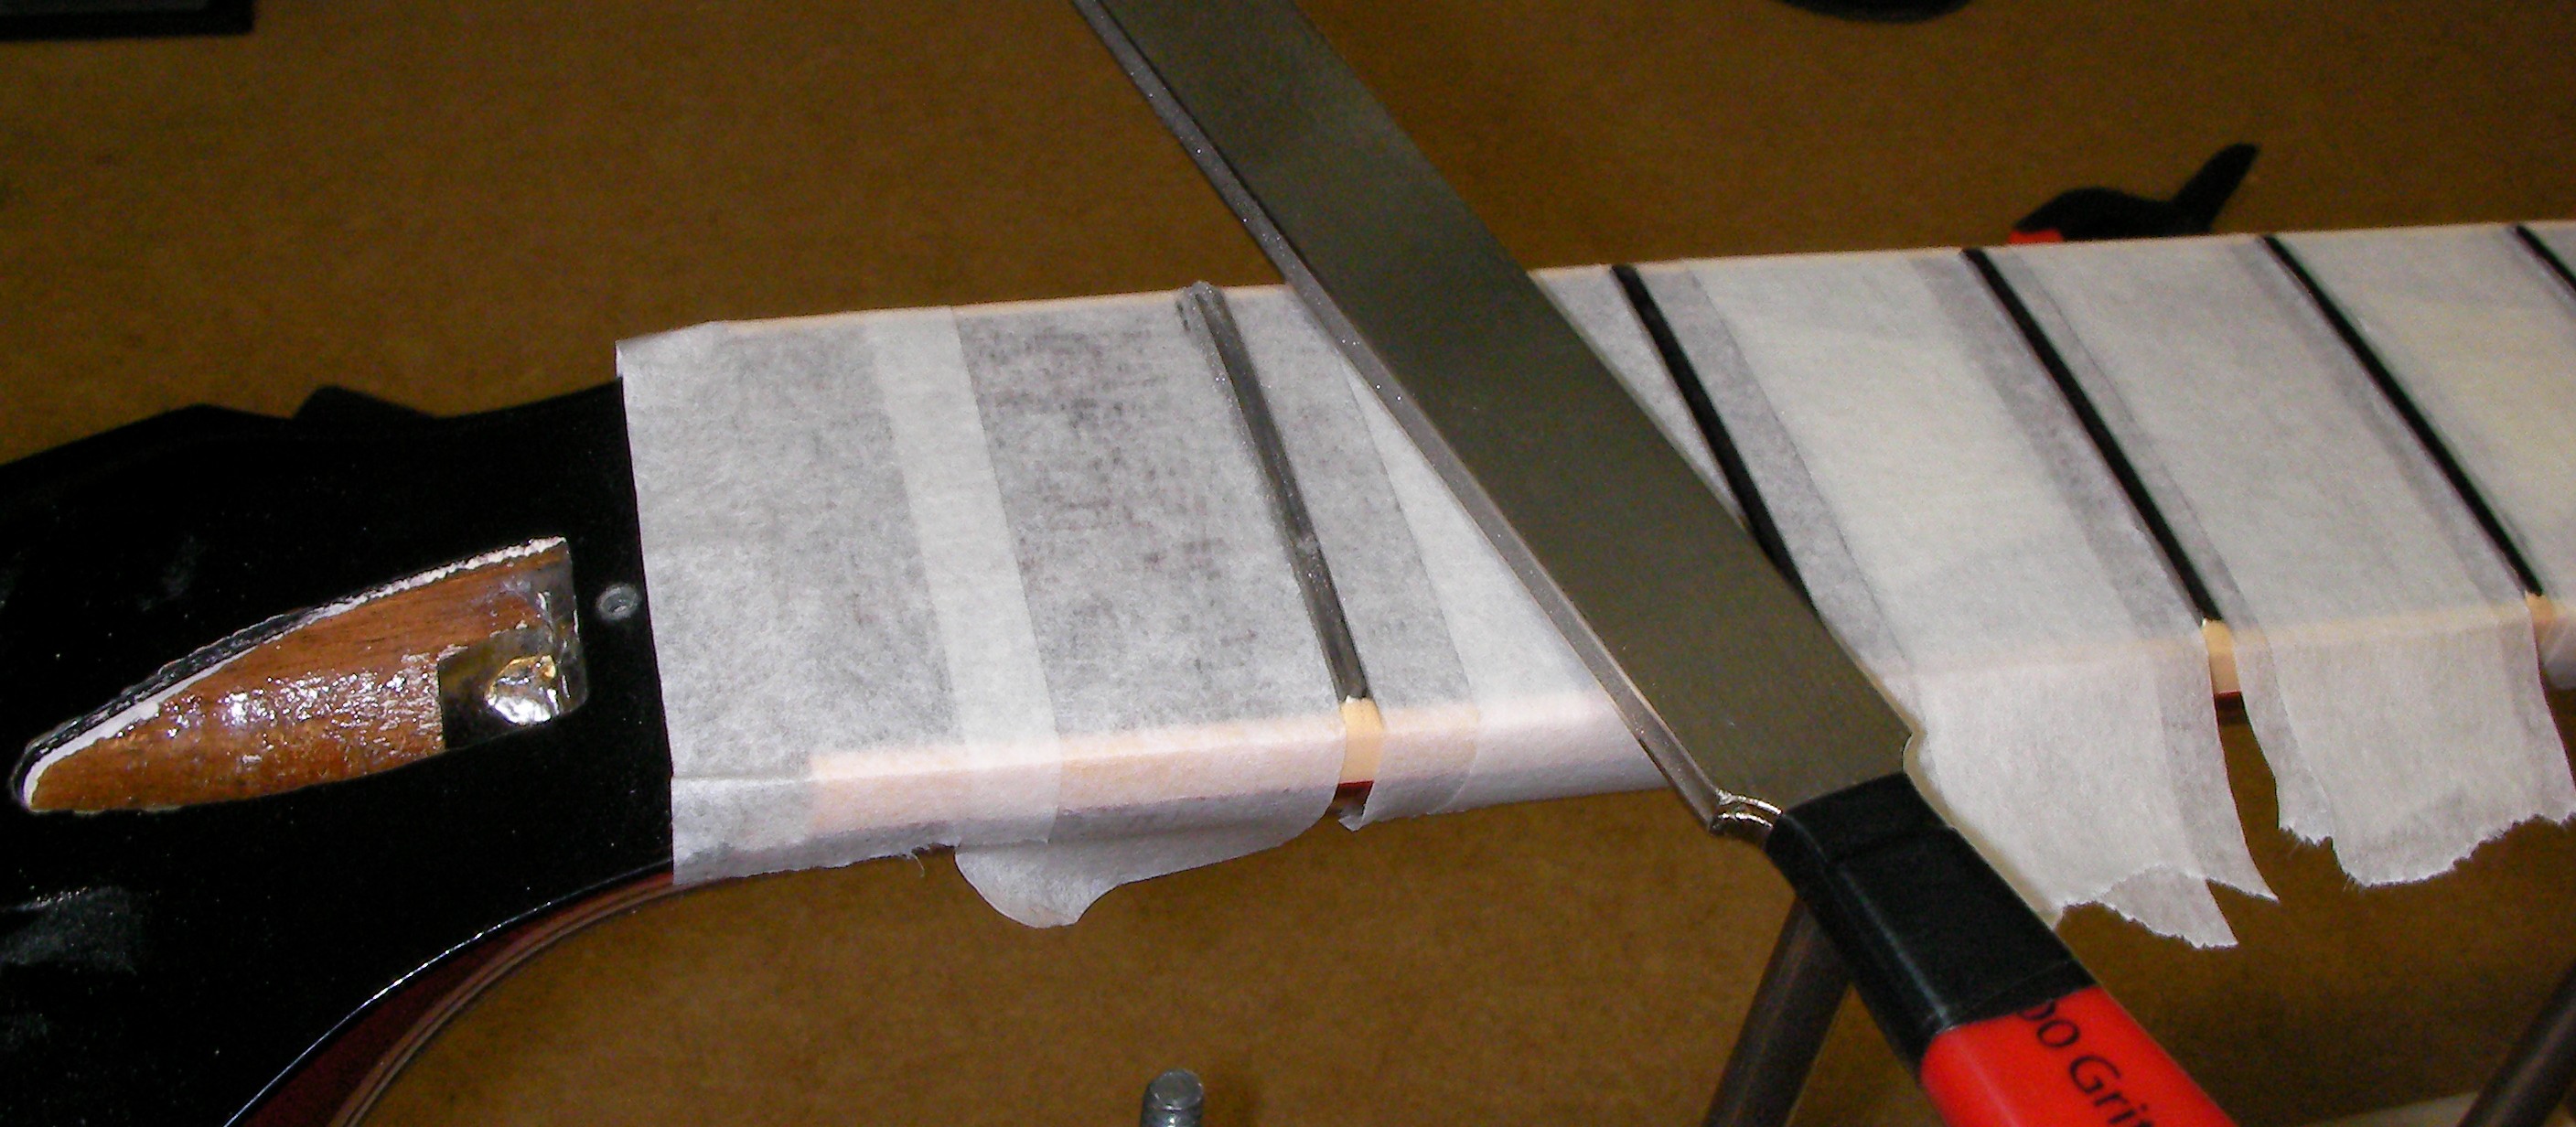
With the strings removed I’ll adjust the truss-rod to level the fretboard then raise the supports so that the neck doesn’t flex while I’m working on it.
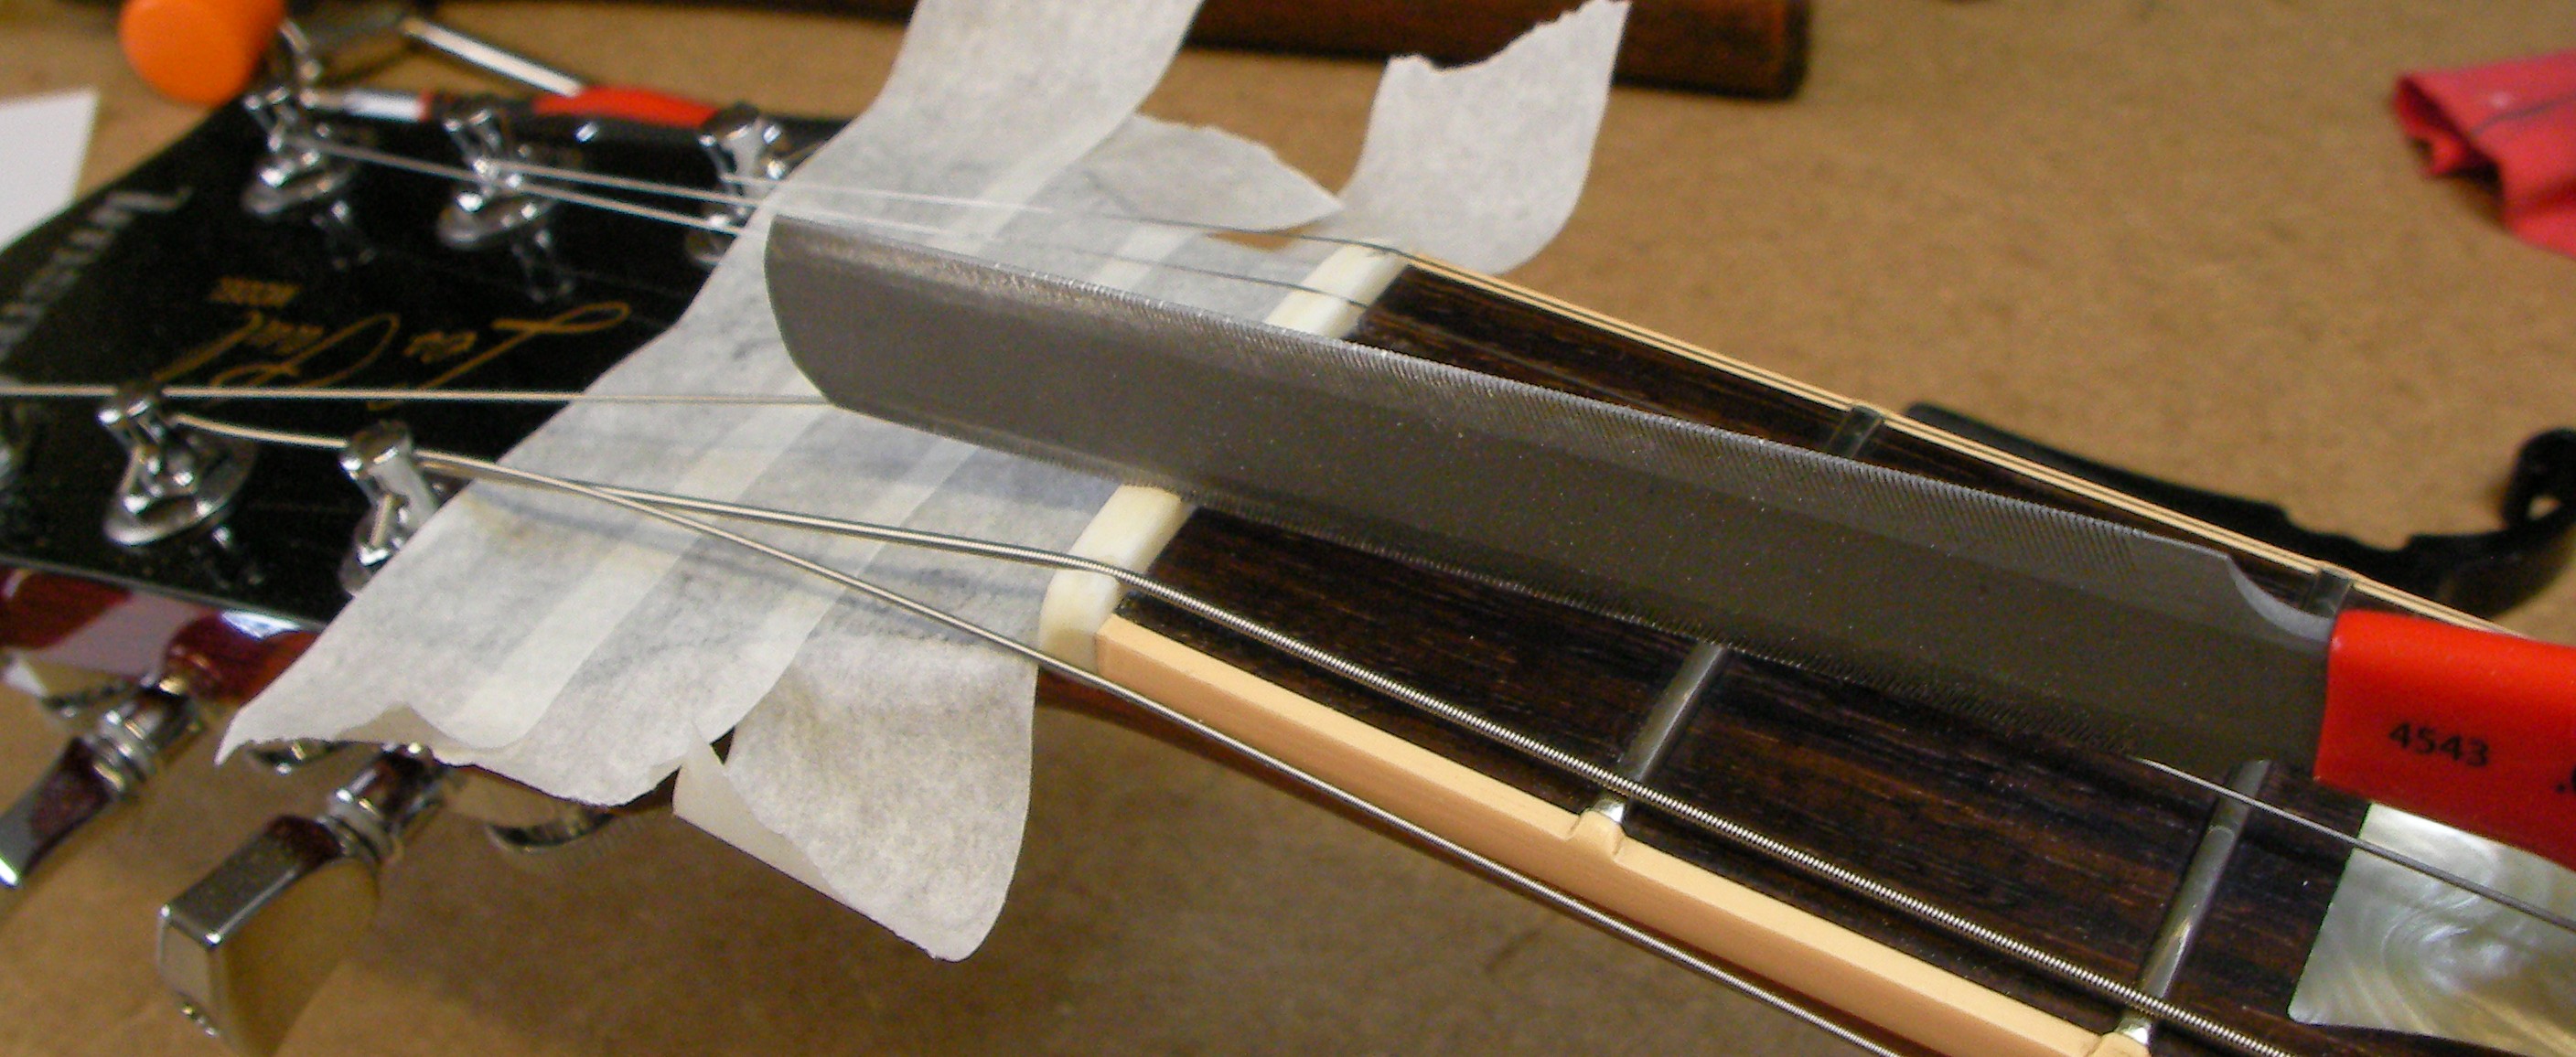
Then I’ll tape up the fingerboard to protect it and keep it clean while I’m working. I use low adhesive tape so not to do any damage.
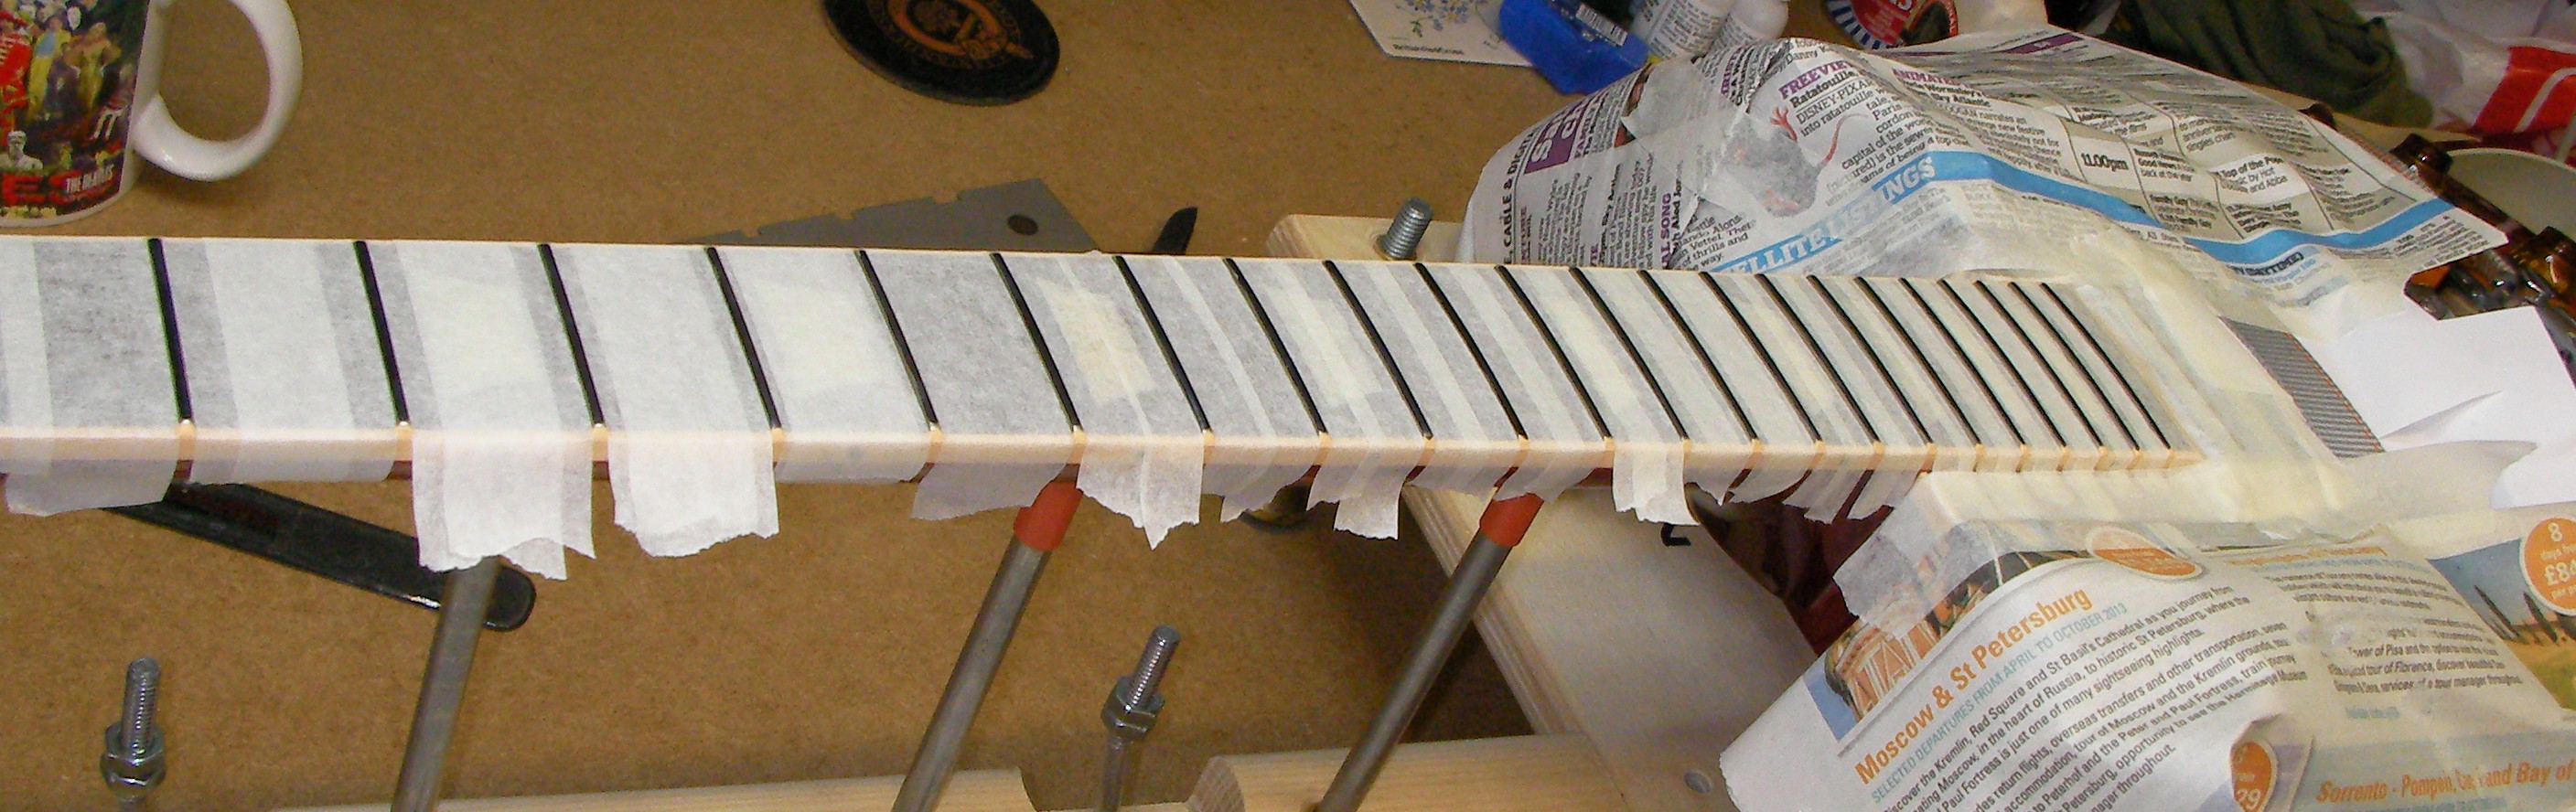
I’ve also marked up the top of each fret with a marker pen so I can see when my file is touching the fret top.

After just a few passes you can see where I’ve been removing metal and where the frets are low. The high points are at the neck ends on the treble side and in the middle on the bass side.
Once my leveling beam is touching all the way along the neck, there is no more ink left, I know I’ve got a level finish.

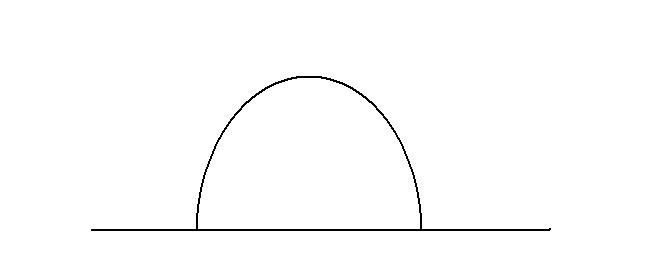
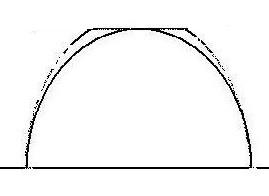
That’s the easy part, now to re-shape each fret. As you can imagine, looking along the fret, it should be this shape…
but now they are like this..

So I have to file each fret to a rounded crown, something like this…
Being careful of course not to reduce the height of the fret at all.
One down 22 to go…….
This is the bit that takes the time.
Once the frets are all re-shaped they just need a polishing with finer and finer grades of micromesh sanding sheets.
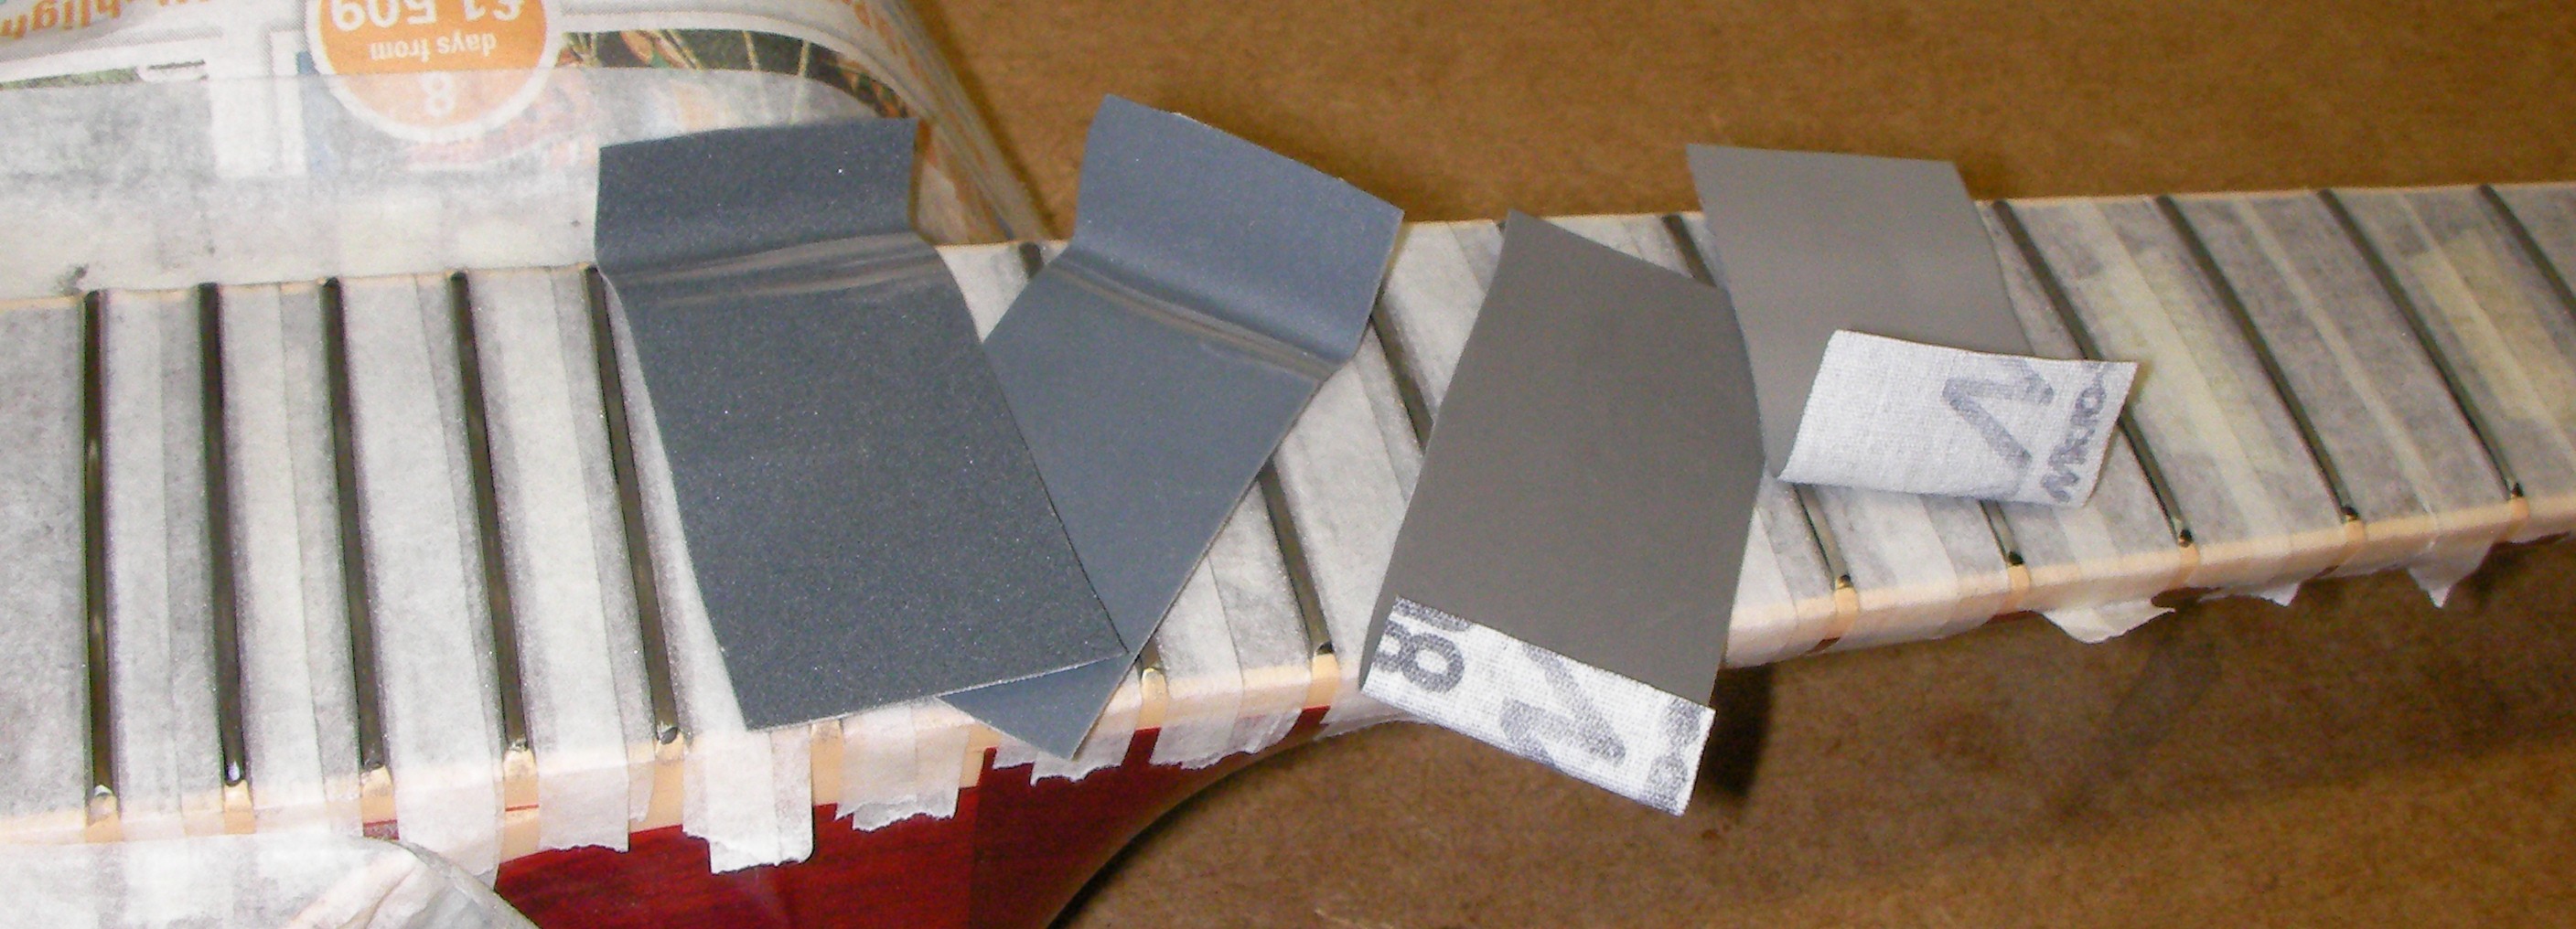
Again time consuming.
Once the frets are done I’ll add a little lemon oil to liven up the fingerboard a little.
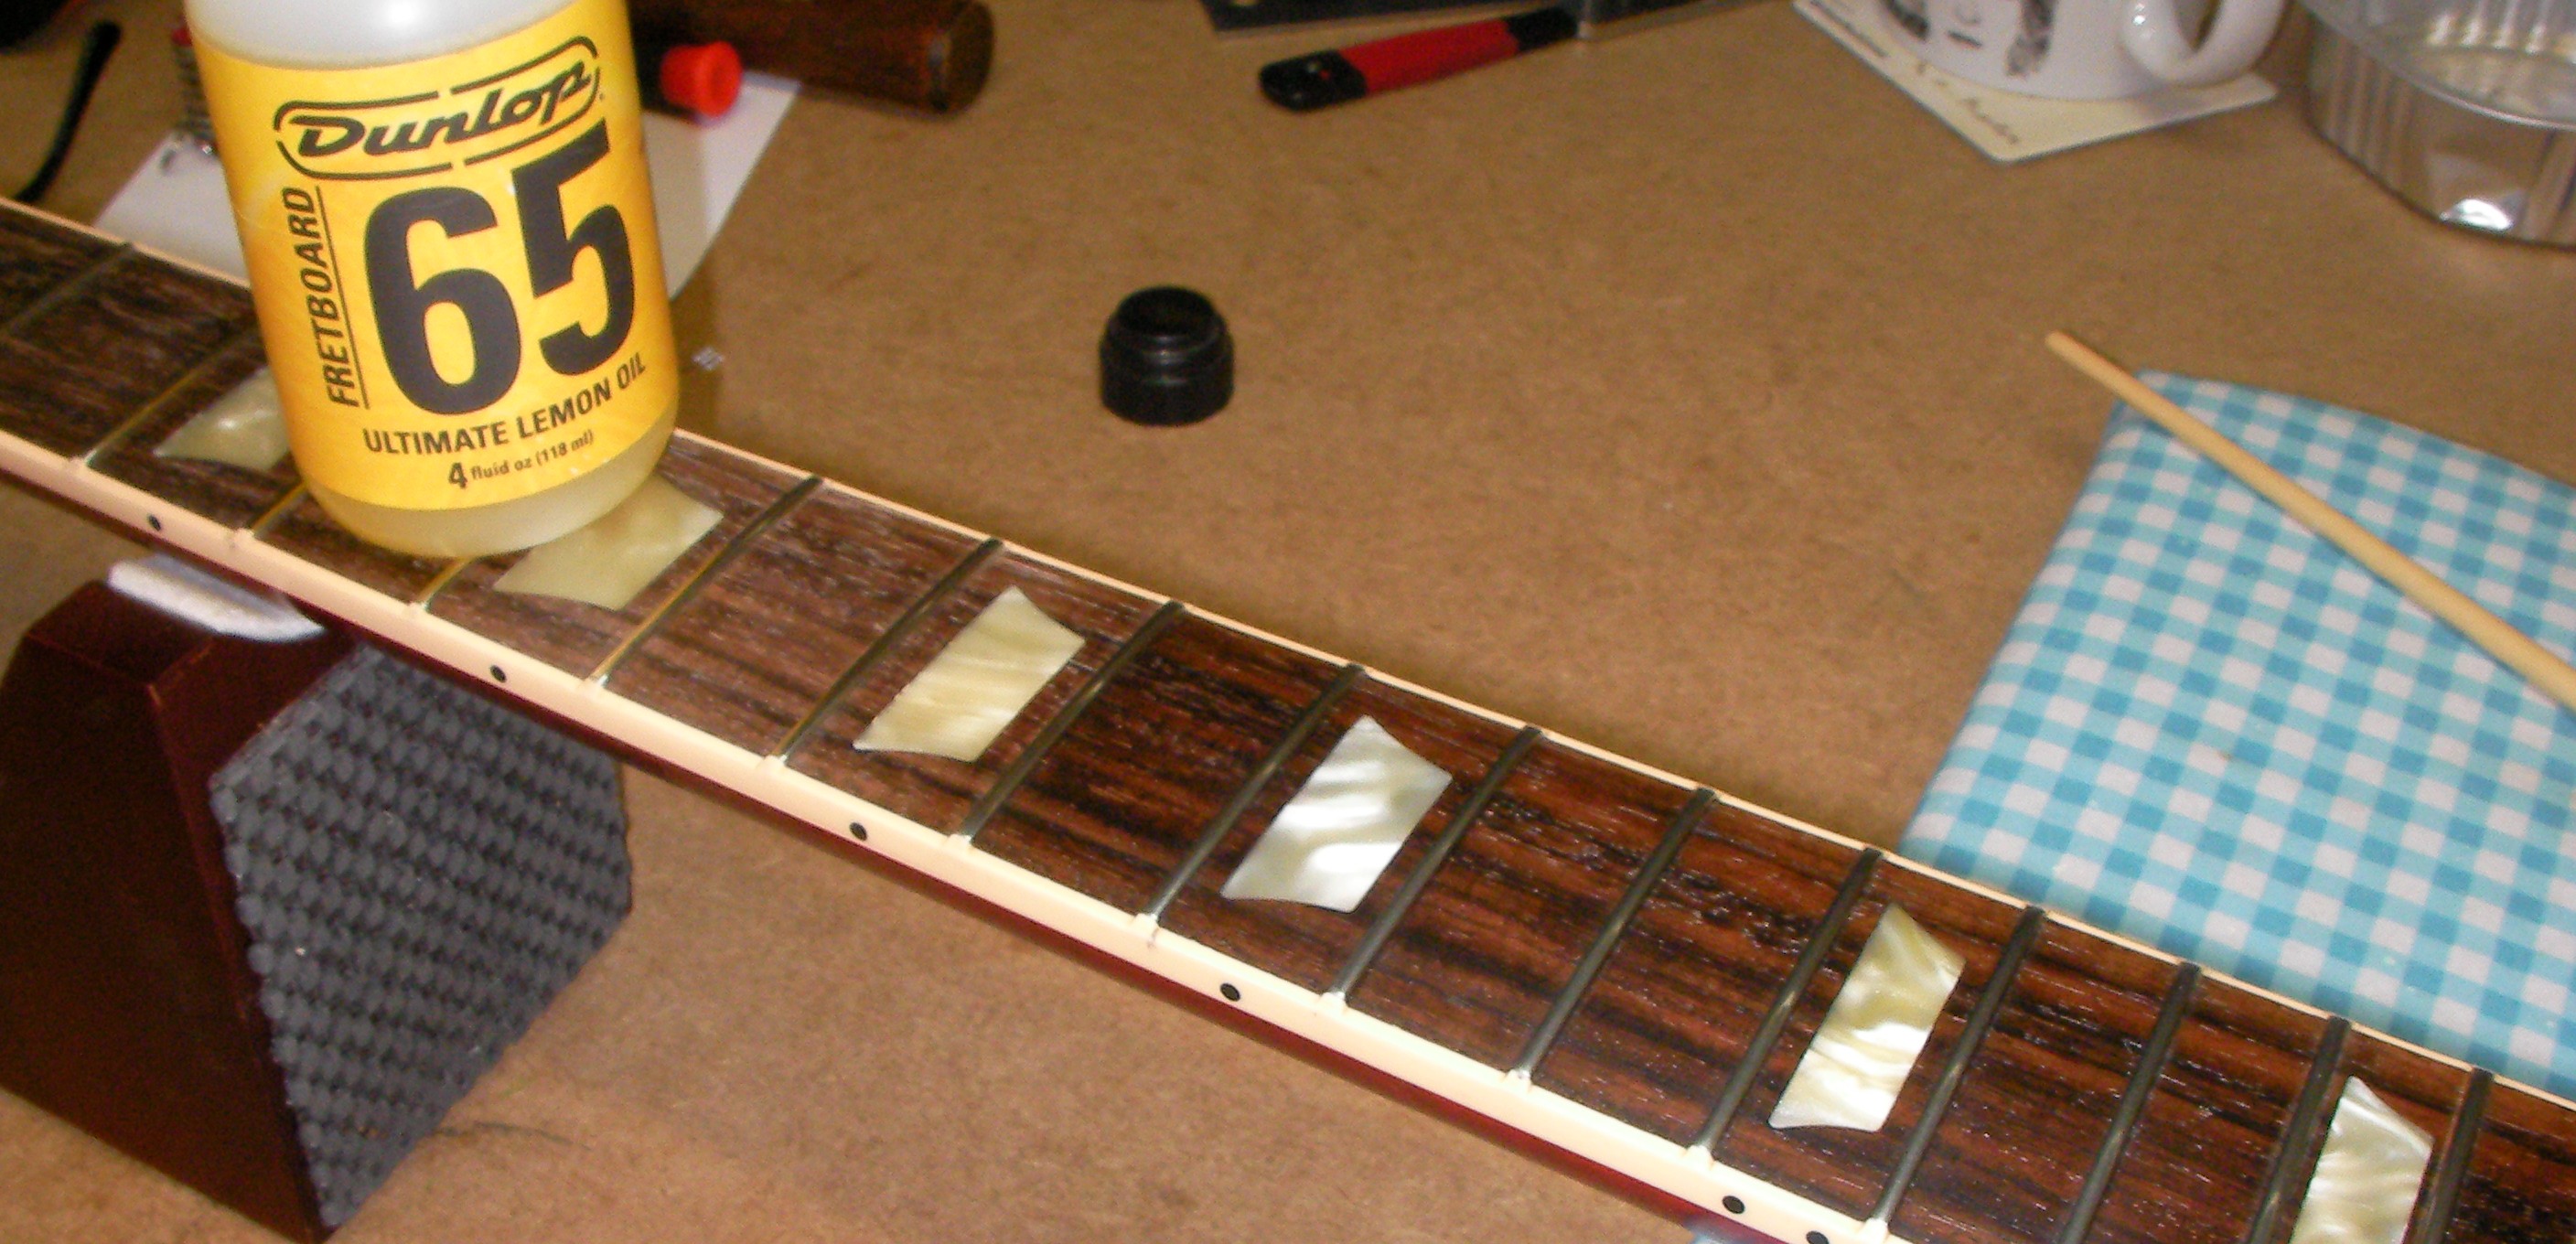
Brightens up the finish nicely.
With the fretboard done it’s time to make the new nut. I’ve got some bone blanks, they just need cutting down to size.
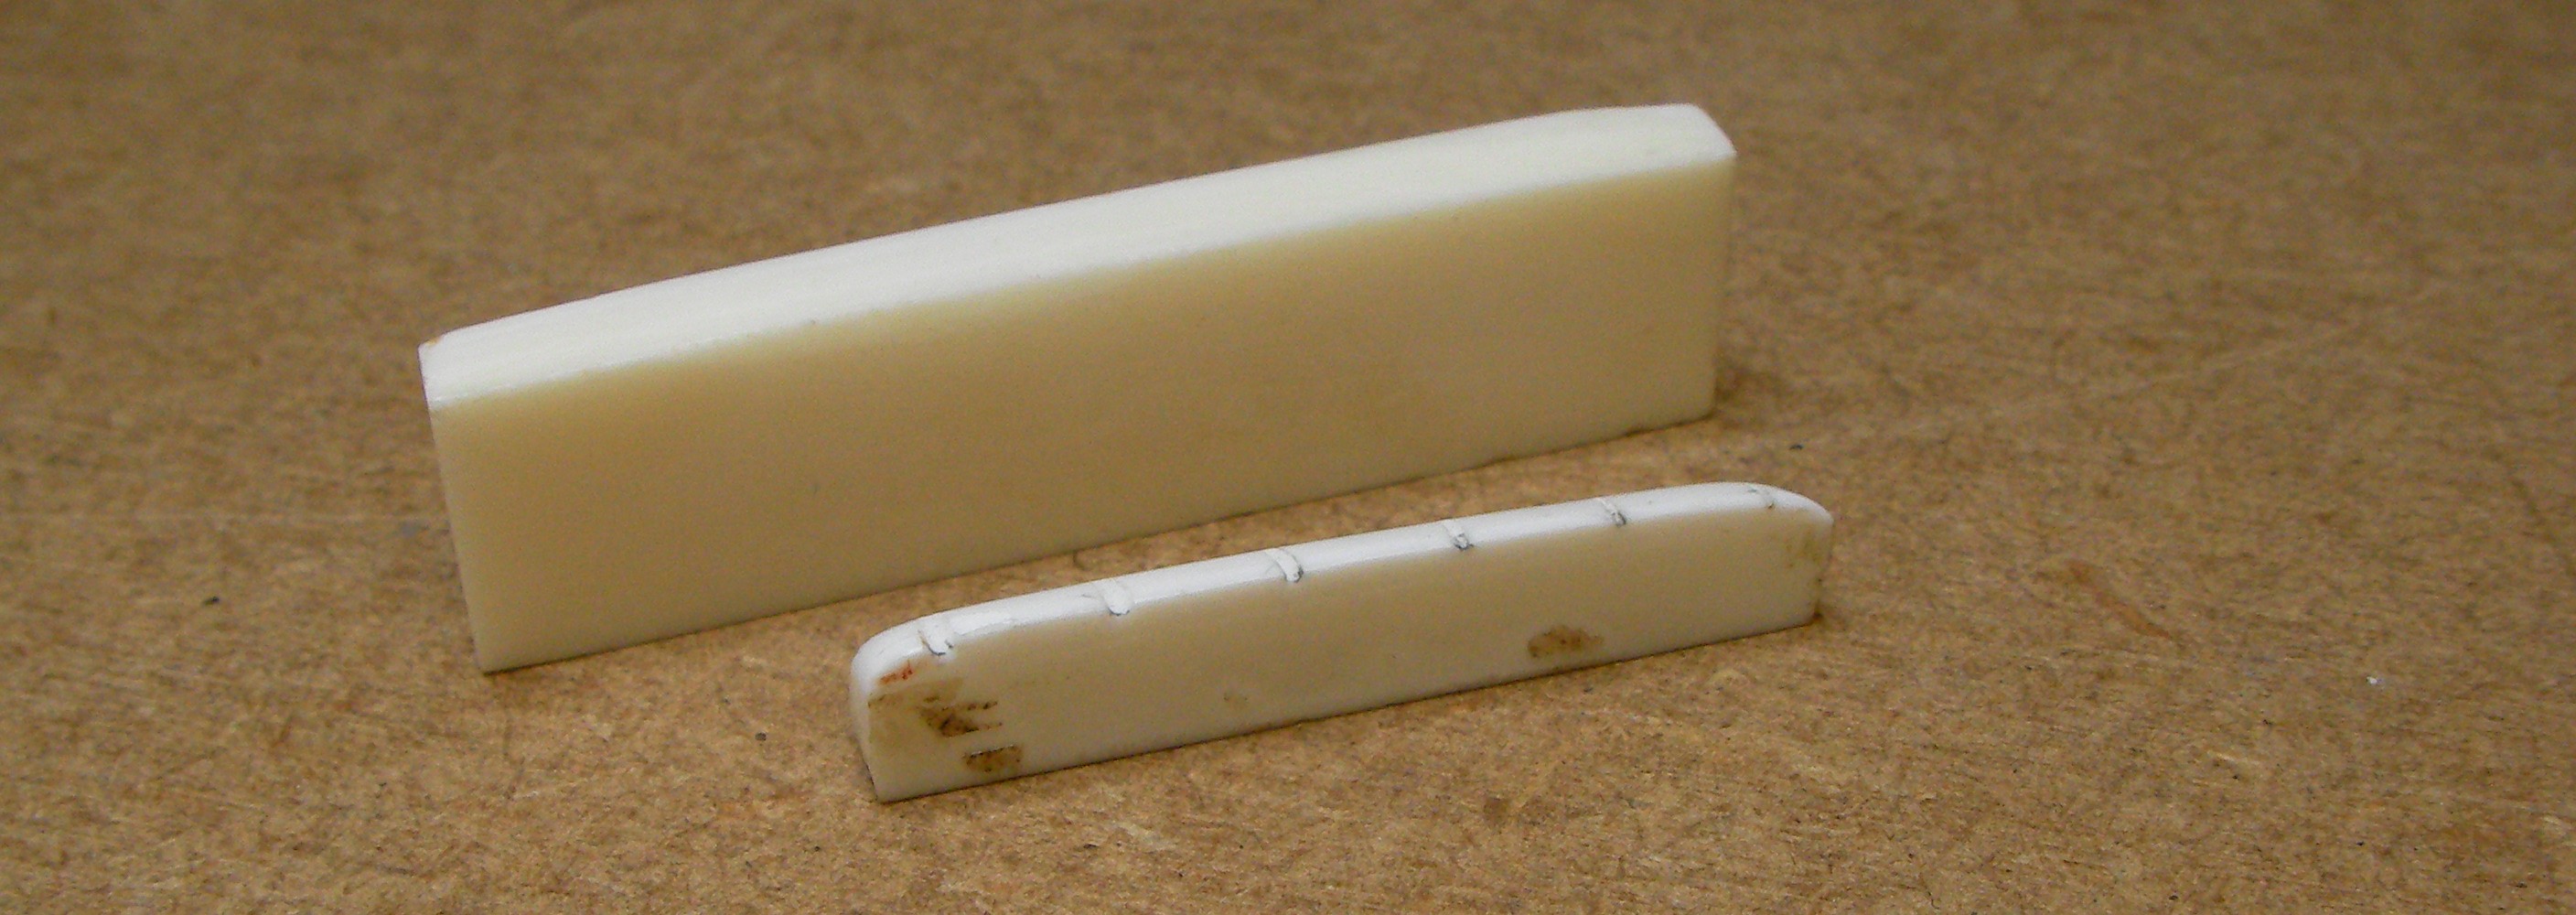
First thin it down to fit in the slot on the guitar
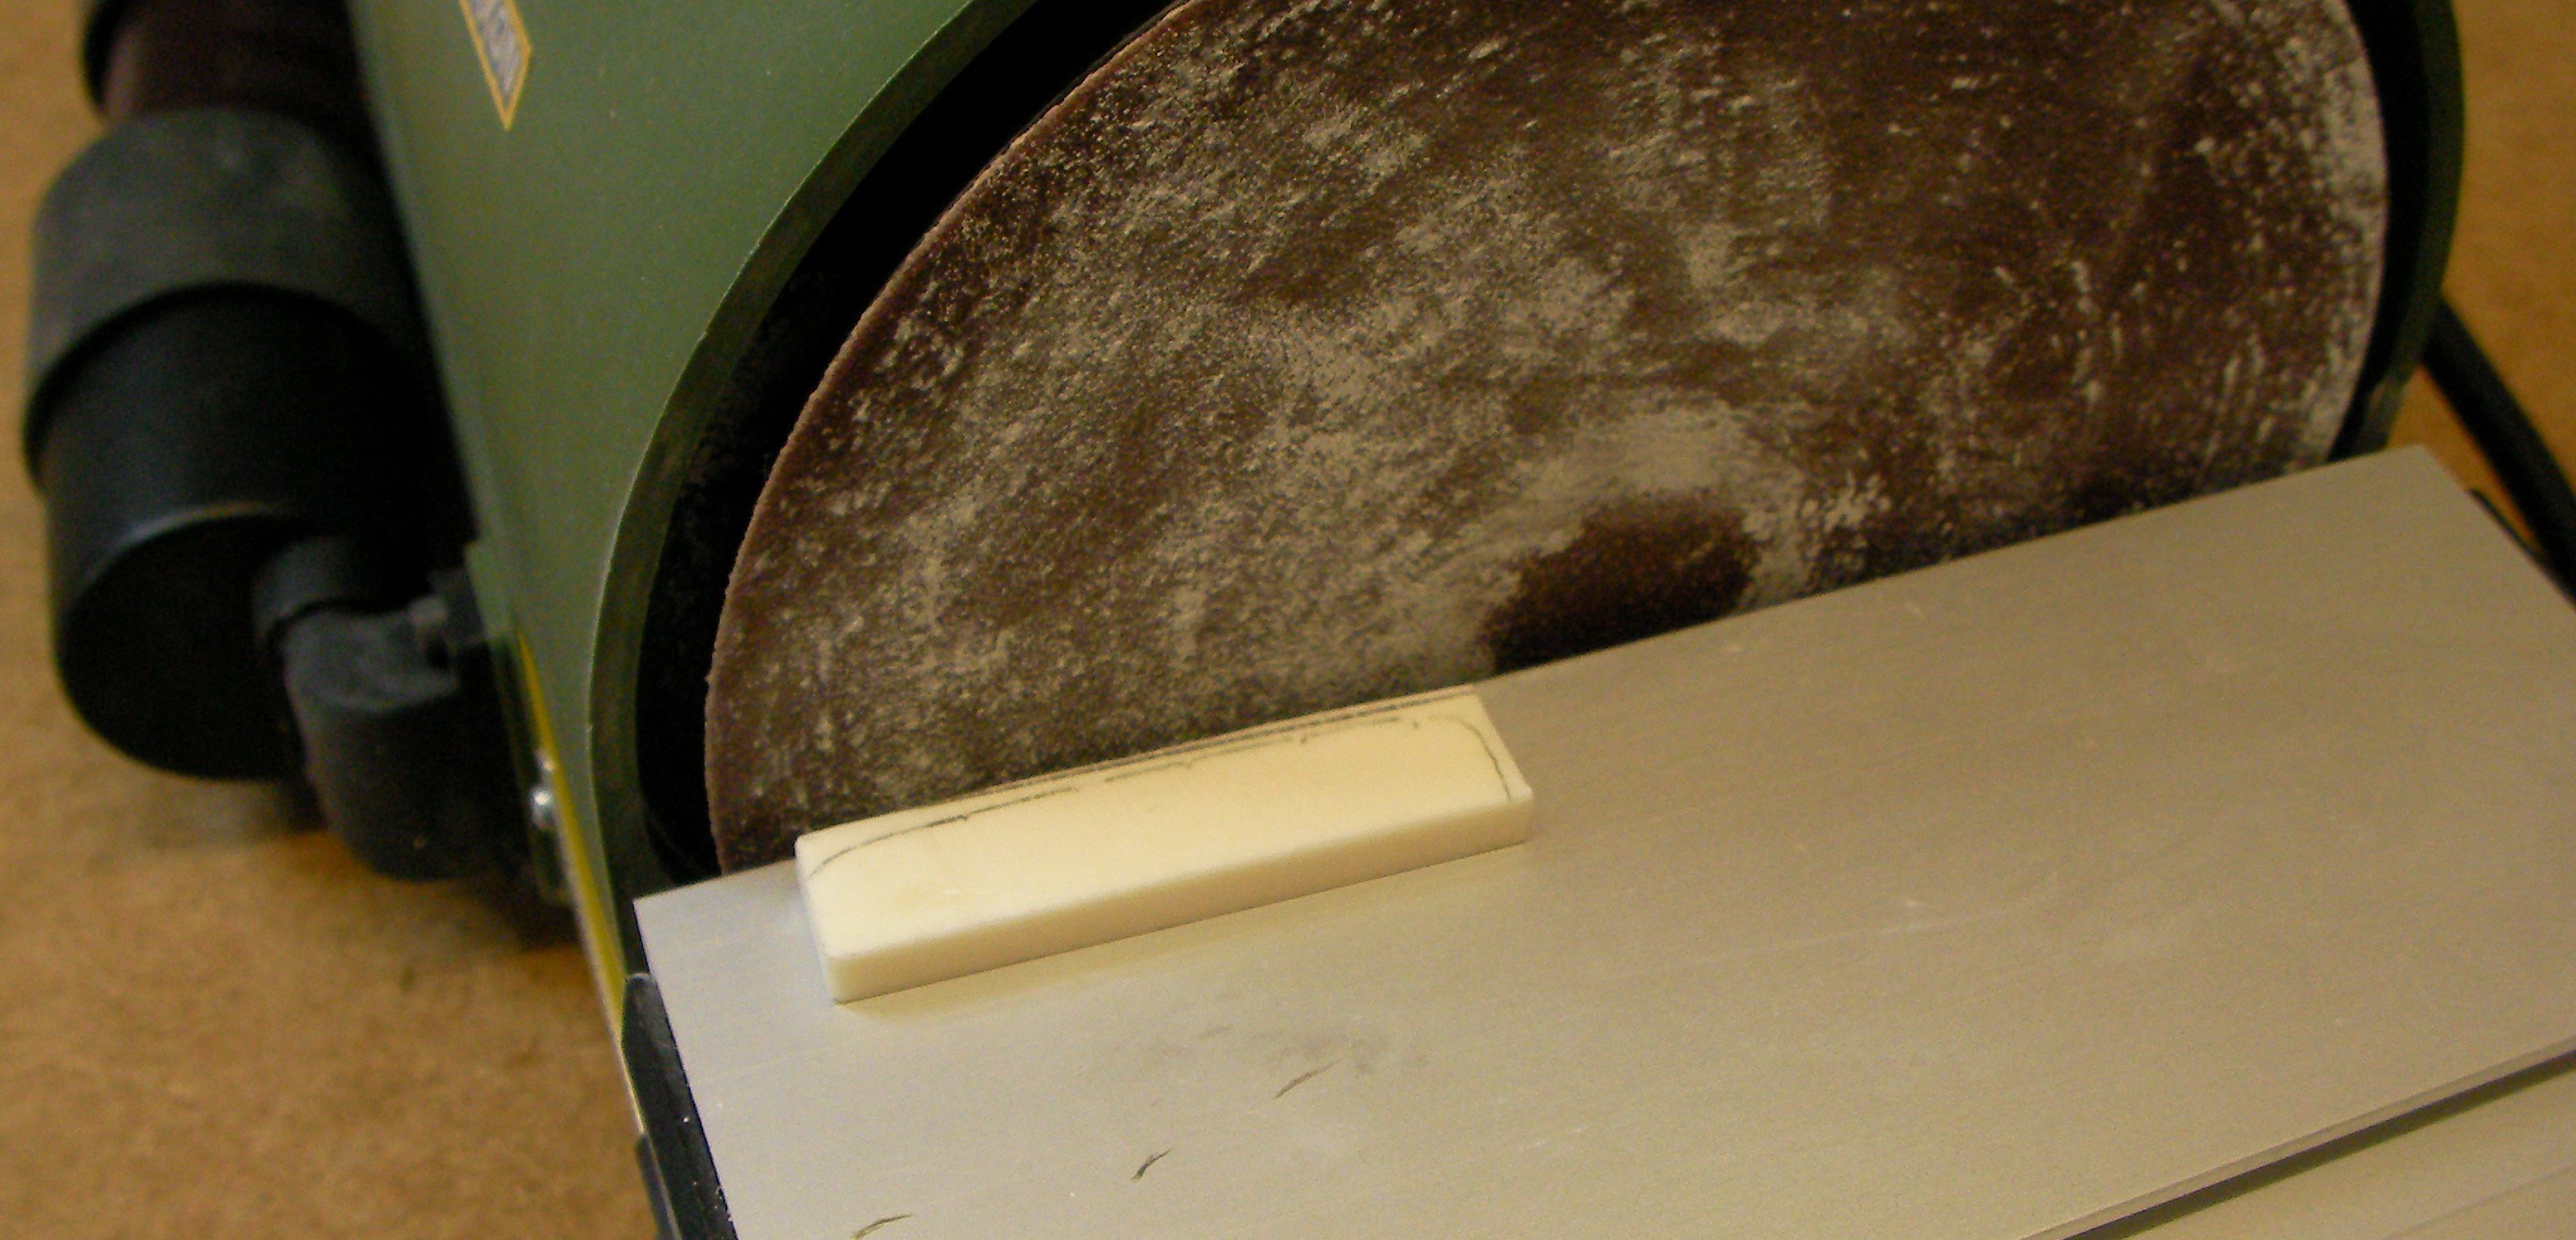
Then file to shape using the original as a guide. This is my least favourite part of the job. Not because its difficult, it’s actually very easy, but the smell as you grind it down isn’t nice at all. Like working in a slaughterhouse! Yuk.
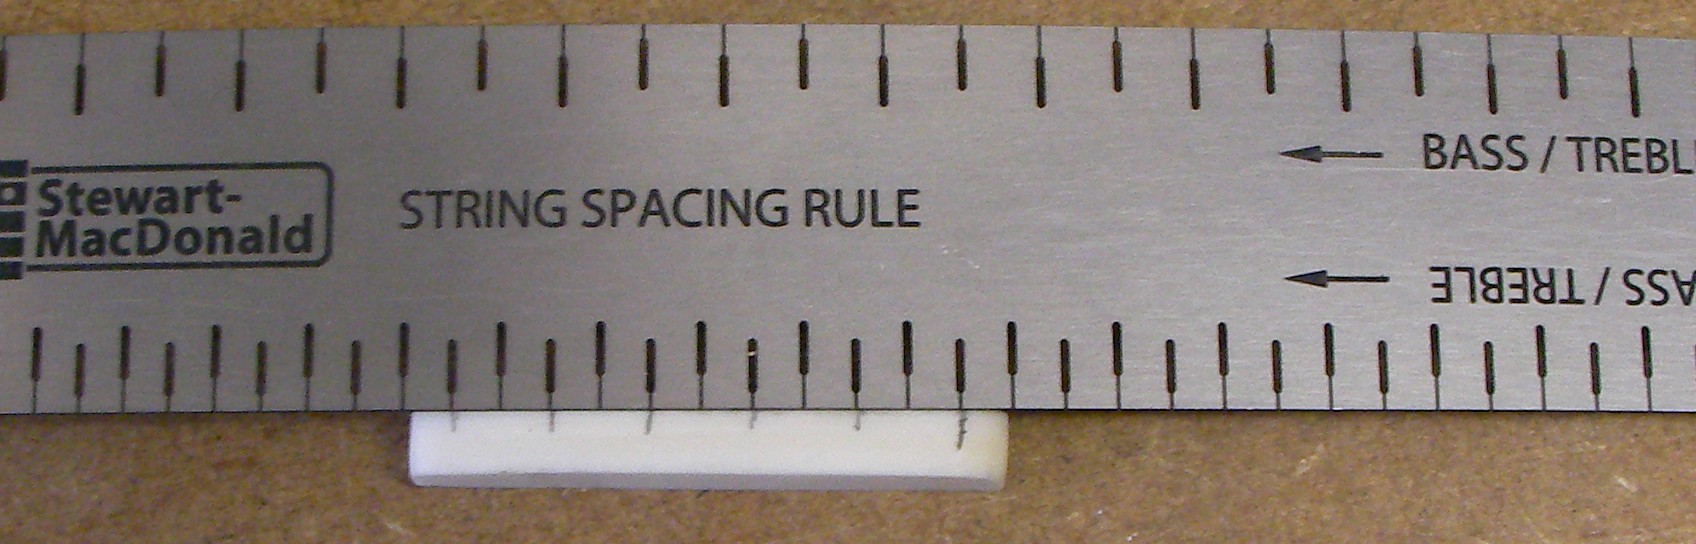
Once the nut is shaped all I need to do is to cut the string slots into it. The easy option is to use the original as a guide, but then you can never guarantee it was spaced correctly so I always check with a string spacing rule.
With the nut fitted and the strings replaced all I have to do is cut each slot to the required depth, measuring the action height at the 1st fret.
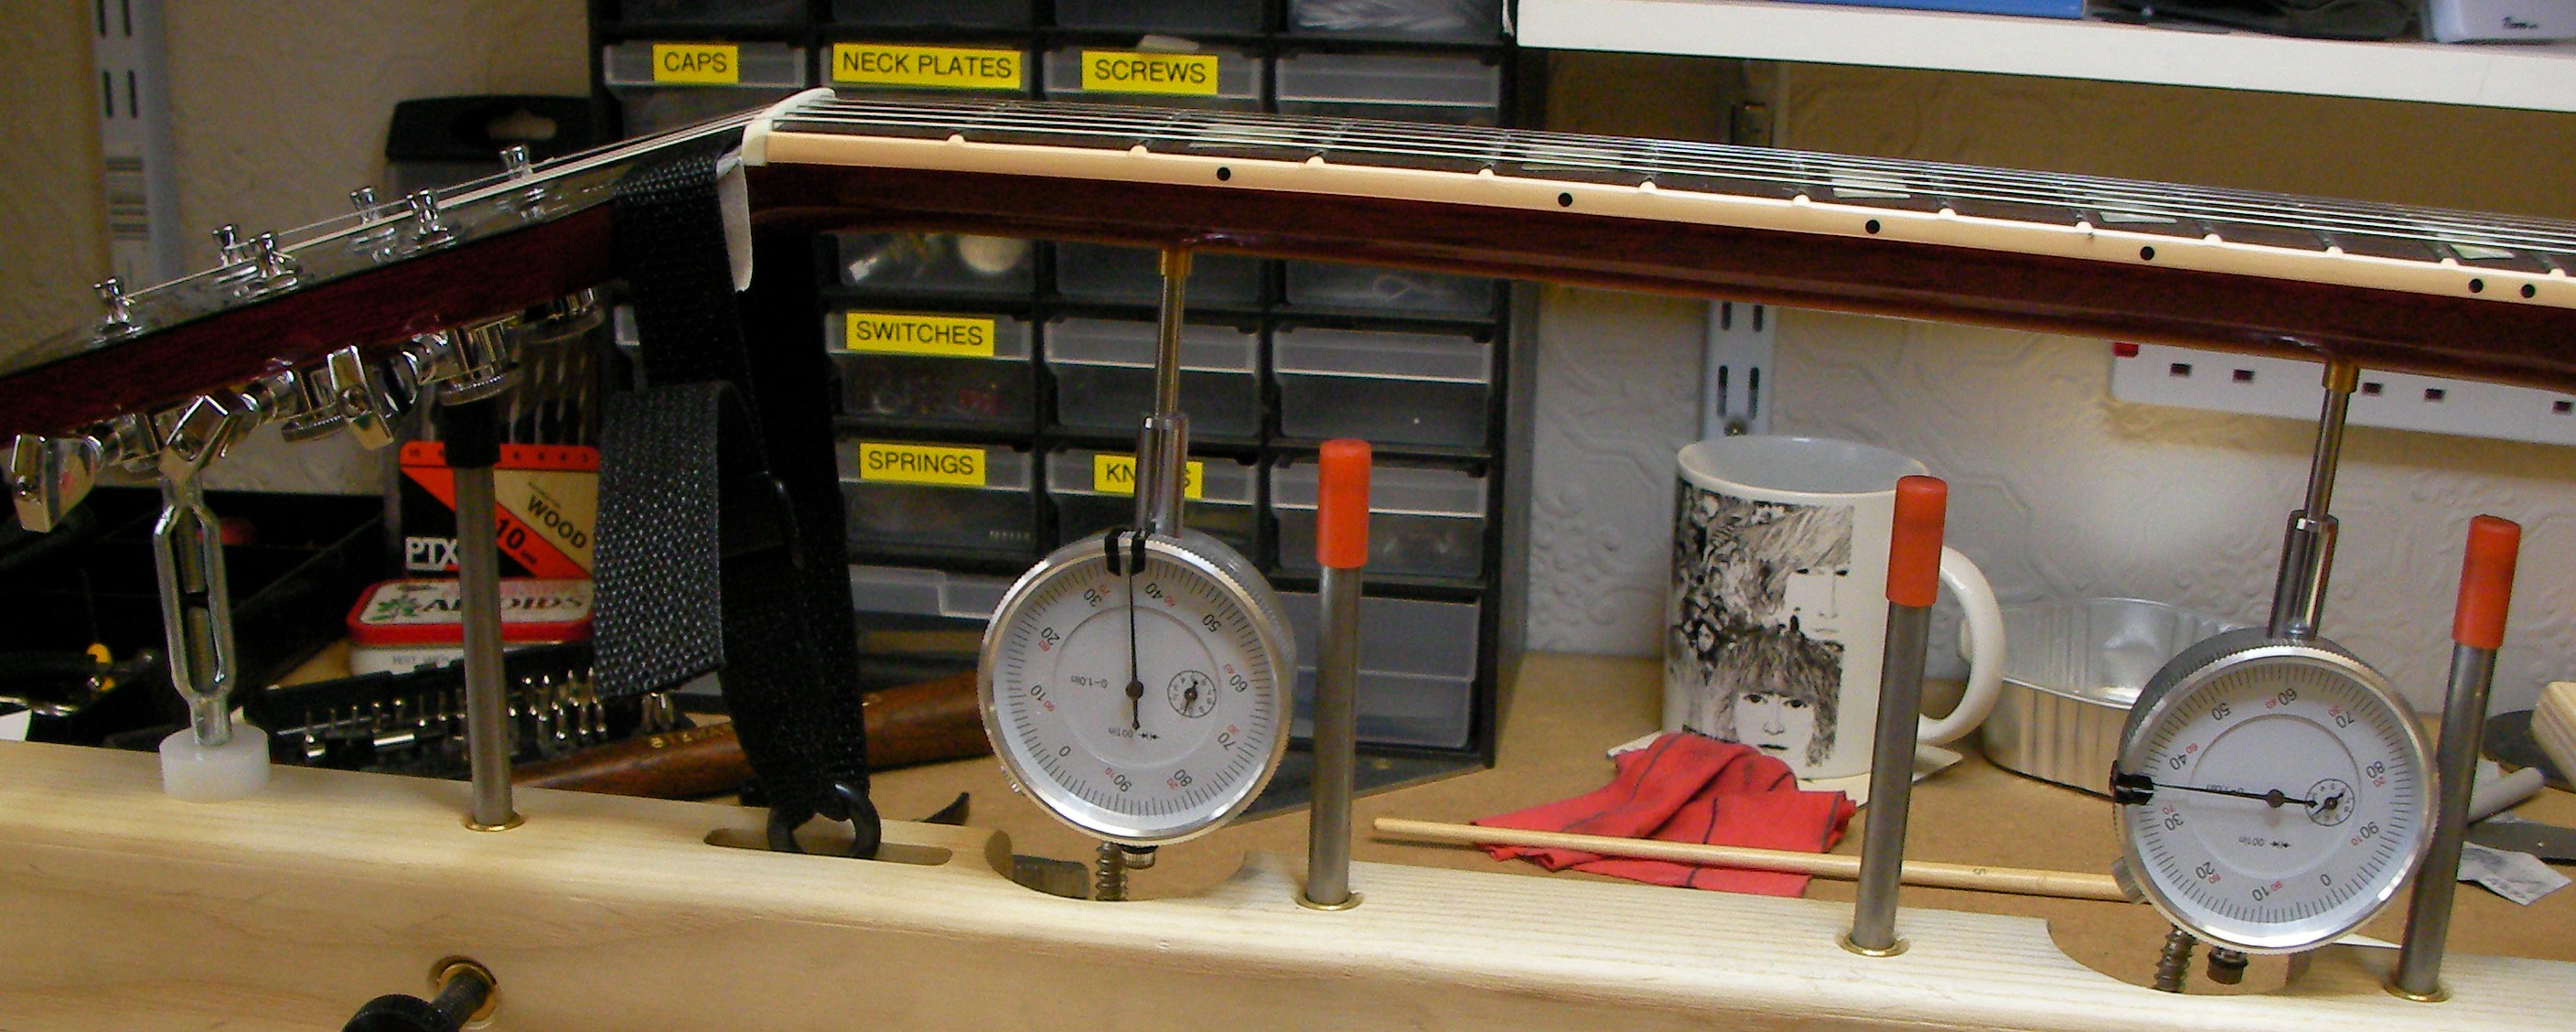
Now it’s time to re-check and adjust the set in the neck. To got it spot on it needs to be checked with the guitar in the playing position not held flat. This is where the neck jig is particularly useful.

The owner wants as low an action as I can get so I’m going for 0.004″. Once I’ve got that set I’ll adjust the 2 dial calipers to zero.
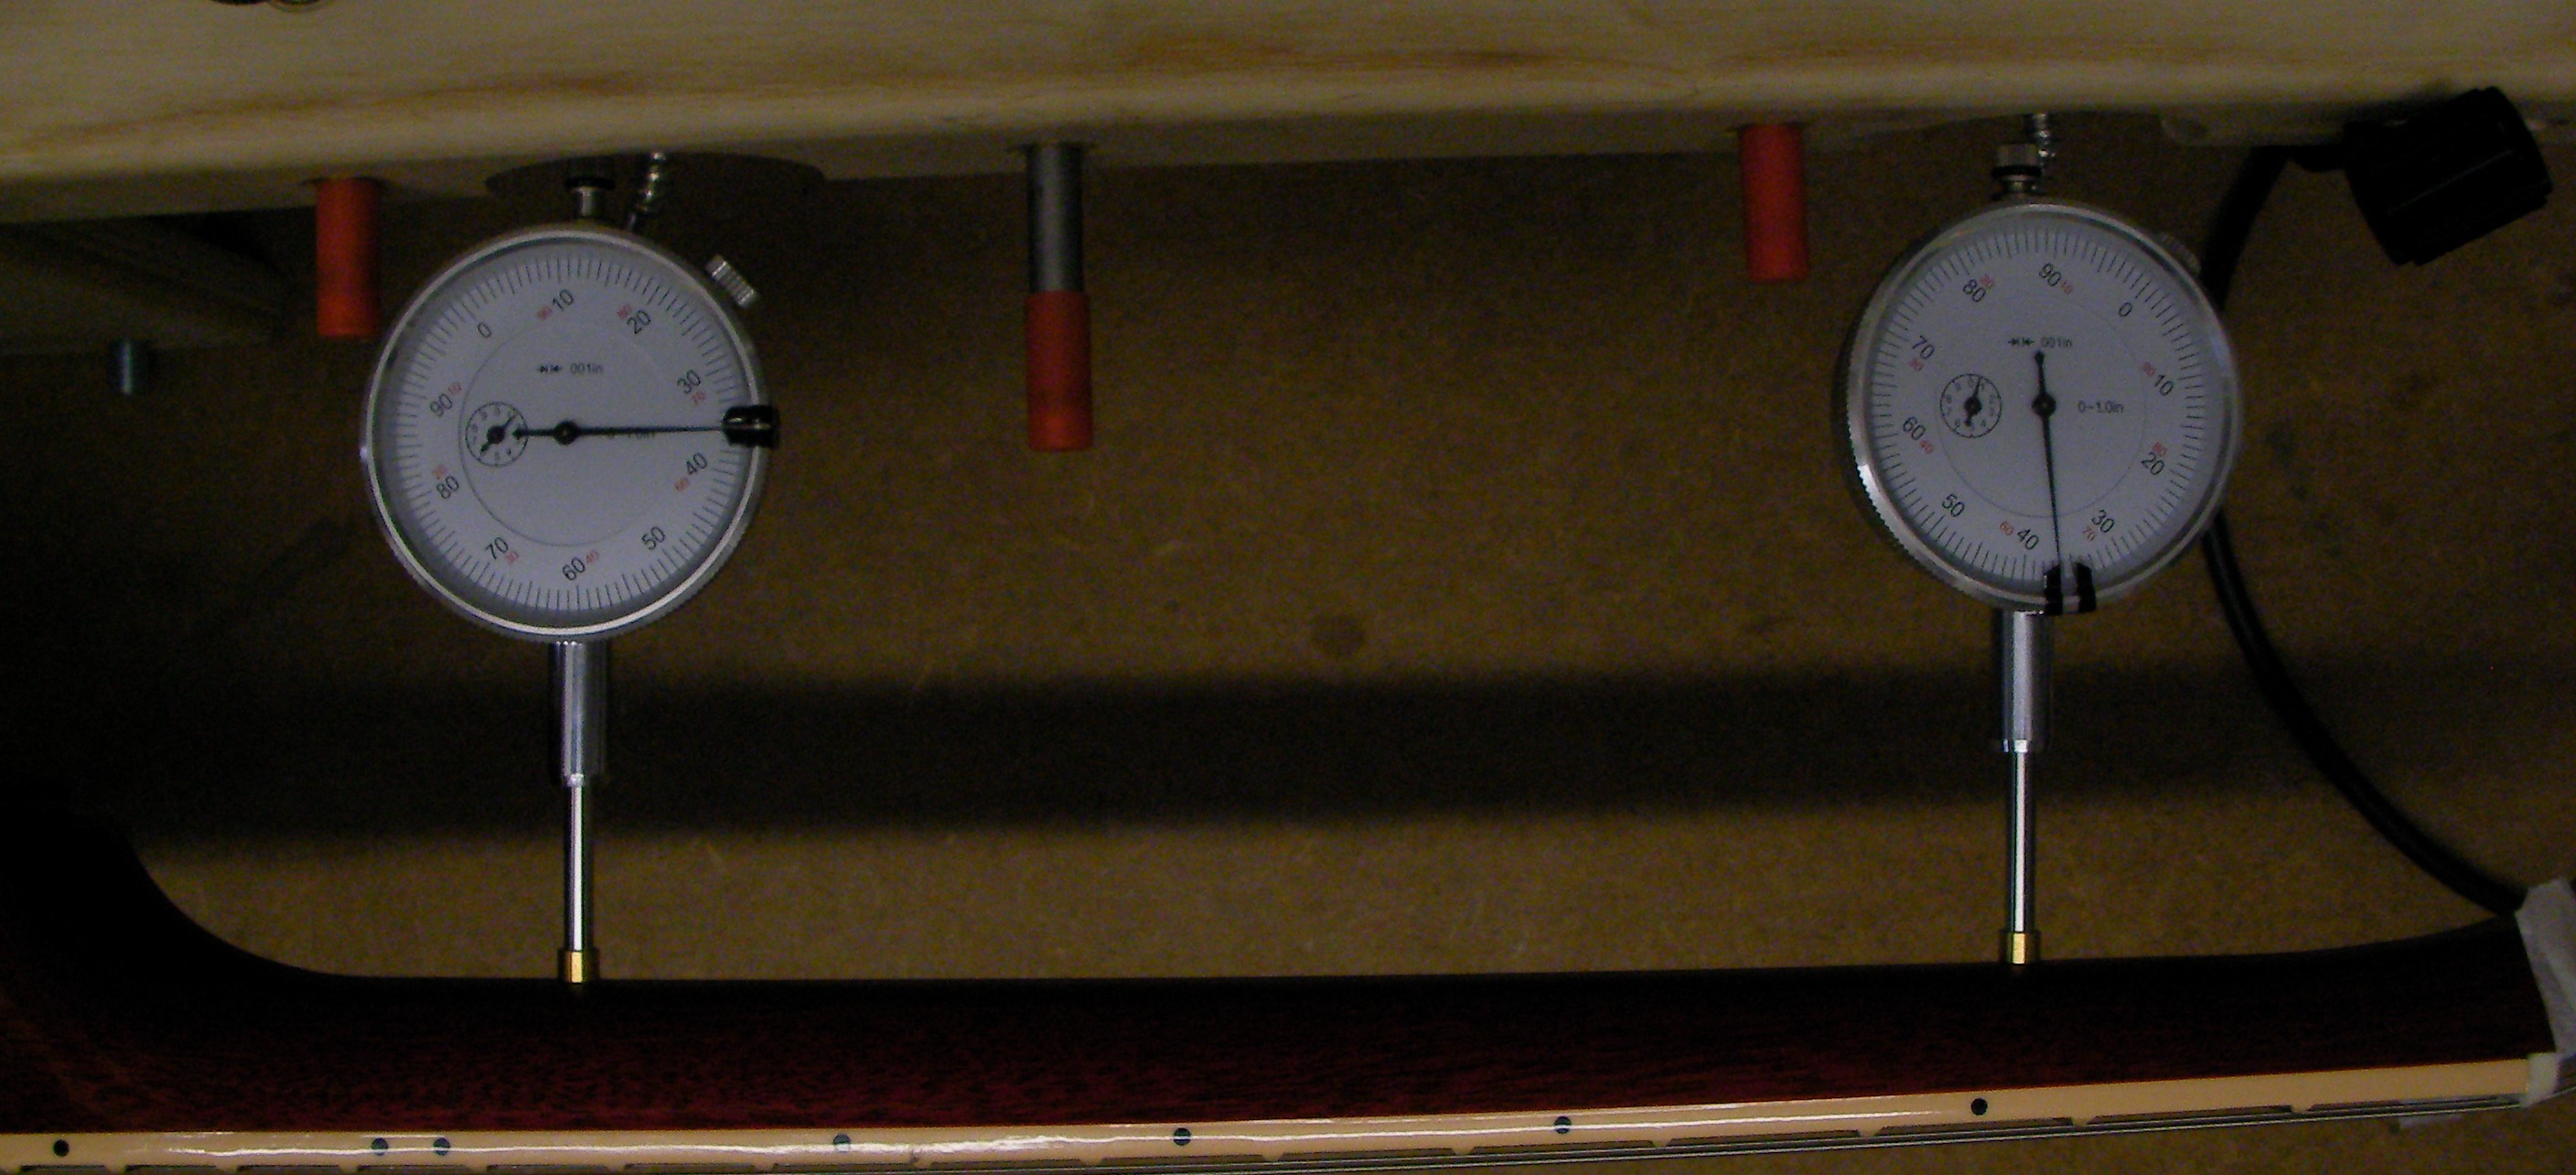
Once the jig and guitar are placed flat again I can use the jig to reproduce the exact curvature of the neck by pulling down on the strap at the nut and up with the jack at the head until the dials again read zero. Ultimately if I need to do any more work with the strings removed I can jack the neck to exactly the right set
With the string height at the 1st fret and the truss-rod set I’ll adjust the bridge to get a nice low action, the Gibson setup quotes height at the 12th fret.
Once that’s done I’ll check the intonation.
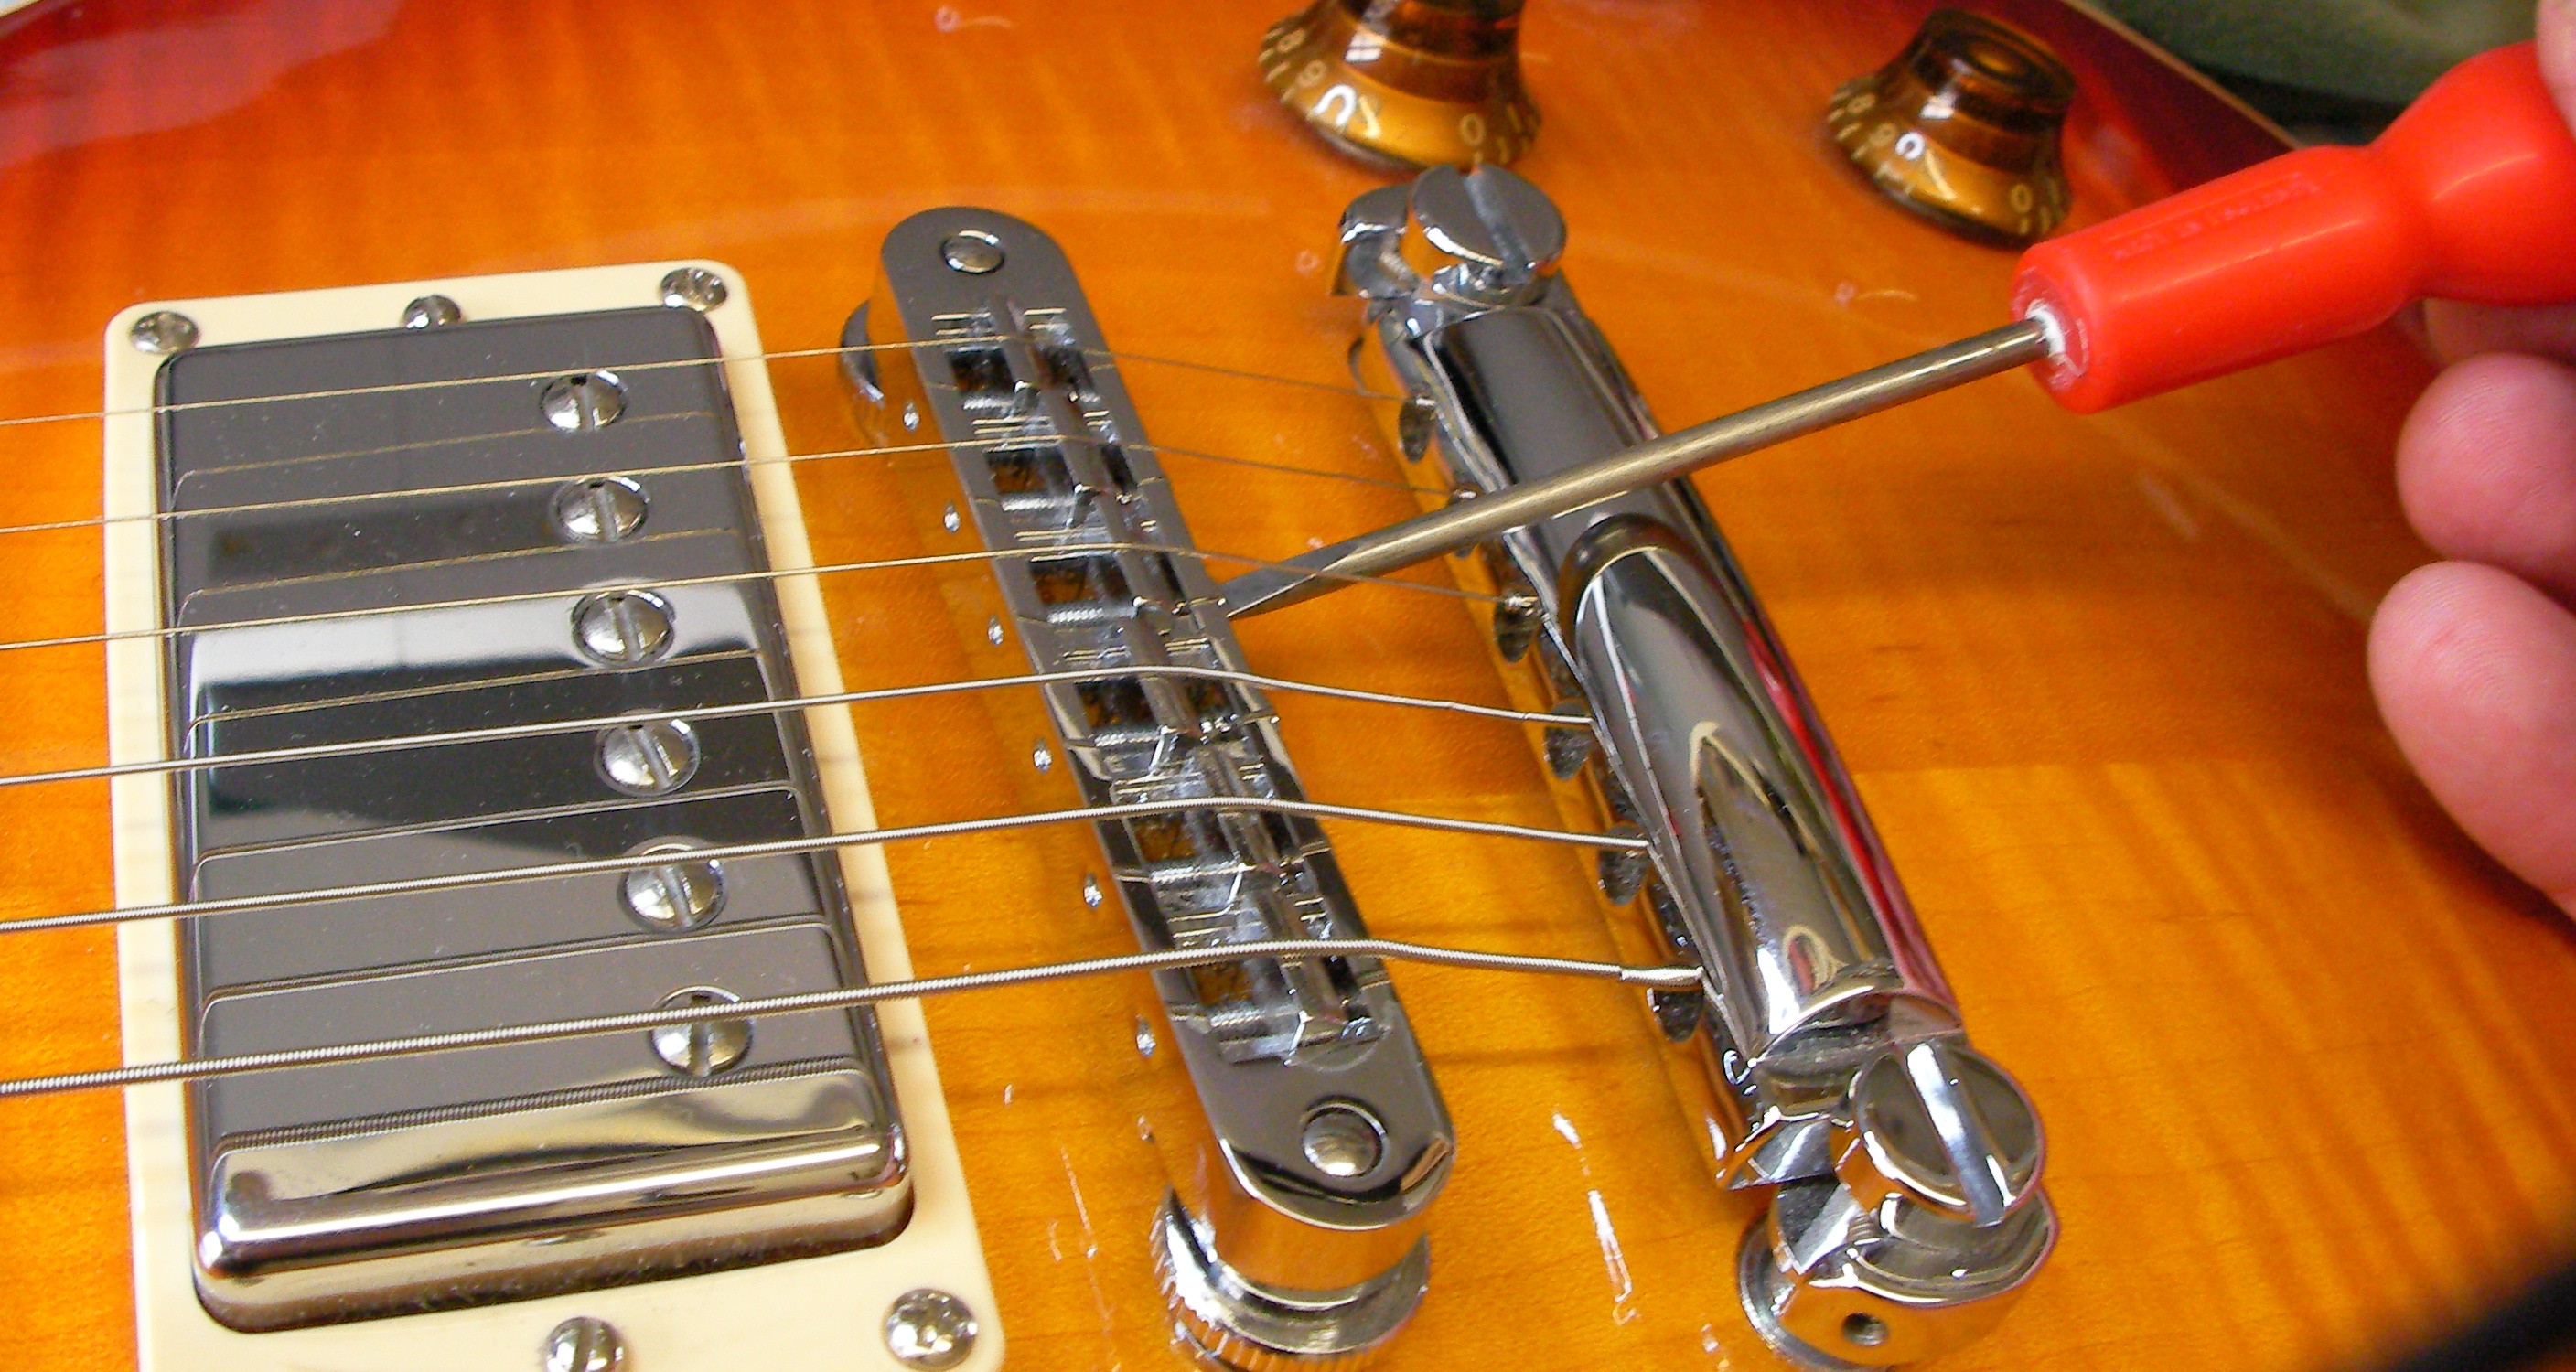
and lastly the height of the pickups. The output volume from the 2 pickups should be the same, perhaps a little louder for the bridge pickup.
Having got this guitar palying nicely I was further asked to completely re-wire it with brand new pickups. I like it when a customer really knows what he wants and this guy came up with a specific list, and even the parts!
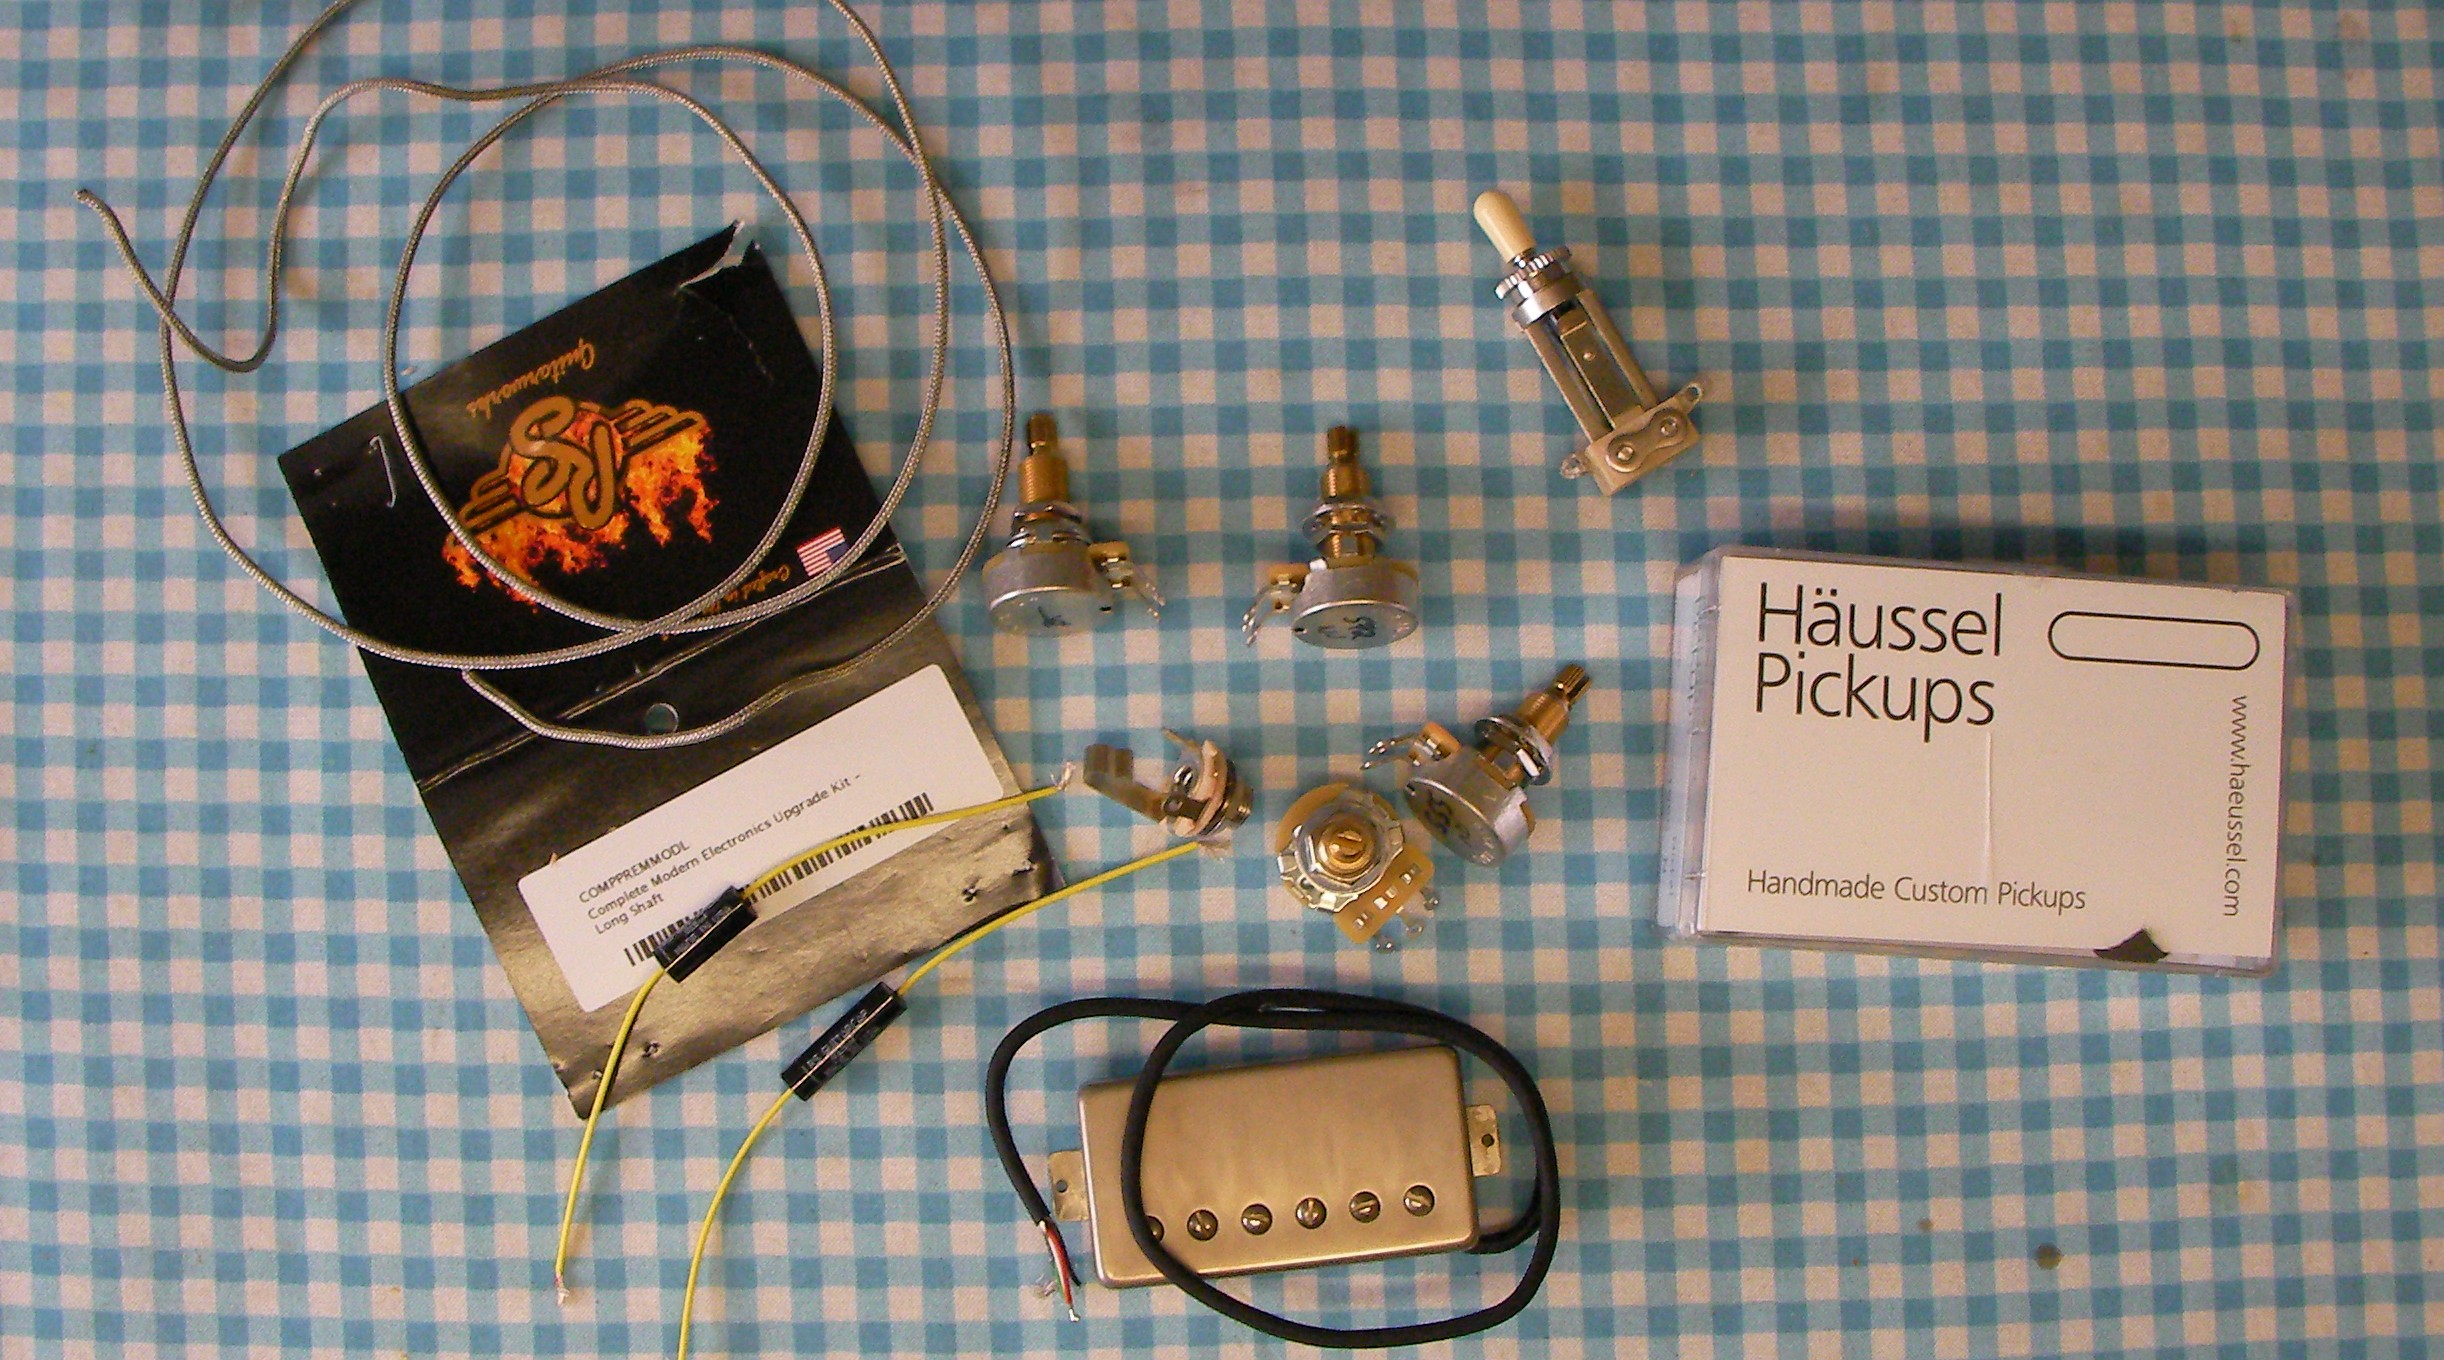
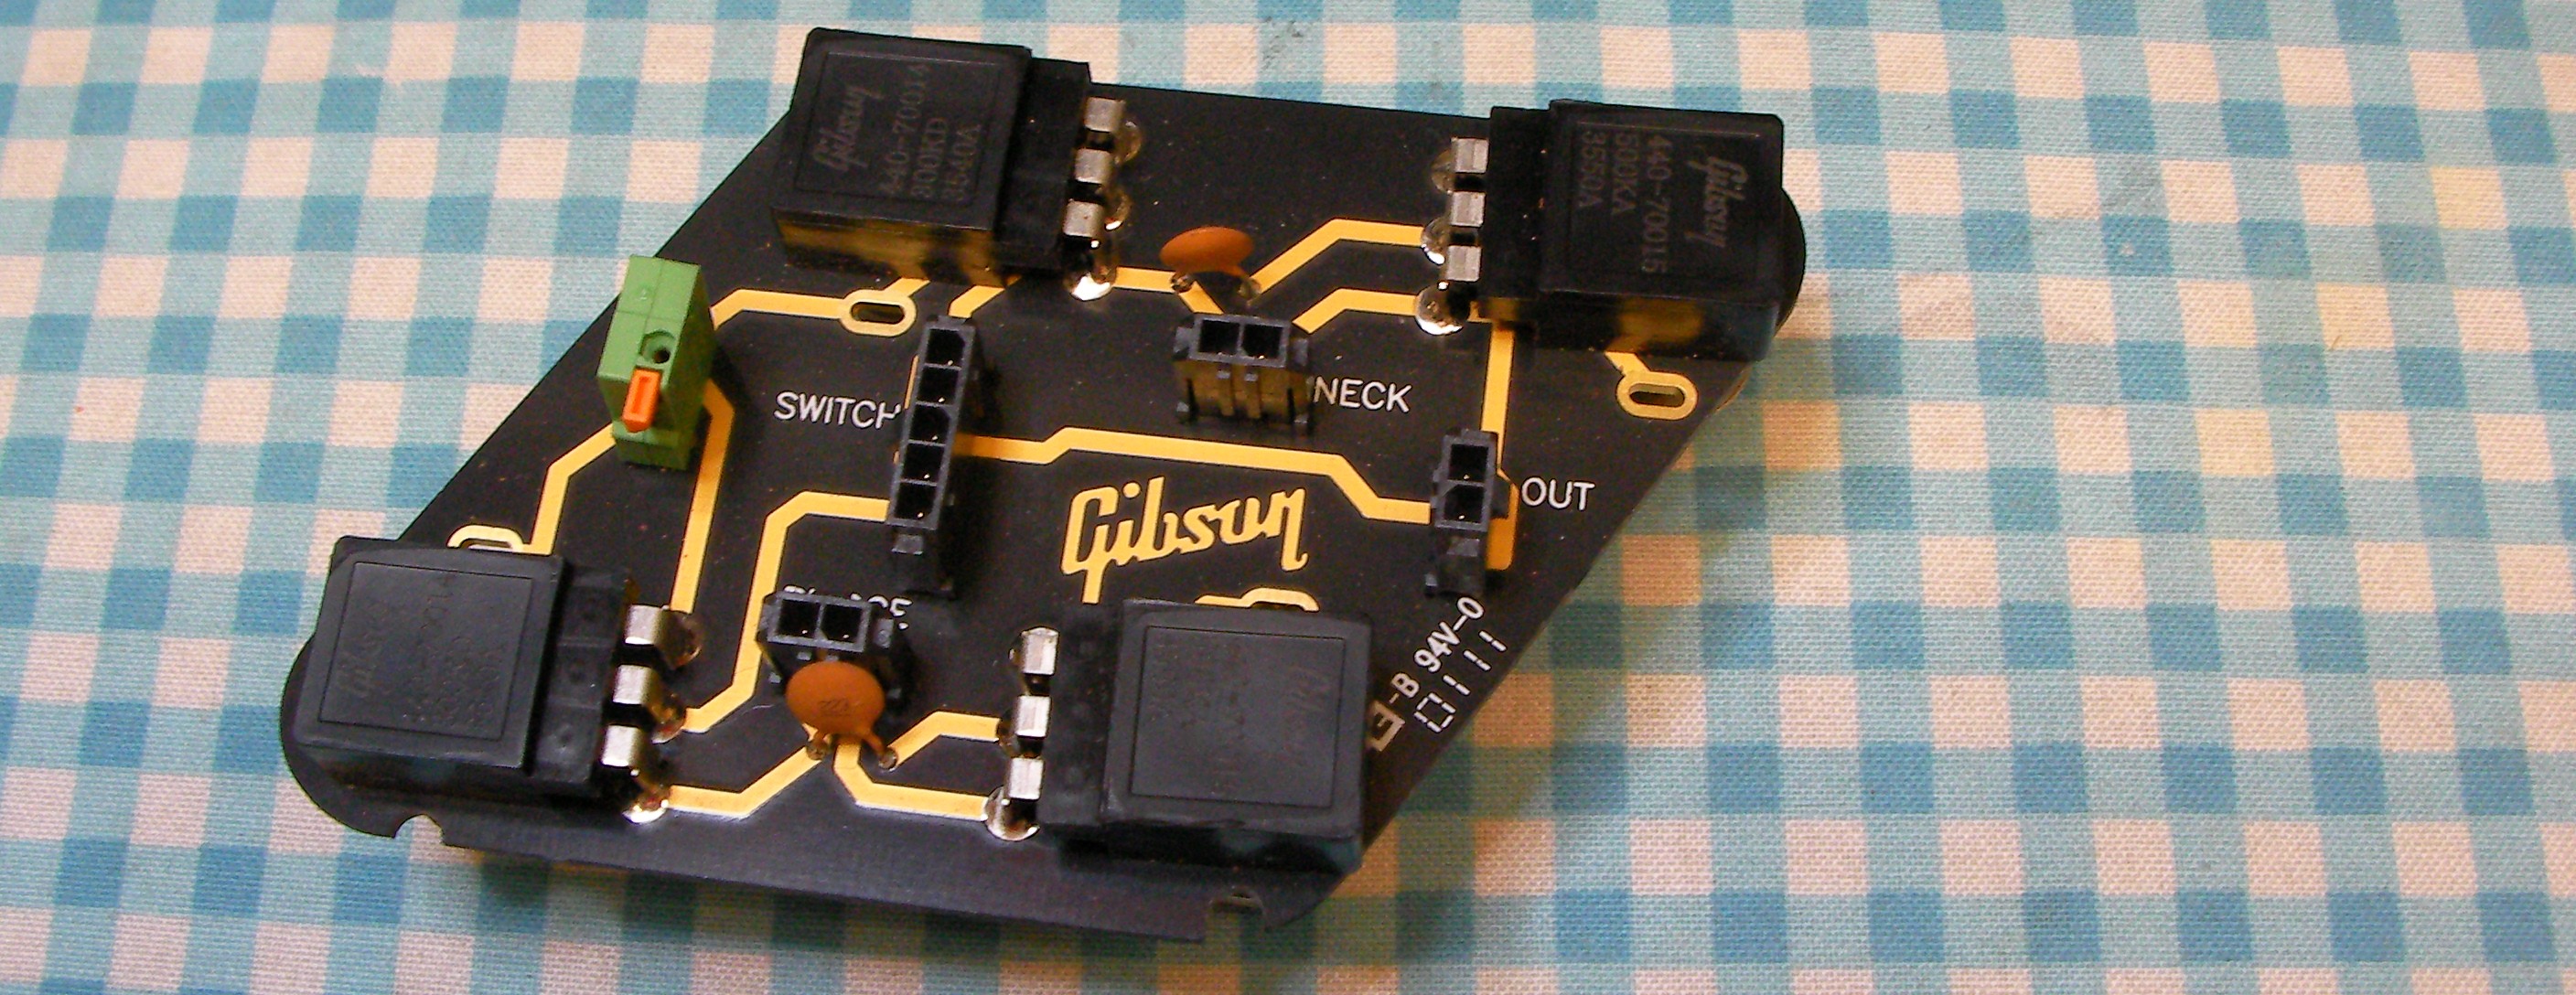
Being quite new it had the standard modular form of electronics…
The old stuff..
Re-wired the traditional way..
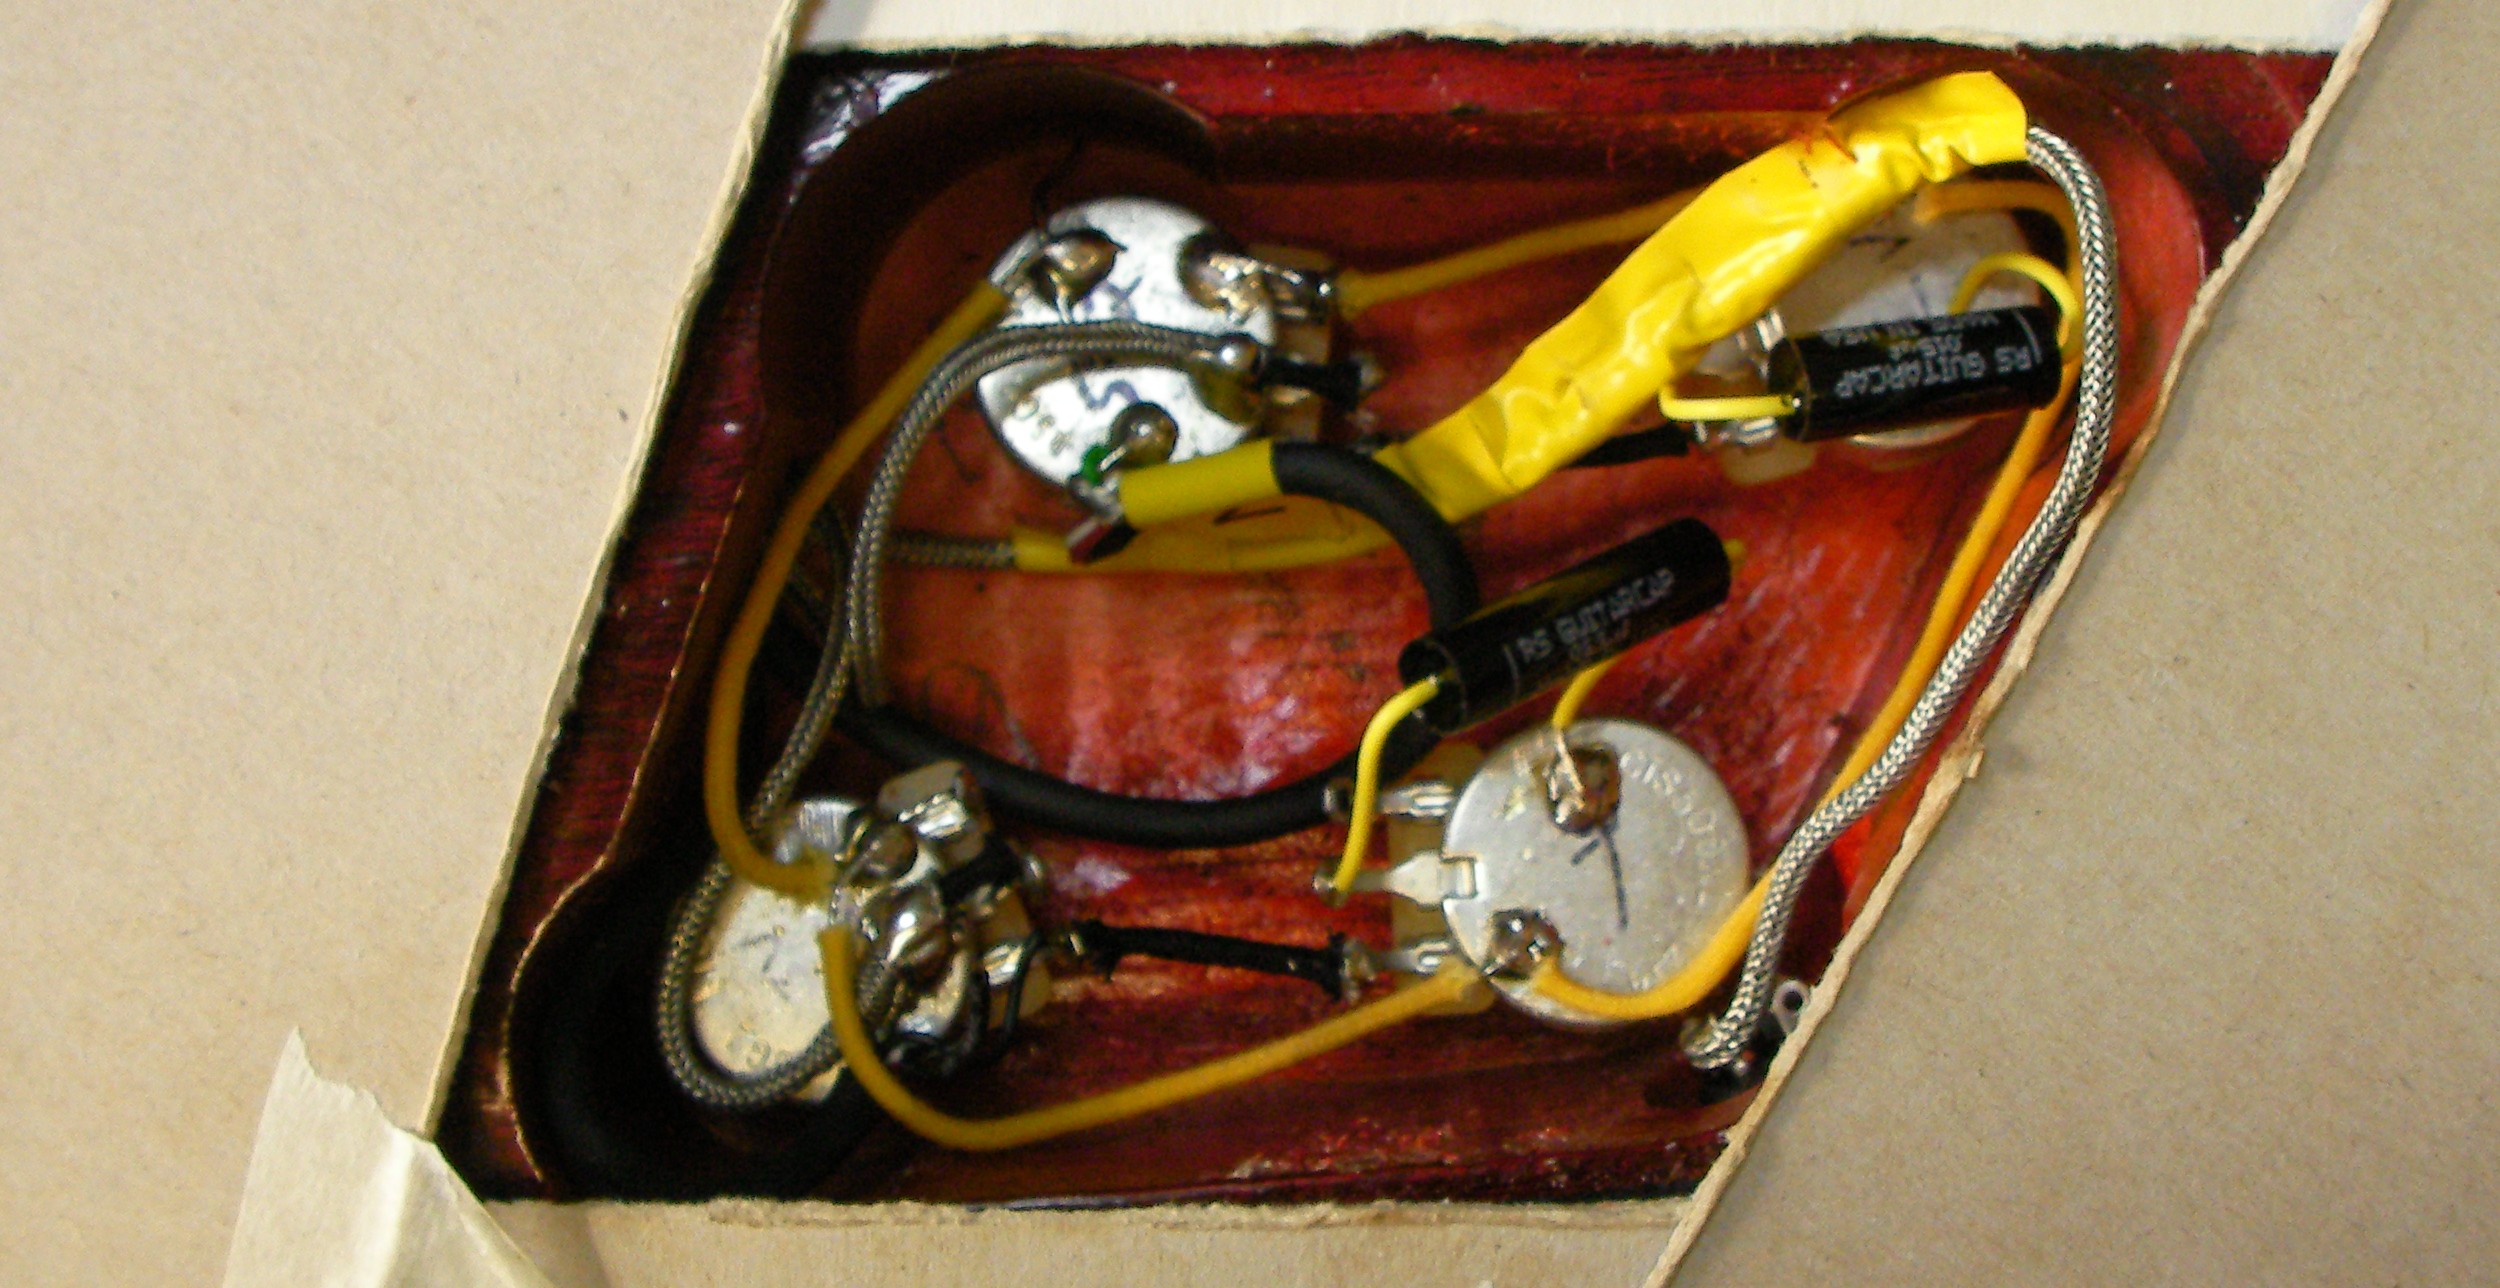
I’ve not much experience of Haussel pickups but have to say they sound fantastic. It now looks, feels and sounds fantastic.
Looks like he opted for the Jimmy Page style of wiring the caps as opposed to bridging the orange drops. Are those push/pull?
Sorry I really can’t remember, far too long ago I’m afraid.