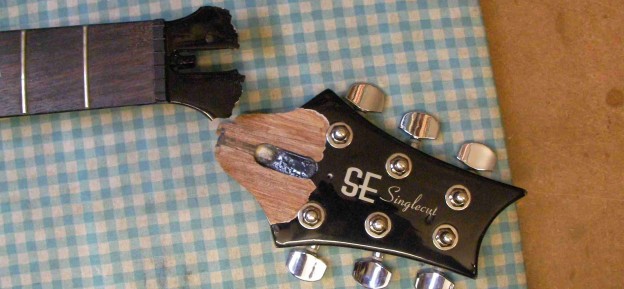
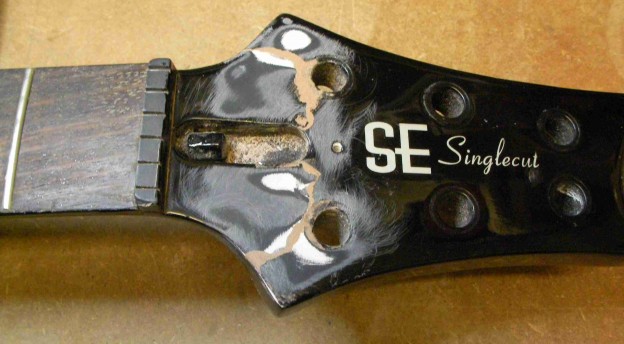
A bit of a mess this one, but with a bit of effort I think it should be recoverable..
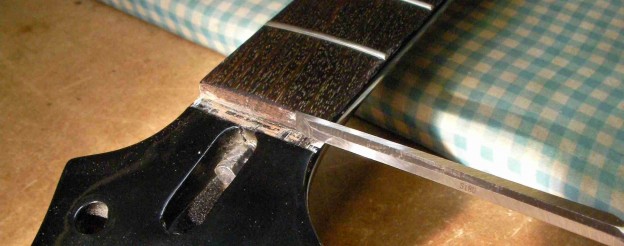
The first fault is rather obvious, it’s just between the nut and the machine heads!
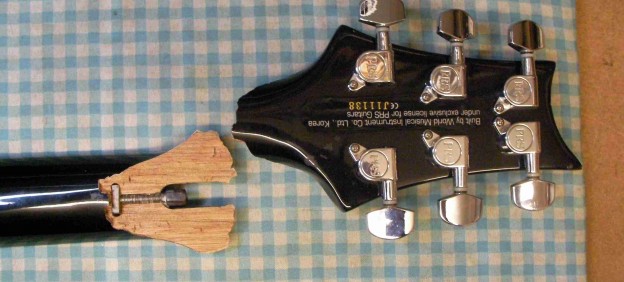
To glue it back together was quite simple, the break was along the grain.
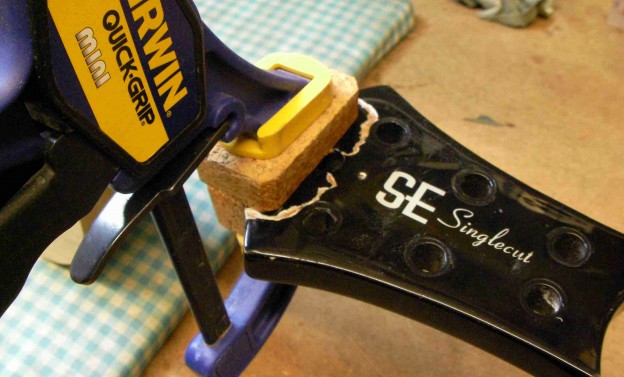
The trouble is there were some large pieces of wood missing.
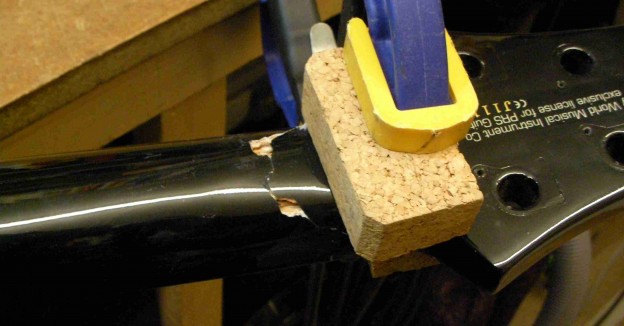
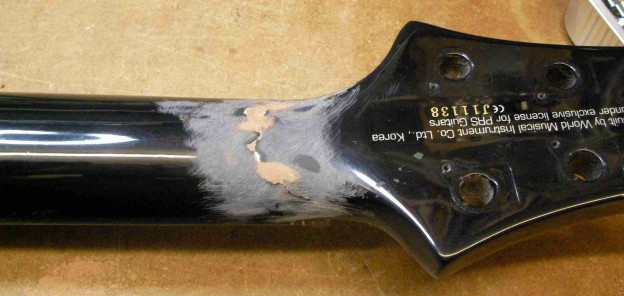
So I added some wood filler…


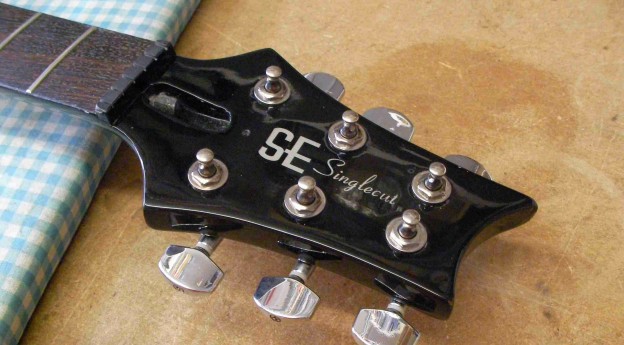
A little bit of sanding to blend it in with the old wood. Being careful not to rub away the logo.
The same with the back.
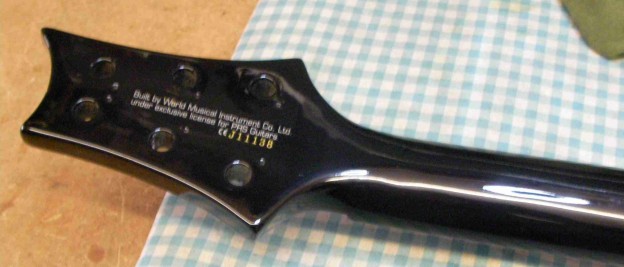
Off to the painters….Thanks again to Gareth at SAS Car Body Repairs, another great paint job.
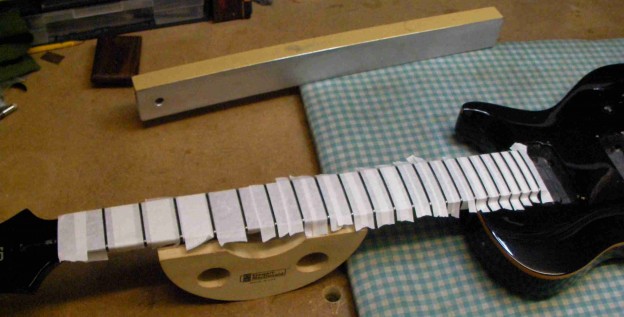
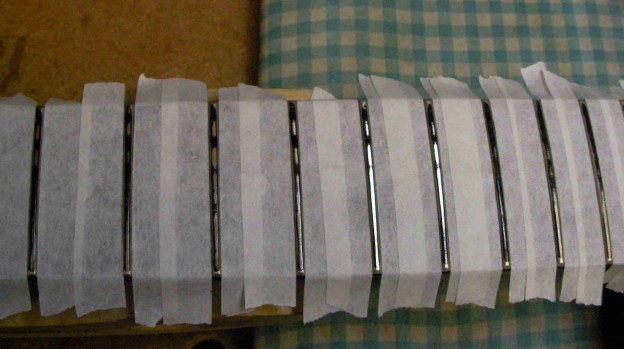
With the head sorted some close attention to the frets. Not bad, but not the most even and a little worn in places.

A fret dress will sort all that out.
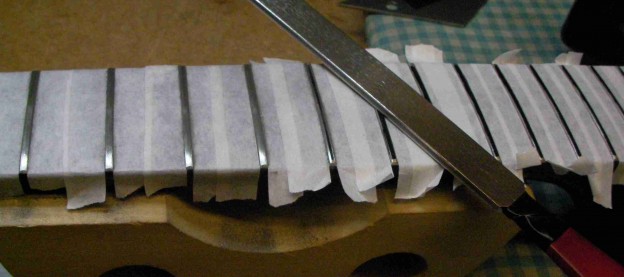
You can see all the low points as I start to grind the tops down.
With the tops level it’s time to re-crown, or round off each fret. Below you can see the ones on the left that are done, the middle one that’s about half done, and the ones on the right still to do.
With the frets re-shaped they all need re-polishing with 4 grades of micromesh.
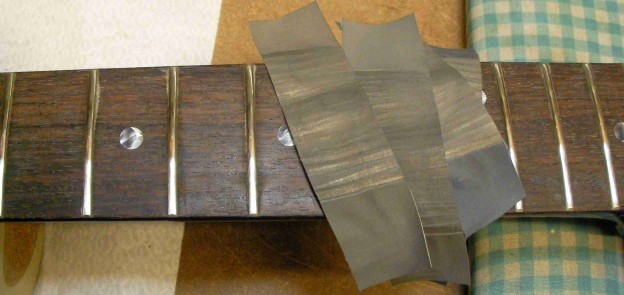
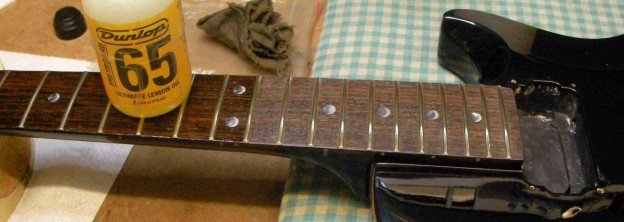
Once that’s done I gave the wood of the fretboard a good clean….
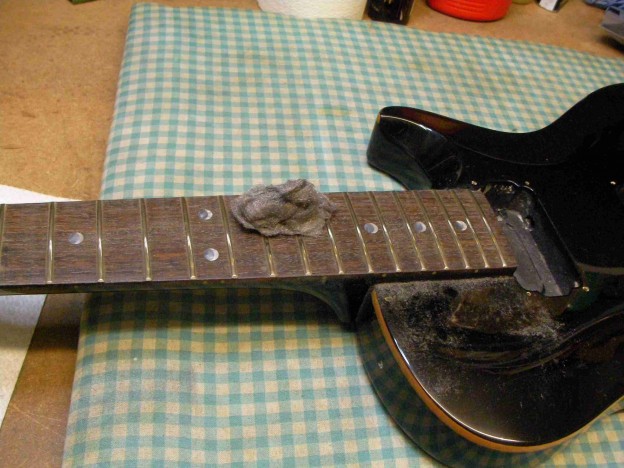
and oil.
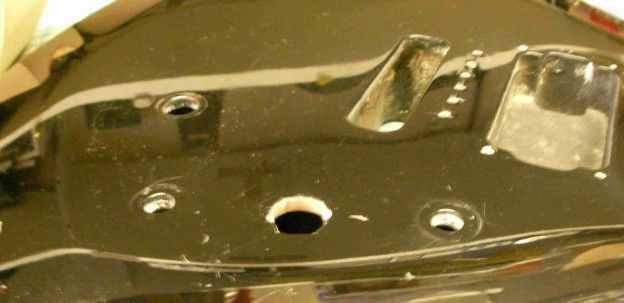
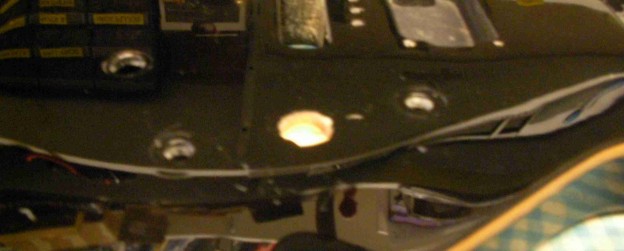
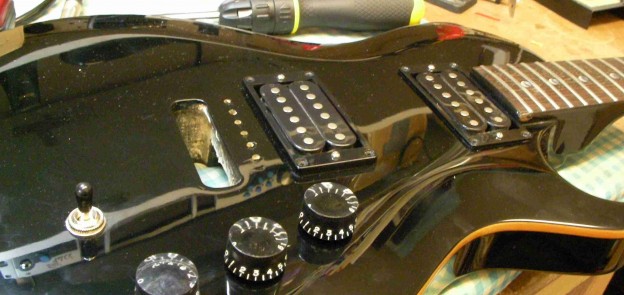
There’s another problem, with the body. Someone has crudely bashed a hole through to fit a kill switch. That’ll take a lot to hide so I’m going to camouflage it instead.
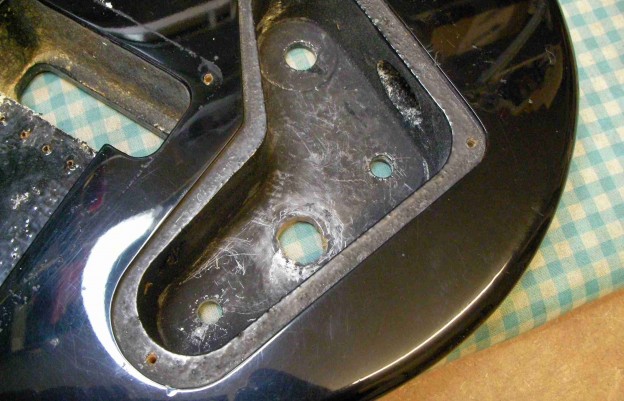
First of all I glued a thin piece of wood inside the control cavity.
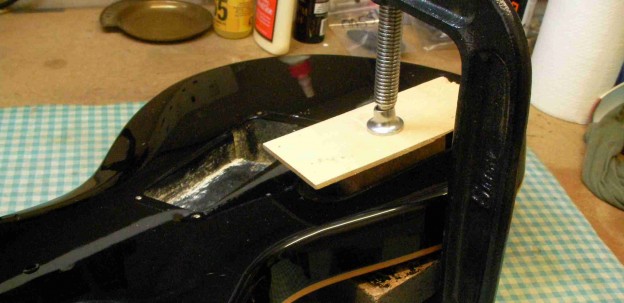
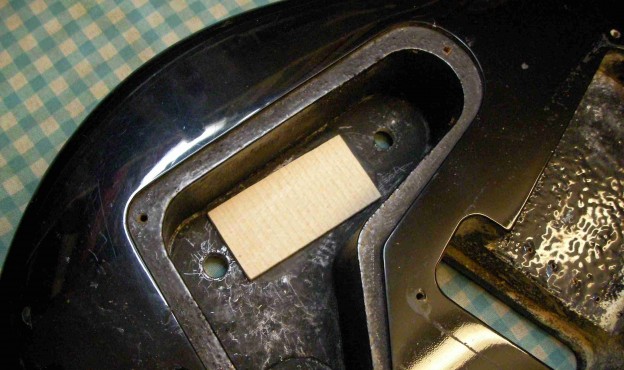
That leaves hole that I can fill with wood filler…
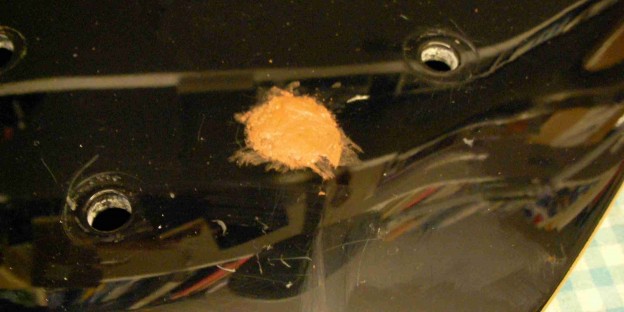
Once it’s levelled and polished I drilled a new hole (neatly this time).
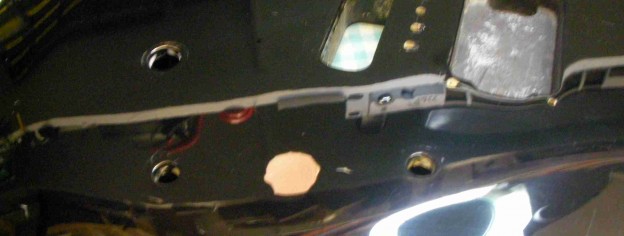
I’ve re-wired the entire guitar (it basically arrived in kit form), so I put in a third pot in the new hole.
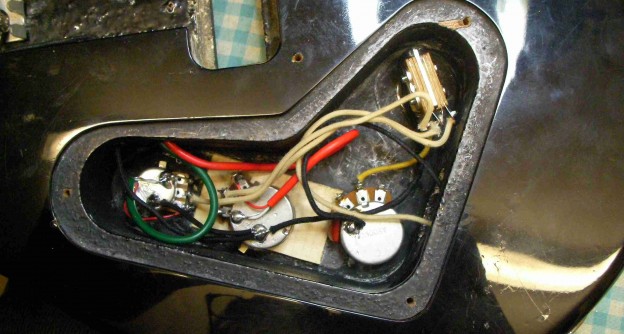
What I’ve done is split the volume controls so there’s now one for each pickup. Not exactly standard PRS but at least it’s hidden the hole!
Almost ready for a new set of strings. First I need to clean up the nut slot a little.
And there it is, the nut back in place.
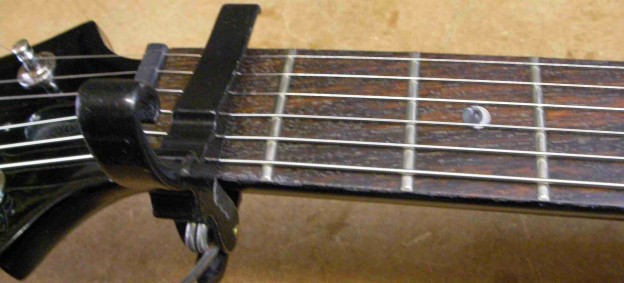
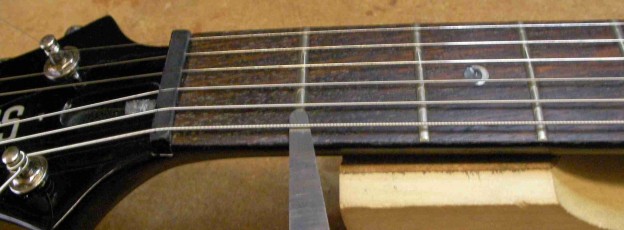
Checking the neck set is a little tricky with PRS’s since they have an odd scale length. The easy way to judge it is to put a capo at the first fret…..
Press down at the last fret..
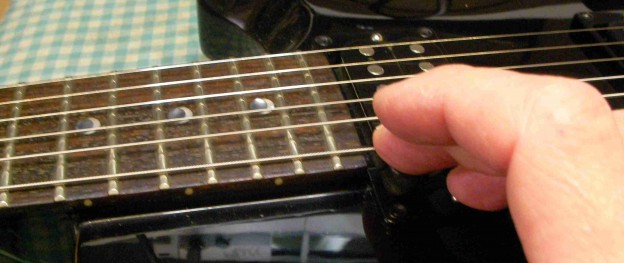
and measure the action at the 7th fret.
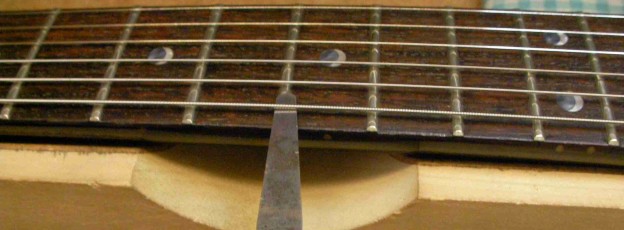
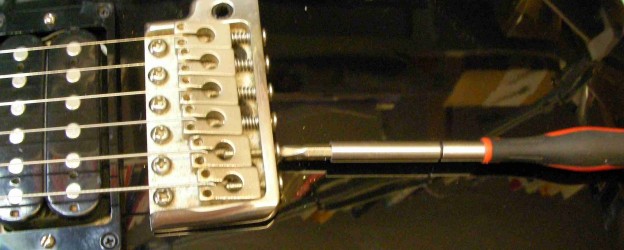
Next the action at the 12th fret.
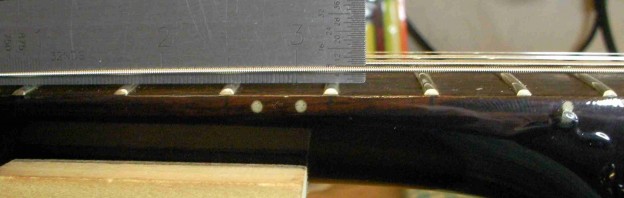
Just a little high, so lower the bridge saddles a shade.

Then the action at the 1st fret. About right so no work needed there.
The last bit of the playing action is the intonation. Essential to make it sound “in tune” all the way up and down the neck.
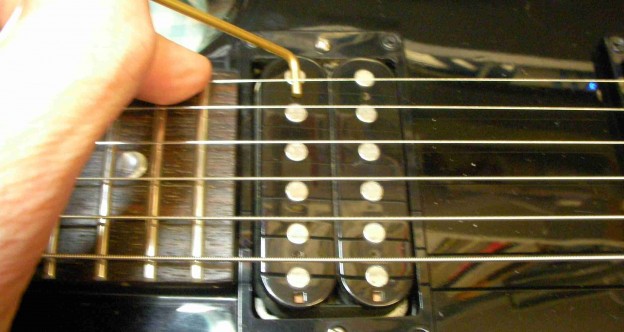
The only other thing to do is to check the pickup heights.
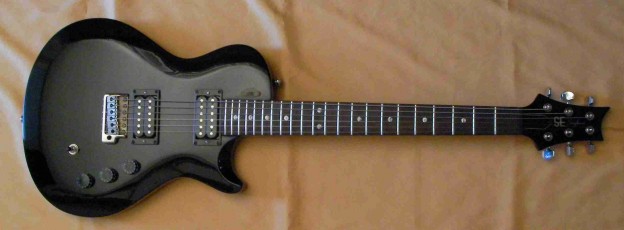
And there it is, saved from the scrapyard, years of playing left in it.
For more details of what else I can do for you check out www.guitar-george.co.uk