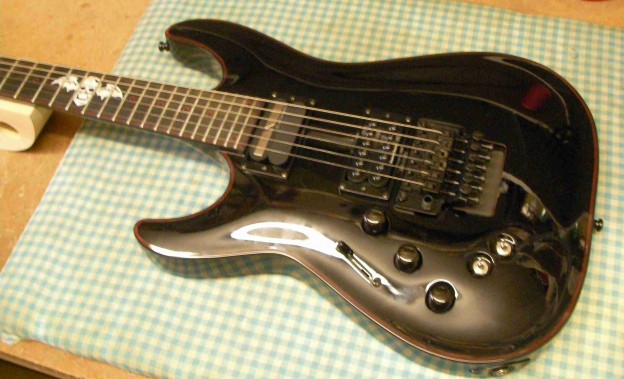
Not quite my cup of tea, and it’s got a bit of a problem, a couple of low spots. High spots are easy, to lower two high frets down to the rest is quite easy but I’ve got to bring the other 22 down to the low 2, if you follow my drift!
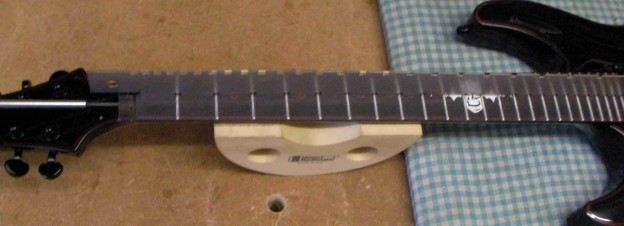
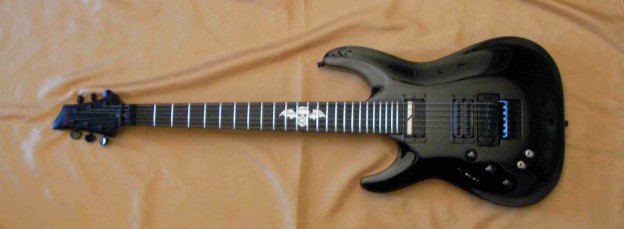
With the strings and the nut off, make sure the fretboard is completely flat.
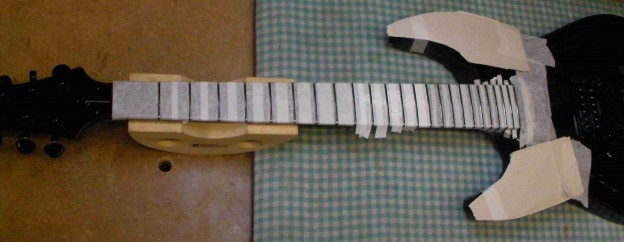
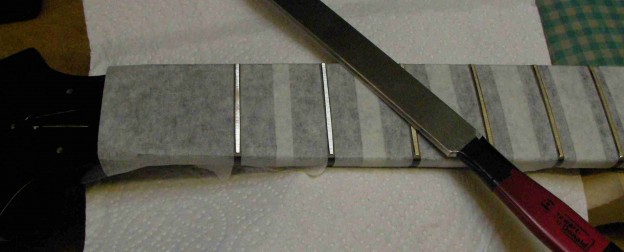
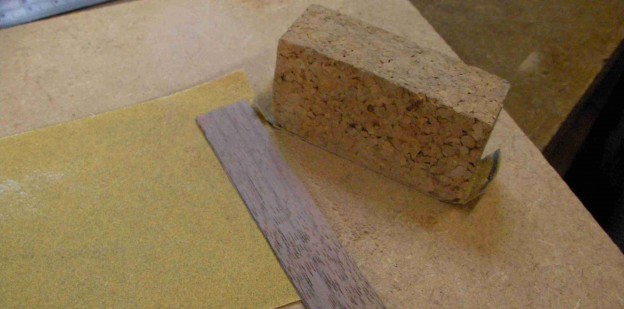
Then tape it up to protect while I’m working.
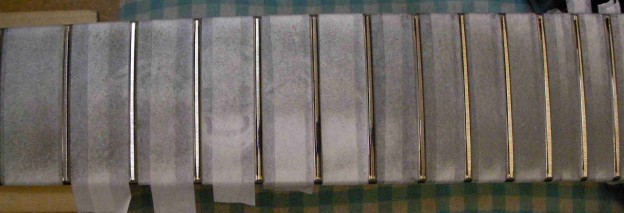
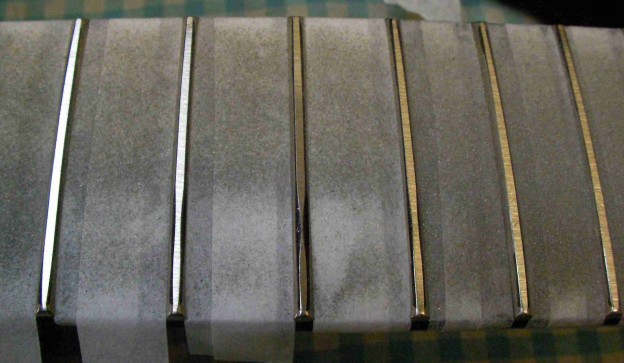
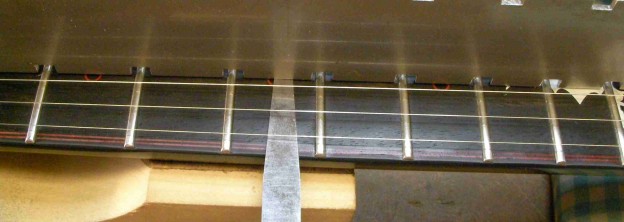
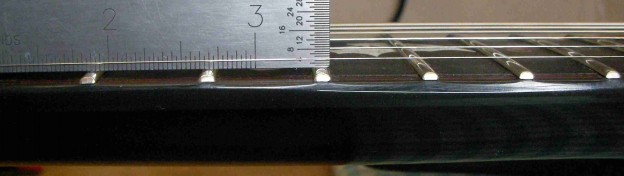
Once I started grinding you can see the low spots, where the levelling beam isn’t touching yet.

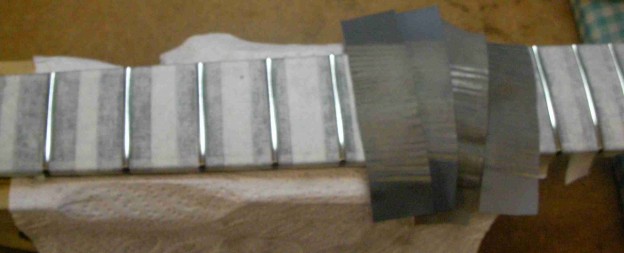
Almost done…
and that’s just about it….
all I need to do now is re-round the fret tops.
and then re-polish them.
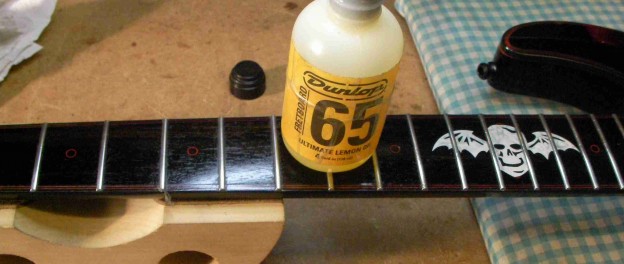
Once that’s done I gave the fretboard a bit of a clean and oil before putting the strings back.
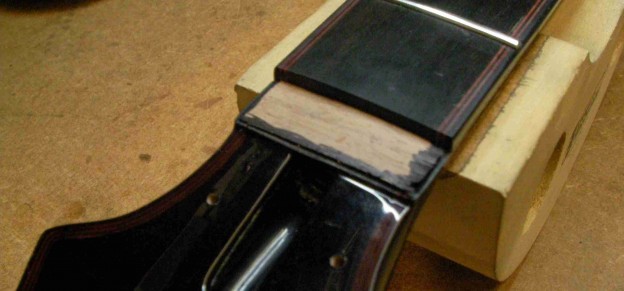
There was also a problem with the nut. The action at the 1st fret was a little low on the bass side. The treble side was fine which makes it a little more difficult. I need to make a shim that’s a few thousandths thick at one end tapering off to nothing at the other..
That should do it….
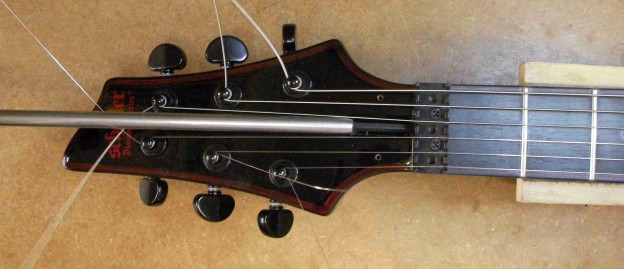
With the strings back all it needs is a setup.
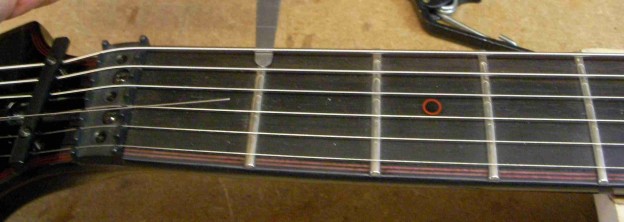
No.1 the neck set, a little high…
so a tweek of the truss-rod.
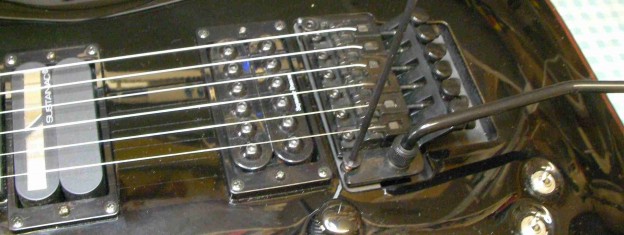
No.2 The action at the 12th fret.
A little low, so up with the bridge.
No.3 That nut. It was a little too high both sides so I took it out again and reduced it a little more.
No.4 The intonation. (Excuse the out of focus picture).
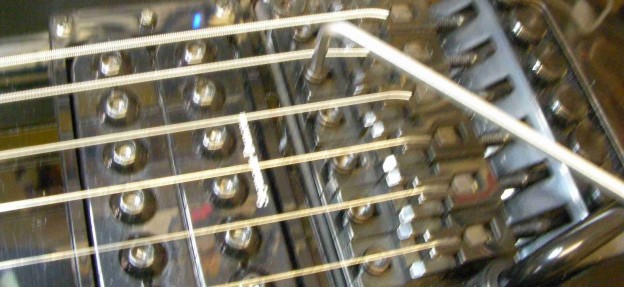
The pickup outputs were fine so that’s it done.
For more details of what I can do please check out m website: www.guitar-george.co.uk