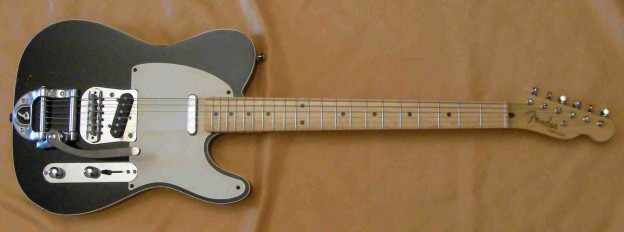
I’ve just been given a mixed bag of bits, some old some new, to put together….
I think there’s a very nice Telecaster in there somewhere! But where to start?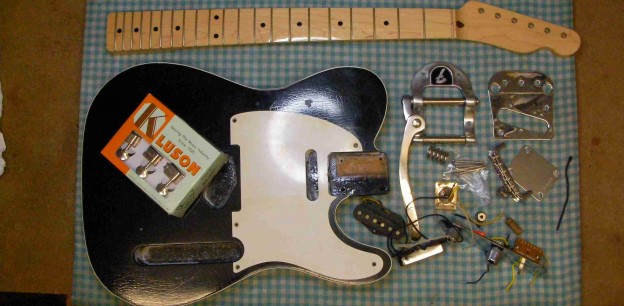 How about at the top, the machine heads. First the guides..
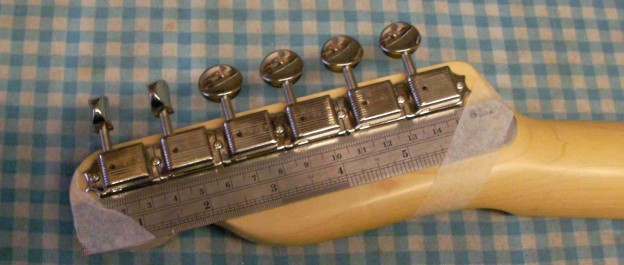
they’re rather tight so rather than hammer them in and risk damaging them I pressed them in with the vice…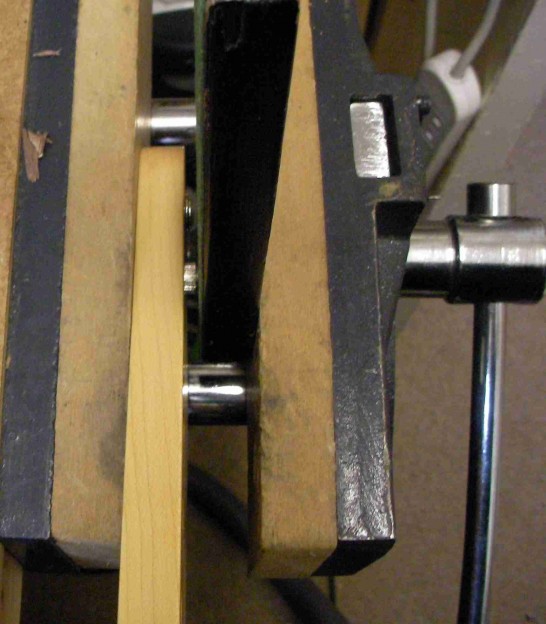 Using the rule to make sure they all line up before drilling the holes..
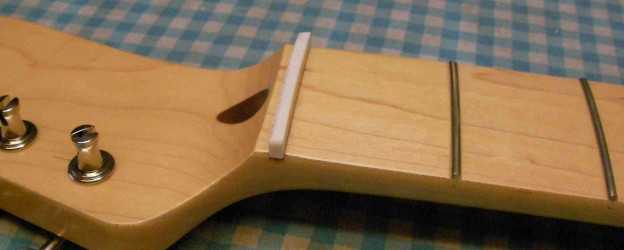
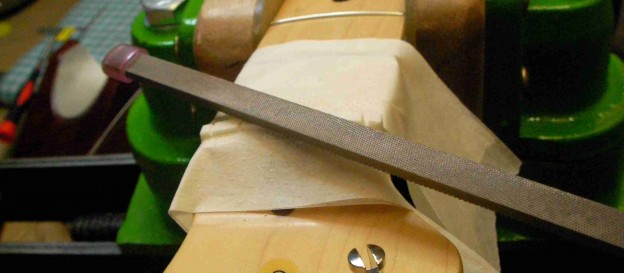
 Next the nut. It was just a little thick and needed a little sanding. Then the bottom, the curve wasn’t quite right so I re-shaped that as well.
 That’s just about it, a little long but that’s easy enough to fix. The string slots will have to wait ’til I’ve got a lot more done and can fit the strings.
With the neck done now it needs to be fitted to the body. This one was really tight and took quite a bit to get it to fit.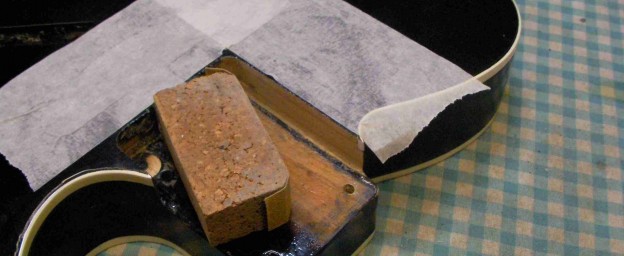 Nice and snug, and straight, always good for tone..
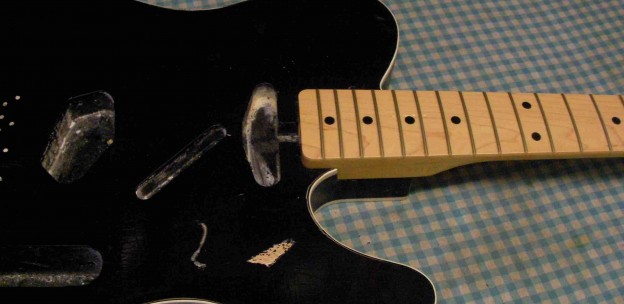 With a couple of lengths of cord it checked out OK so put the screws in…
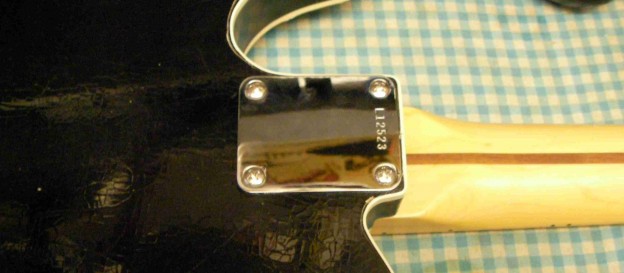
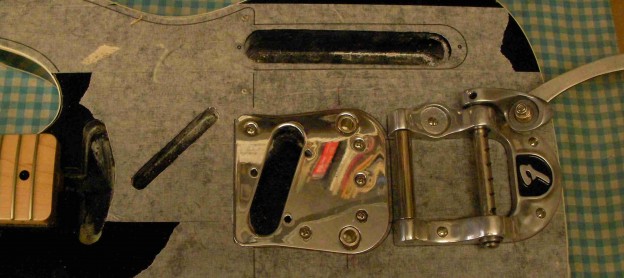
Now for the hardware: The line is fine and there is just about enough space. The most critical element is the position of the bridge, get that wrong and it’ll never play in tune.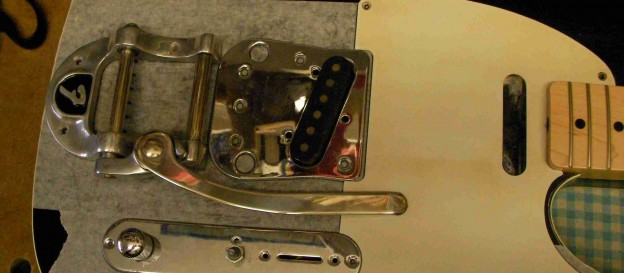 That’s where everything needs to go…
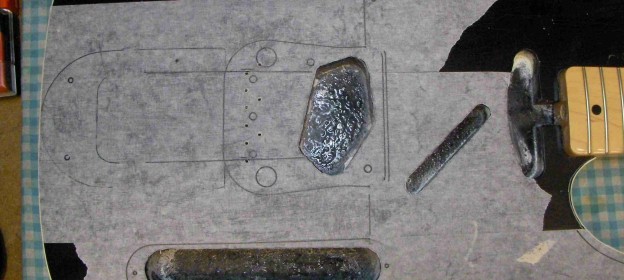 Starting with the two cups for the bridge and then the tremolo.
Next the strings, odd you might think, but I need to check the neck set at some point and I can’t adjust that with the pick-guard in place…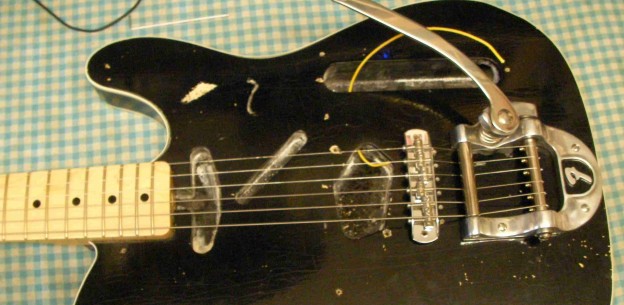 as the truss-rod screw is on the heel of the neck…
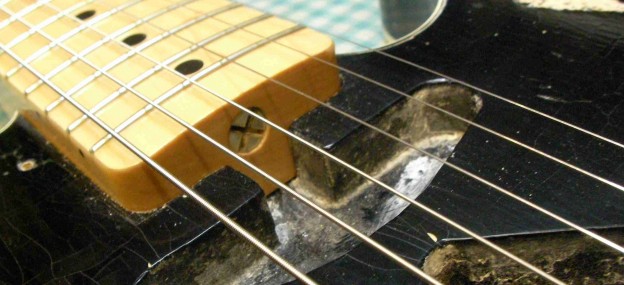 As I thought, the set was a little high.
 so tighten the truss-rod..
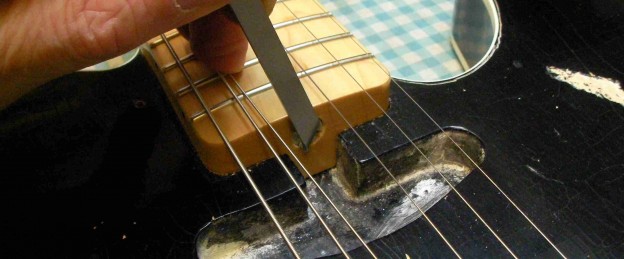 With the strings back off I’ll sort the pickups. The pick-guard doesn’t have screw holes so the springs have to go under the pickup. I’ve set the height at around 4 to 5/64th Inch.
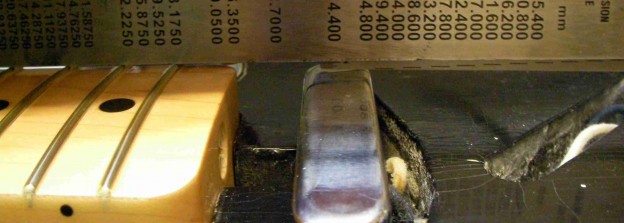
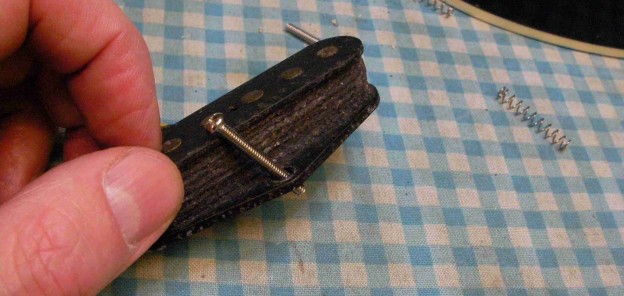
The bridge pickup was a bit more of a problem. The screw holes have been completely stripped out and enlarged..
To give the screws something to grip I glued a coupe of strips of wood on the bottom of the pickup.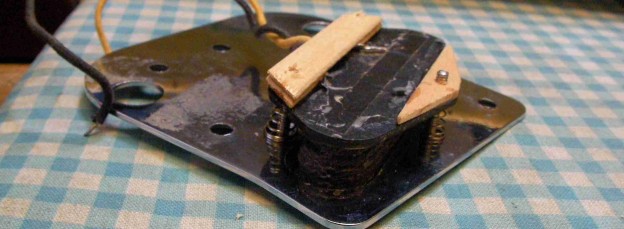
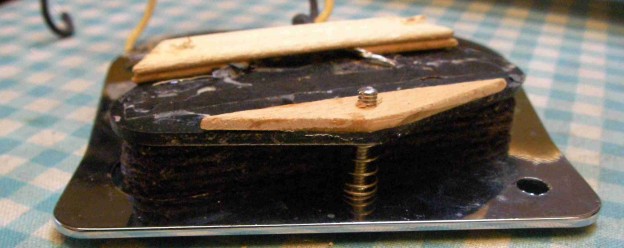 With pickups mounted I next wired everything in..
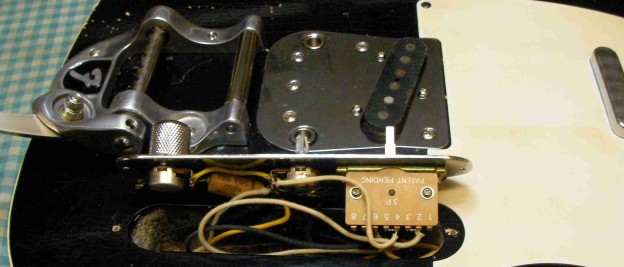 There we go, all I’ve got to do now is set it all up so that it plays well. Not always as simple as you may think.
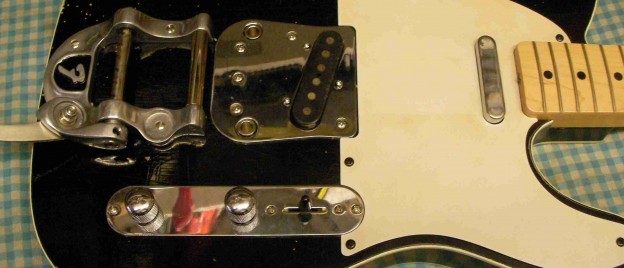 I know the neck set is OK, I’ve already done that so the bridge height’s next. A little low at the 12th fret so need to raise the bridge a little.
 This is a bit of a balancing act. The whole of the bridge can be raised or lowered but then each saddle will have to come up. The trouble then is the angle of the intonation screws, they’ll end up getting in the way.
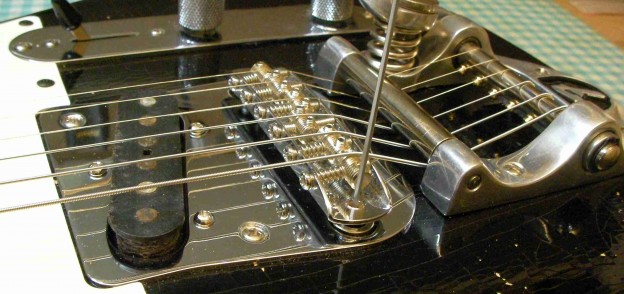 Because the trem’ is so close to the bridge it also makes the problem worse. The break angle of the strings over the bridge, the strings are fouling on the intonation screws. We’ll have to see how it works, it might cause a problem in the future. For now I made sure the string heights are constant and match the fretboard radius.
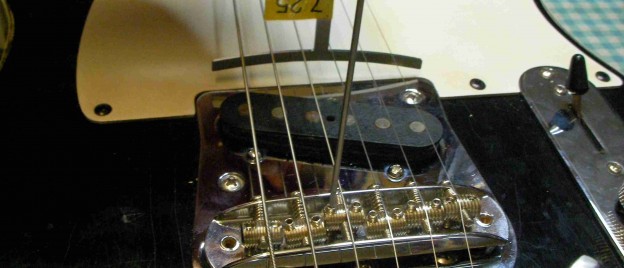 Since each bridge saddle has several slots I used the string spacing rule to make sure they’re spaced properly.
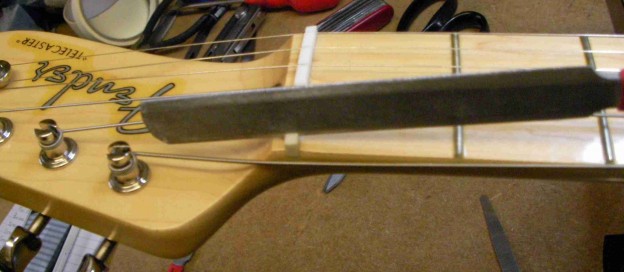
Back to the nut. Now I’ll sort the action..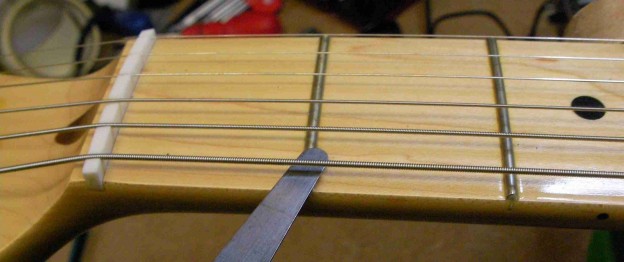 The action at the first fret is way too high so I filled each slot down..
Once that’s done I can set the intonation. Back the that bridge again, rather time consuming and fiddly.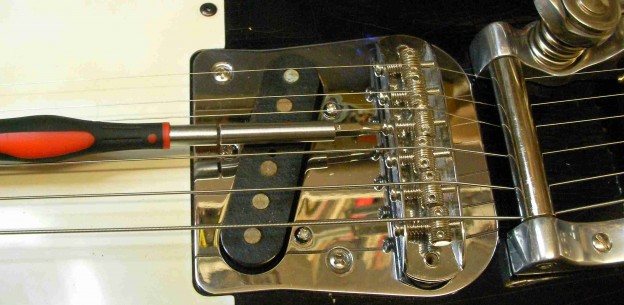
Now the setup is done I need to tidy up a couple of loose ends. That nut, much too tall..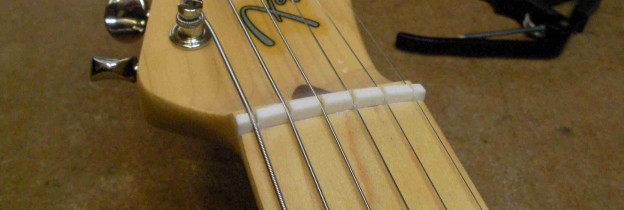 so I took a lump off the top.
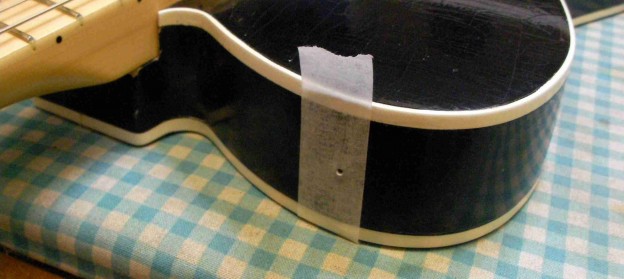
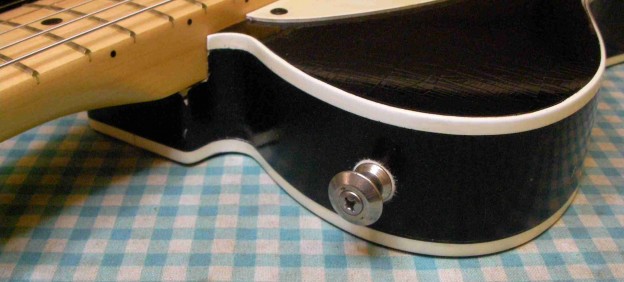
 I don’t know how old this body is but it’s got no strap buttons? So a couple of those..
And there we go, a great looking and sounding guitar..
