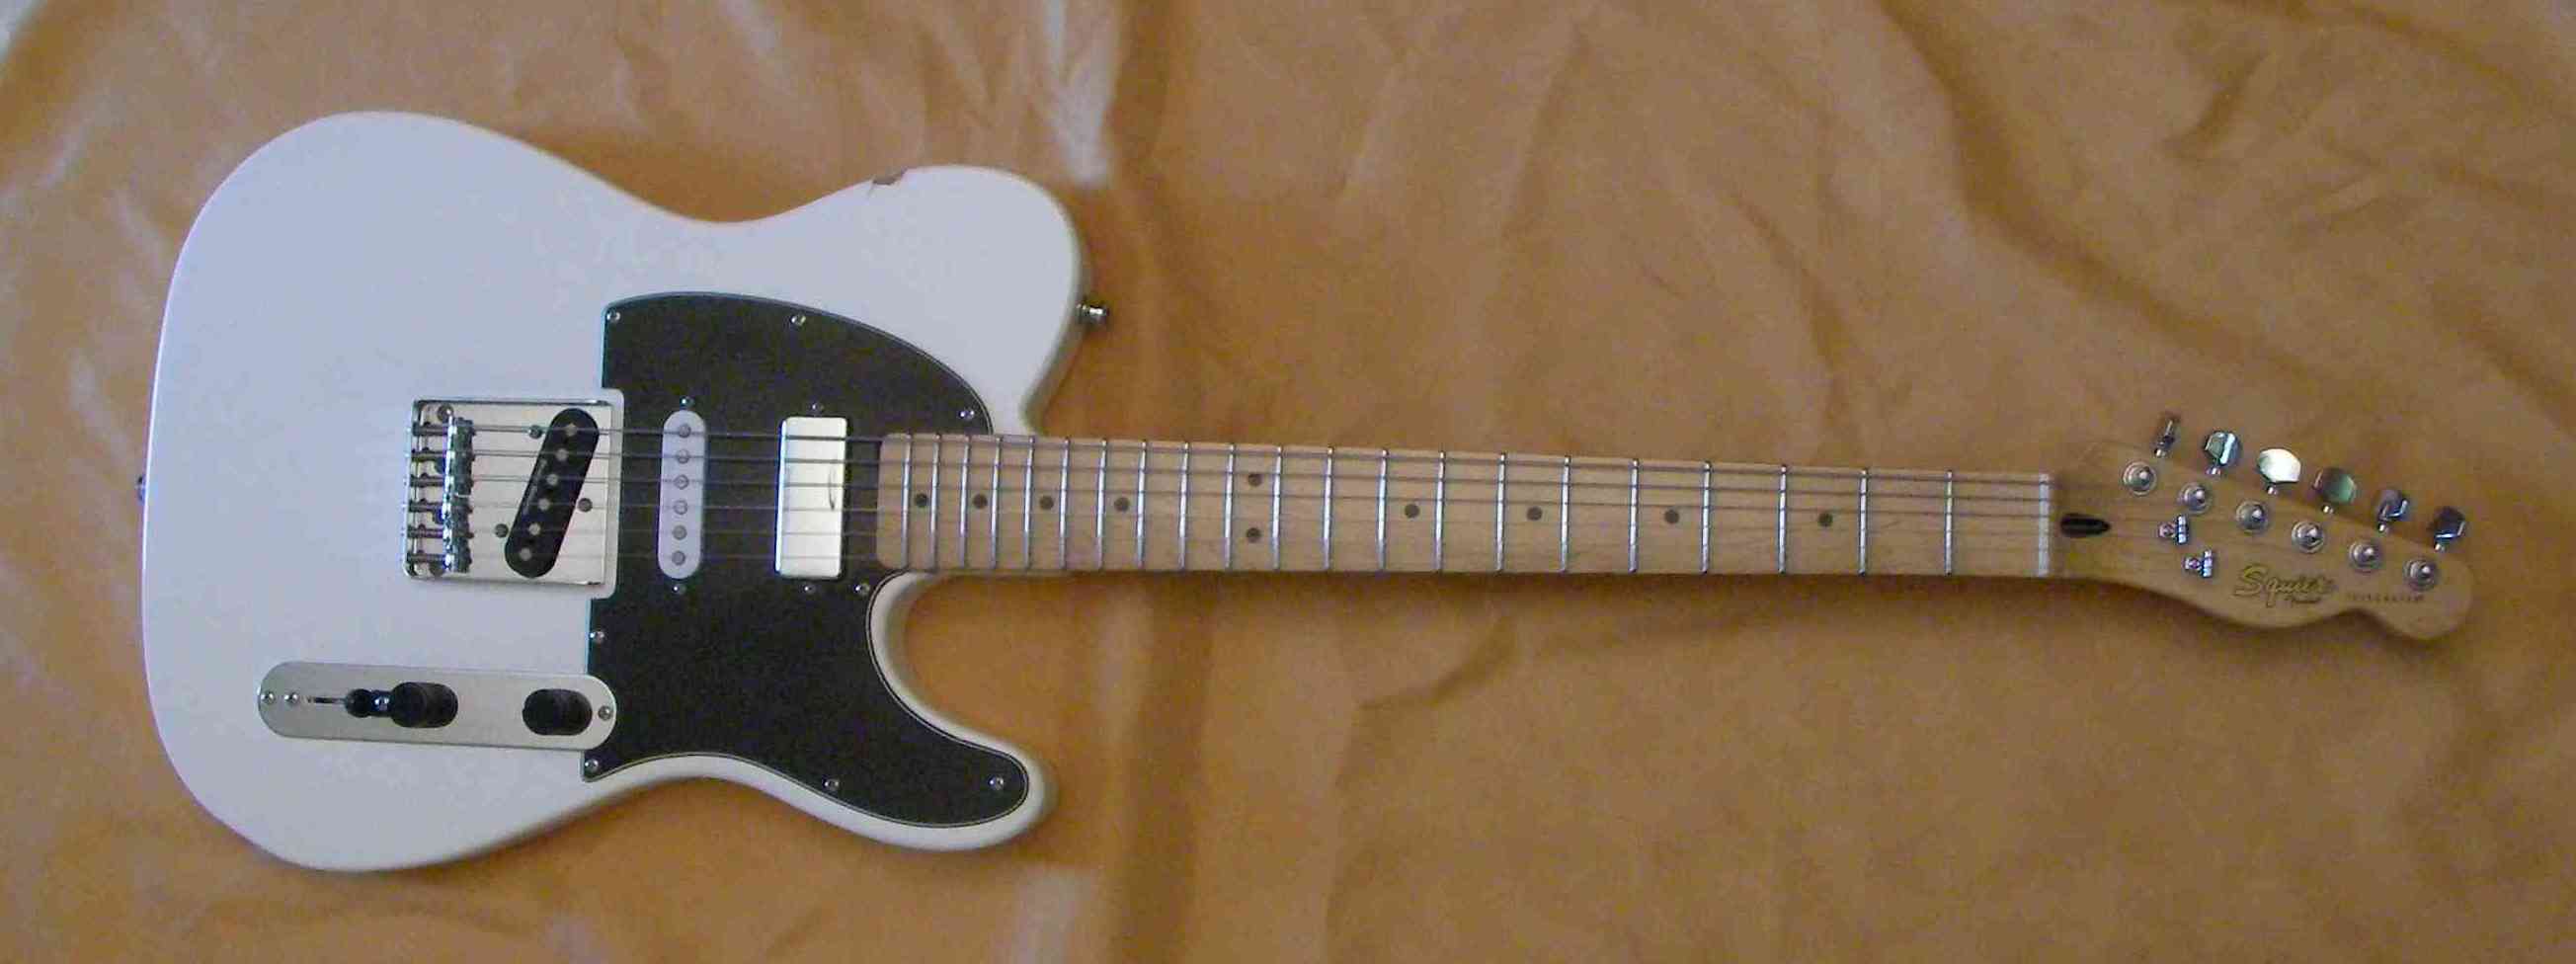
A little unusual this one, not the standard Tele’. It had few minor problems, nothing too difficult…
The first one was a couple of stripped out screws. It’s easy to do, in this case it’s the screws from the control plate. I drilled out the old hole and glued in a couple of wooden plugs…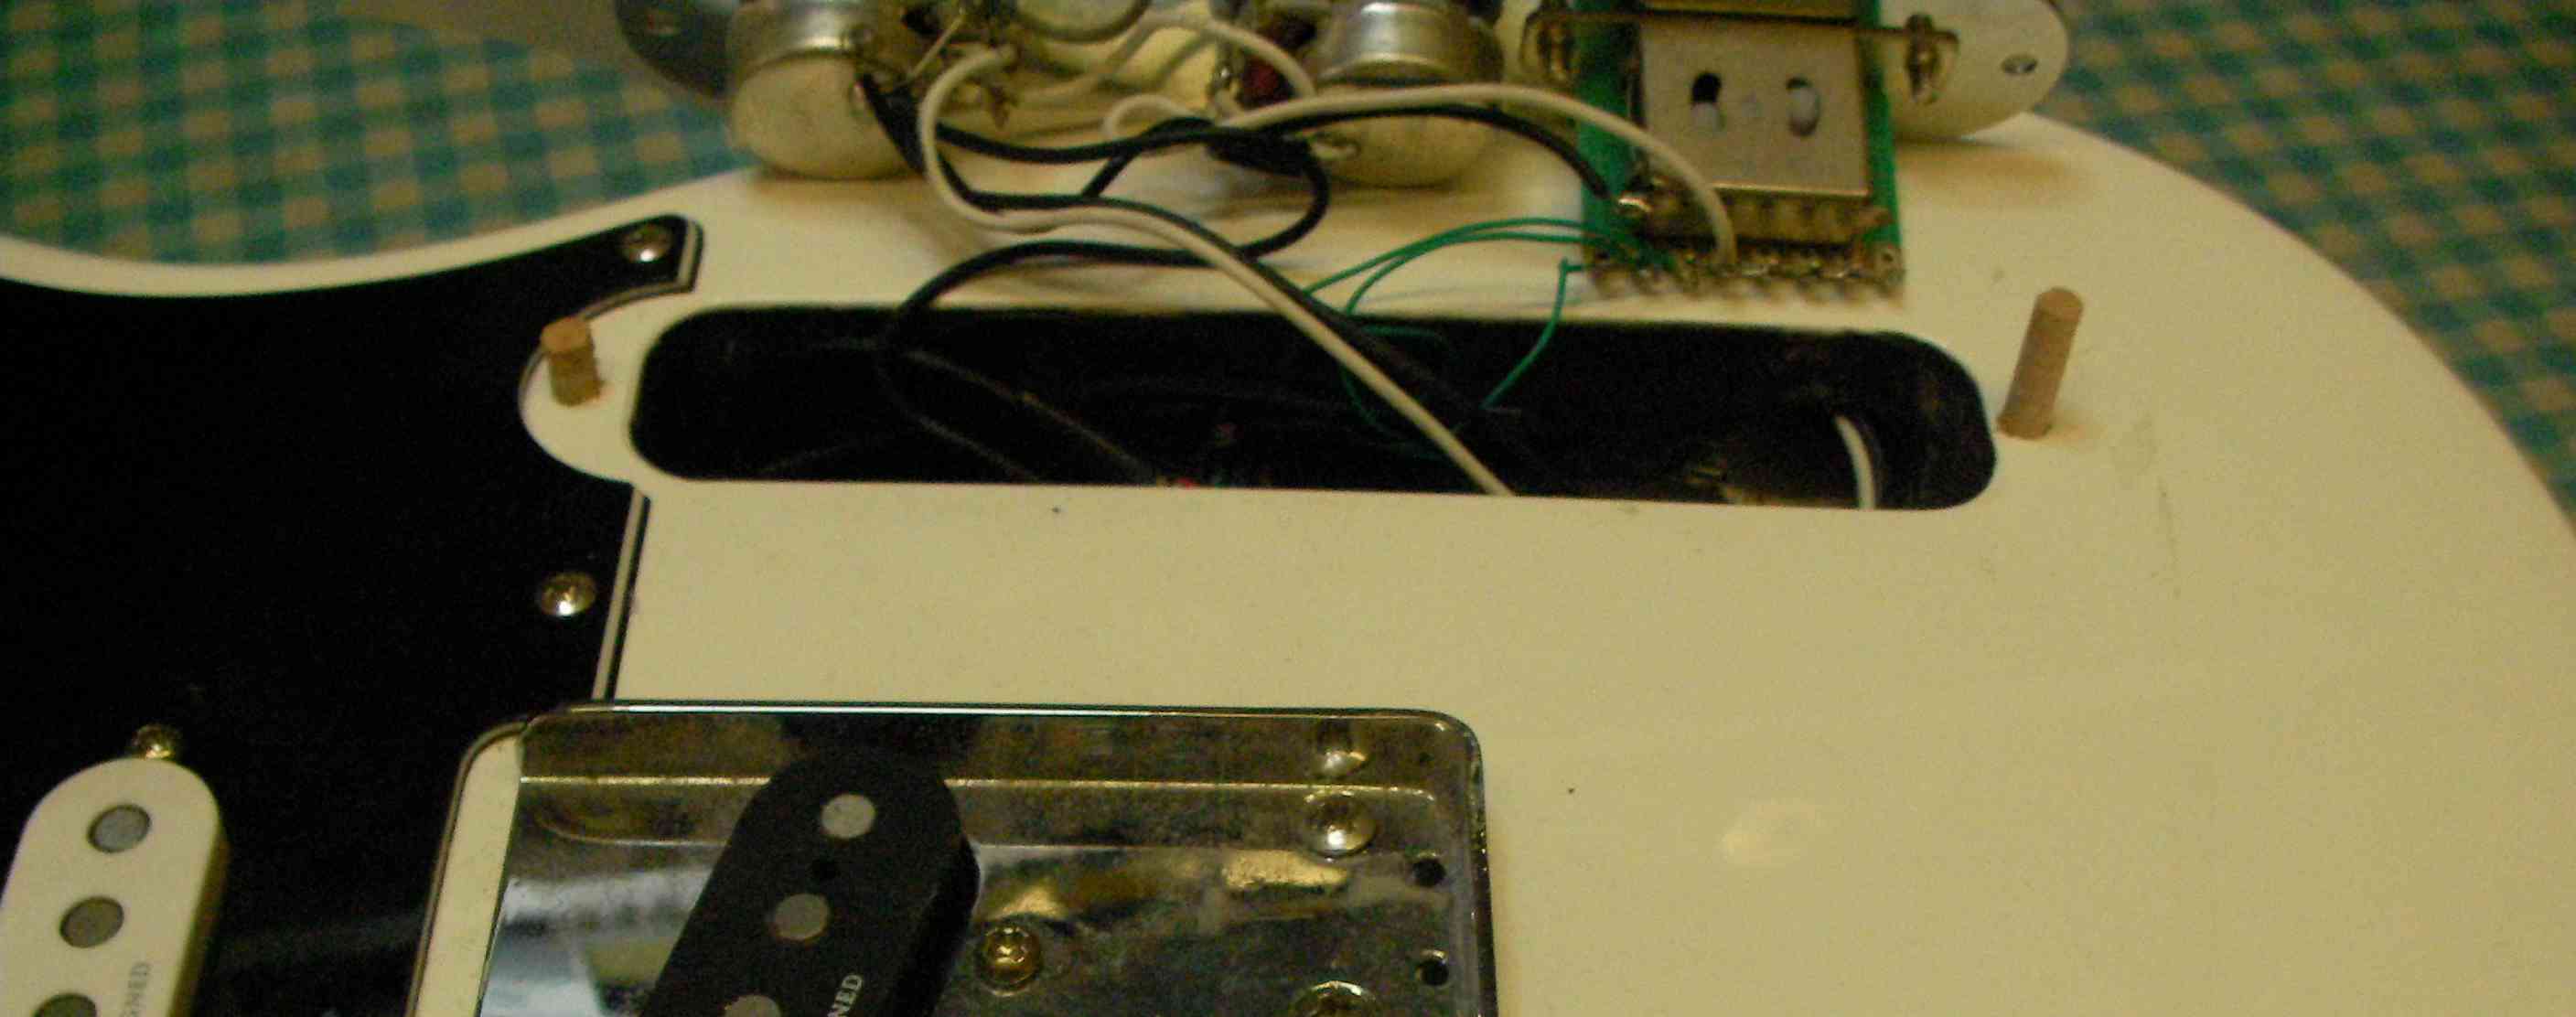
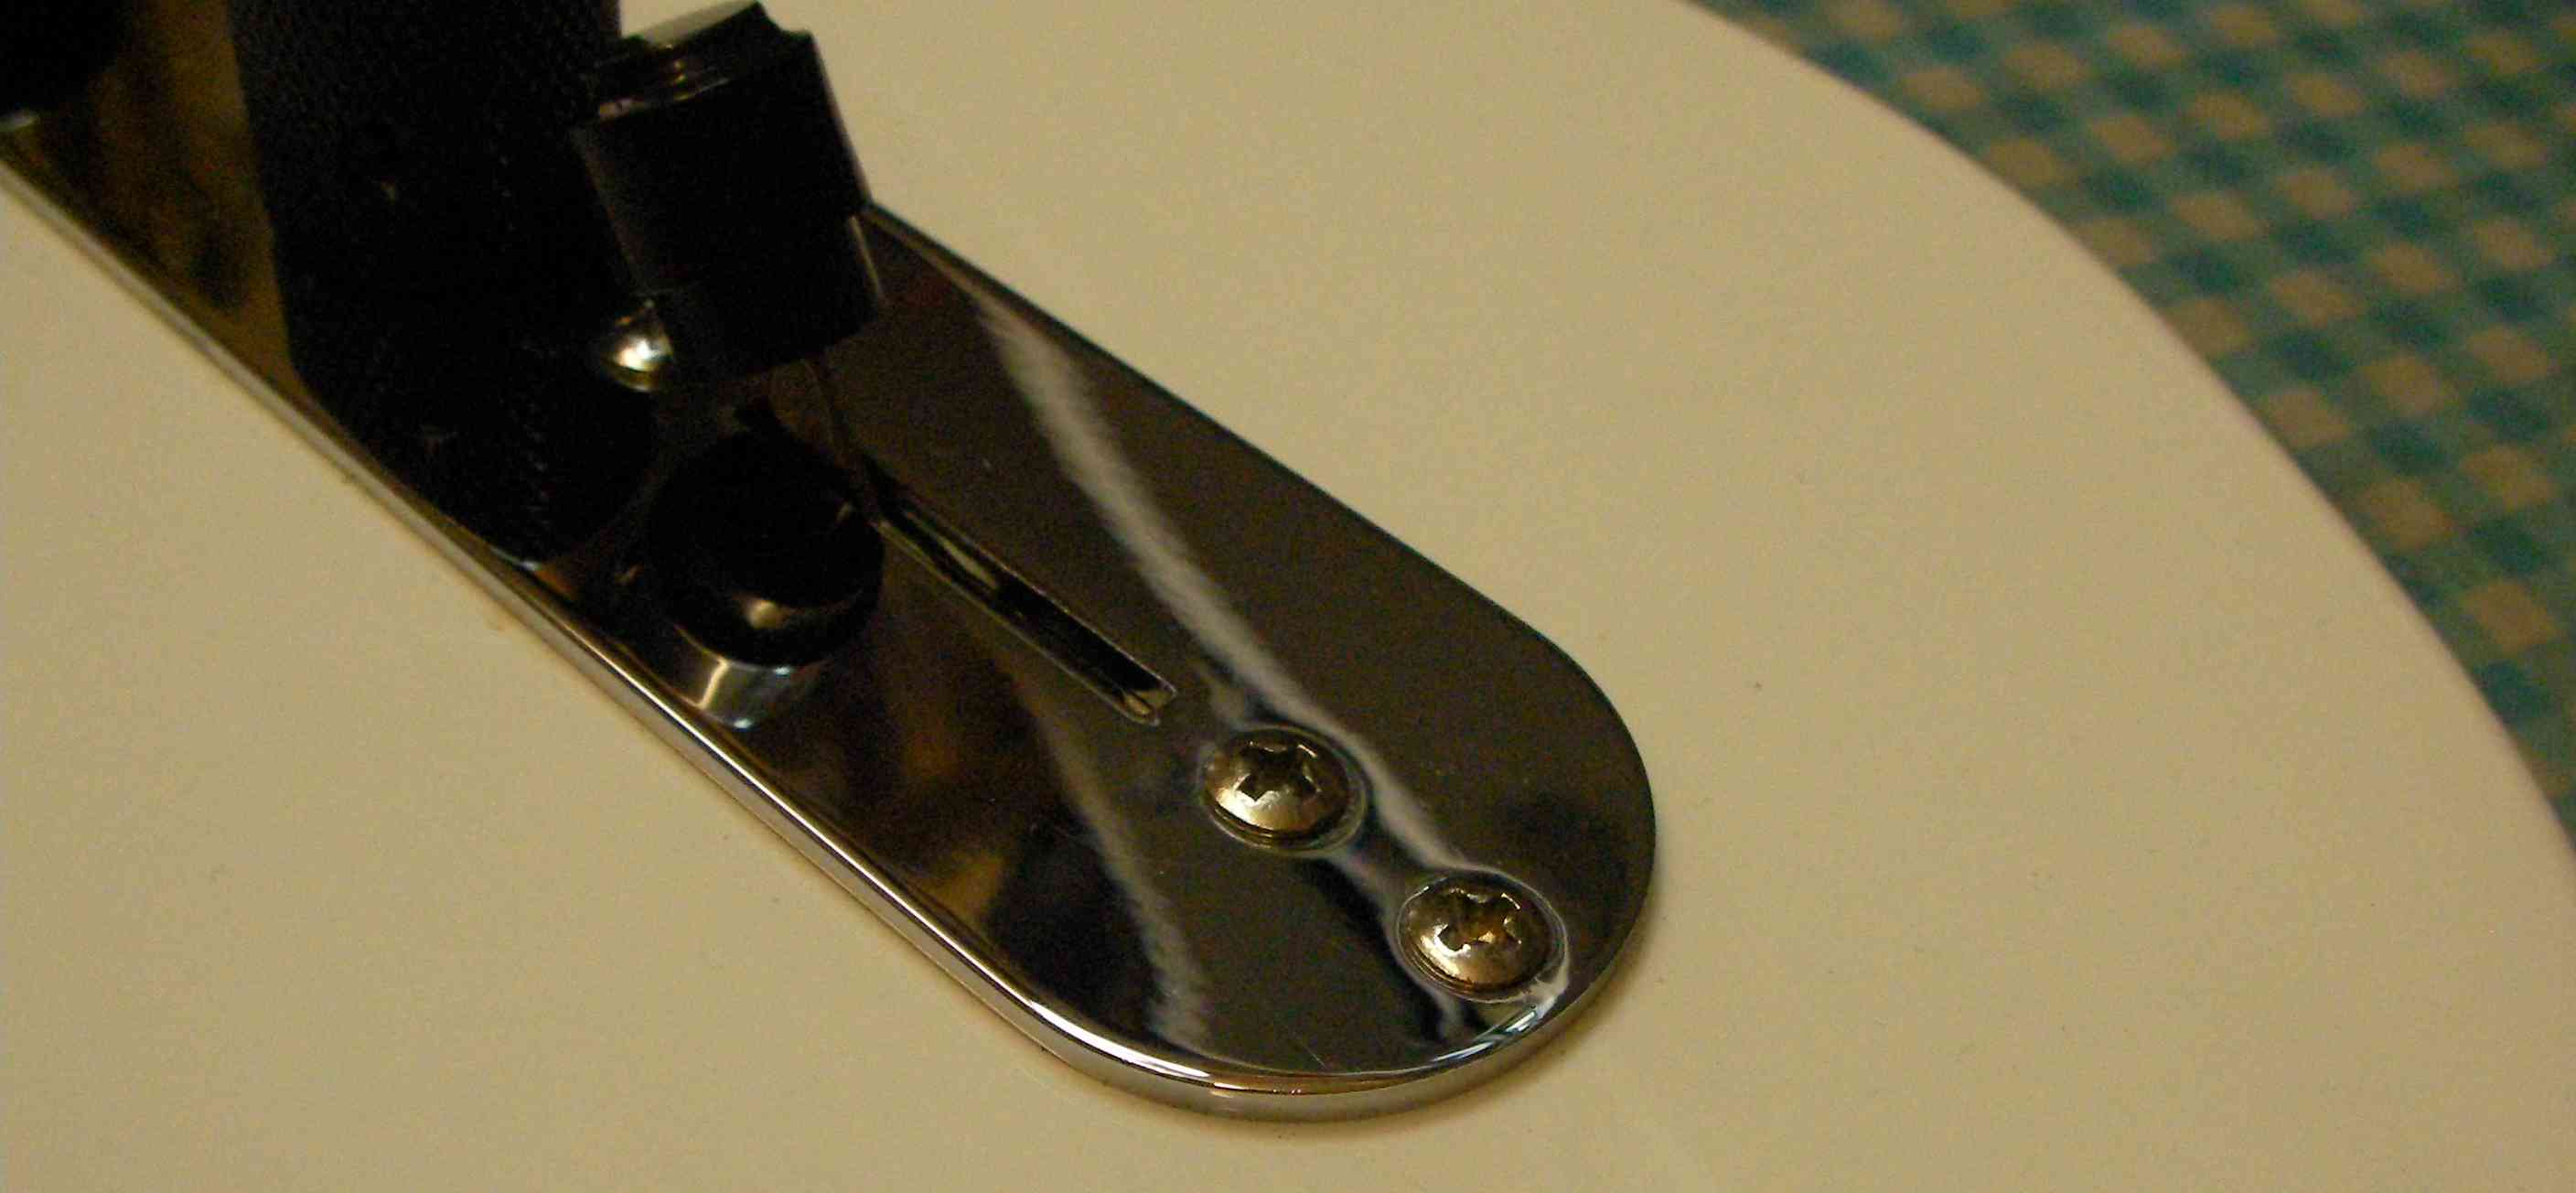
Once the glue dried, I simply drilled a new hole and the jobs done. better than jamming an odd matchstick down the hole!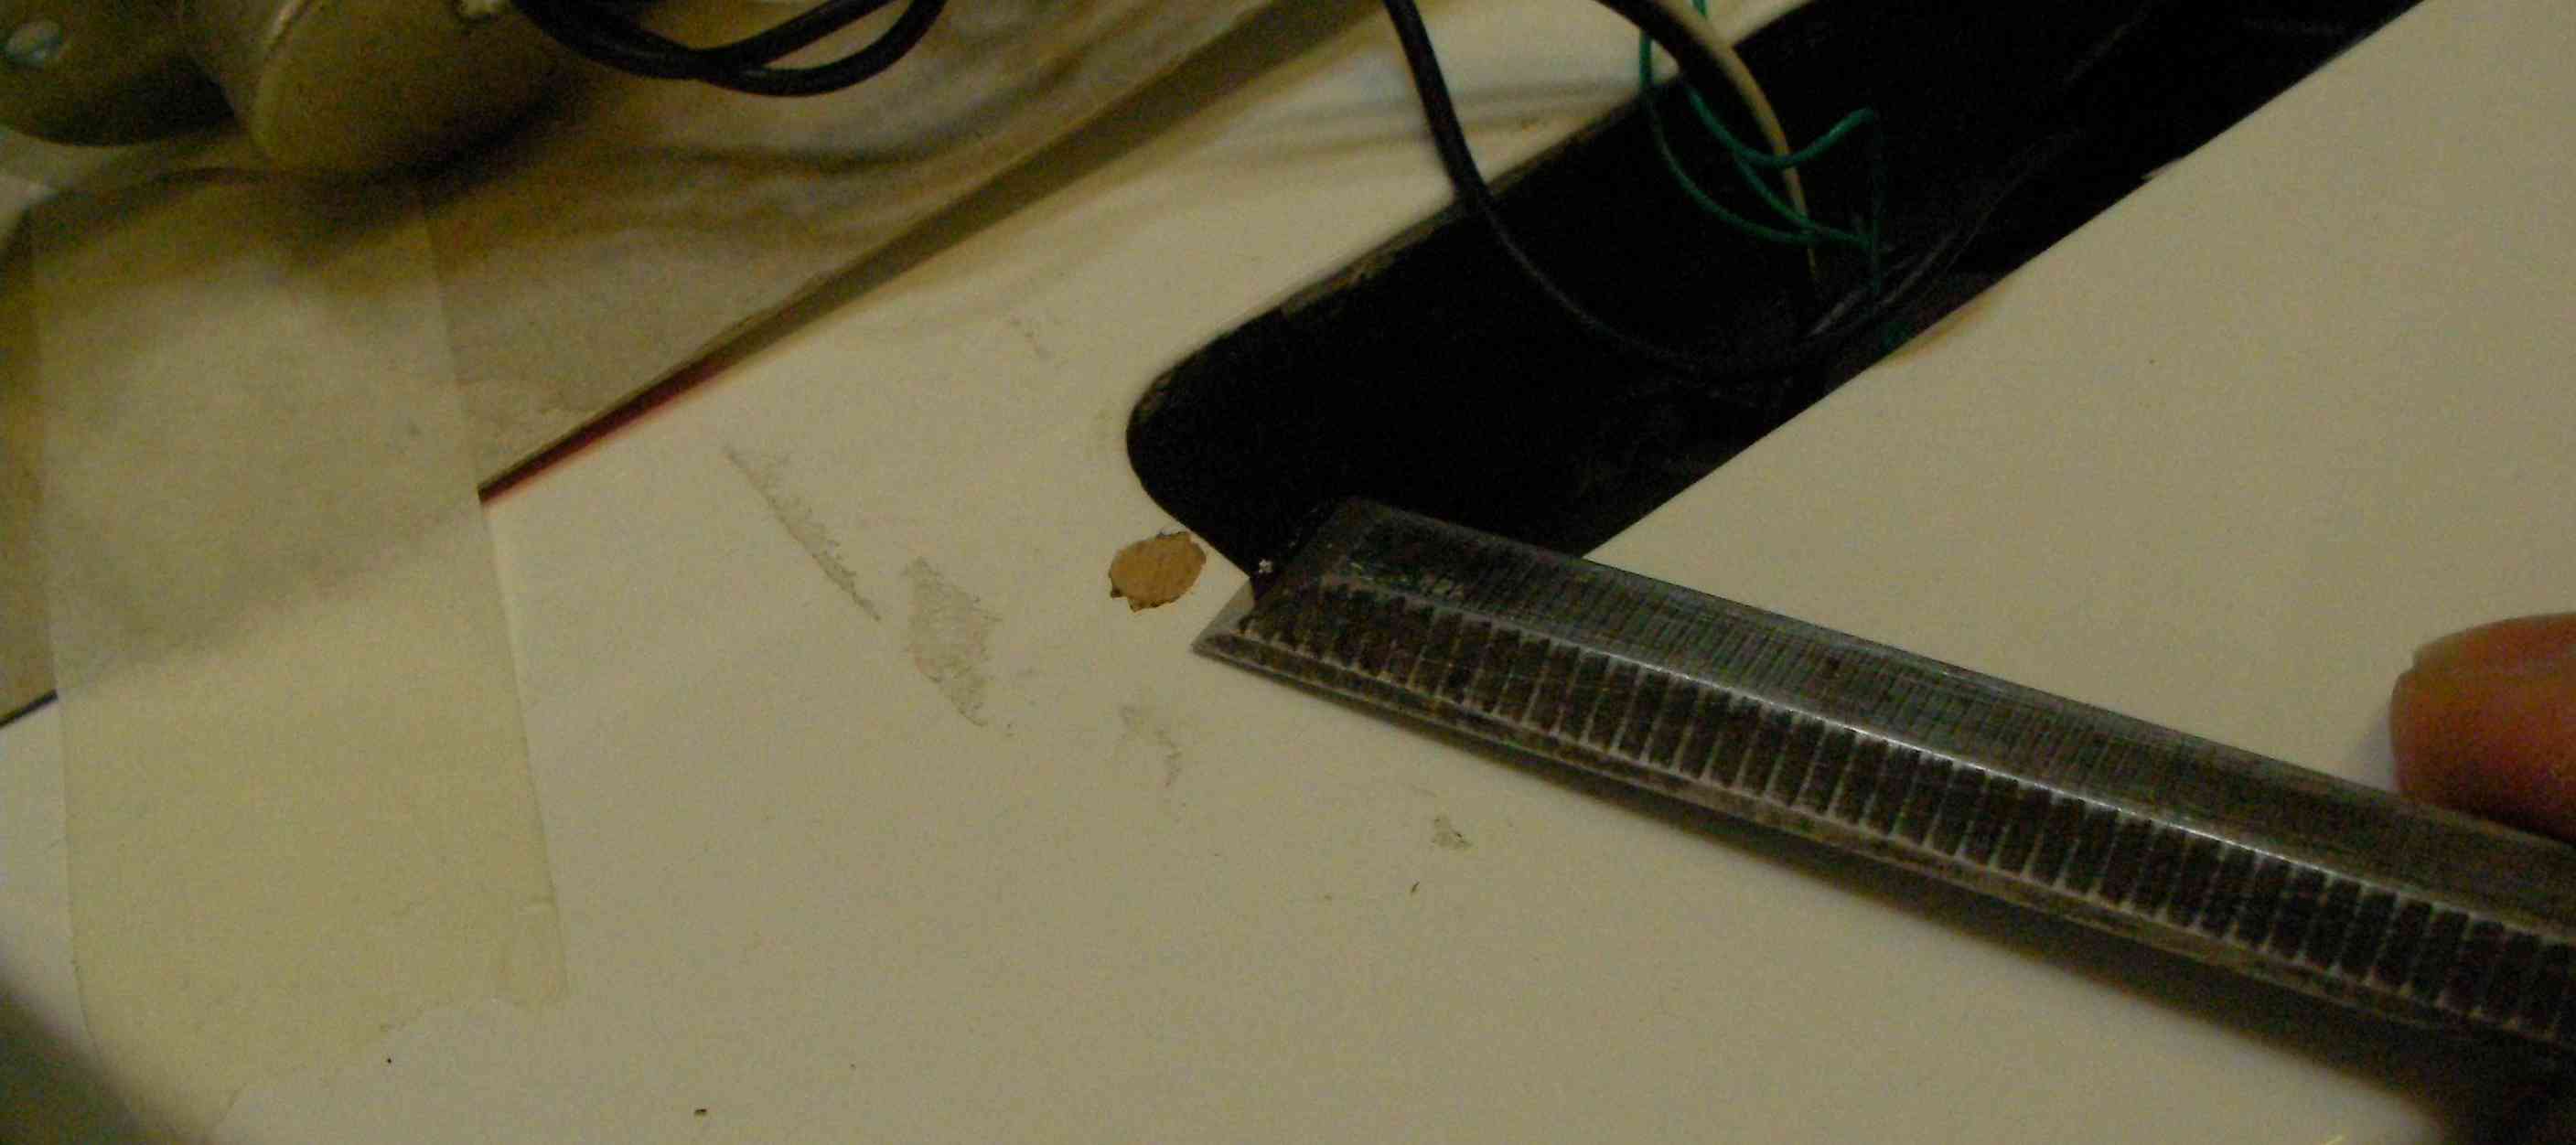
While the control panel was off I gave he pots’ a clean with some switch cleaner and wiped down the fretboard.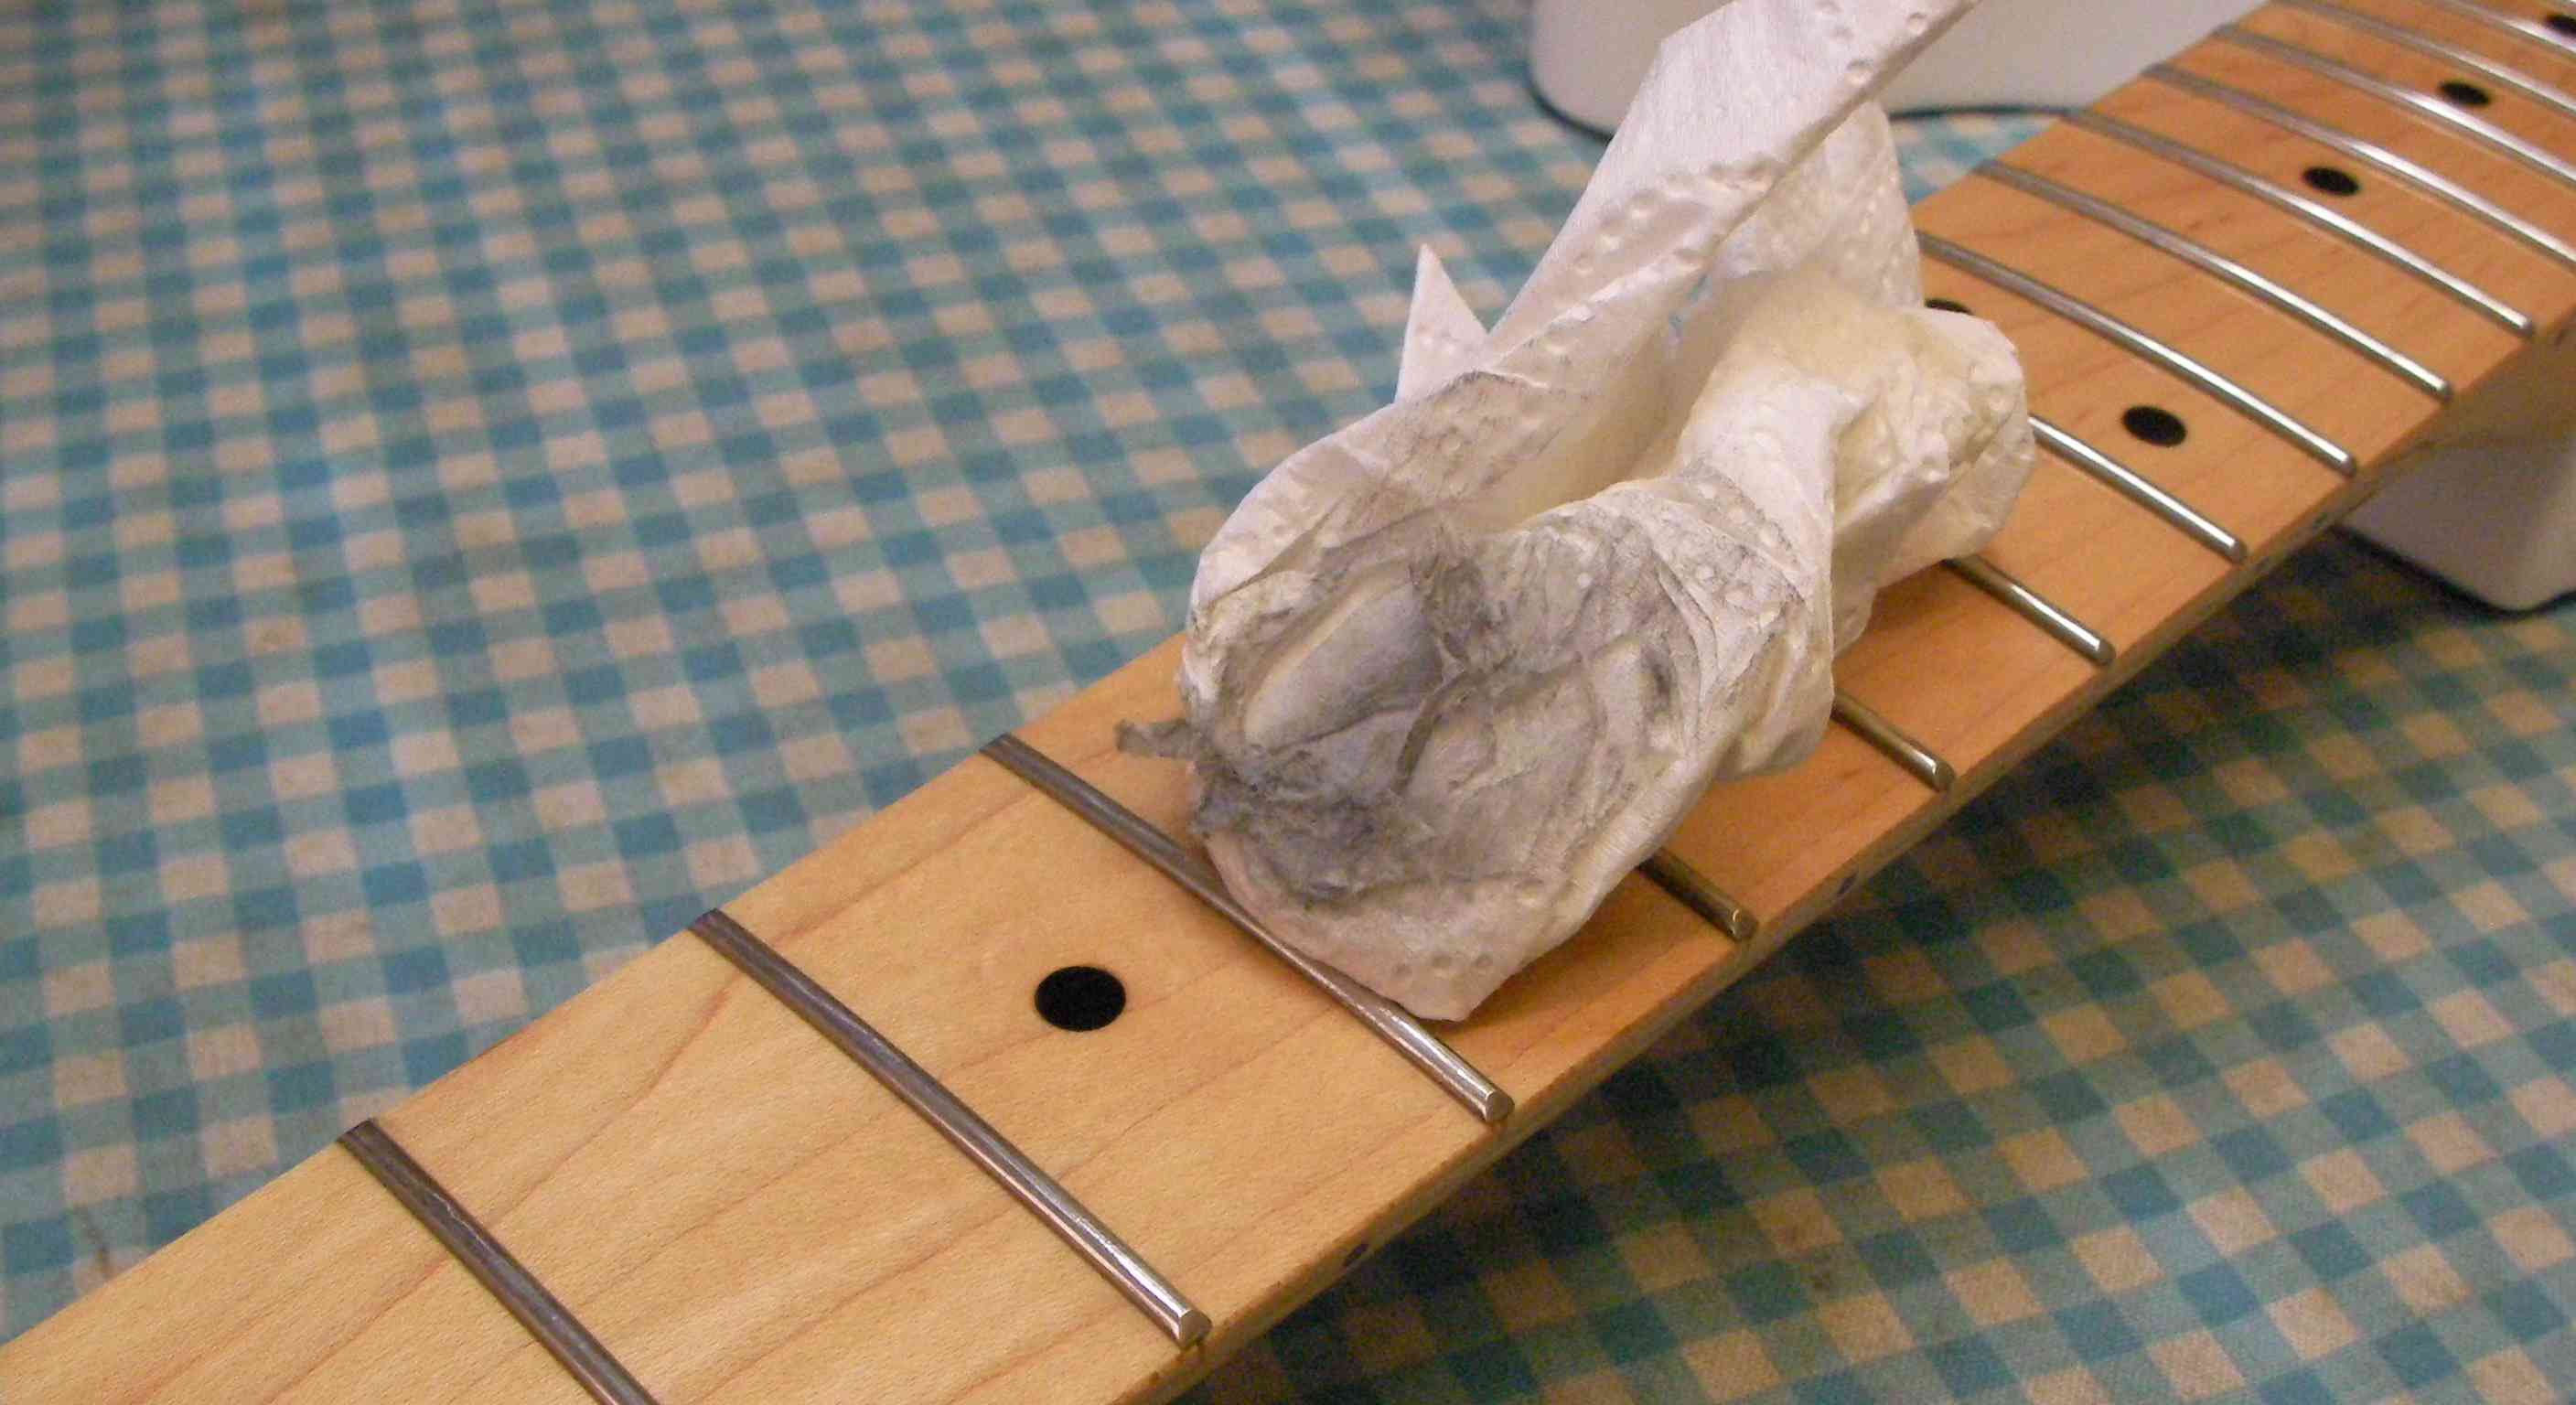 All in needed then was a standard 5 point setup:
1. The neck set…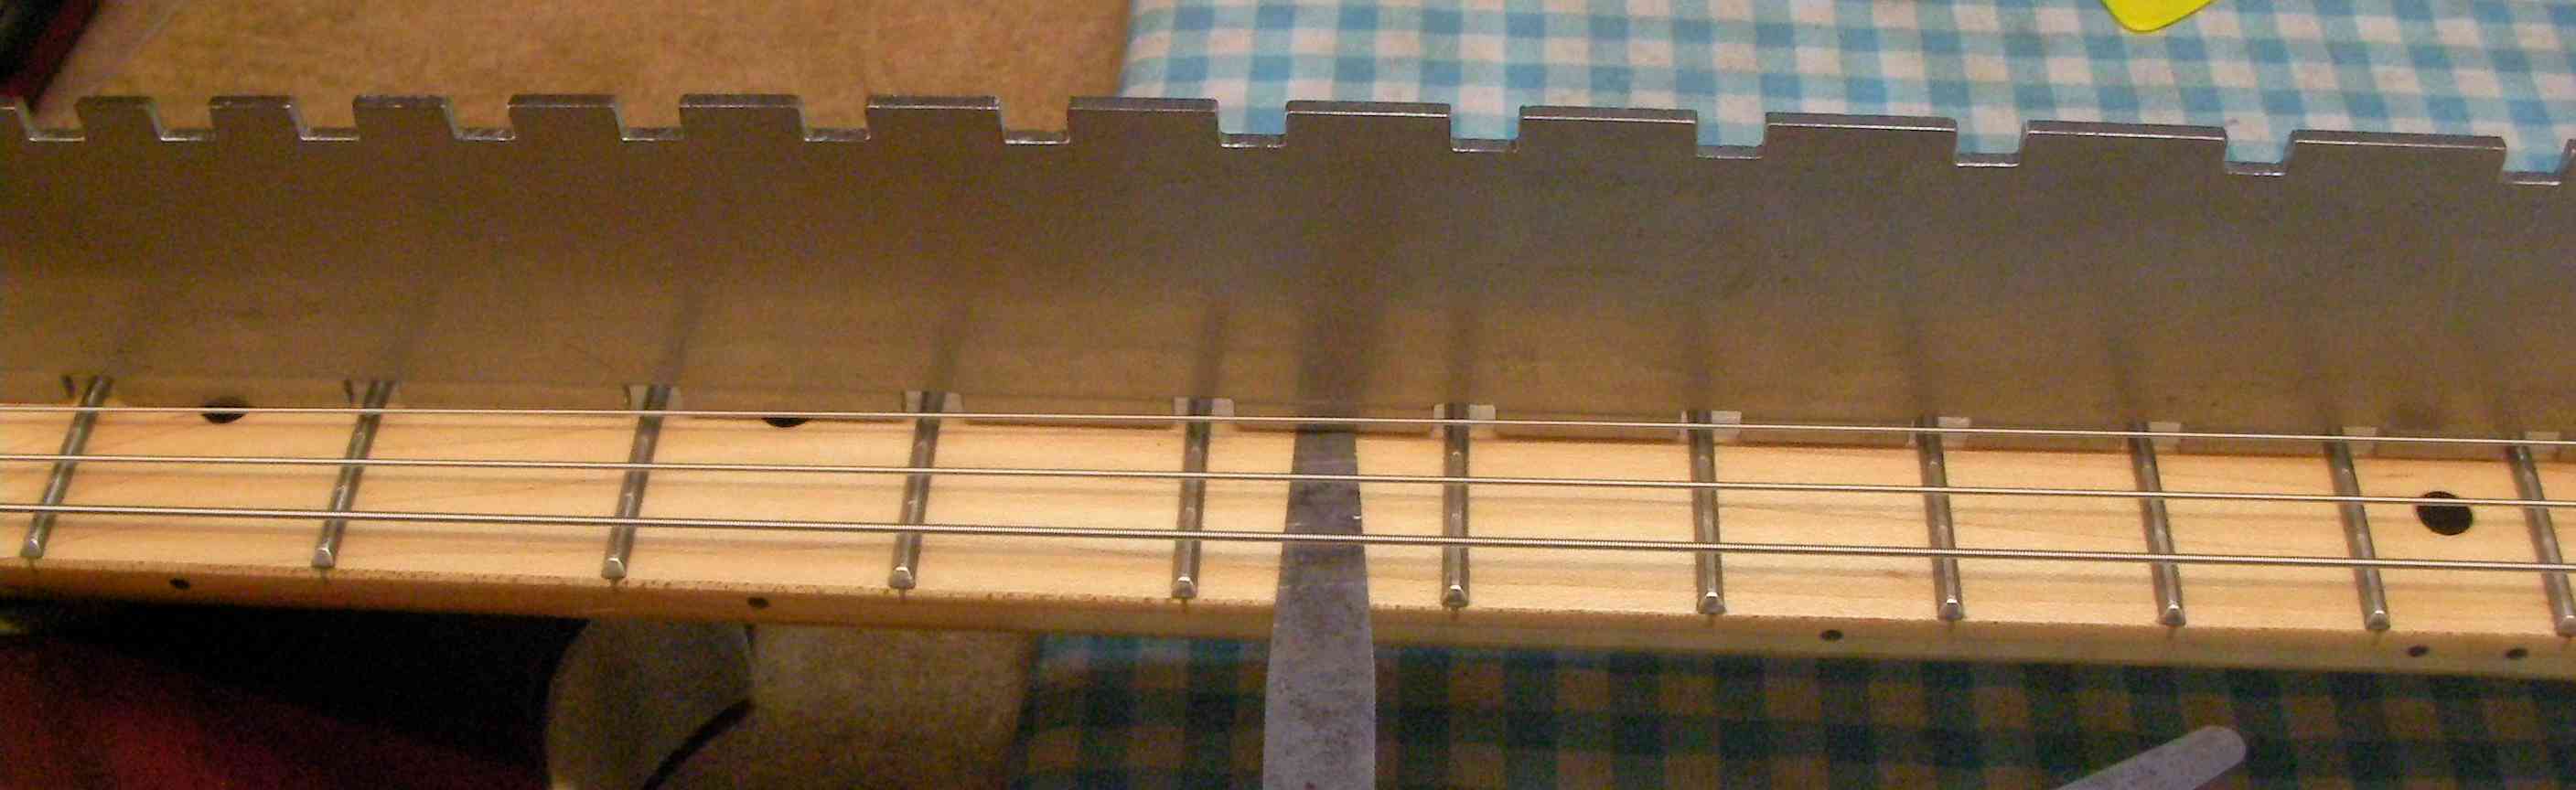
with a turn or 2 on the truss-rod.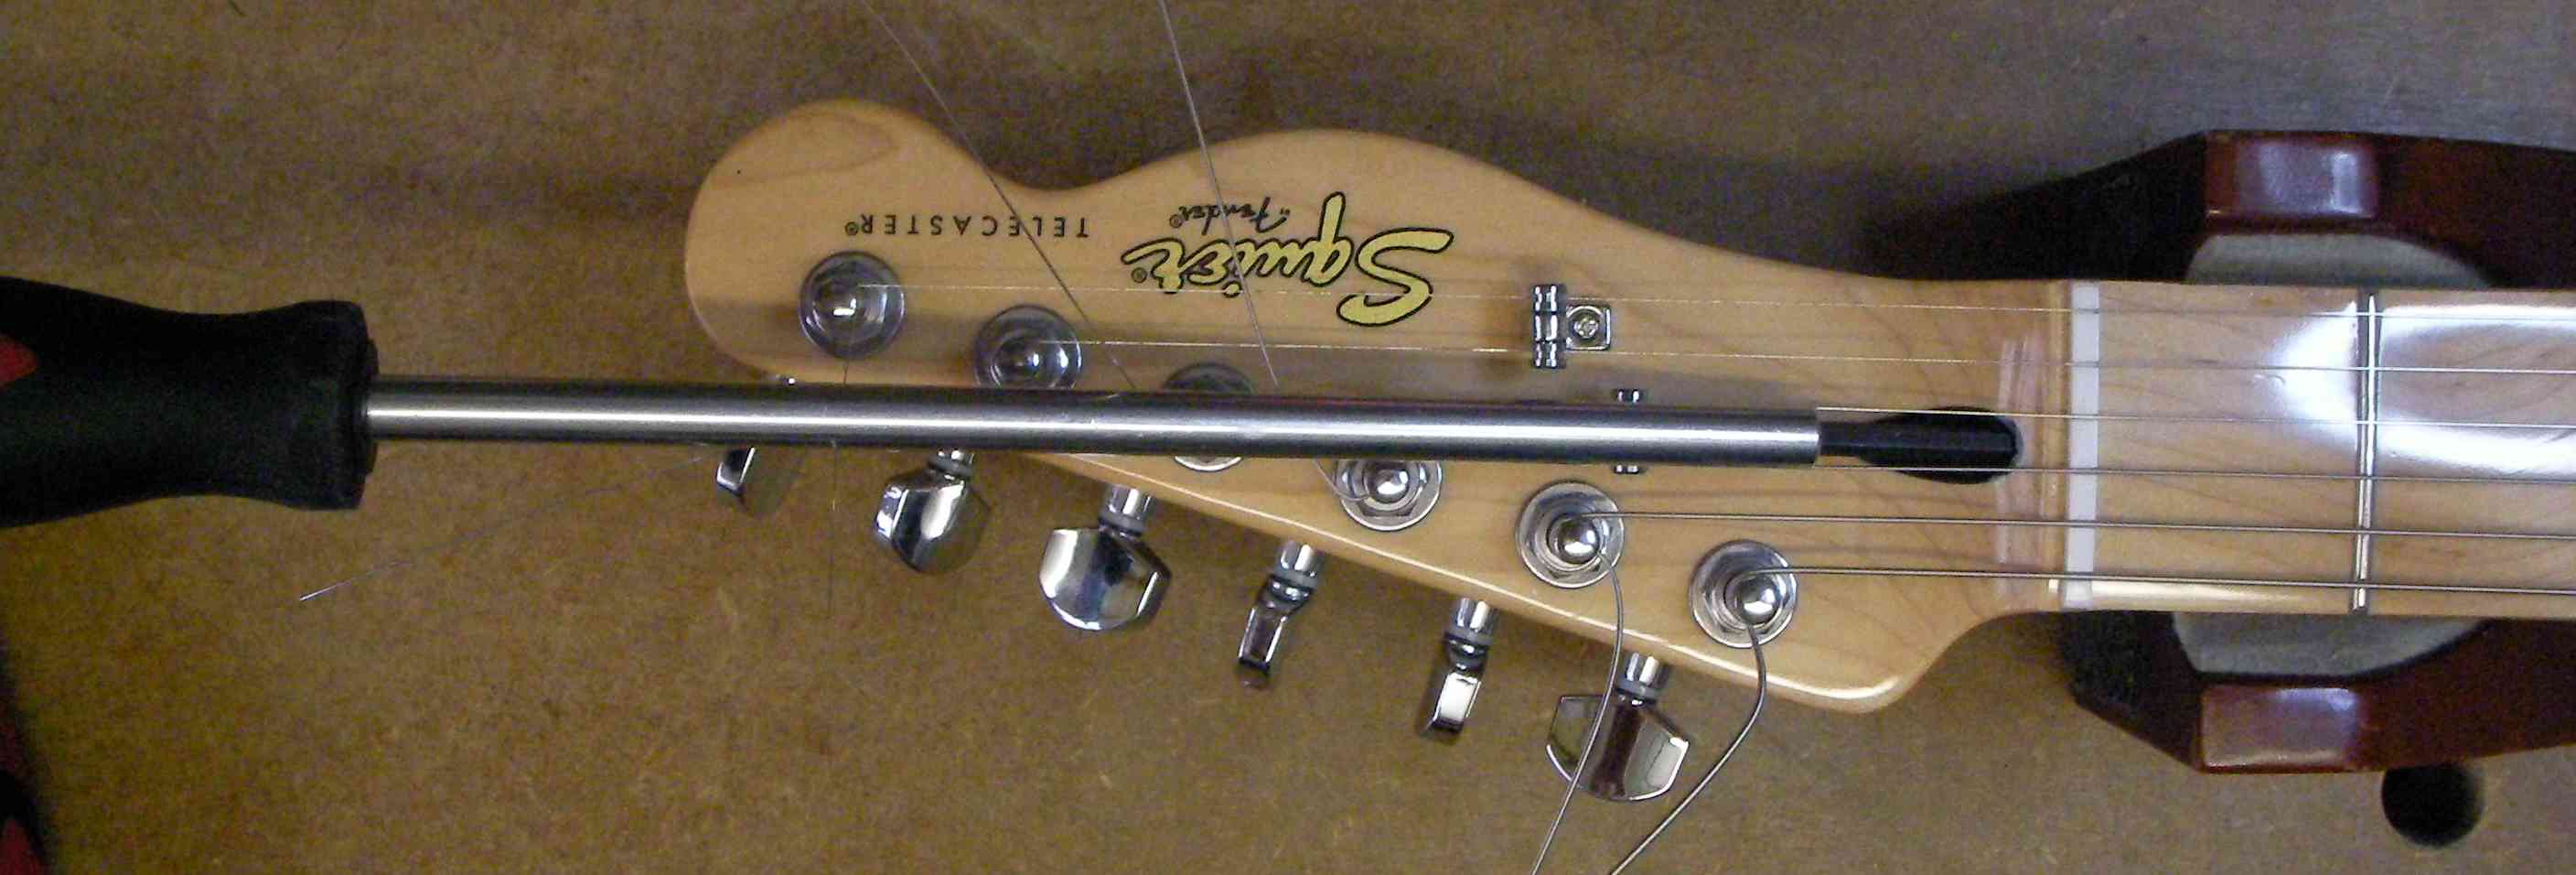
2. The action at the 12th fret….
by adjusting the bridge height. First the outside strings…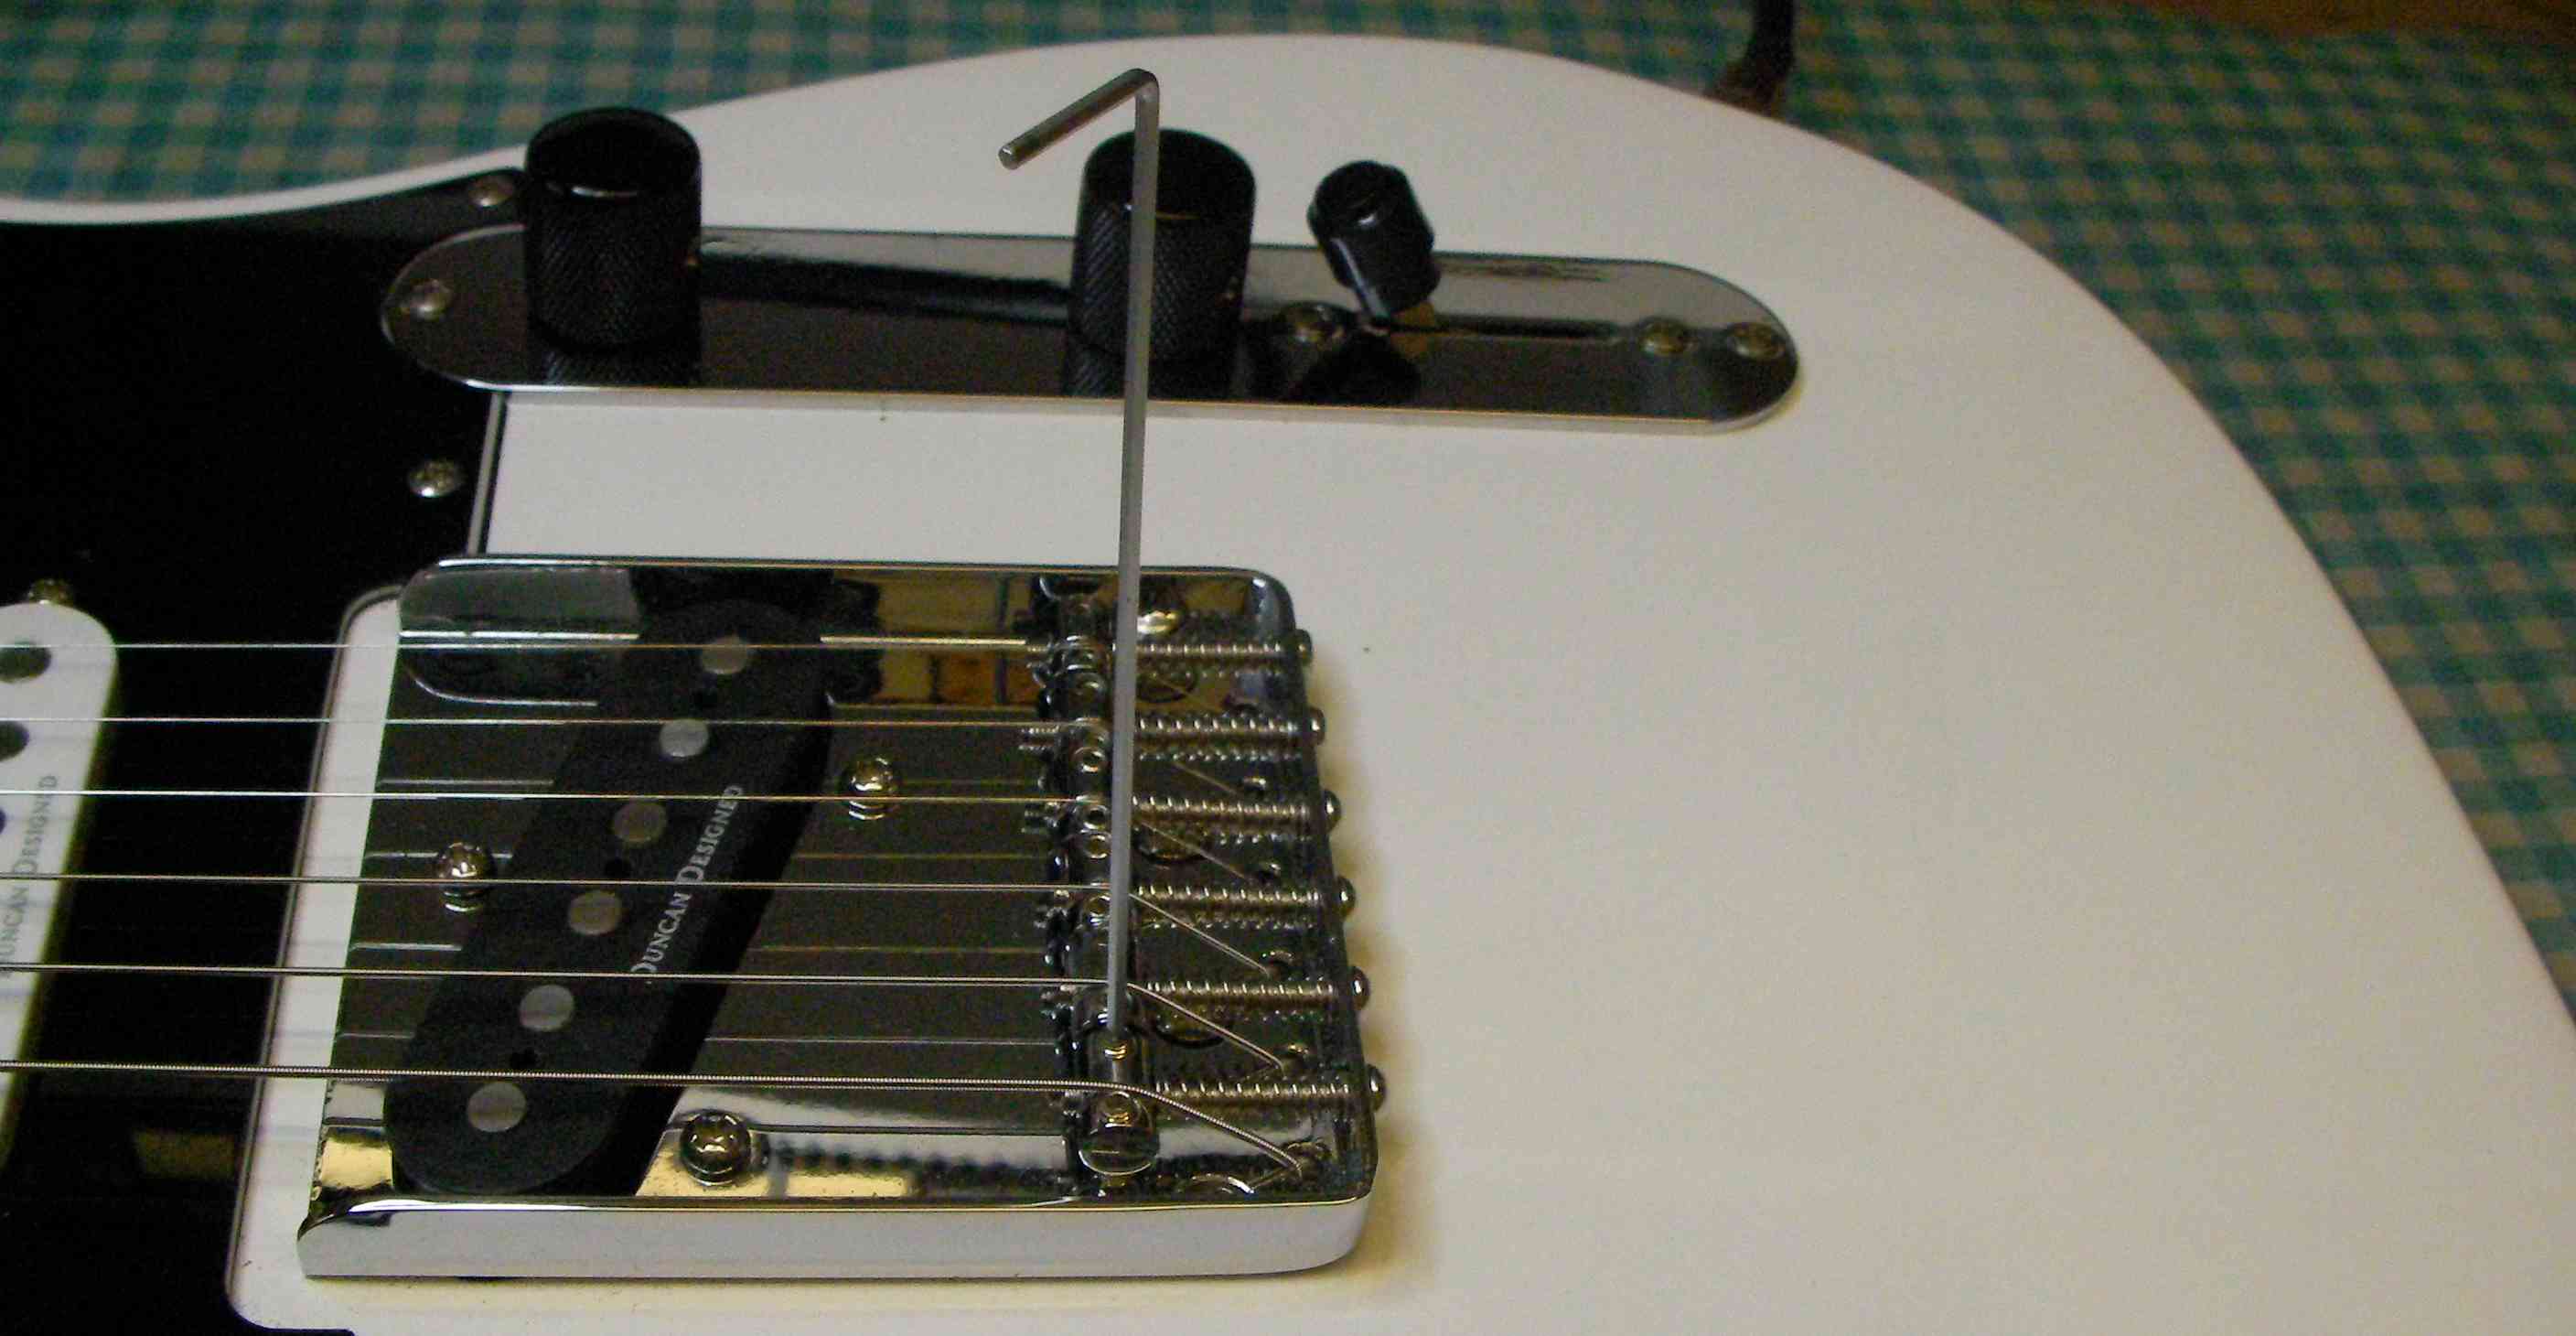
then the other 4 so that the action heights are consistent with the radius of the frertboard.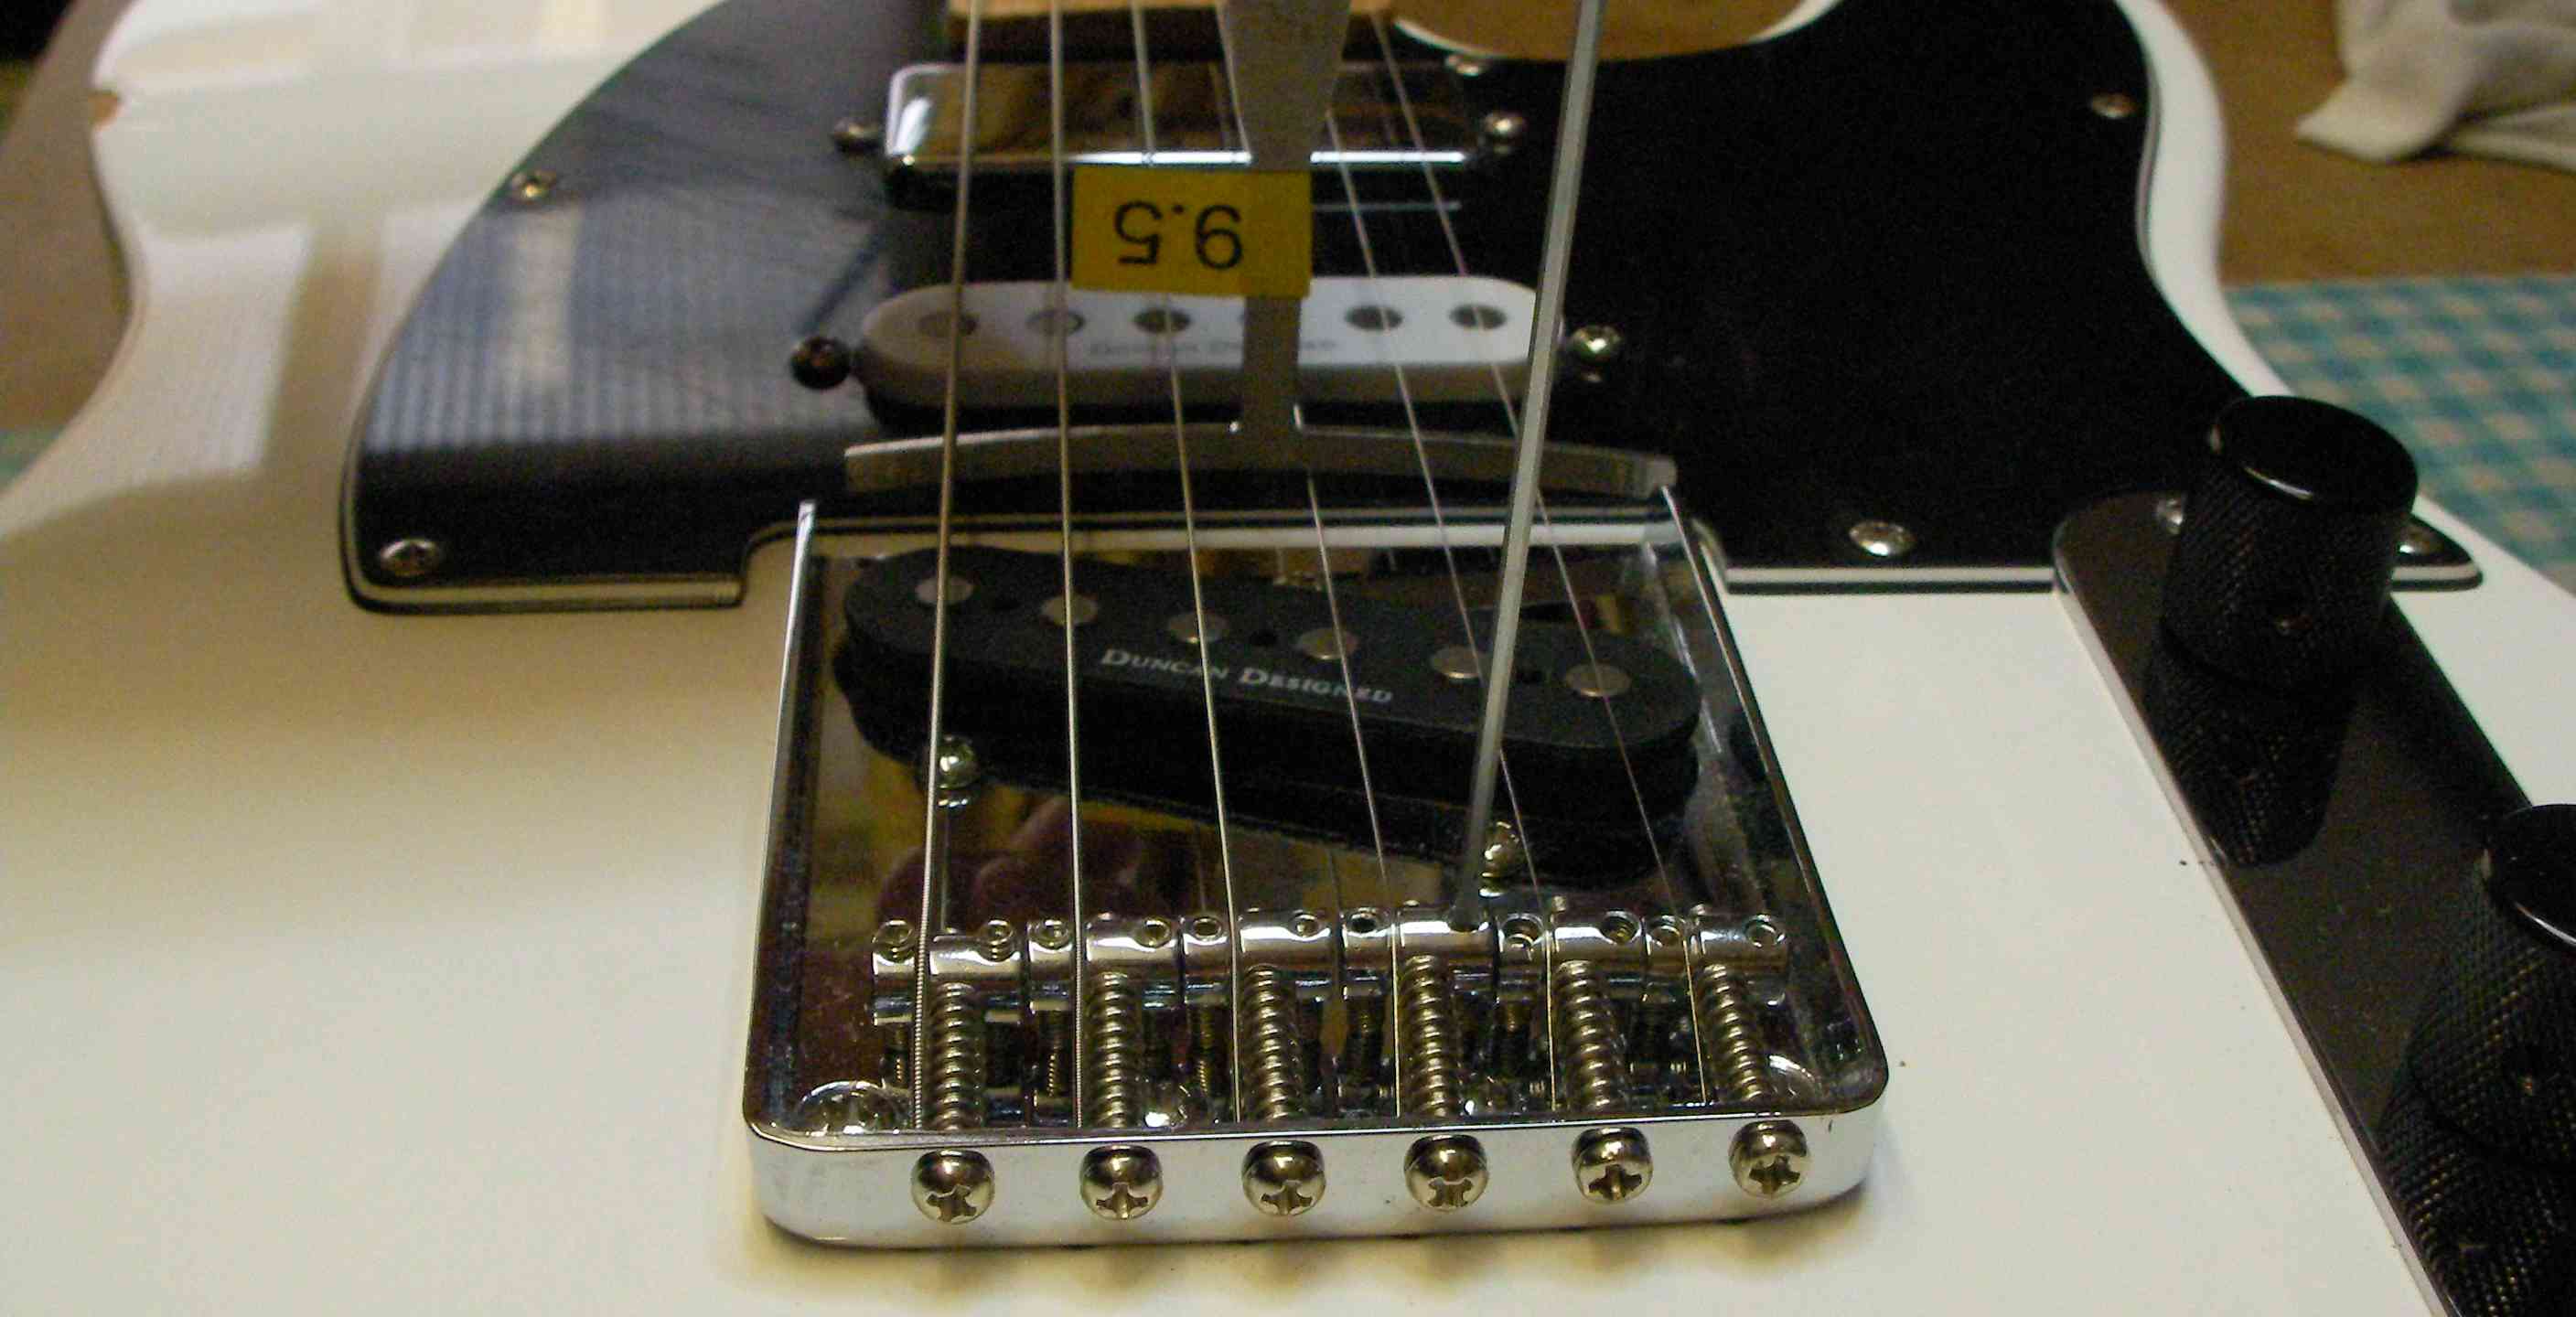
3. The action at the 1st fret.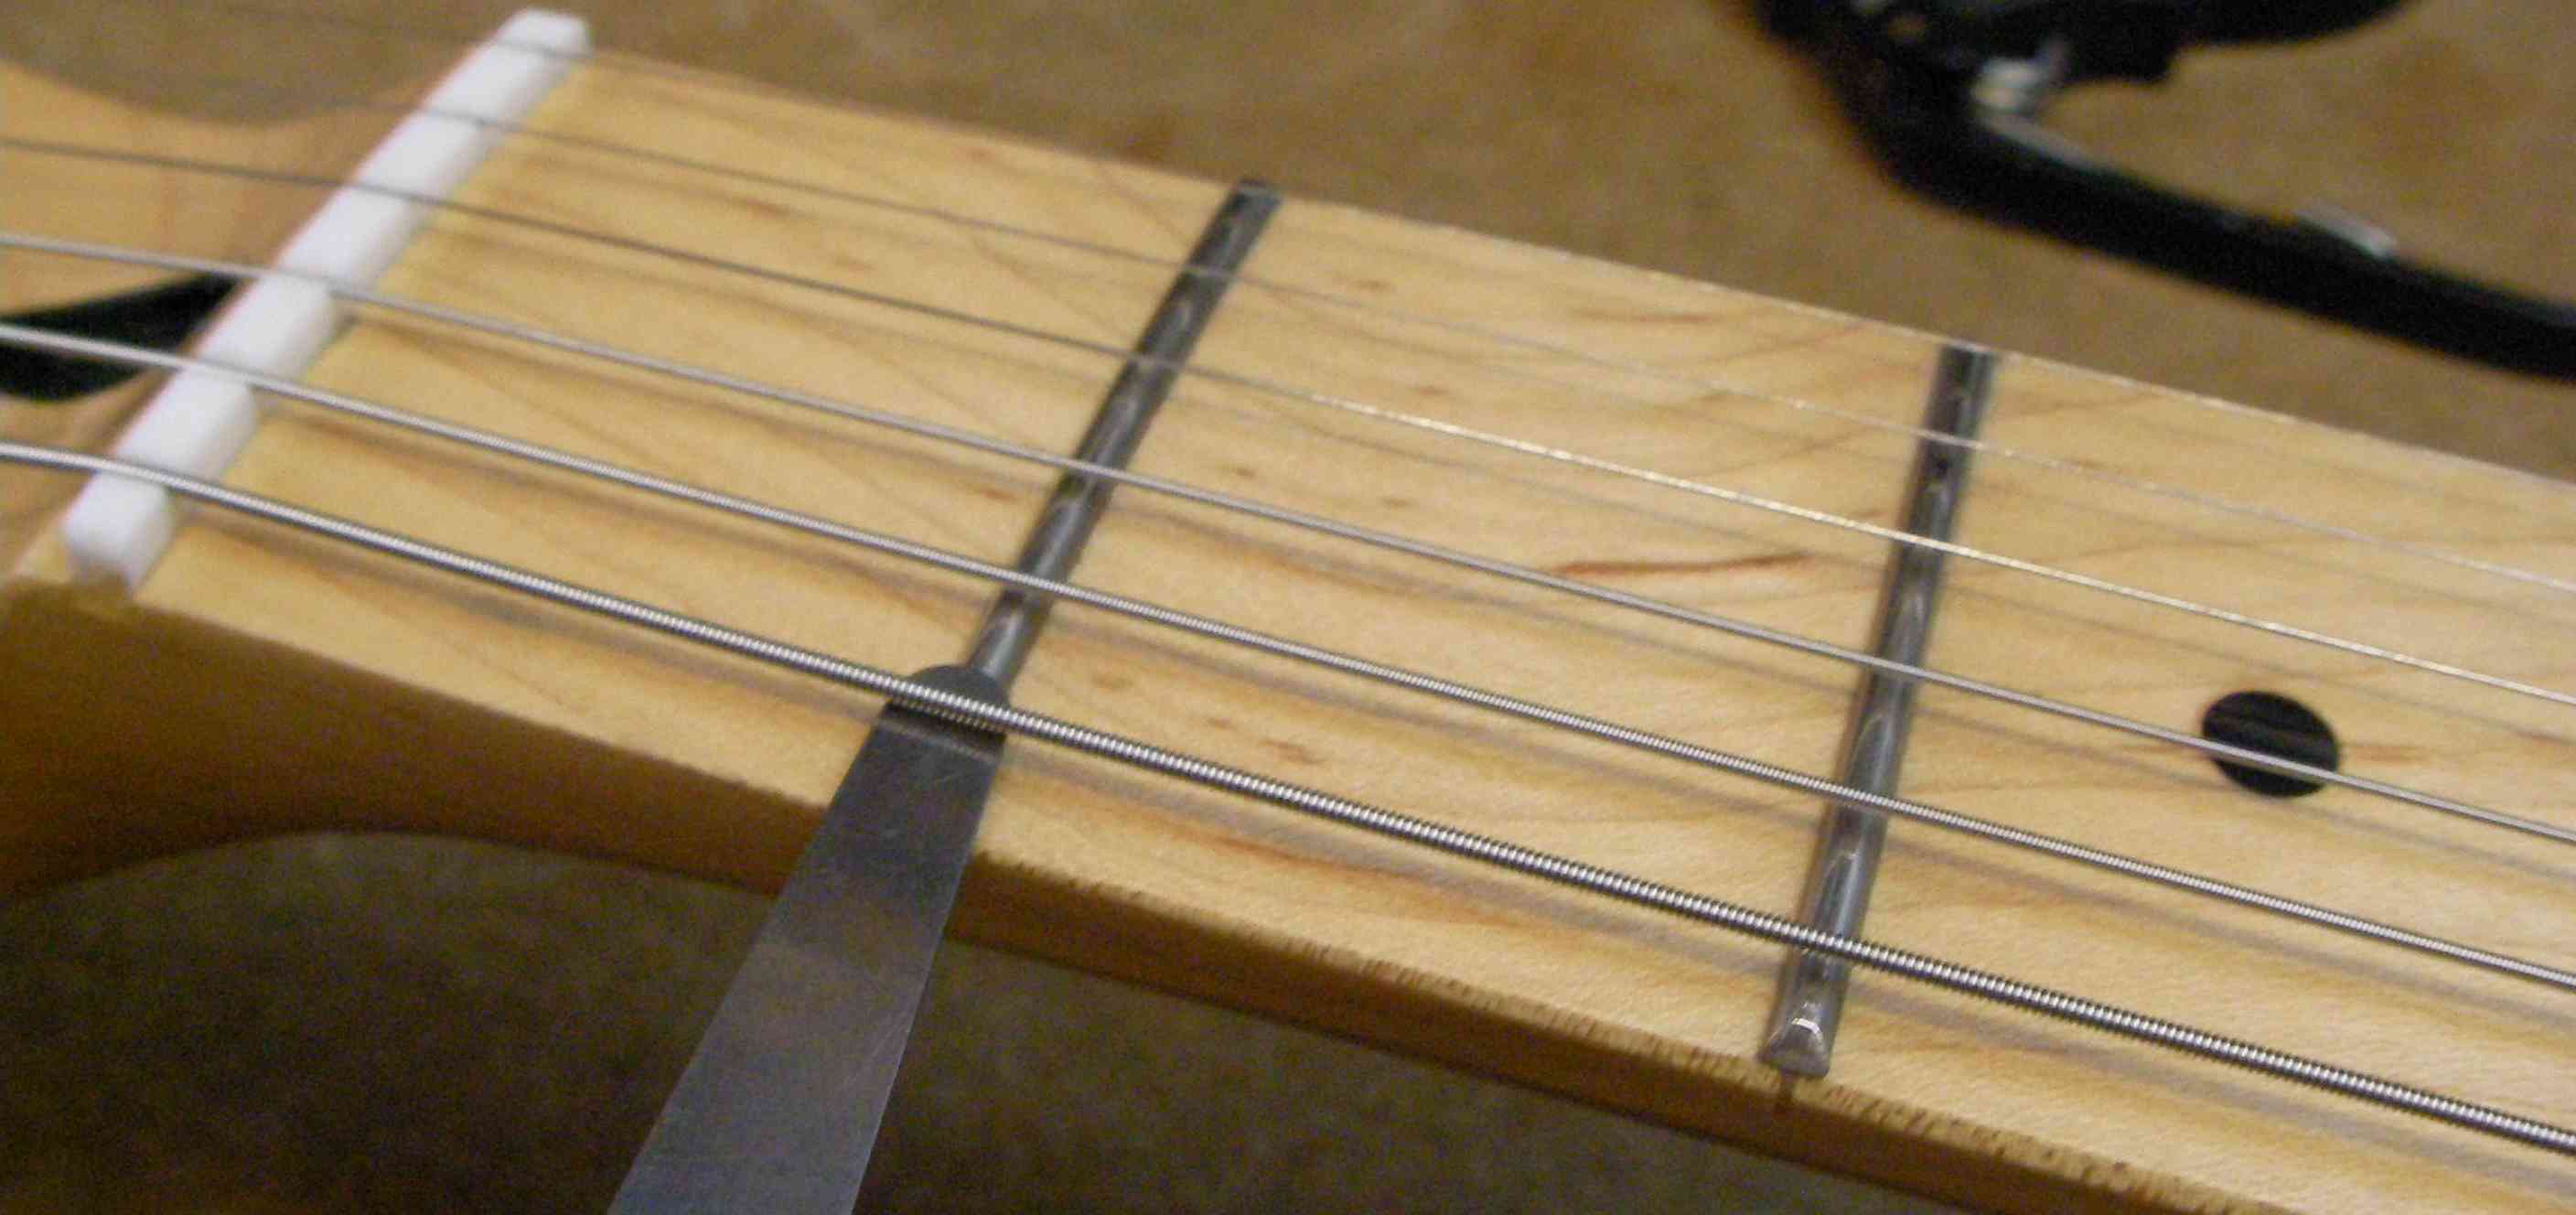
It was a little high so I took the slots in the nut down a touch.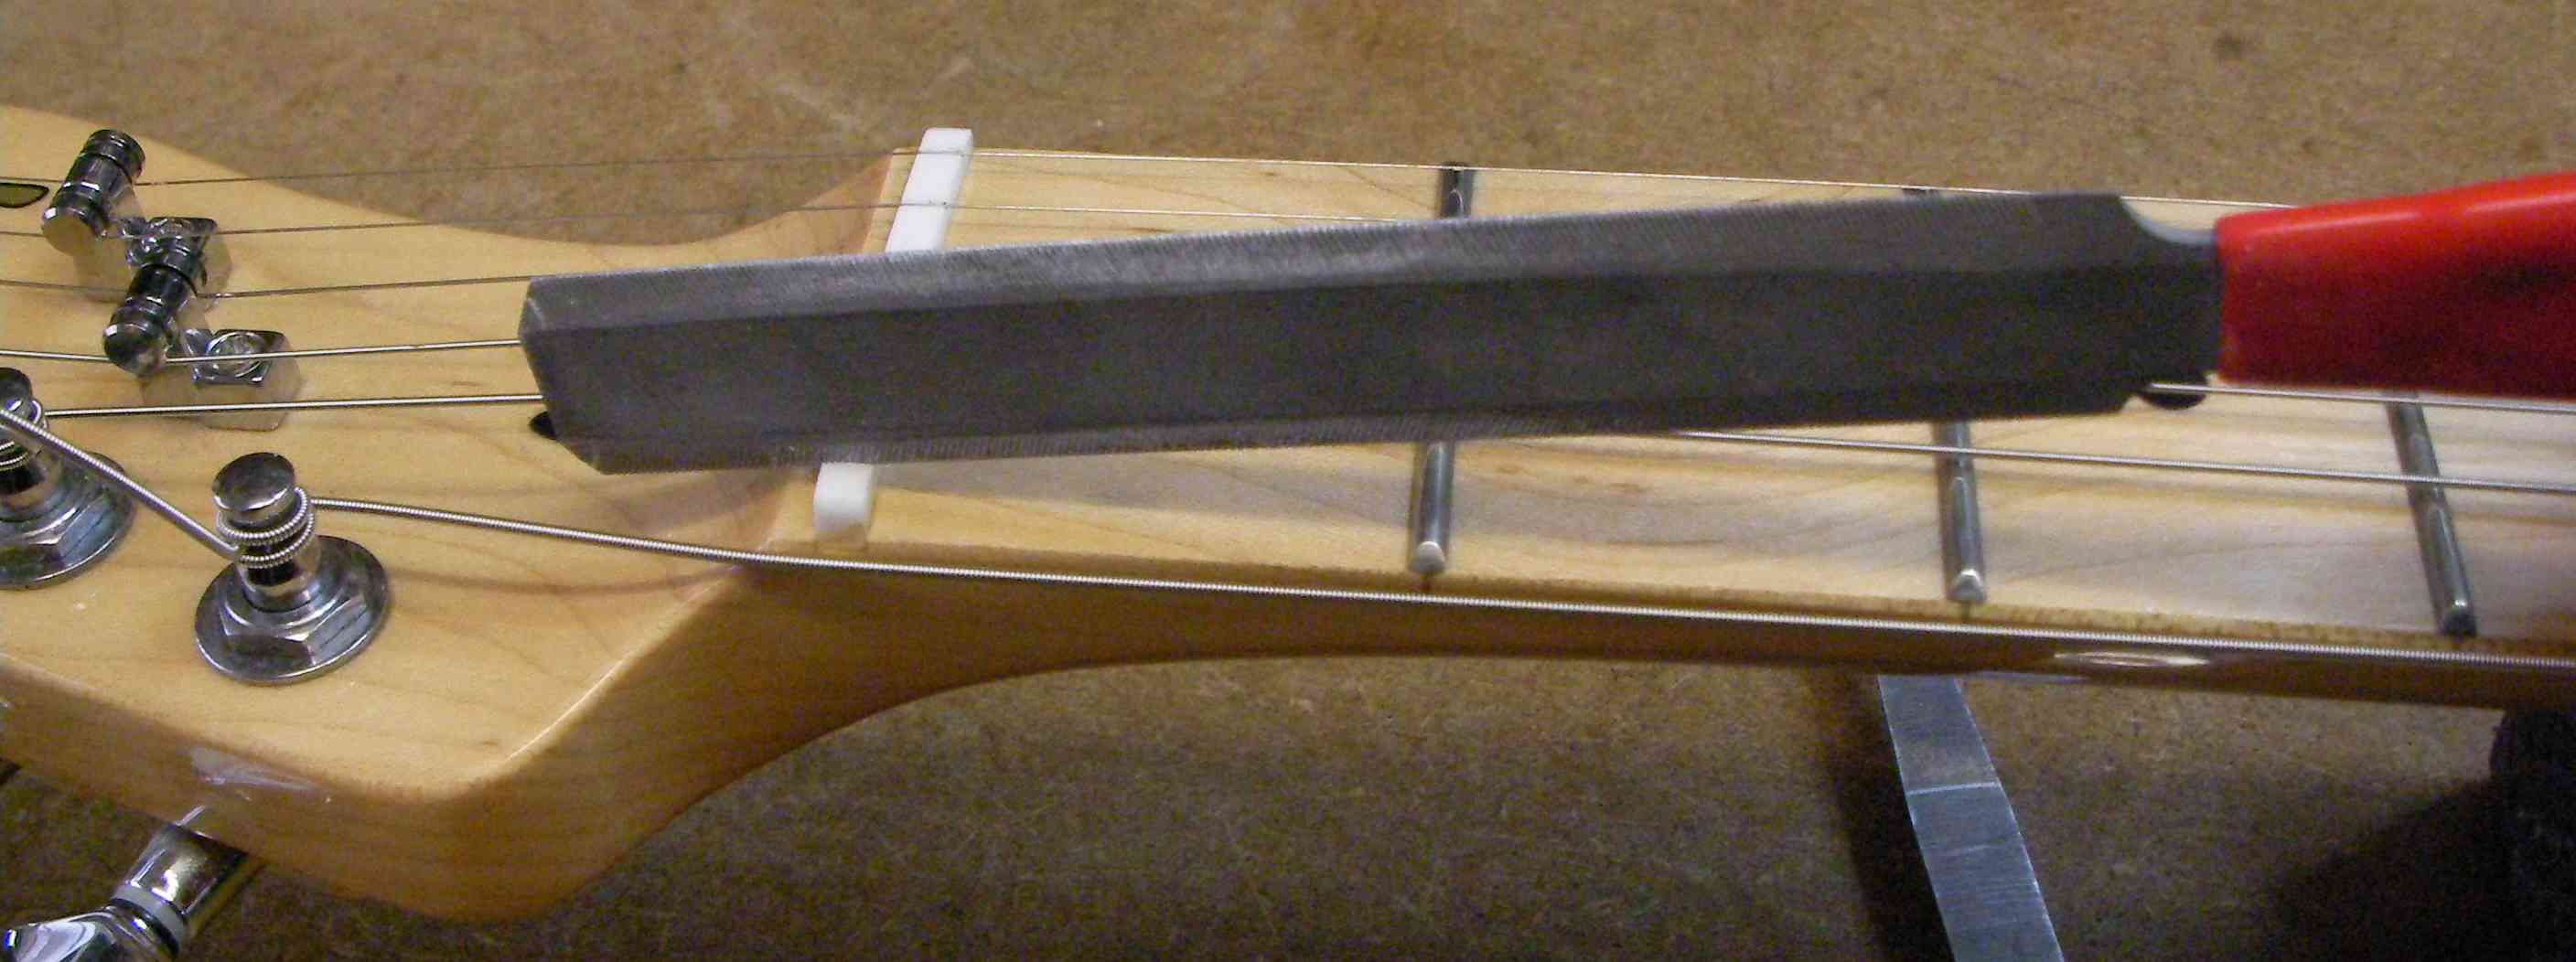
4. The intonation. The screw heads were stripped out so I fitted a new set.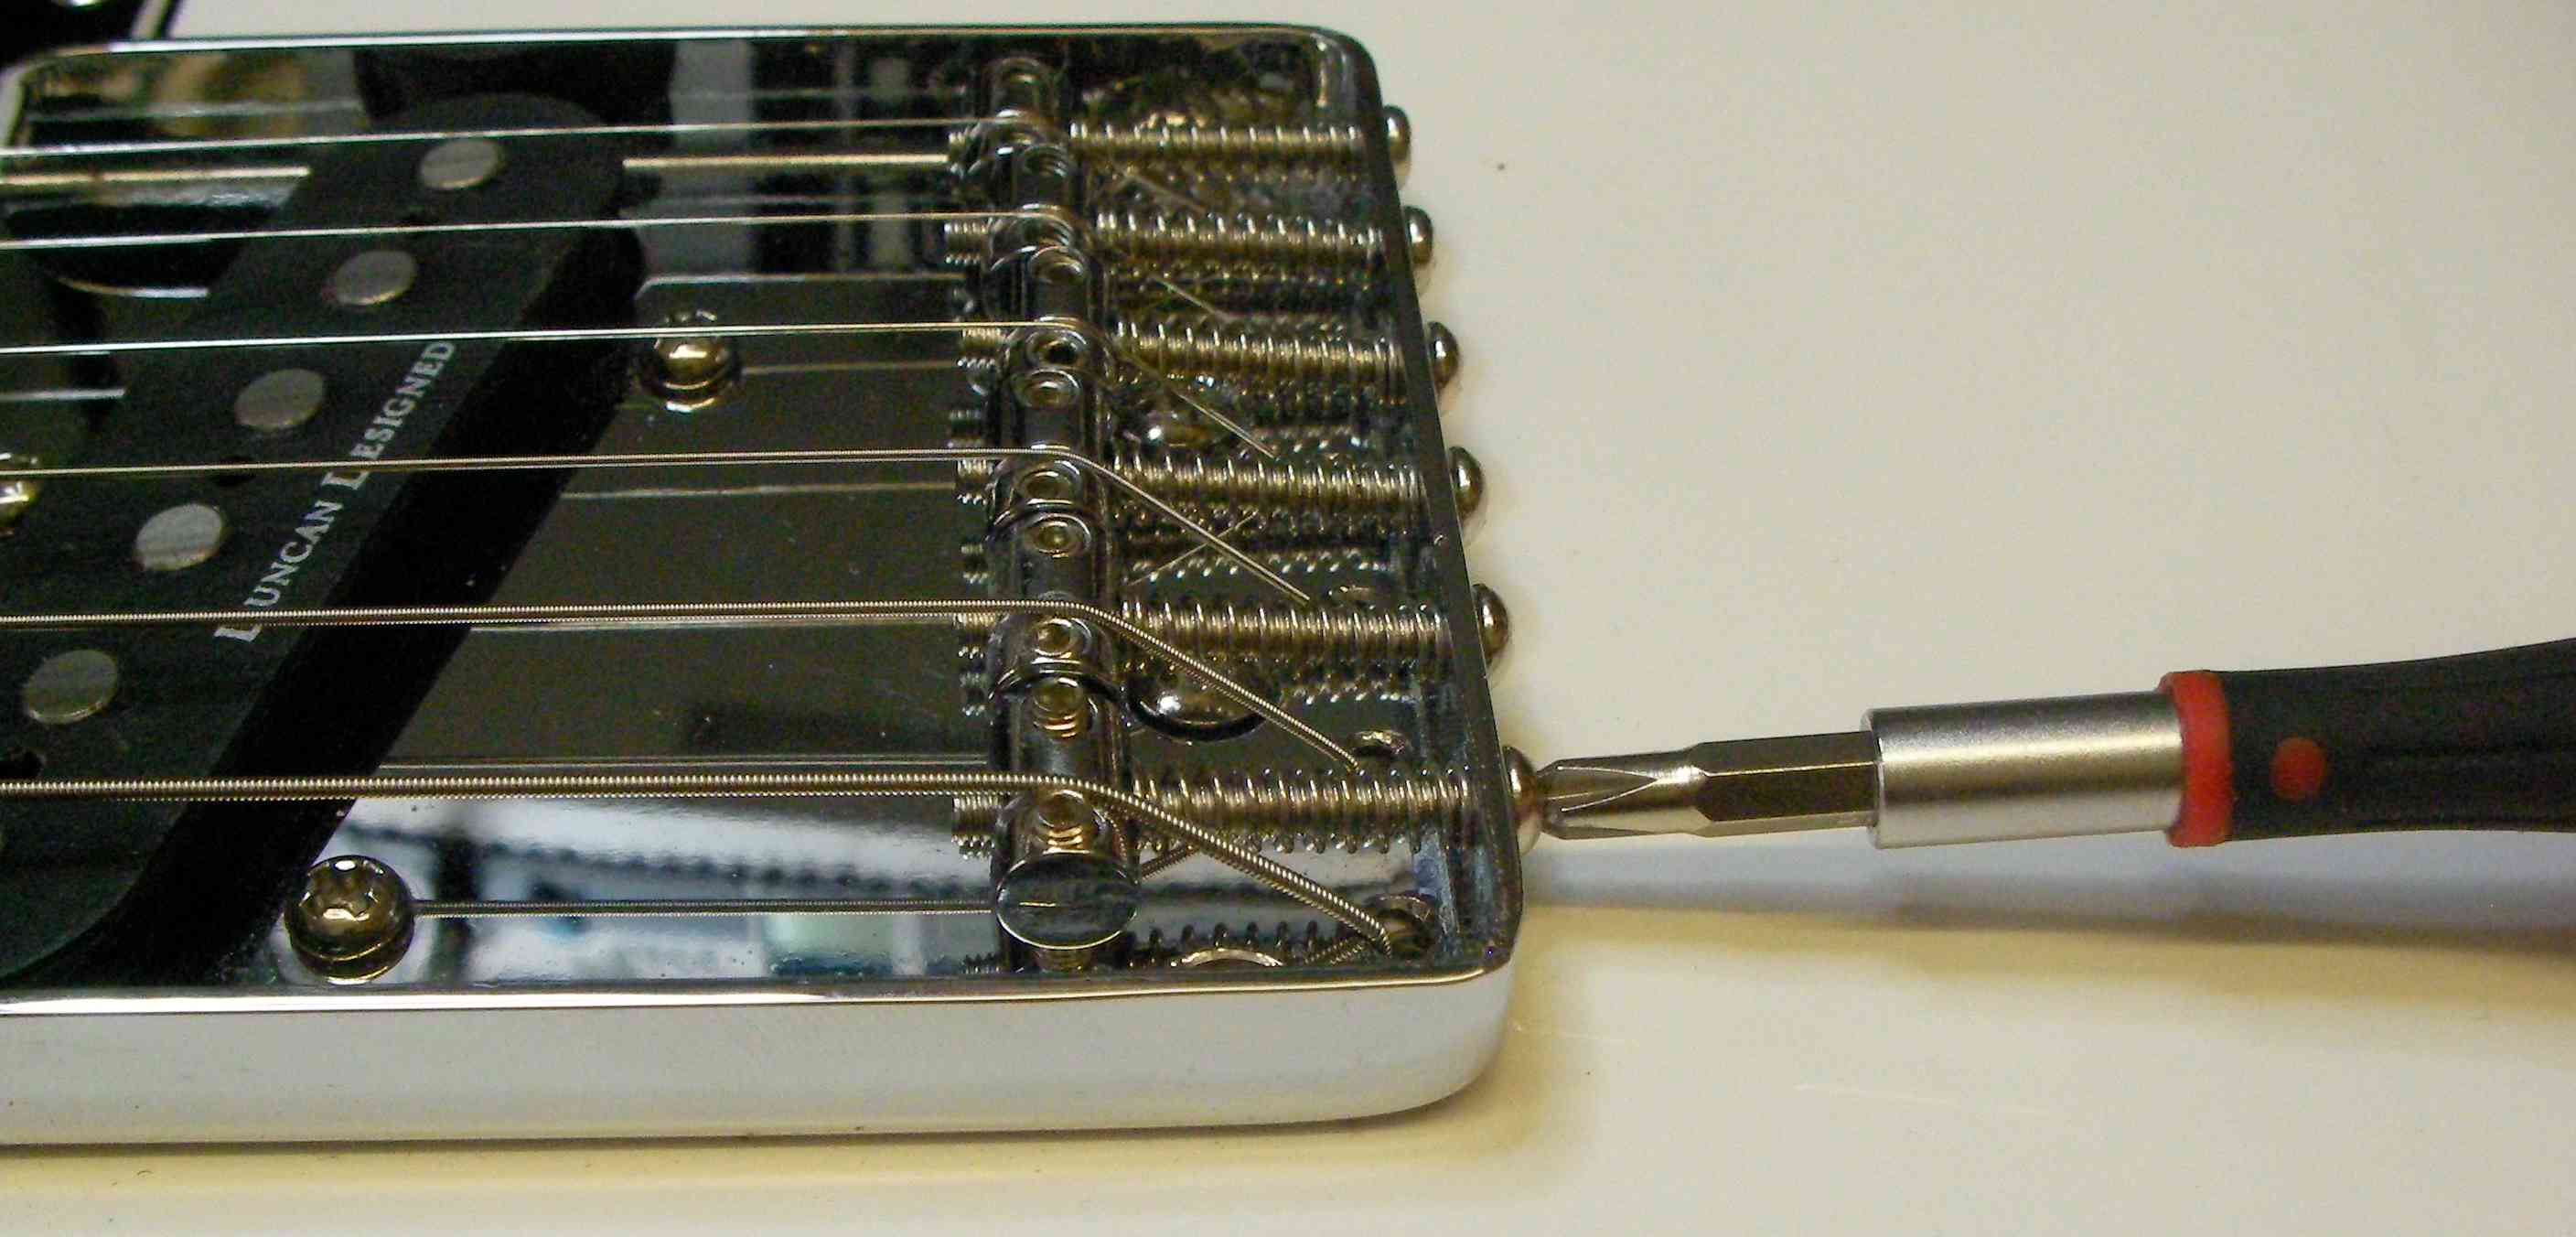
5. Lastly the pickup heights. Important that the outputs are balanced. 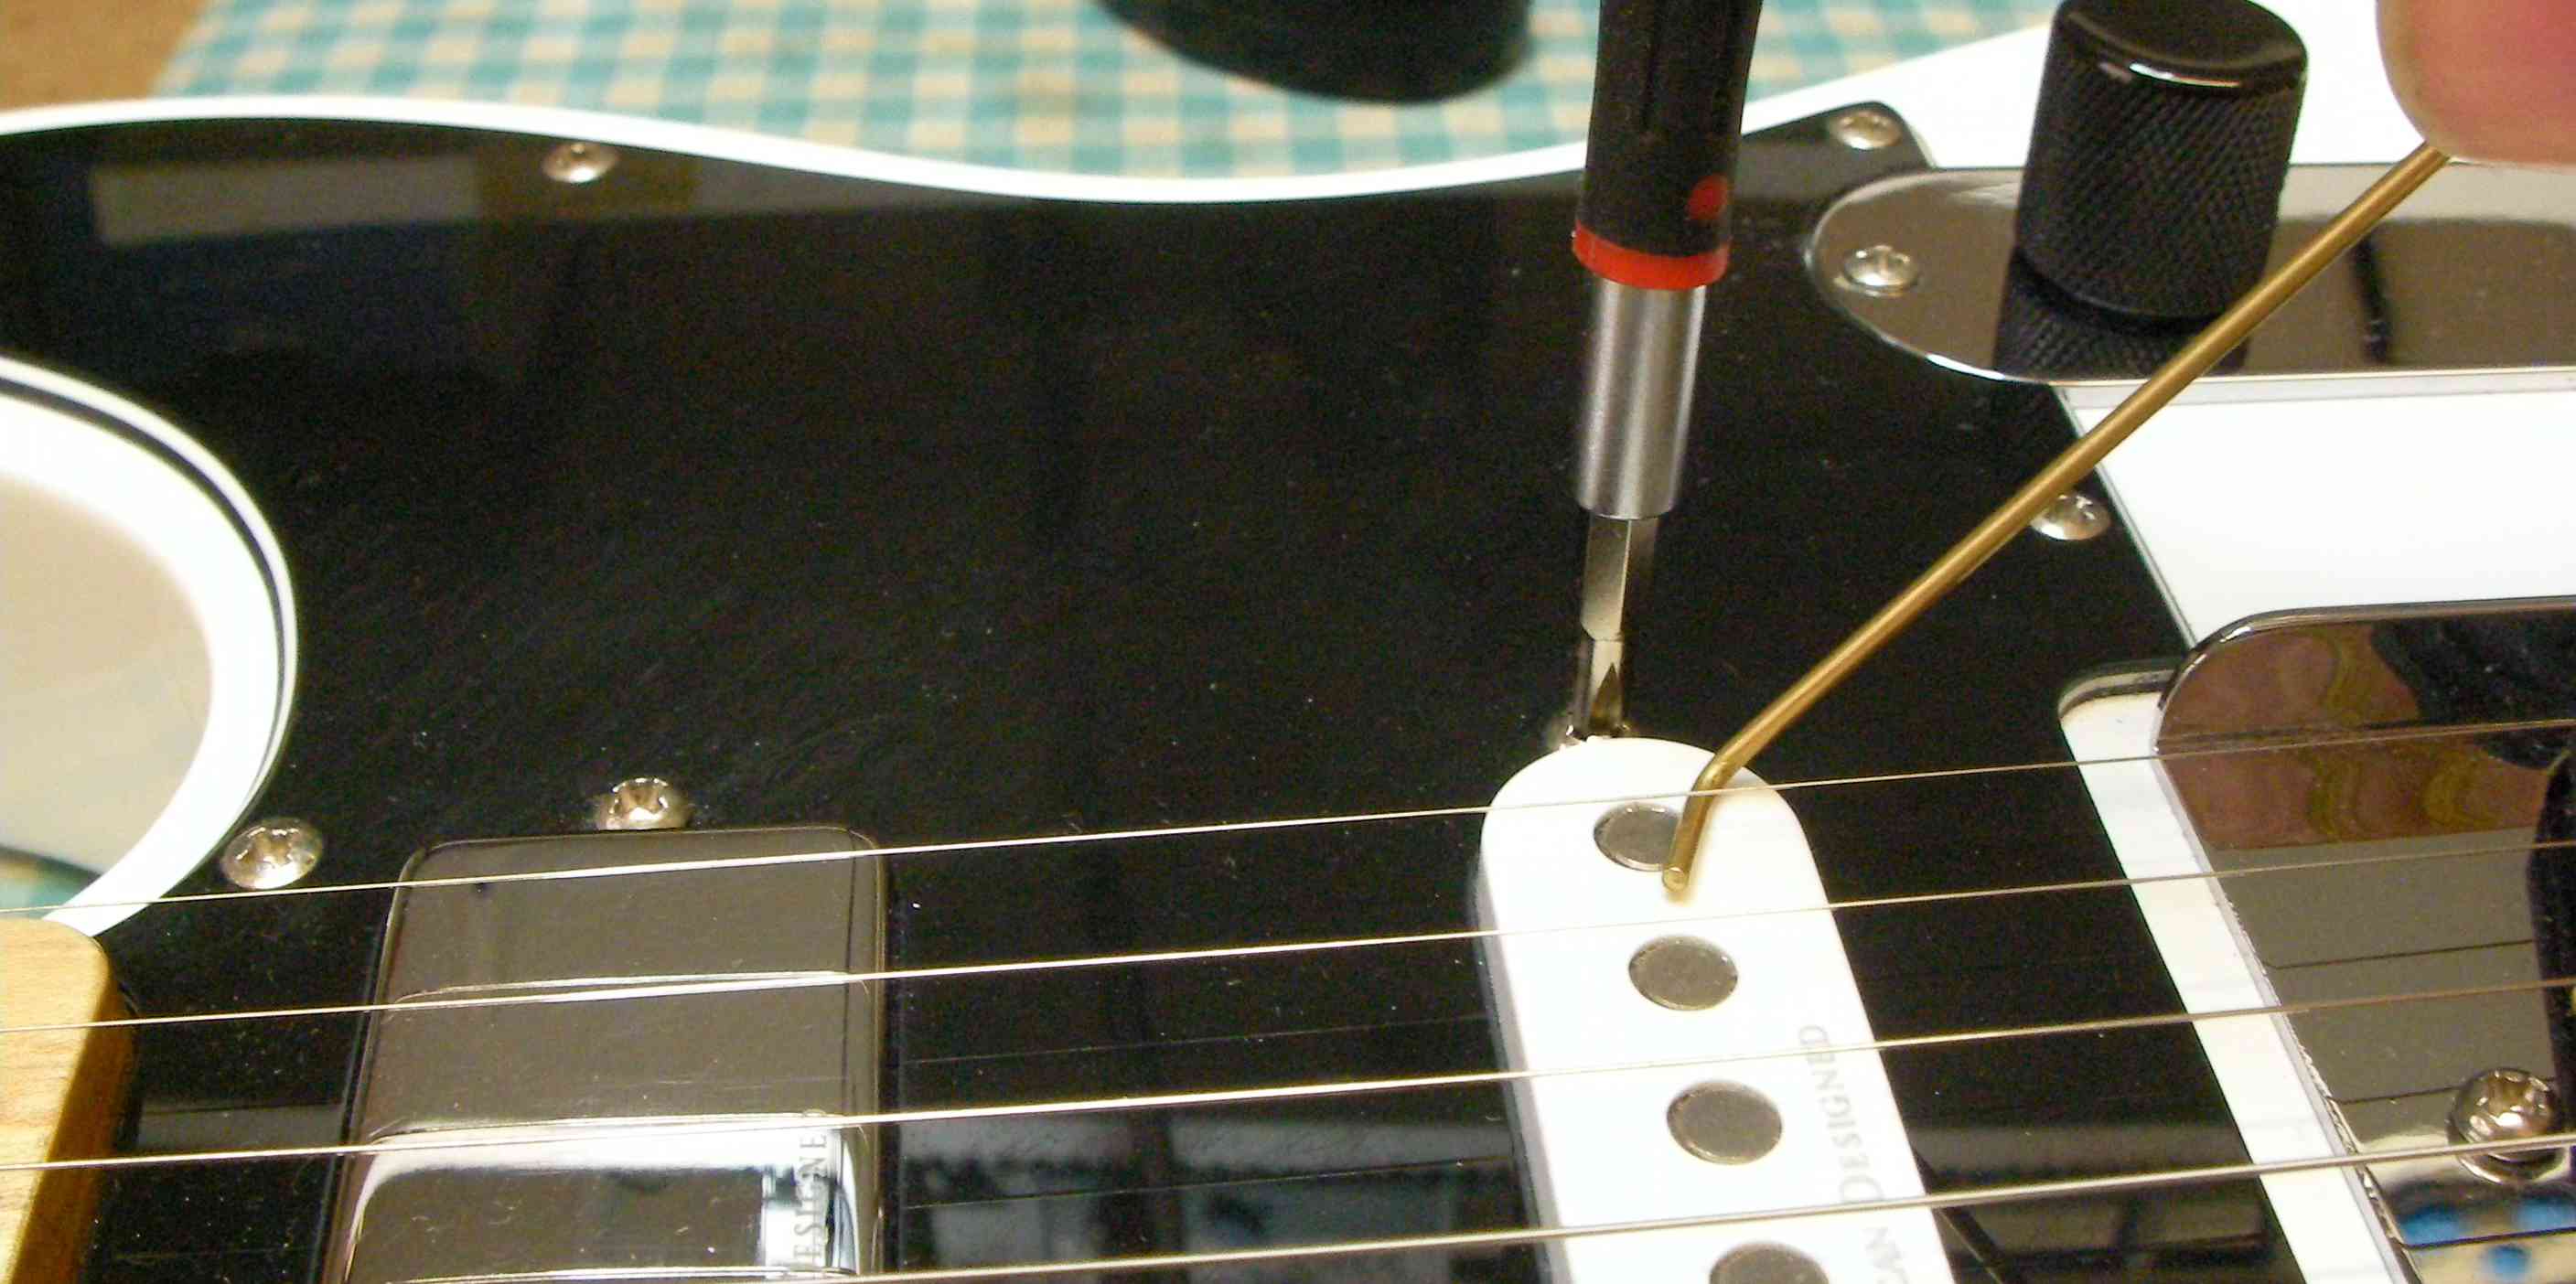
So there we are, god to go…