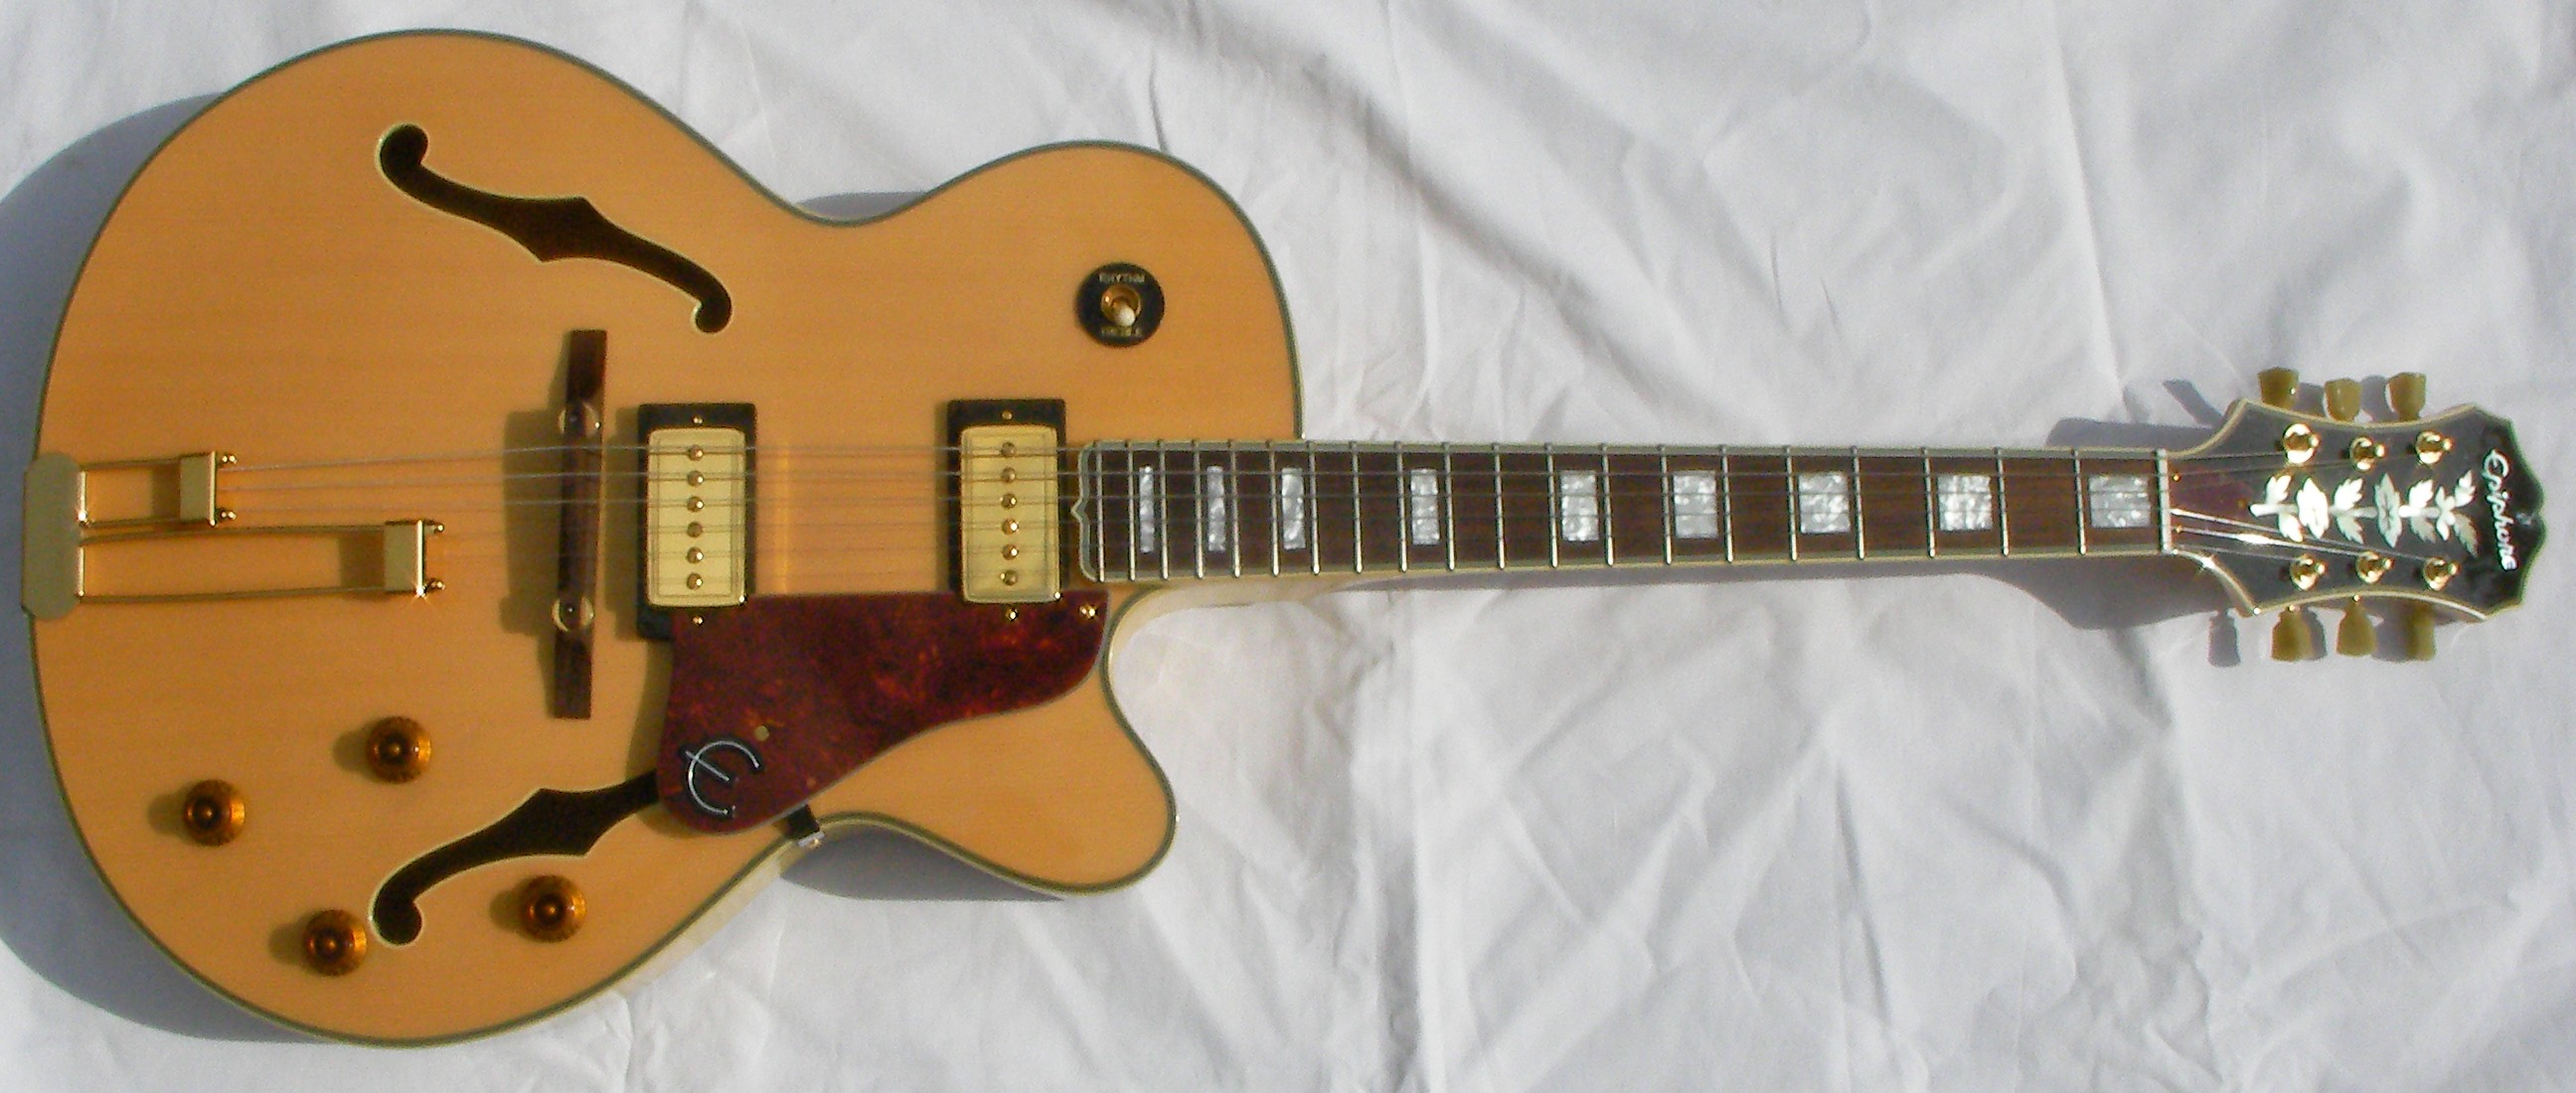
The next big job. At first sight not a lot wrong with it, just needs freshening up a little. The main thing the owner wants is a complete re-wire, including all new pickups and controls. I’ve ordered most of the parts but the pickups are still on the way.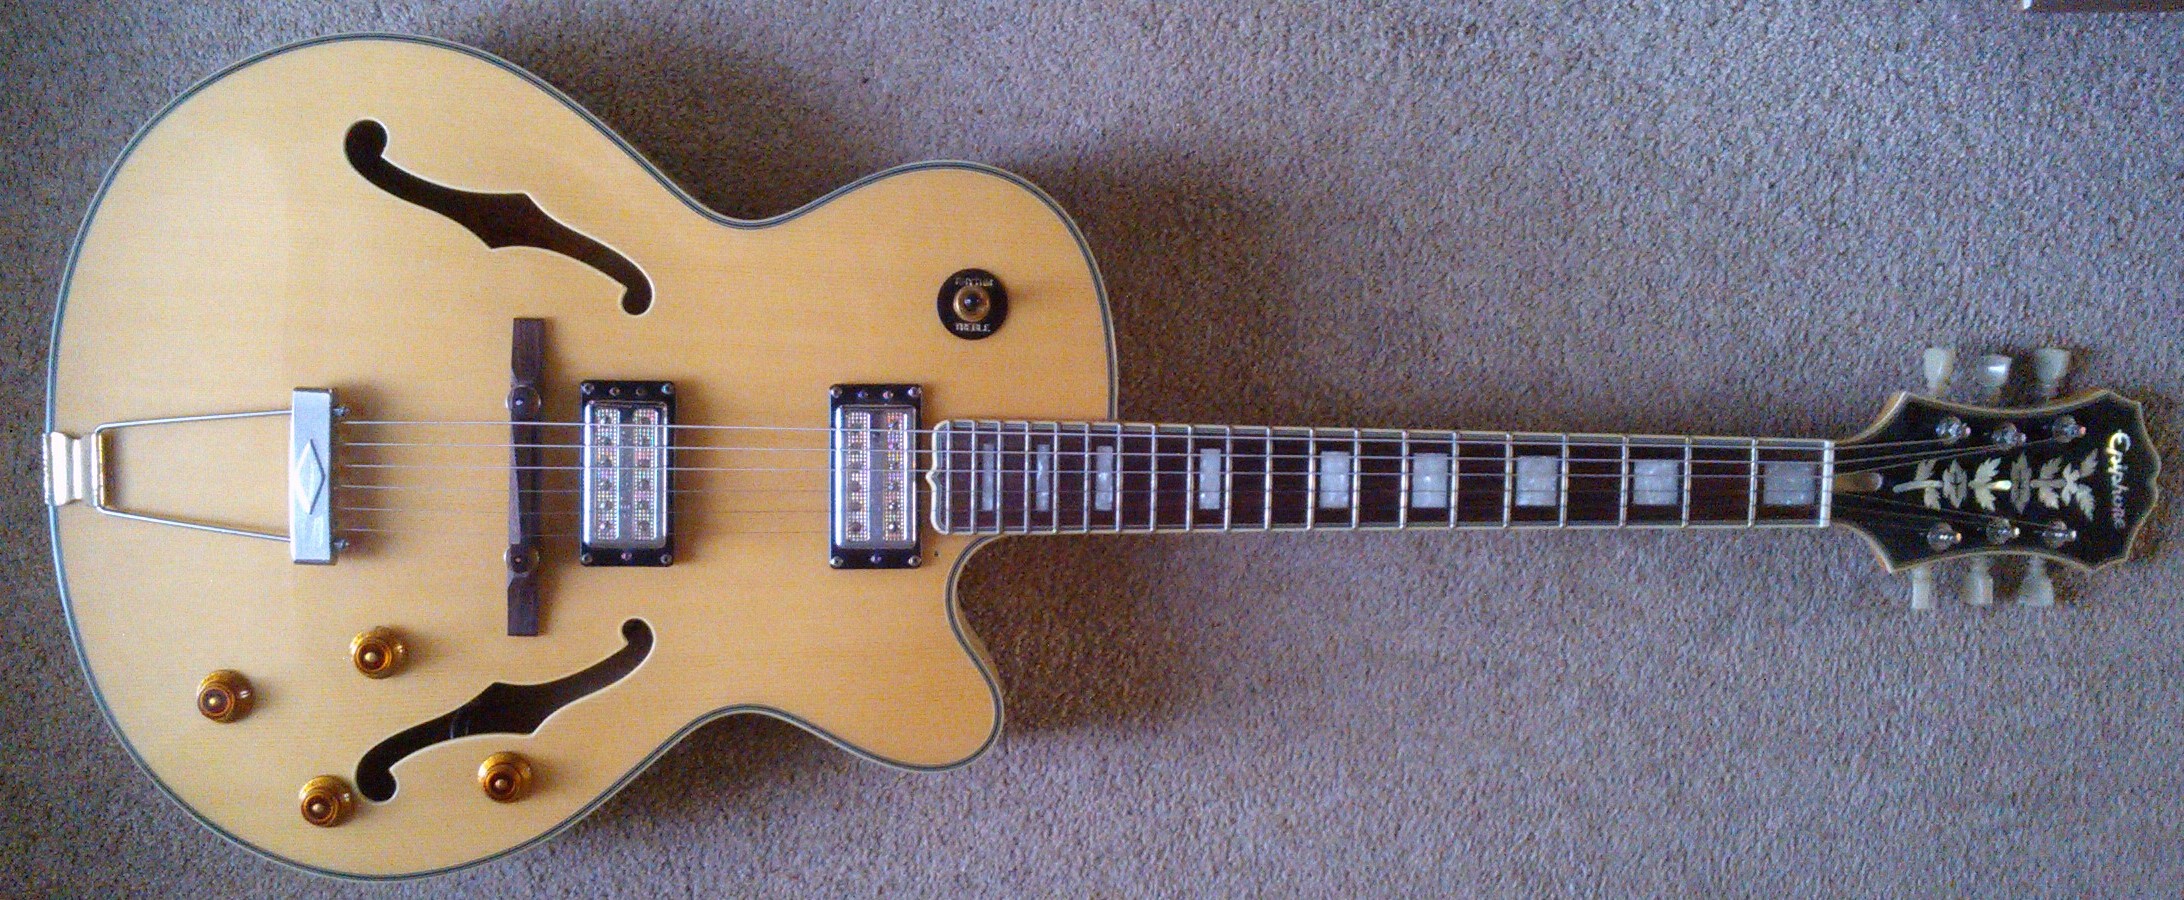
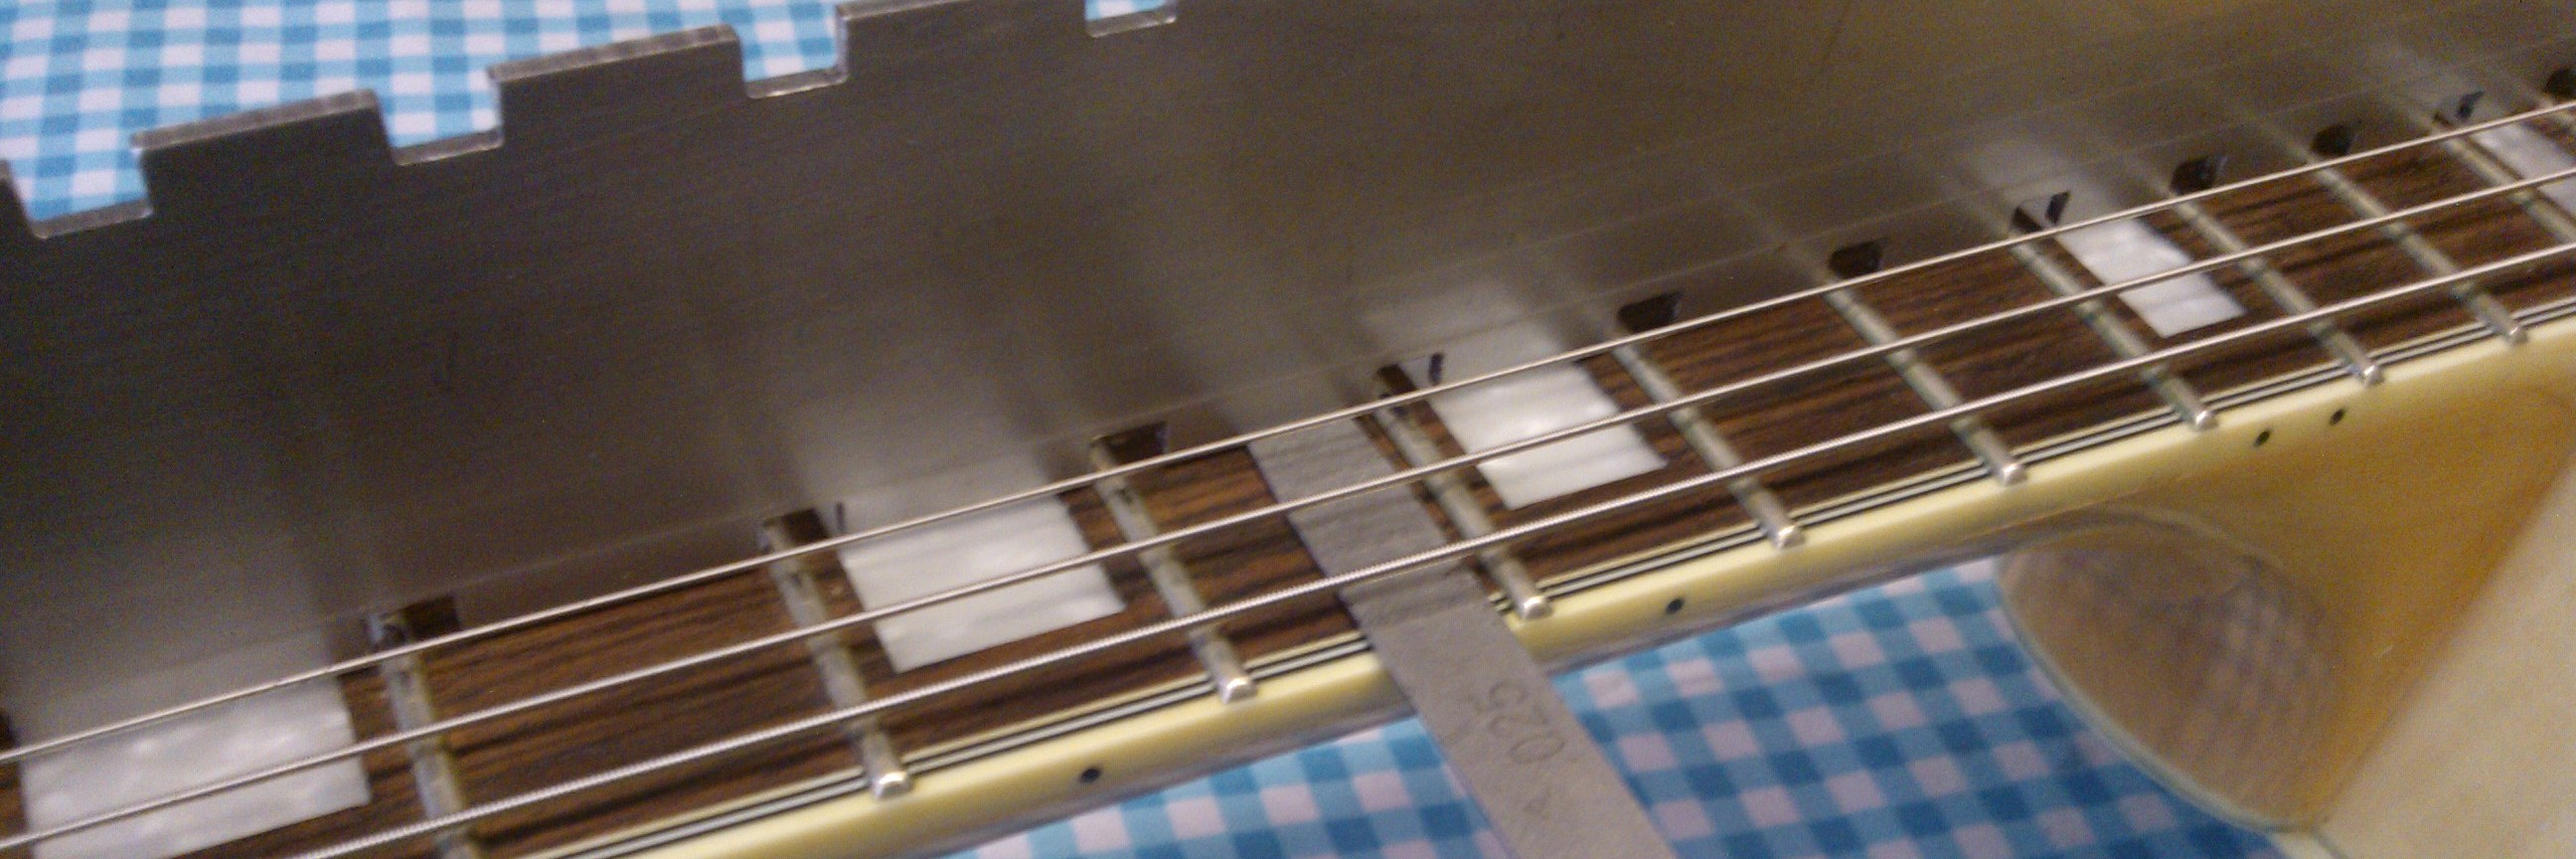
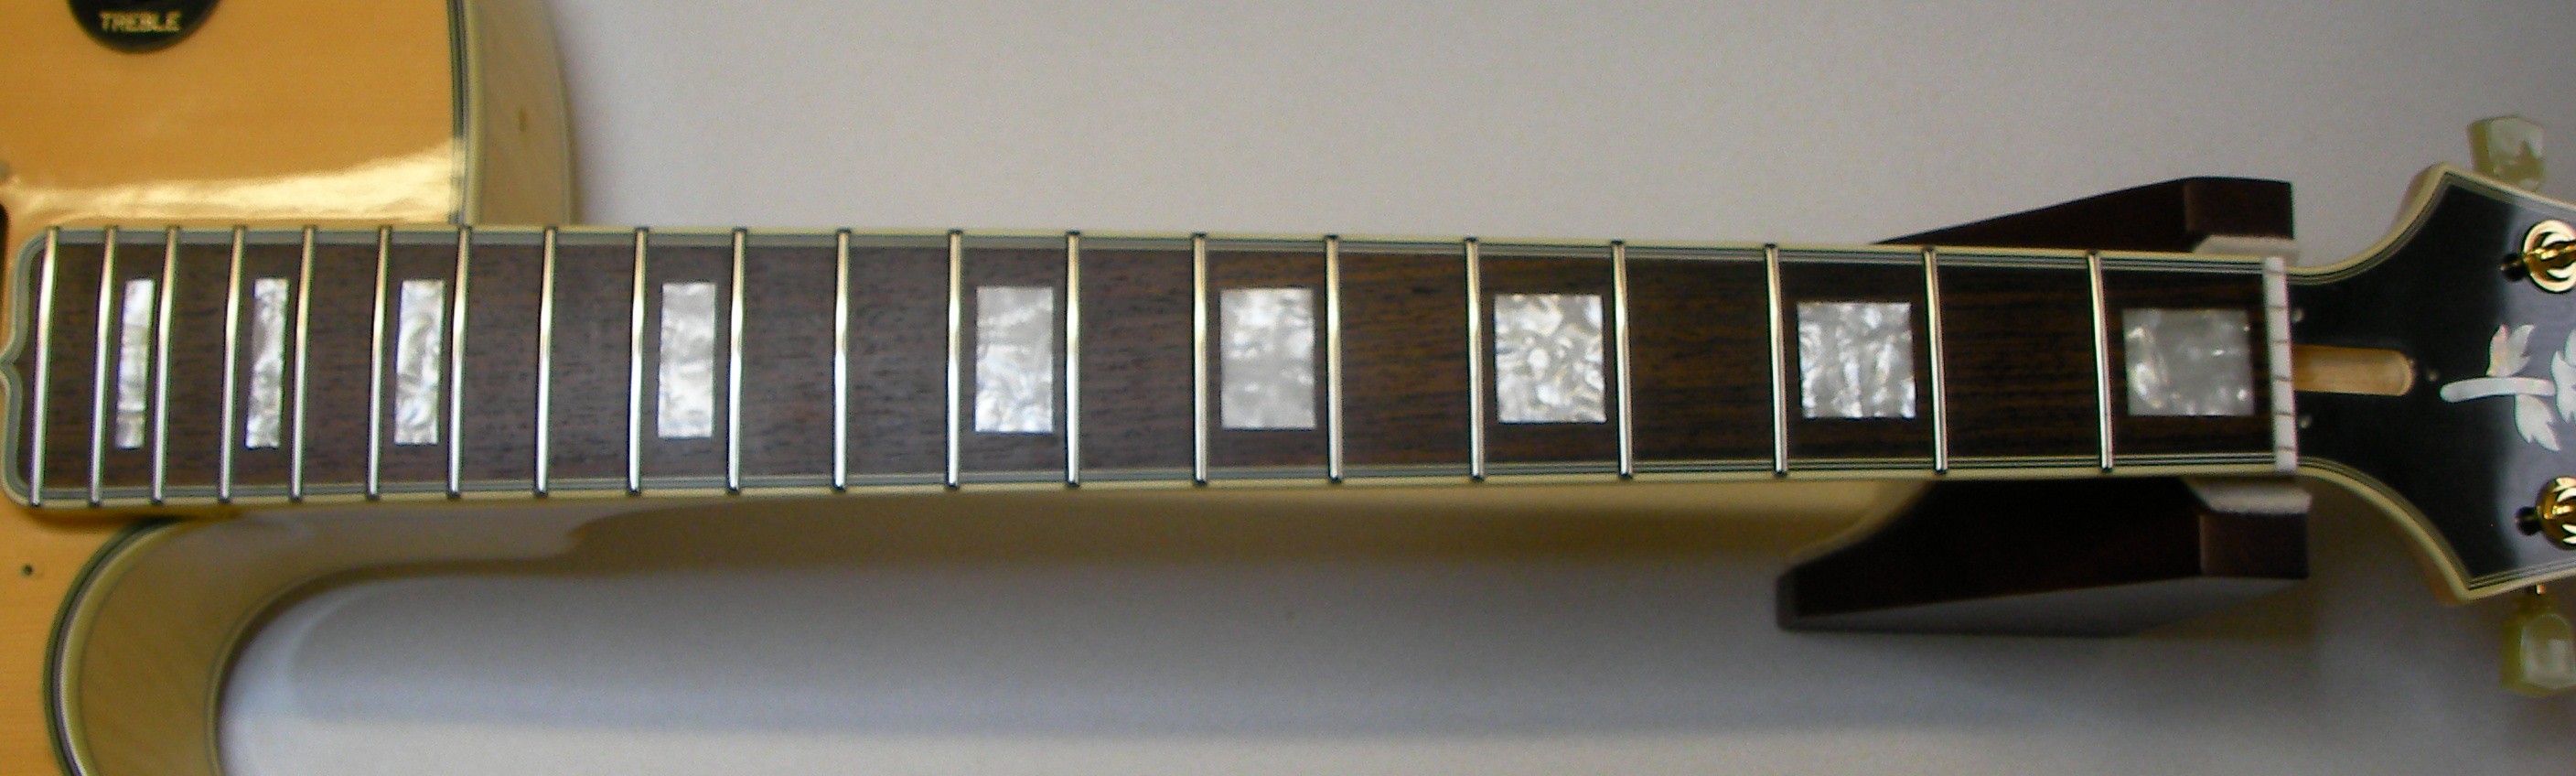
I had a close look at the fingerboard before starting. The frets aren’t too badly worn and are reasonably level so there’s not a lot that needs to be done there, just a bit of a cleanup.
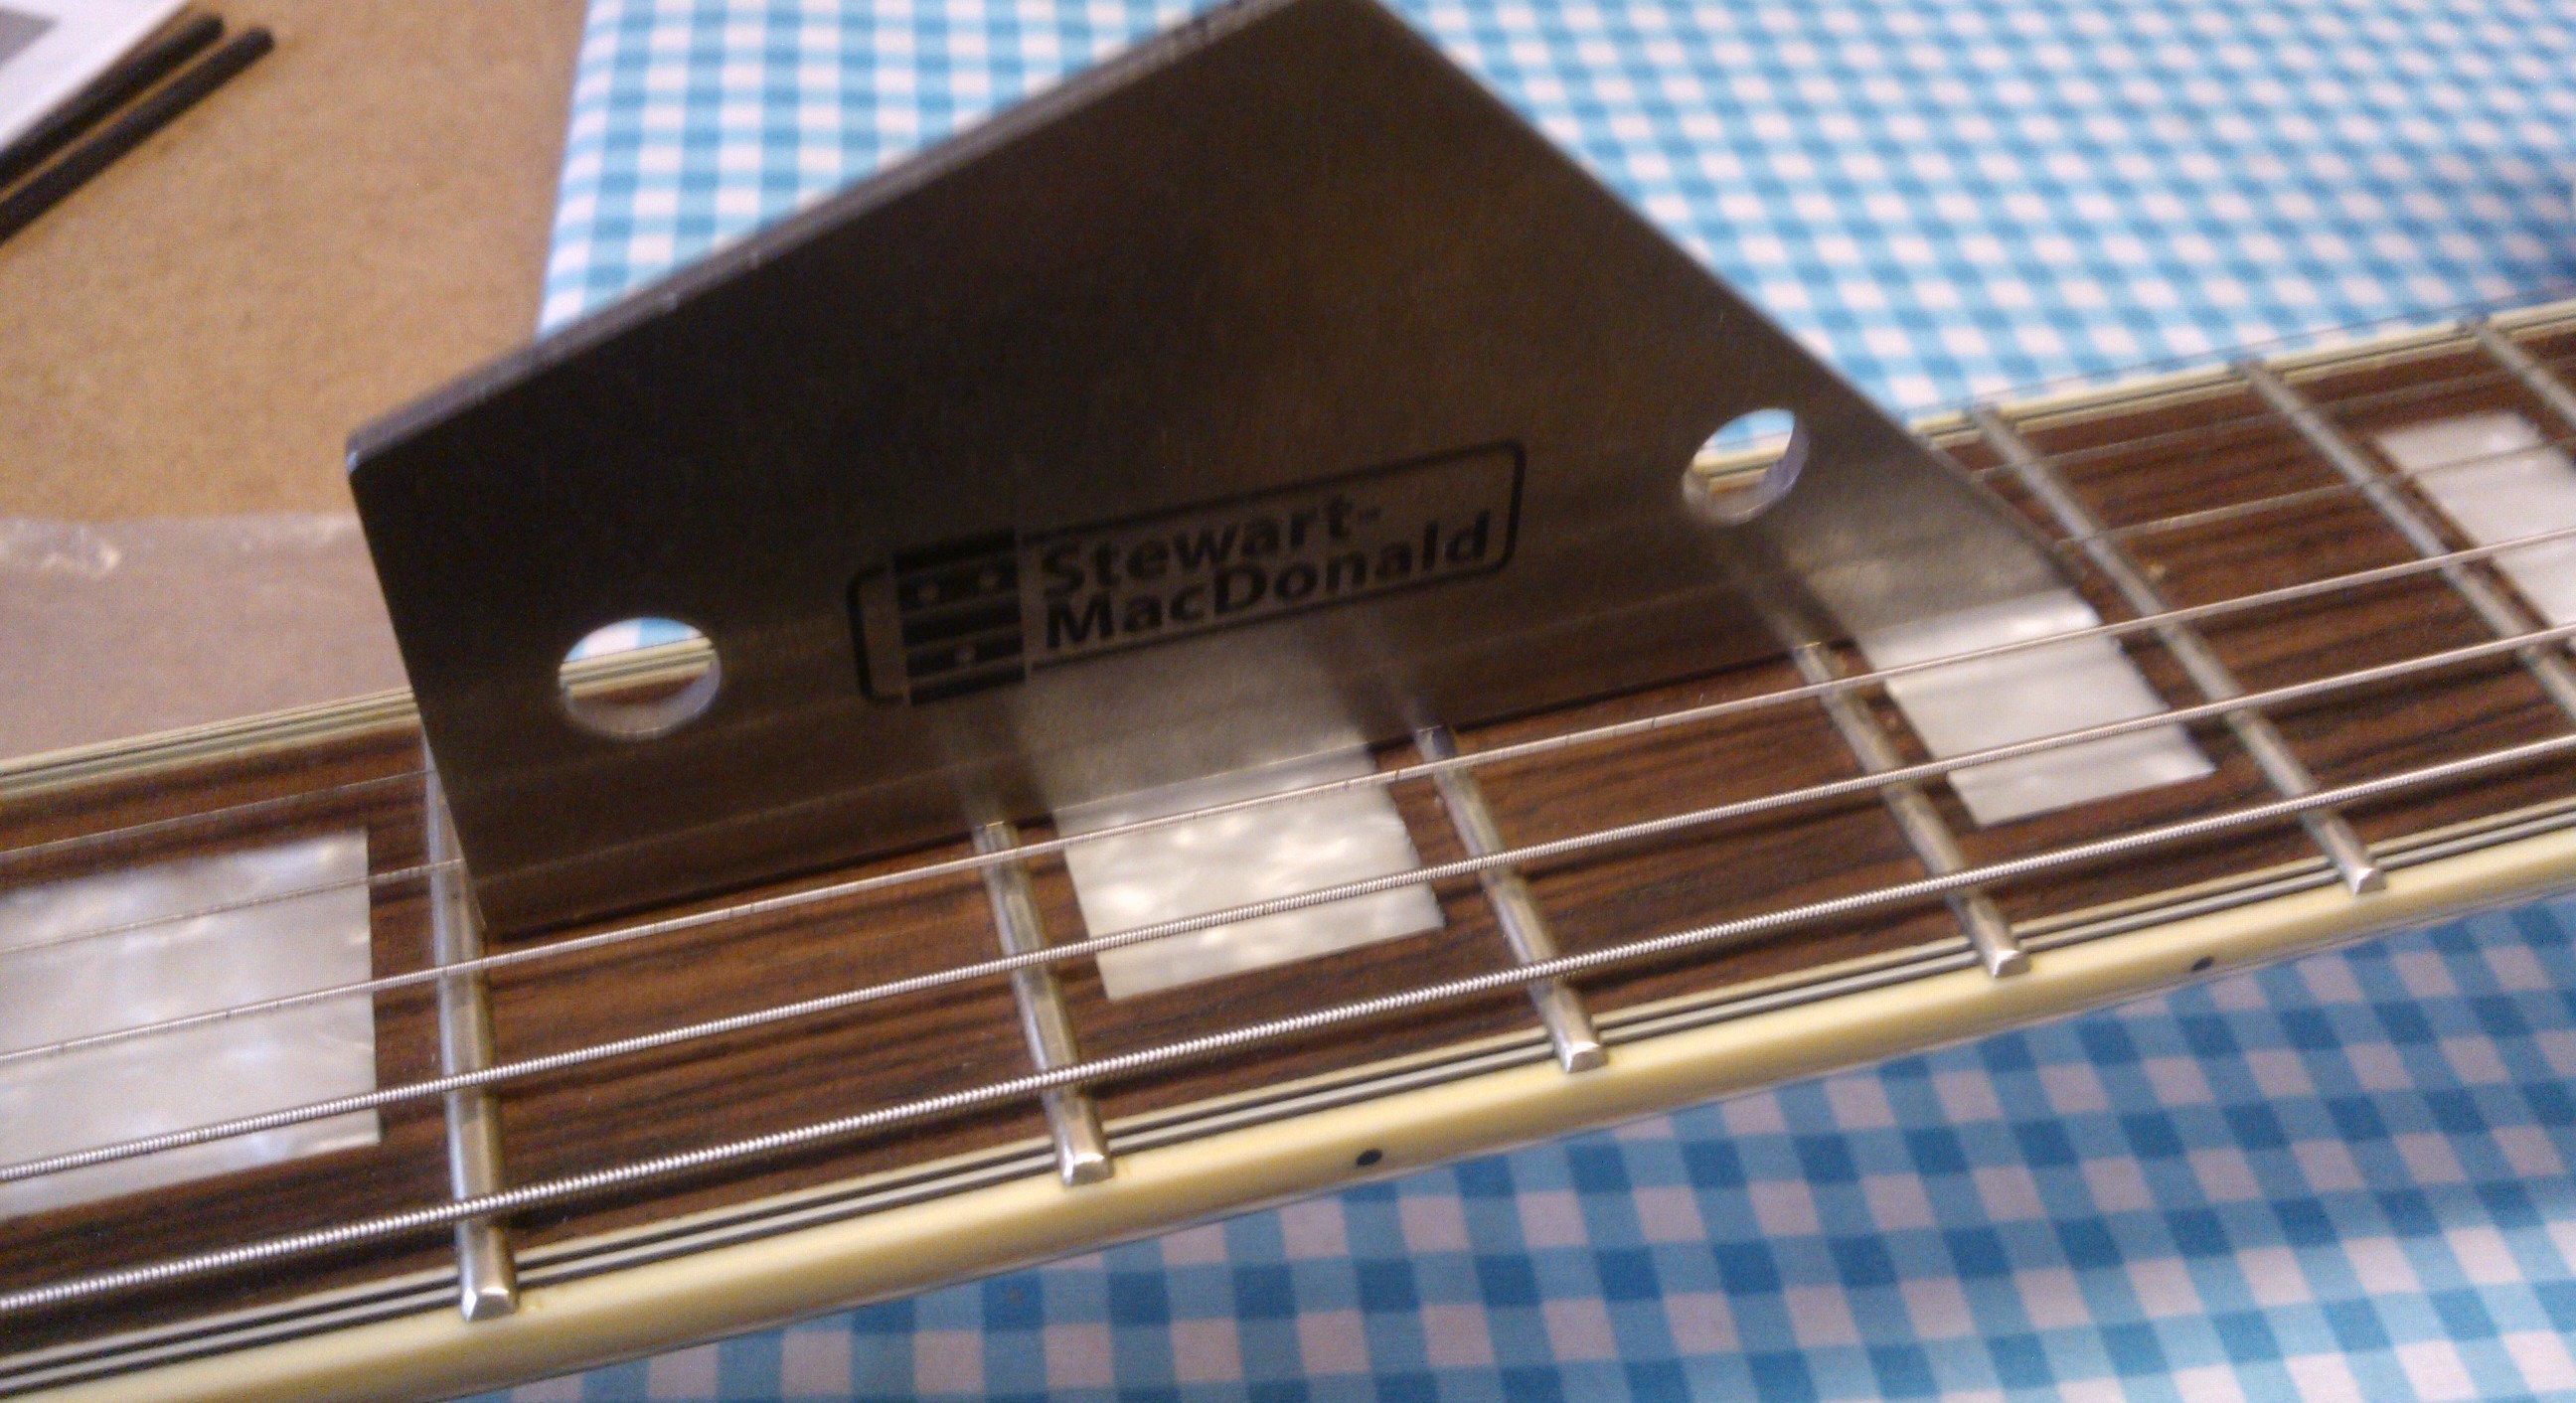
There is a little more of a set in the neck than I would like, I measured it at 0.025″ but I’ll sort that out at the final setup phase.
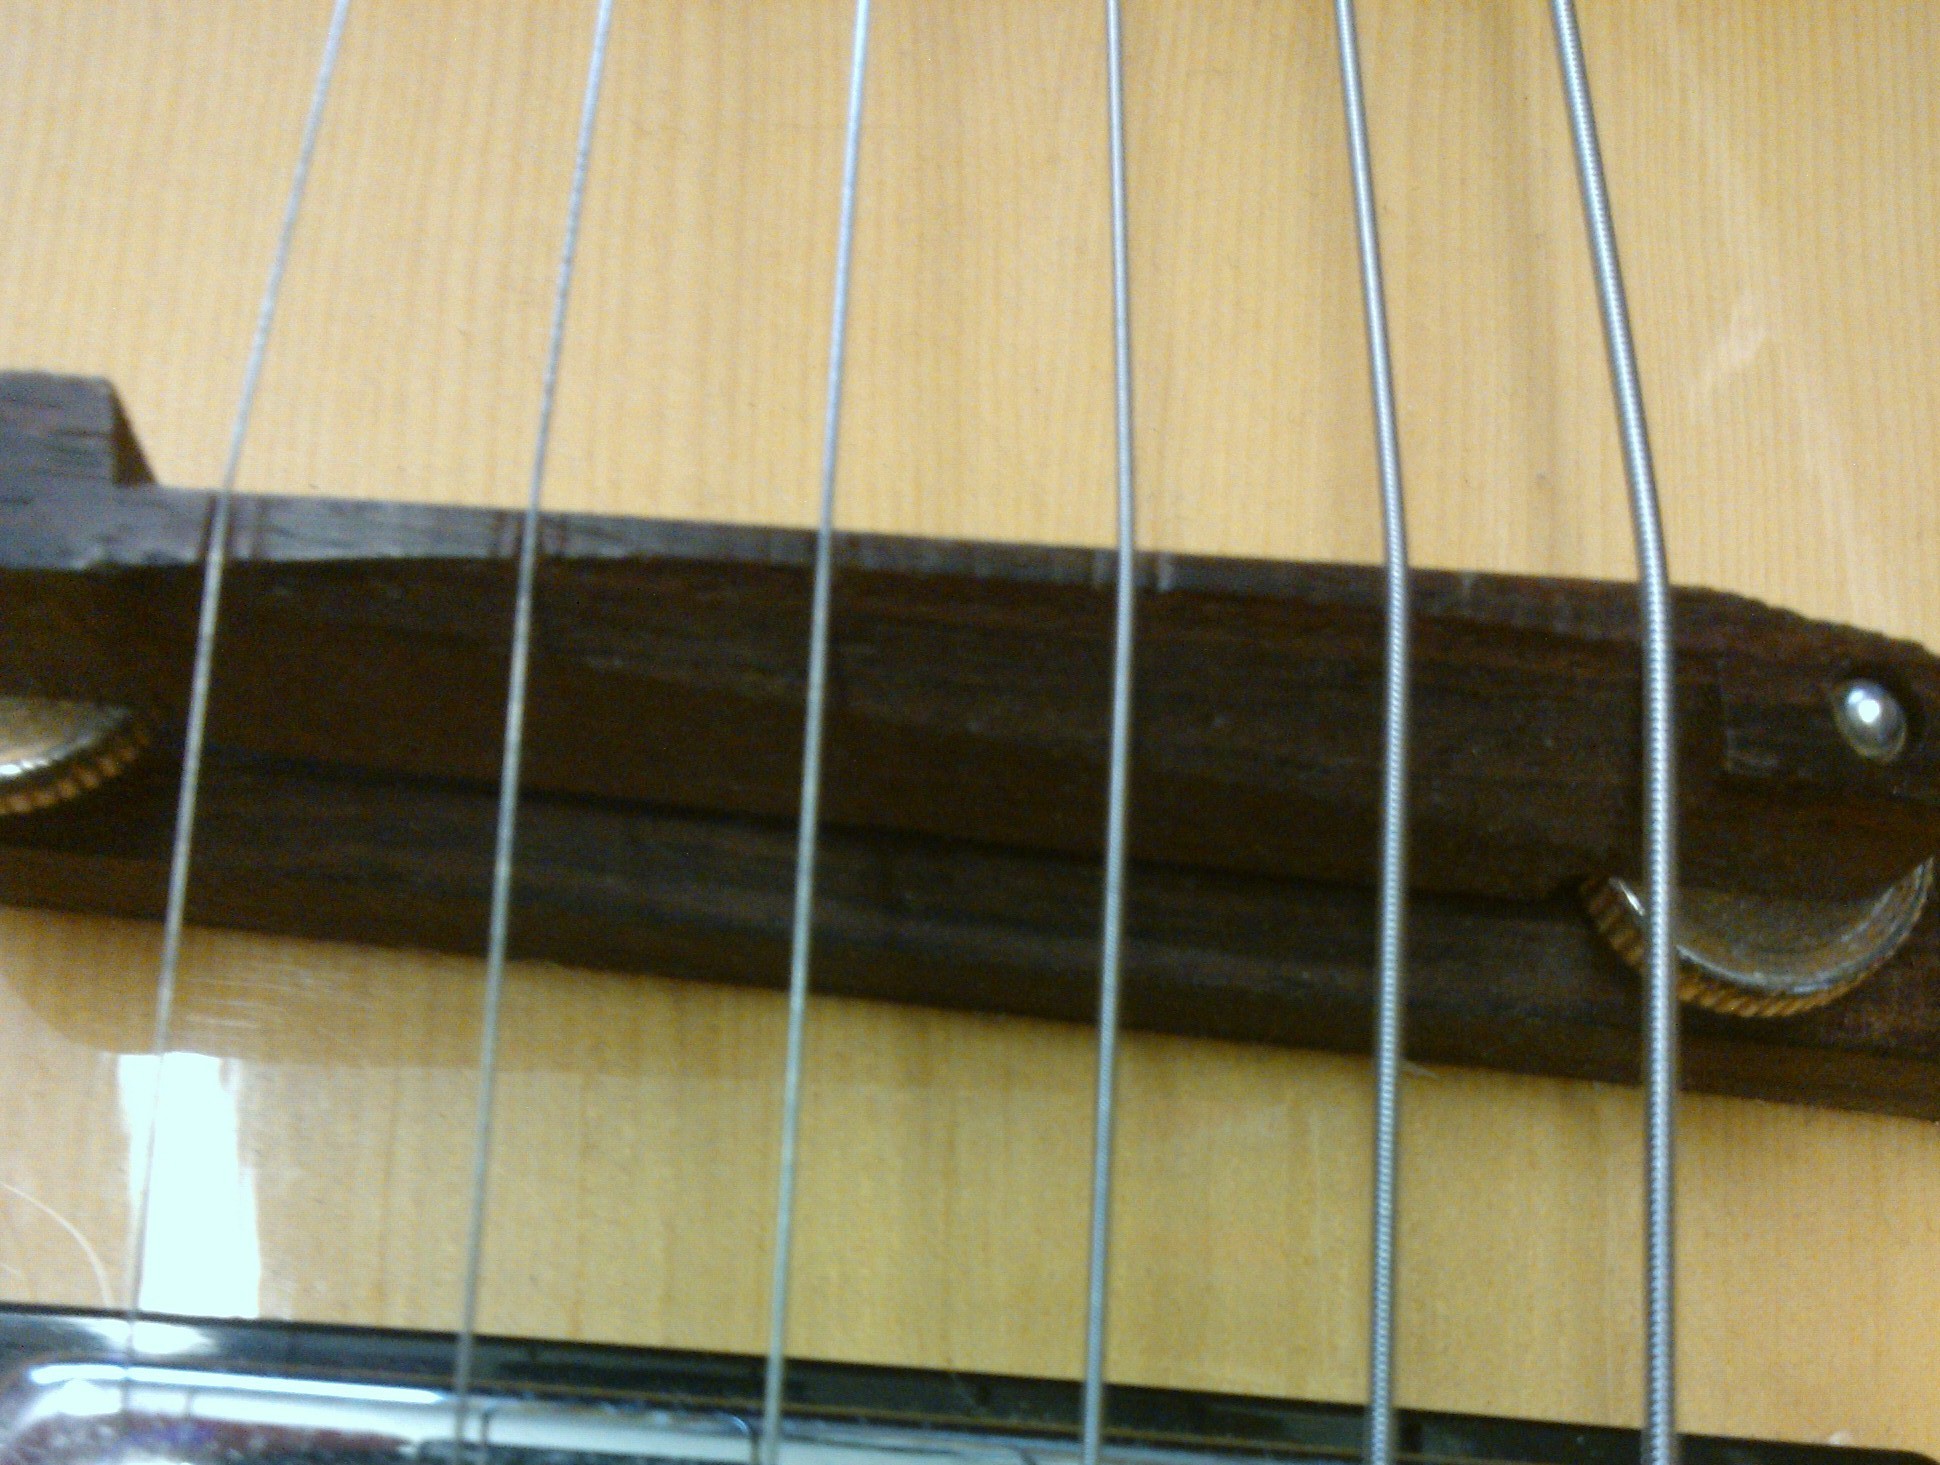
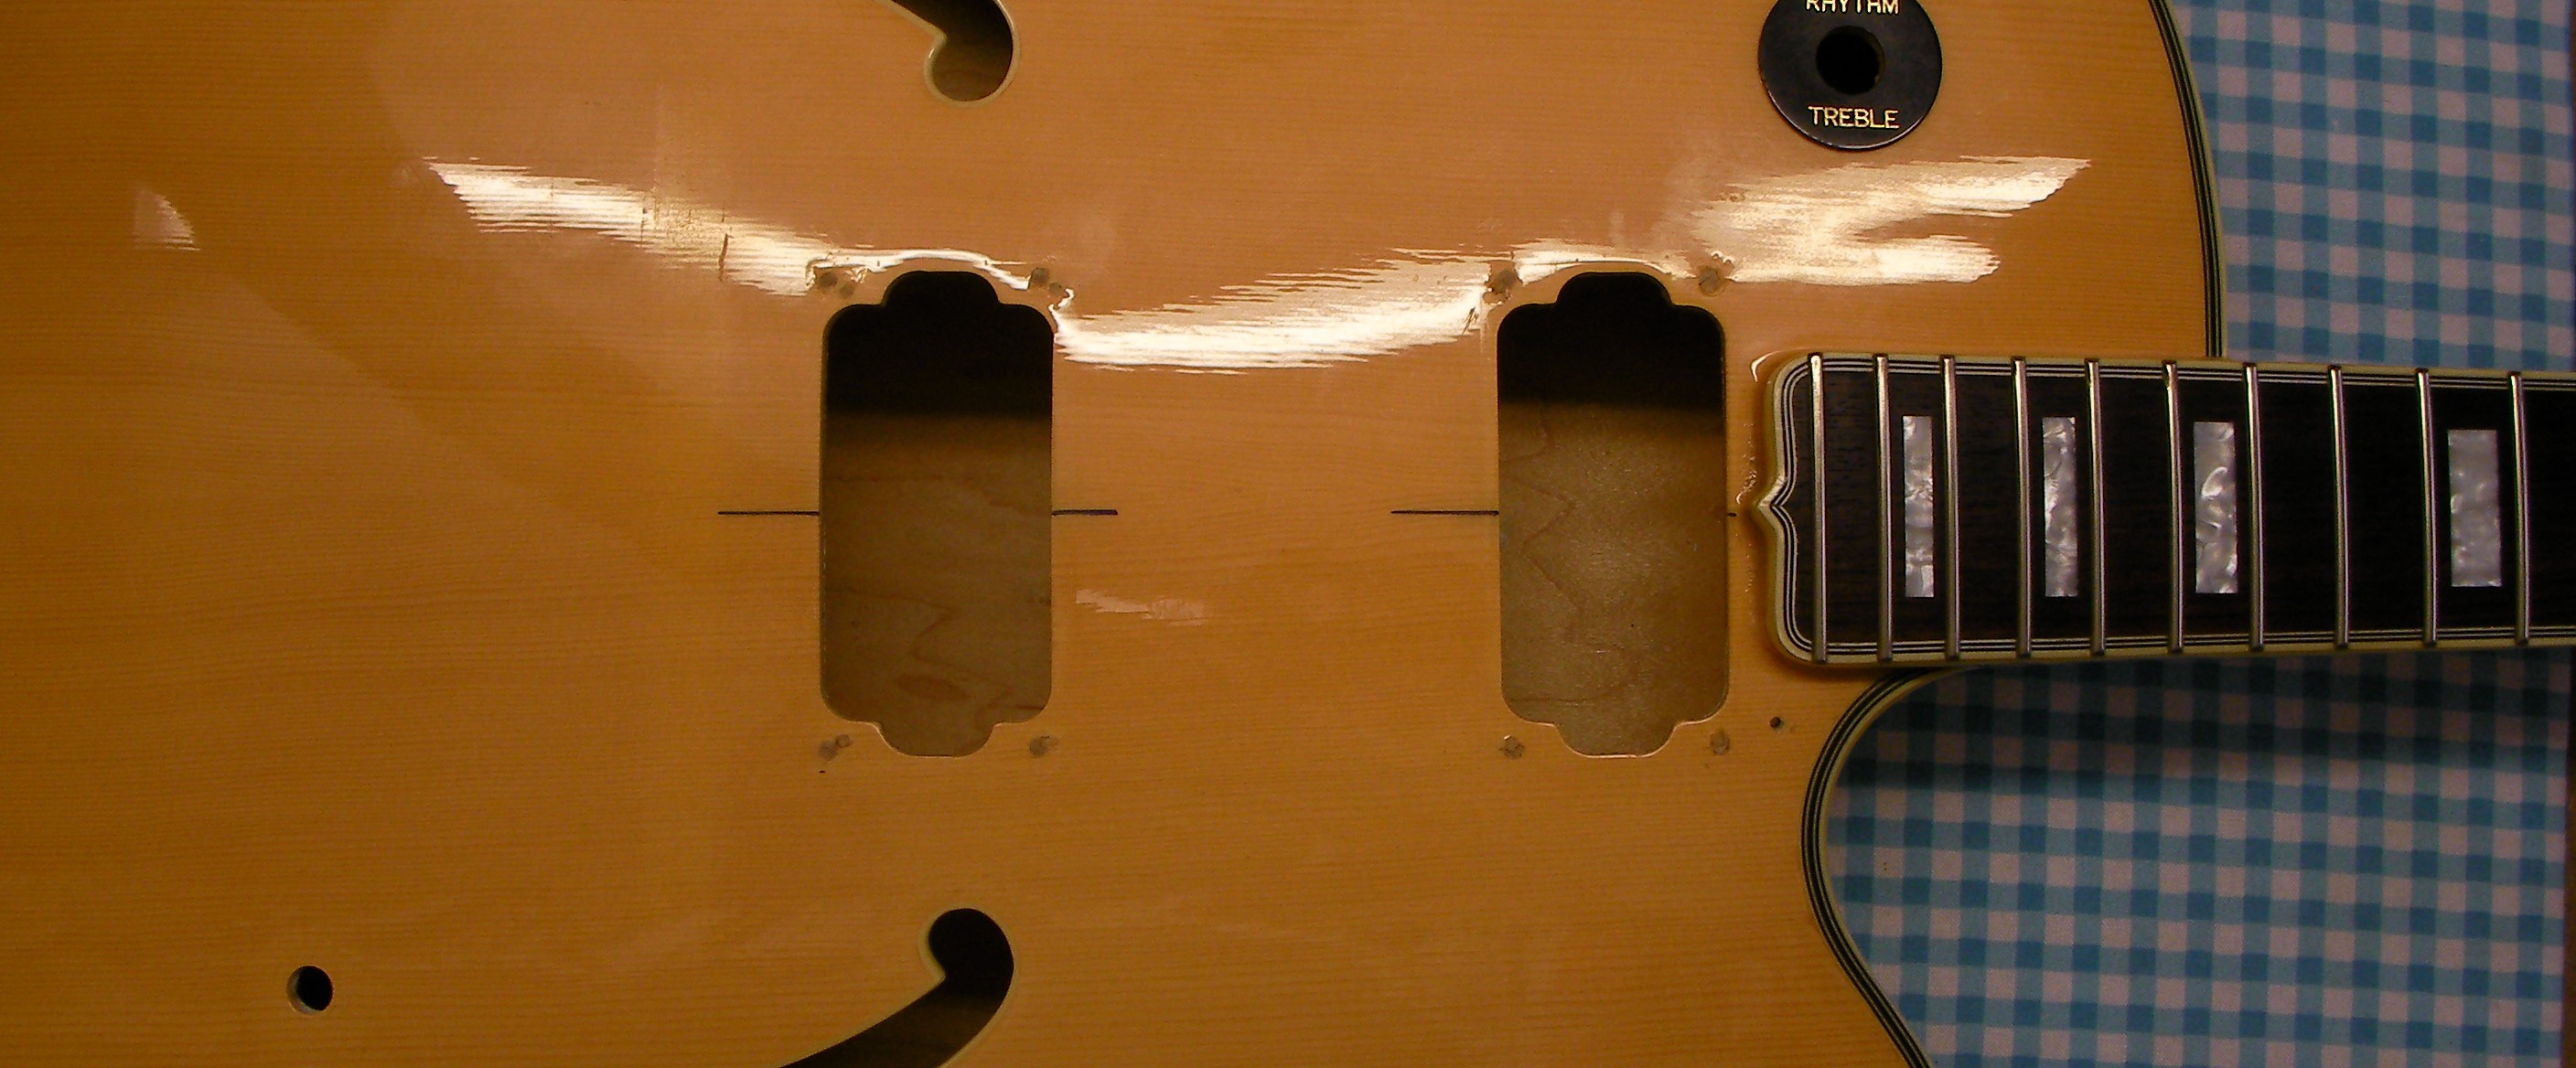
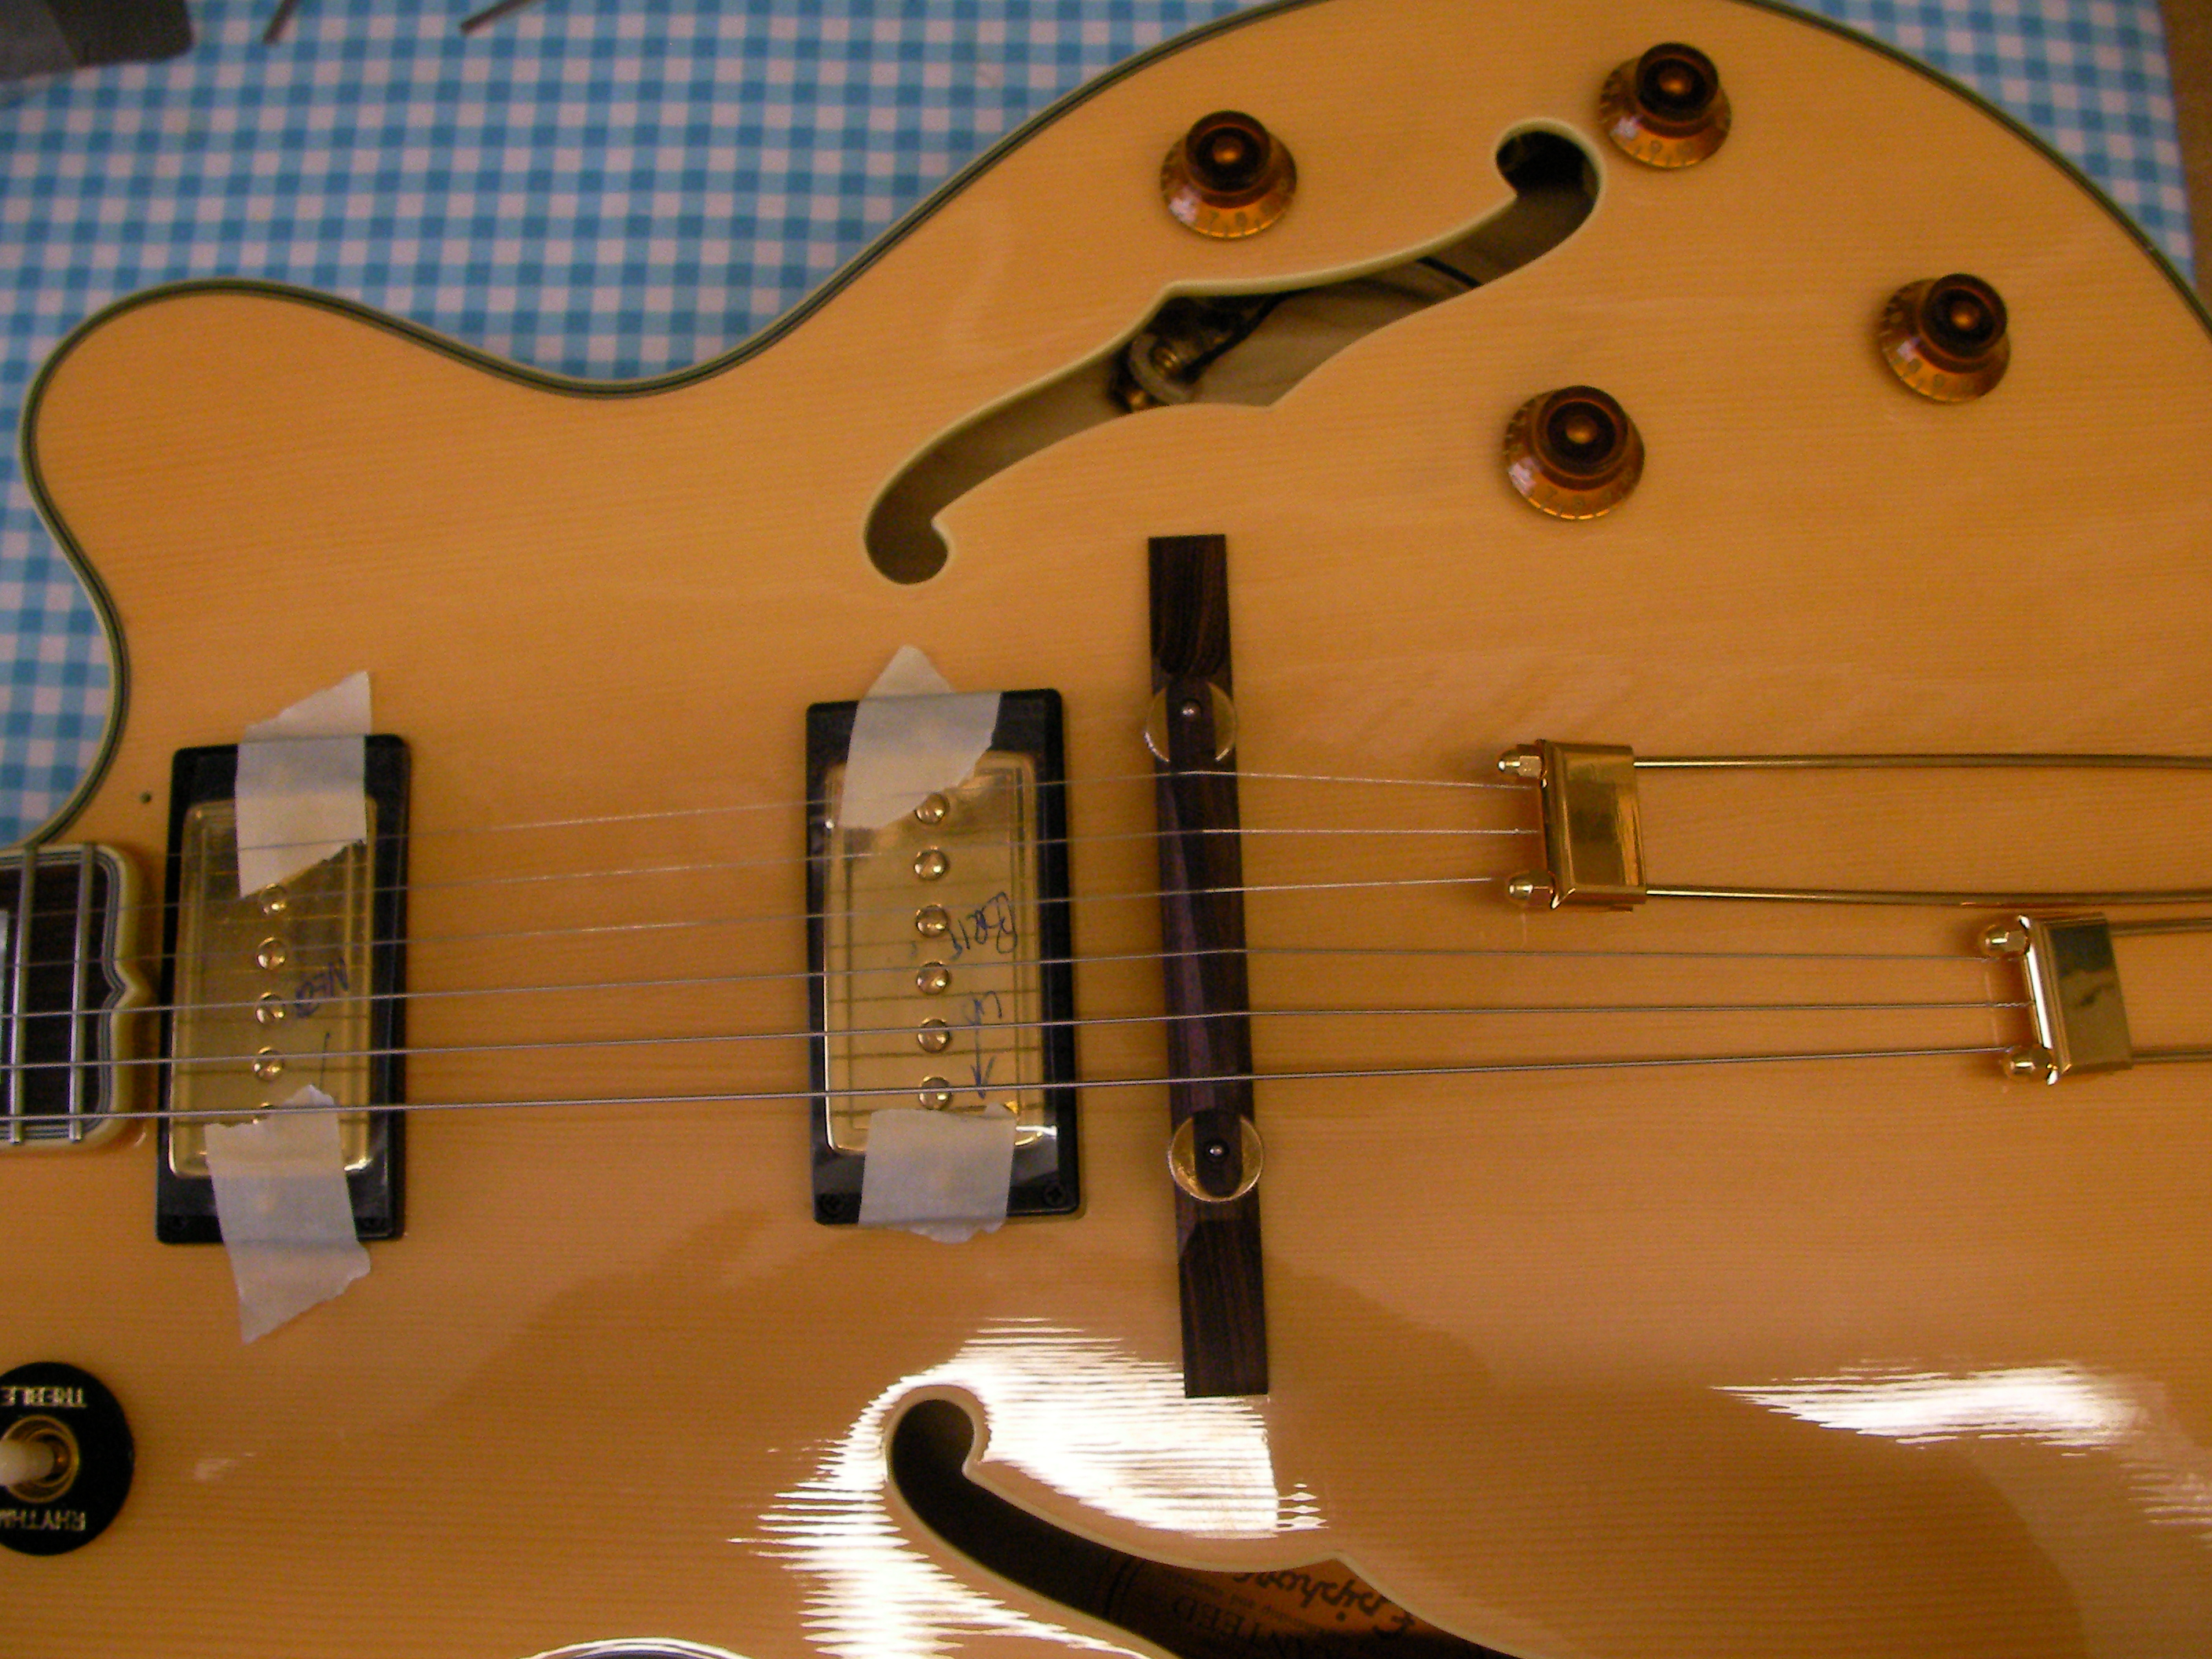
A close look at the strings at the bottom of the neck reveals that the slots over the bridge aren’t evenly spaced. The high E string is a lot closer to the edge of the fretboard than the Low E.
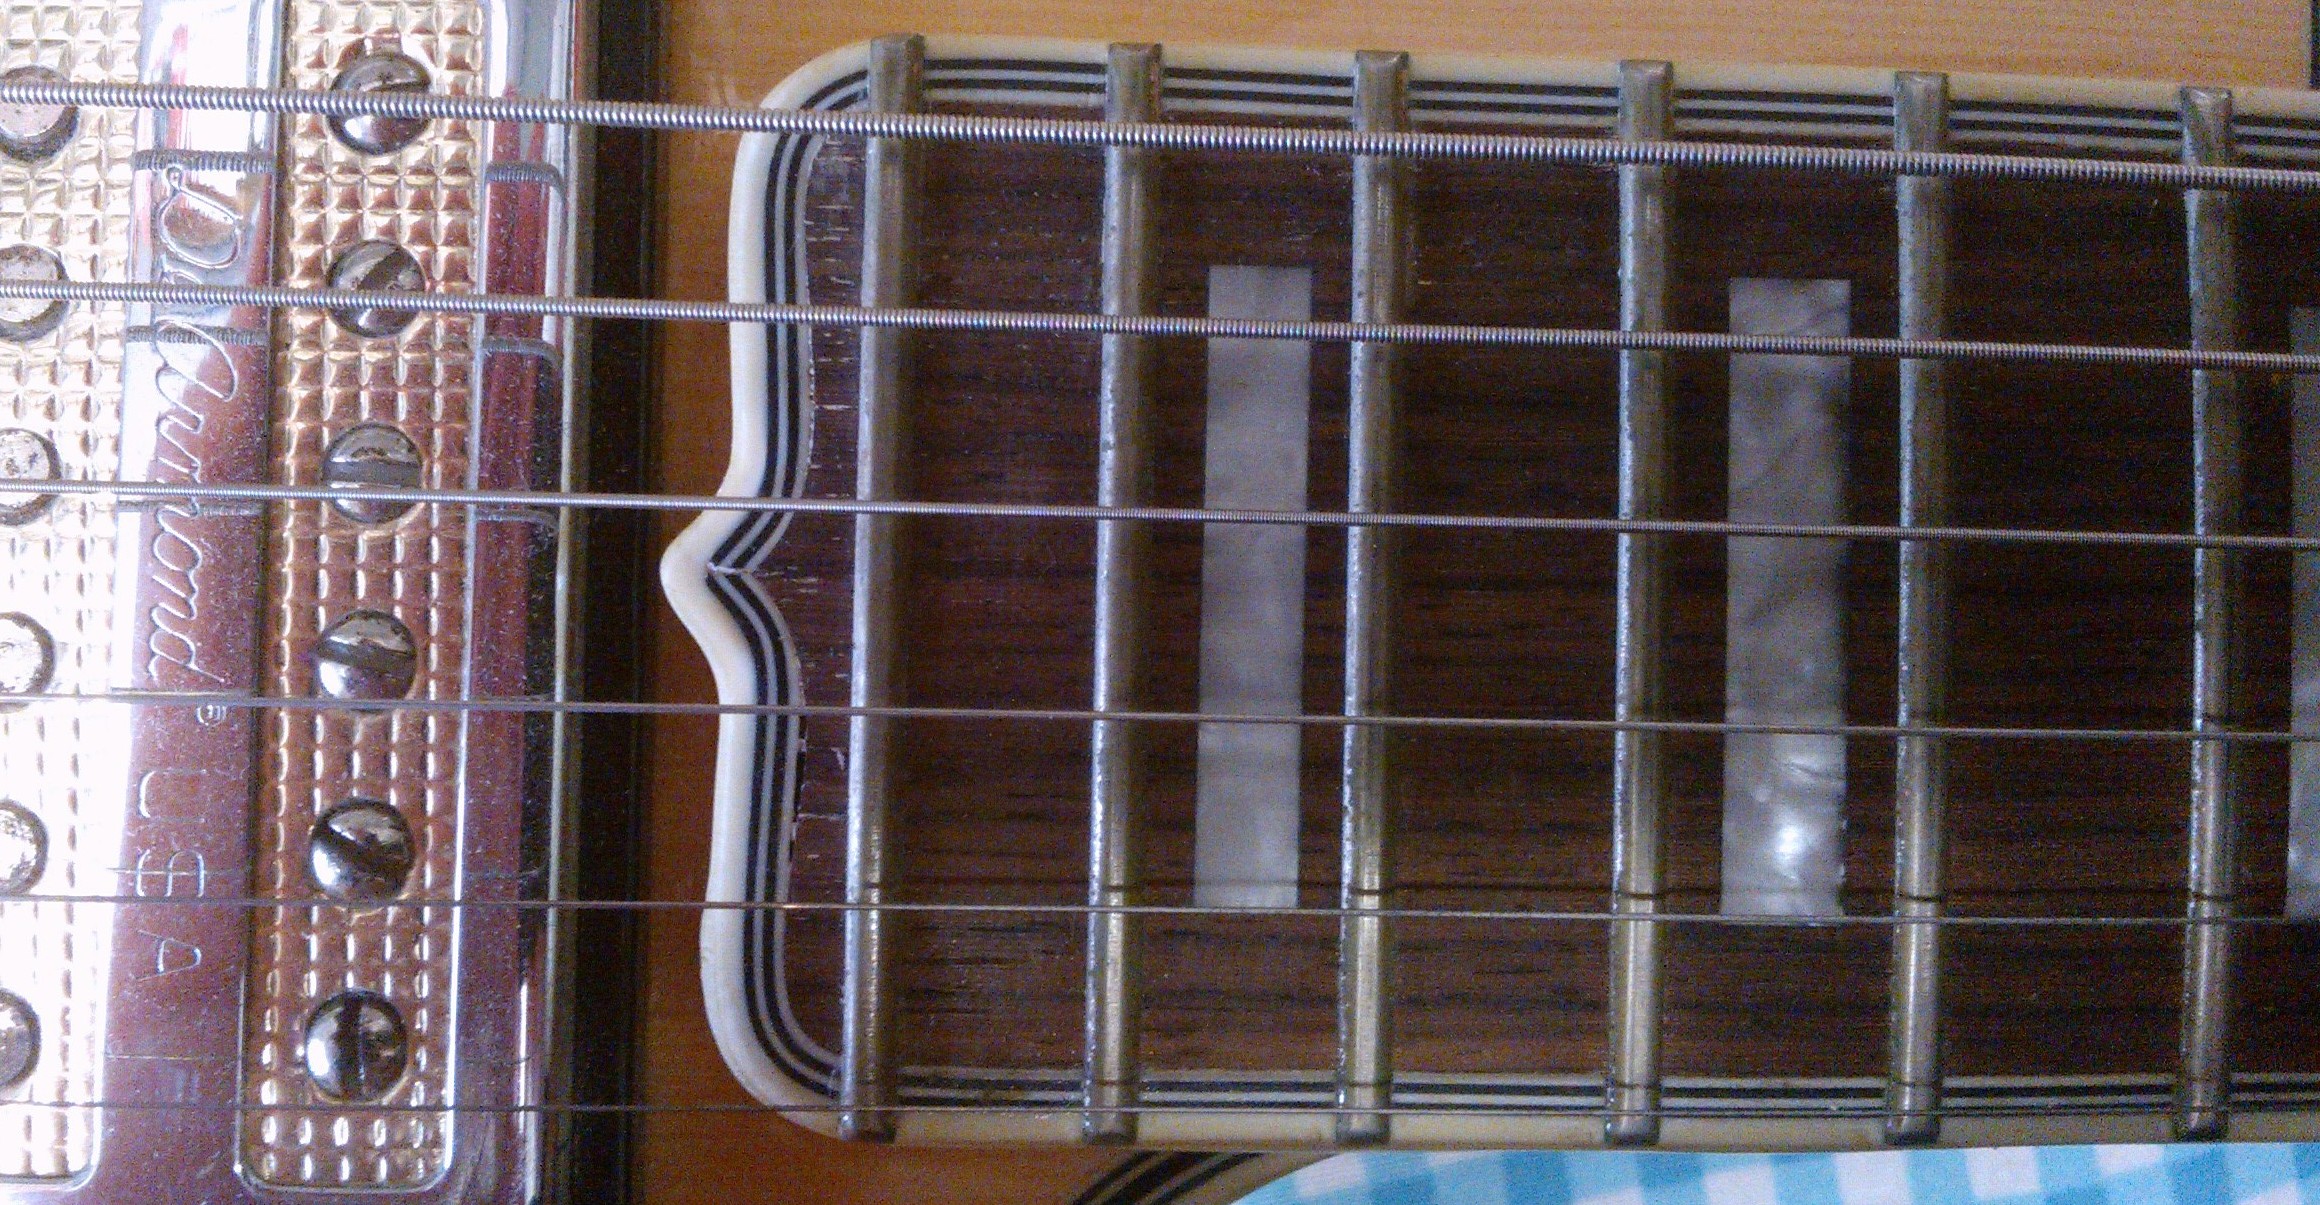
The bridge is set quite low so again, at the final setup phase, I’ll take fine layer off the top and re-cut the guide slots to even out the string spacing. It needs tidying up a little anyway.
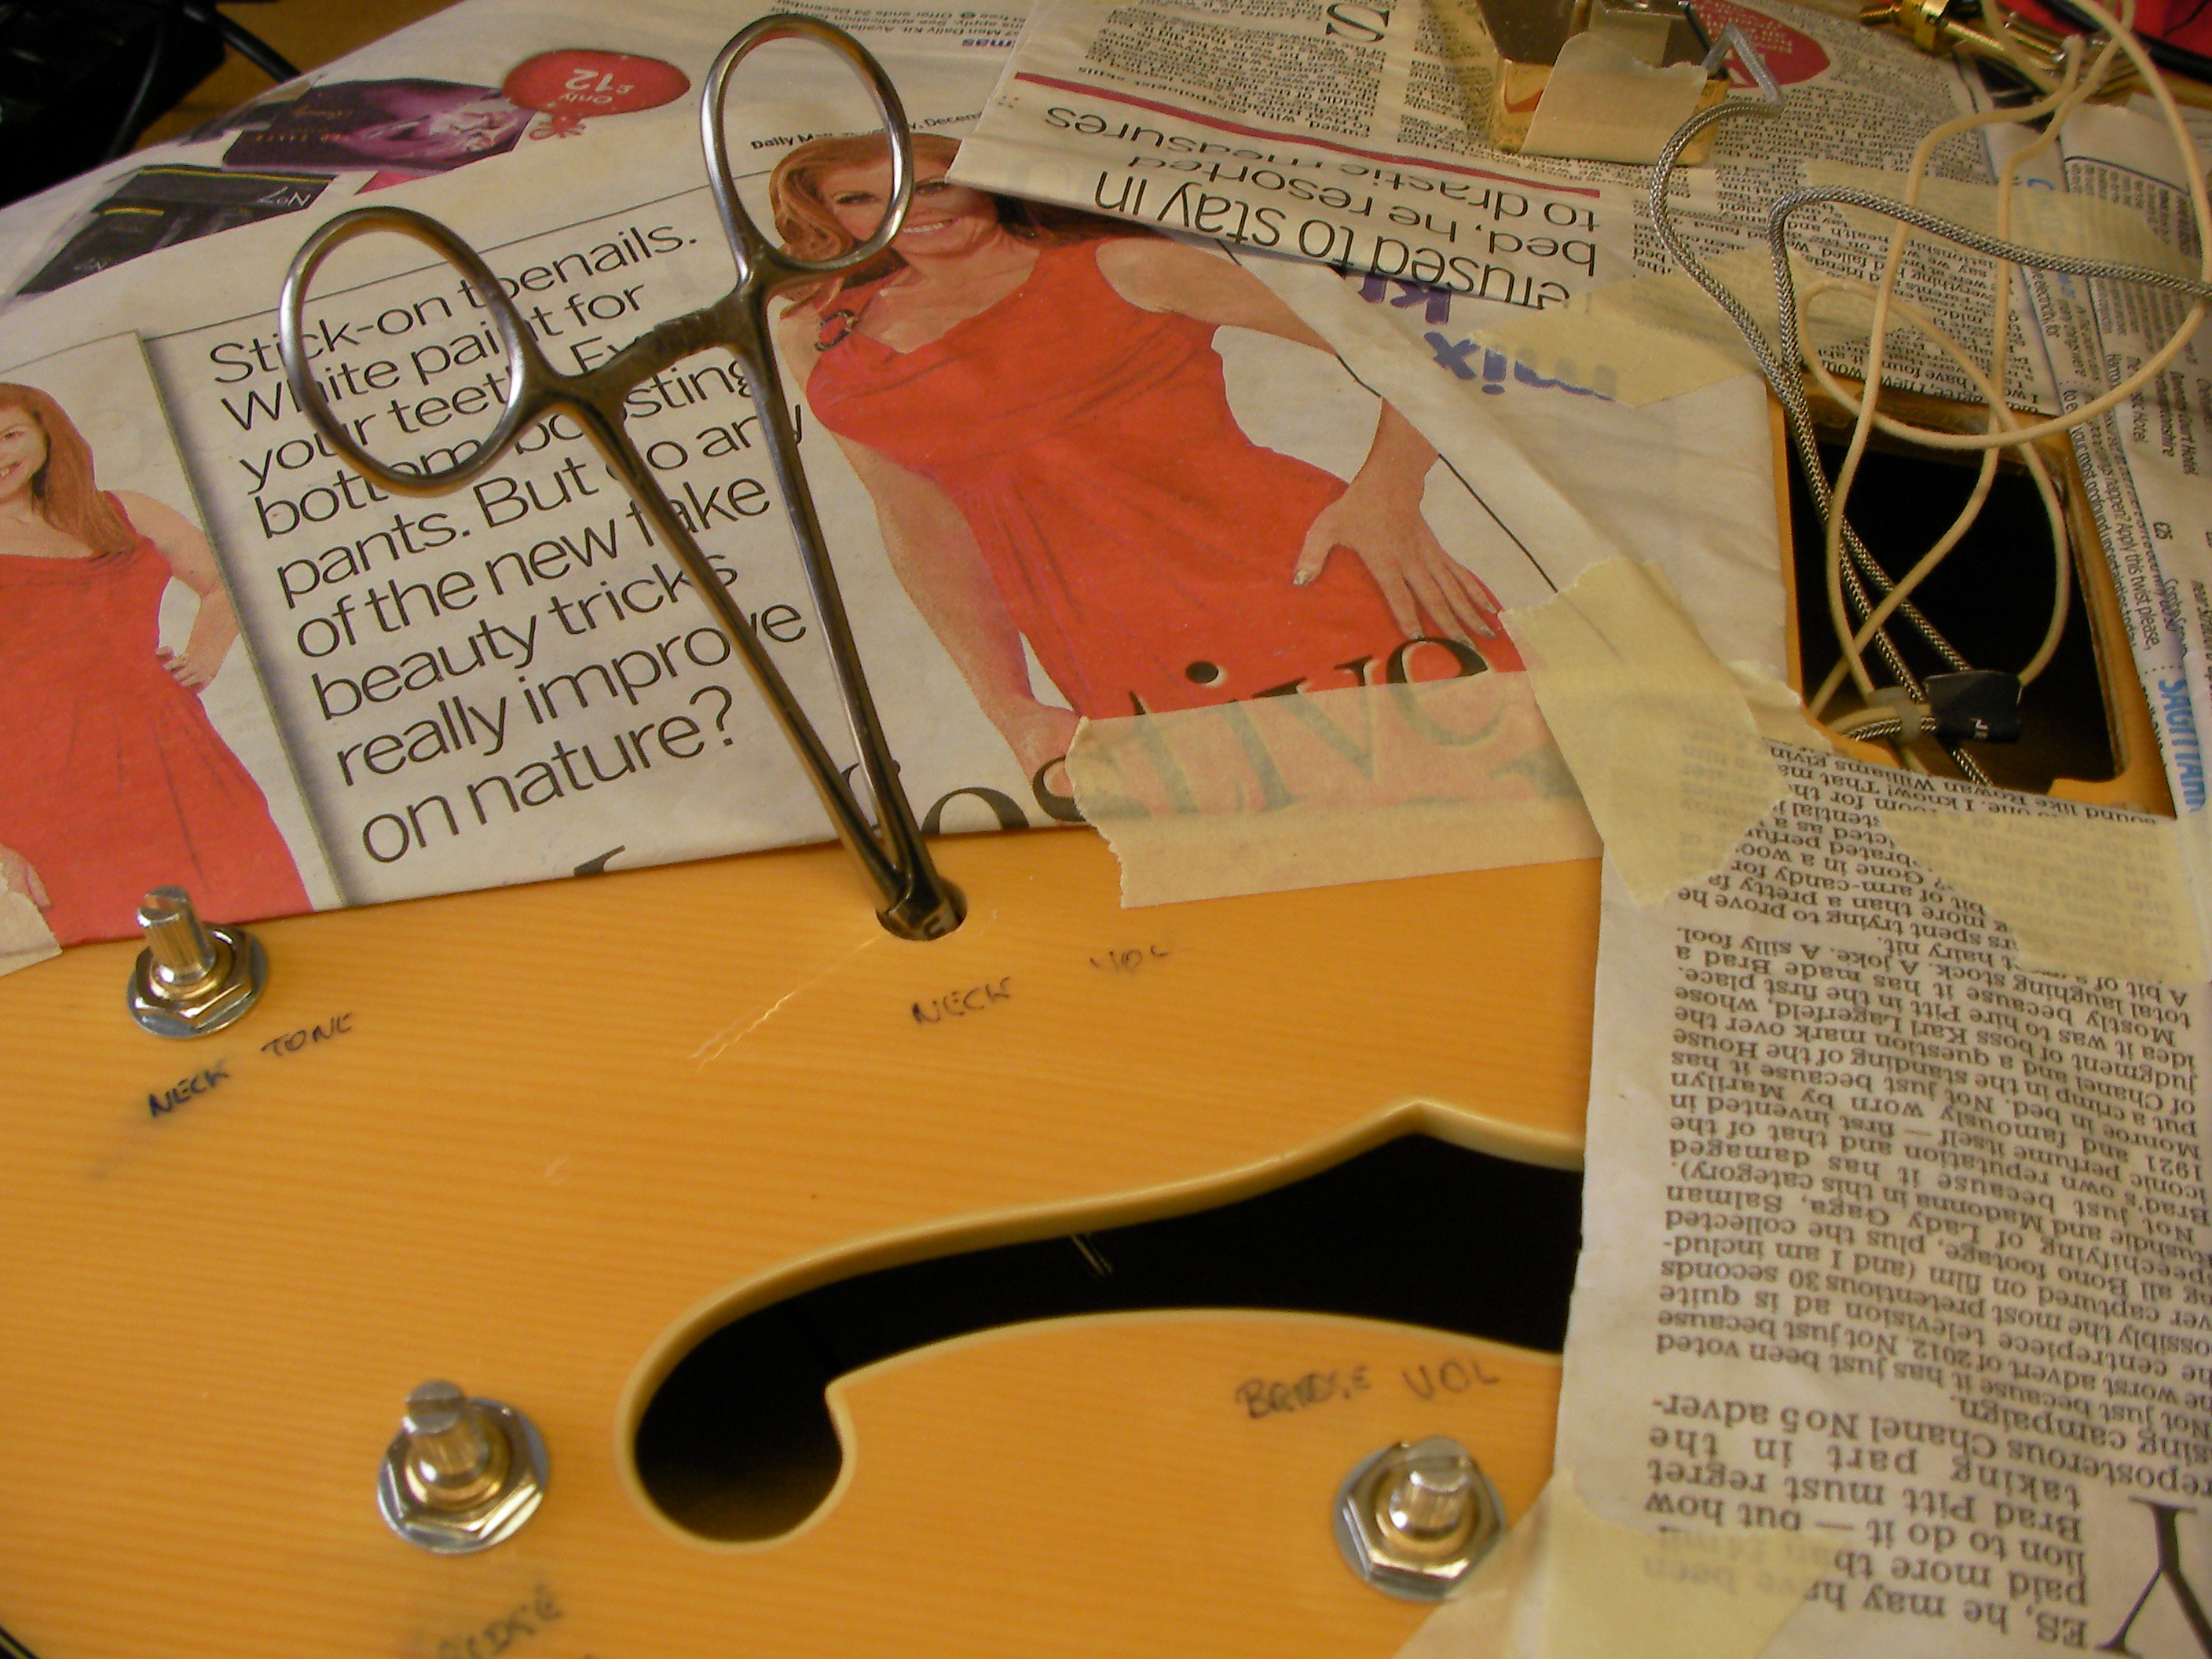
There are a couple of other minor things, a couple of broken control knobs, and something that has always bugged me with guitars like these… Why don’t they pay a little more attention to detail and at least try to hide the wires from view!
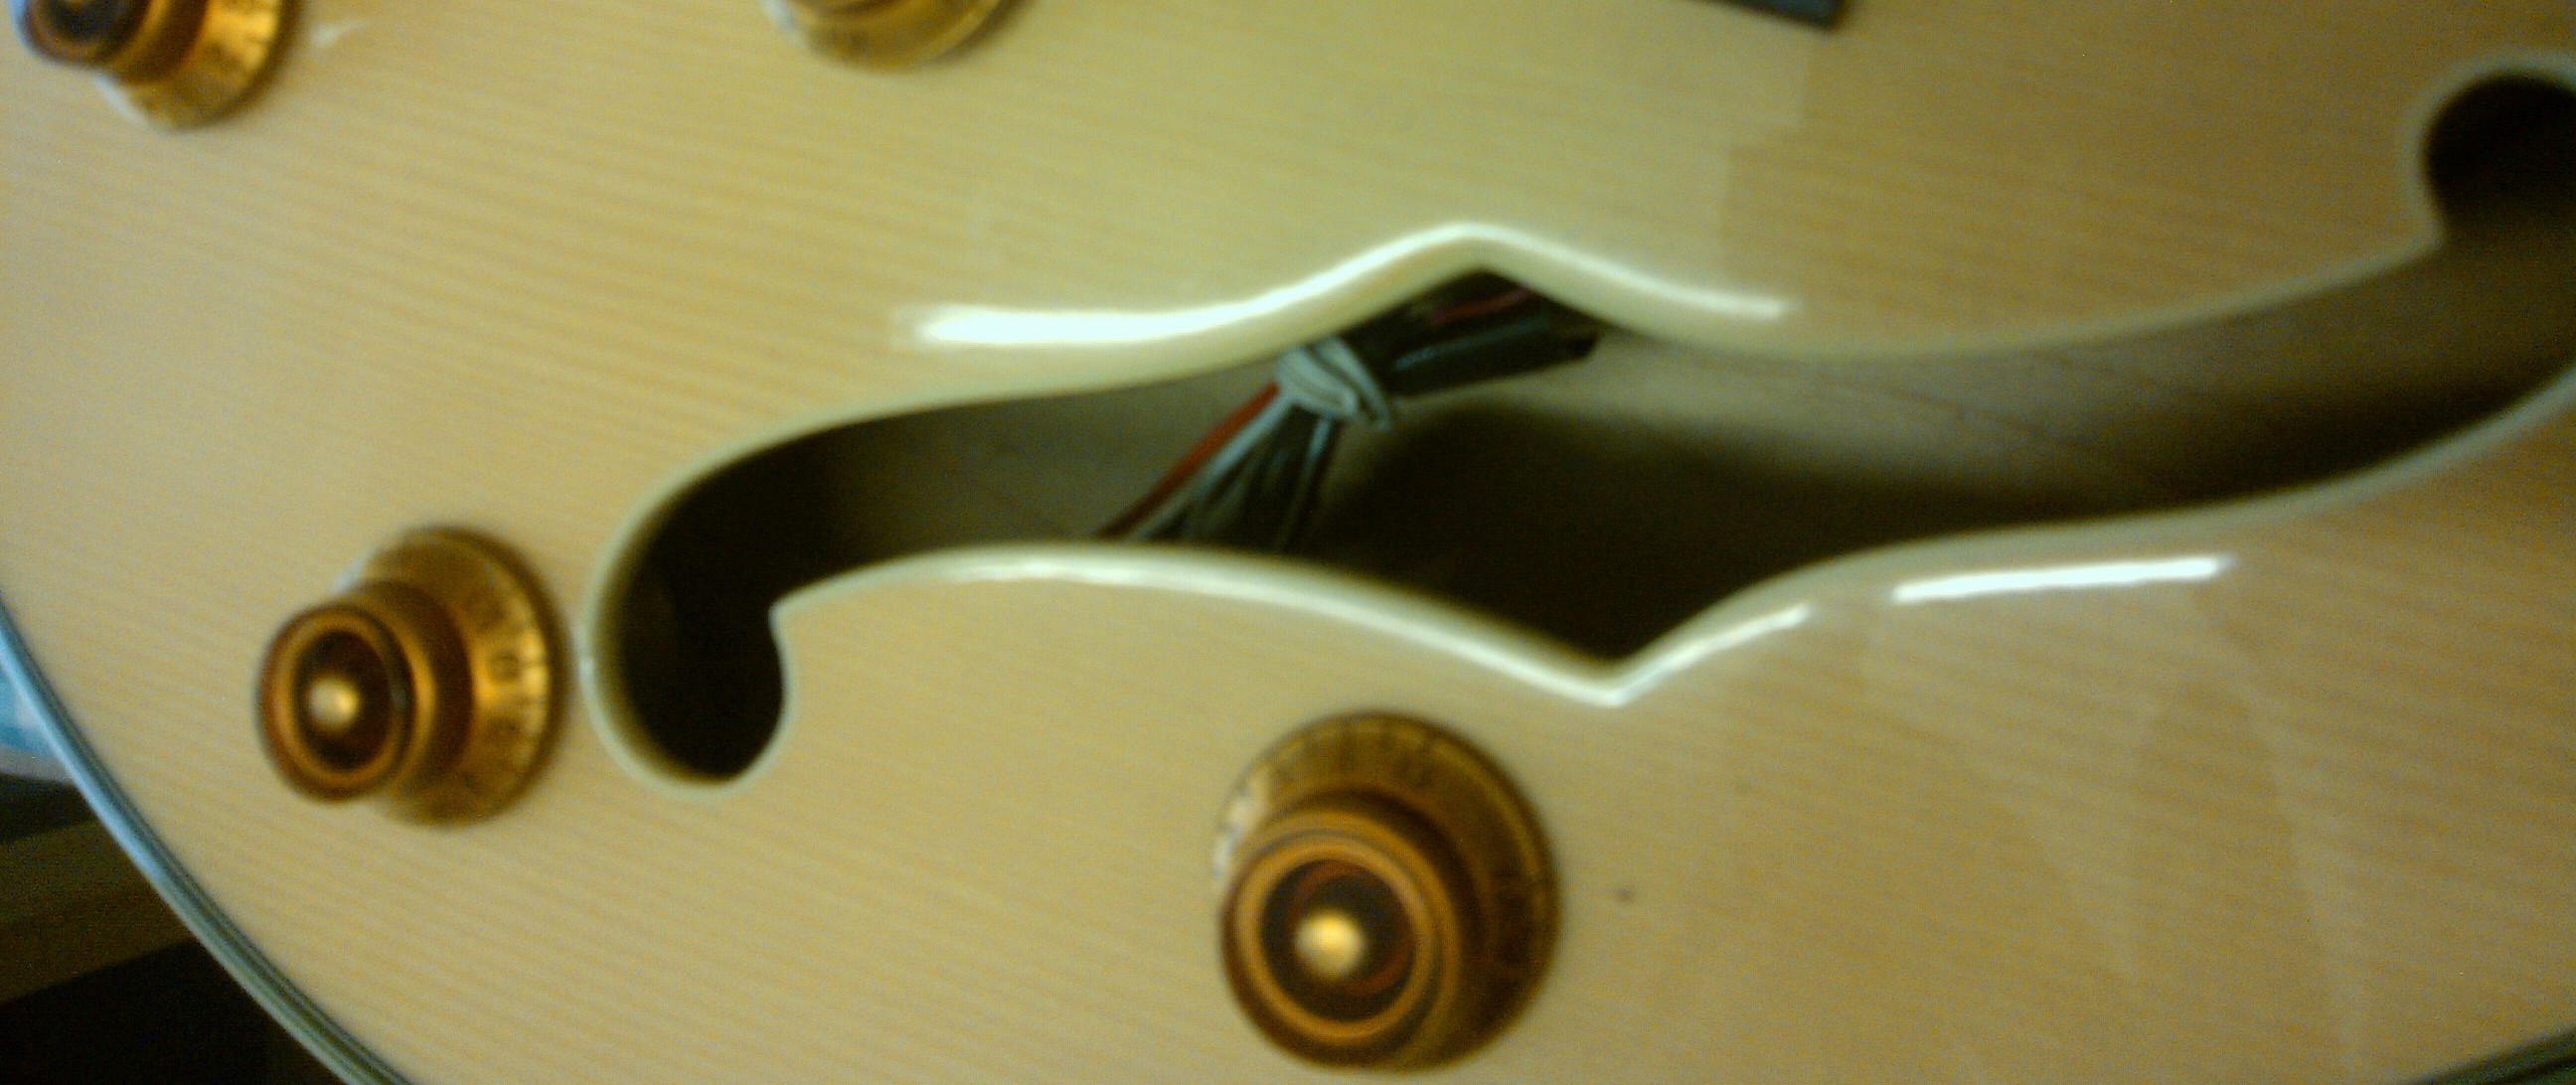
I’m sure I can do a better job than that!
First things first, pull out all the old electrics….
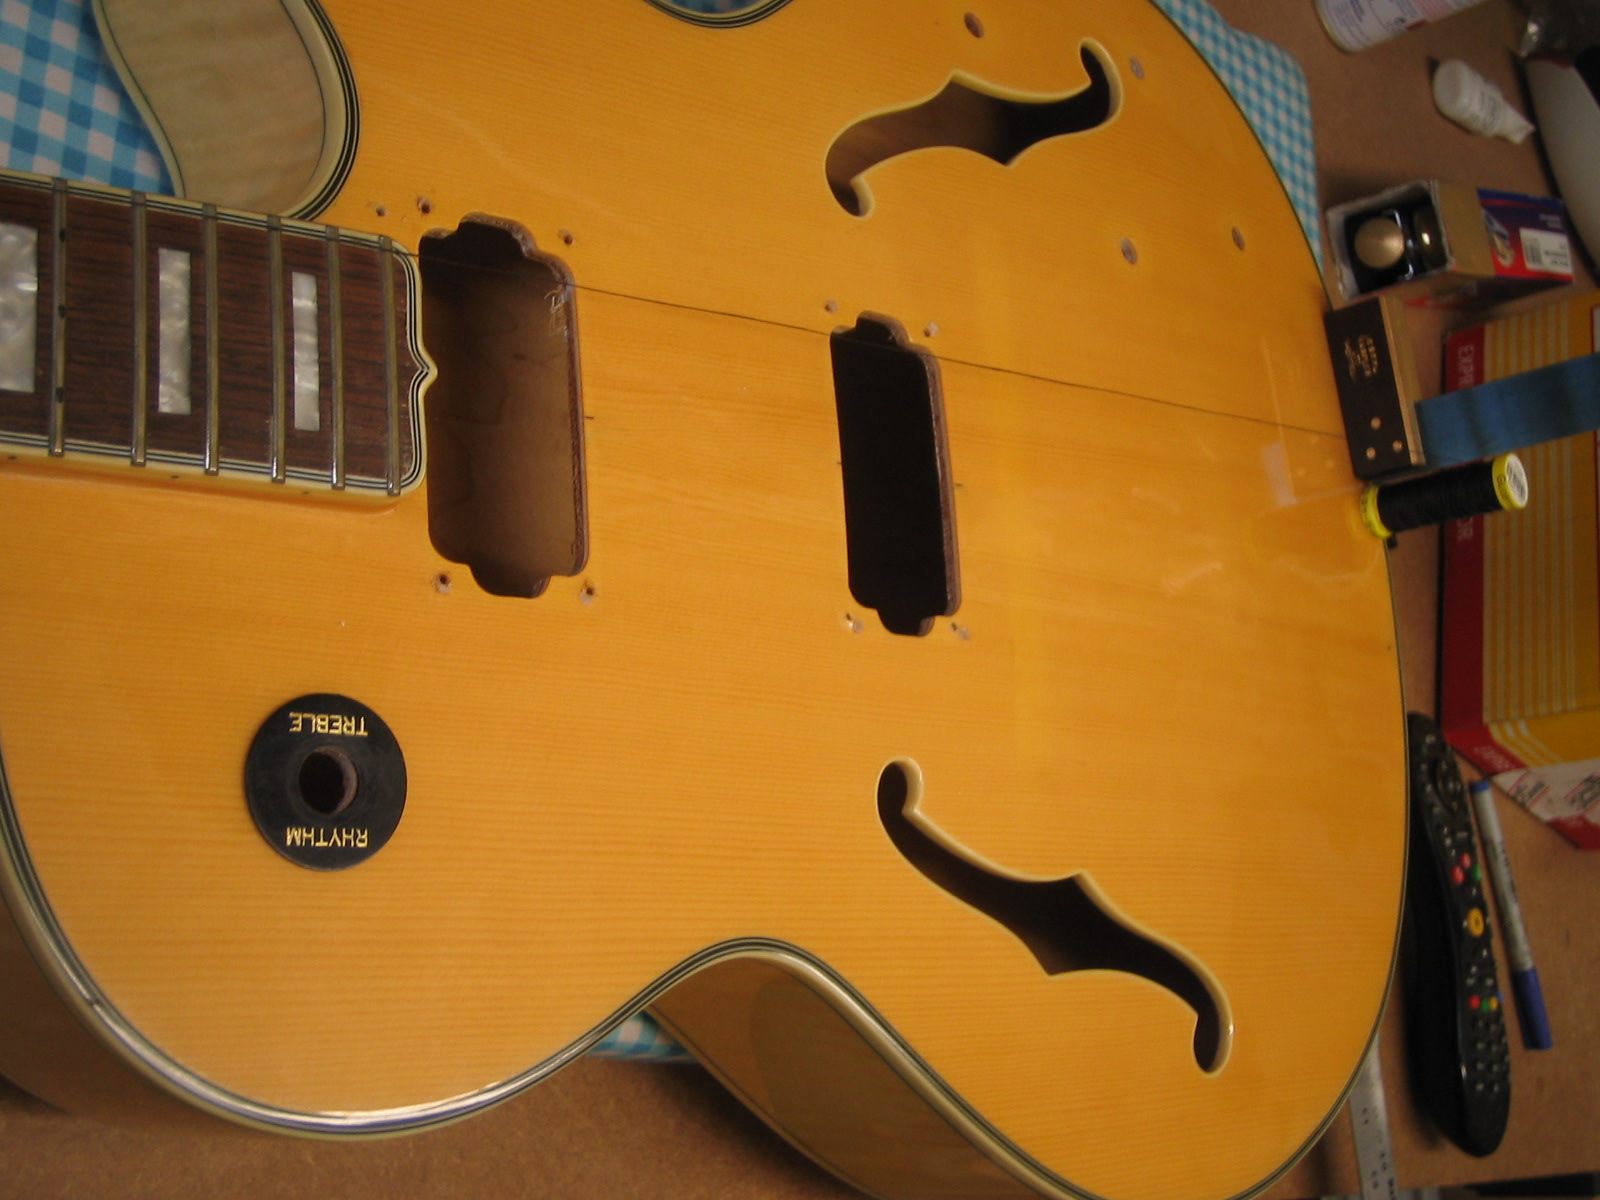
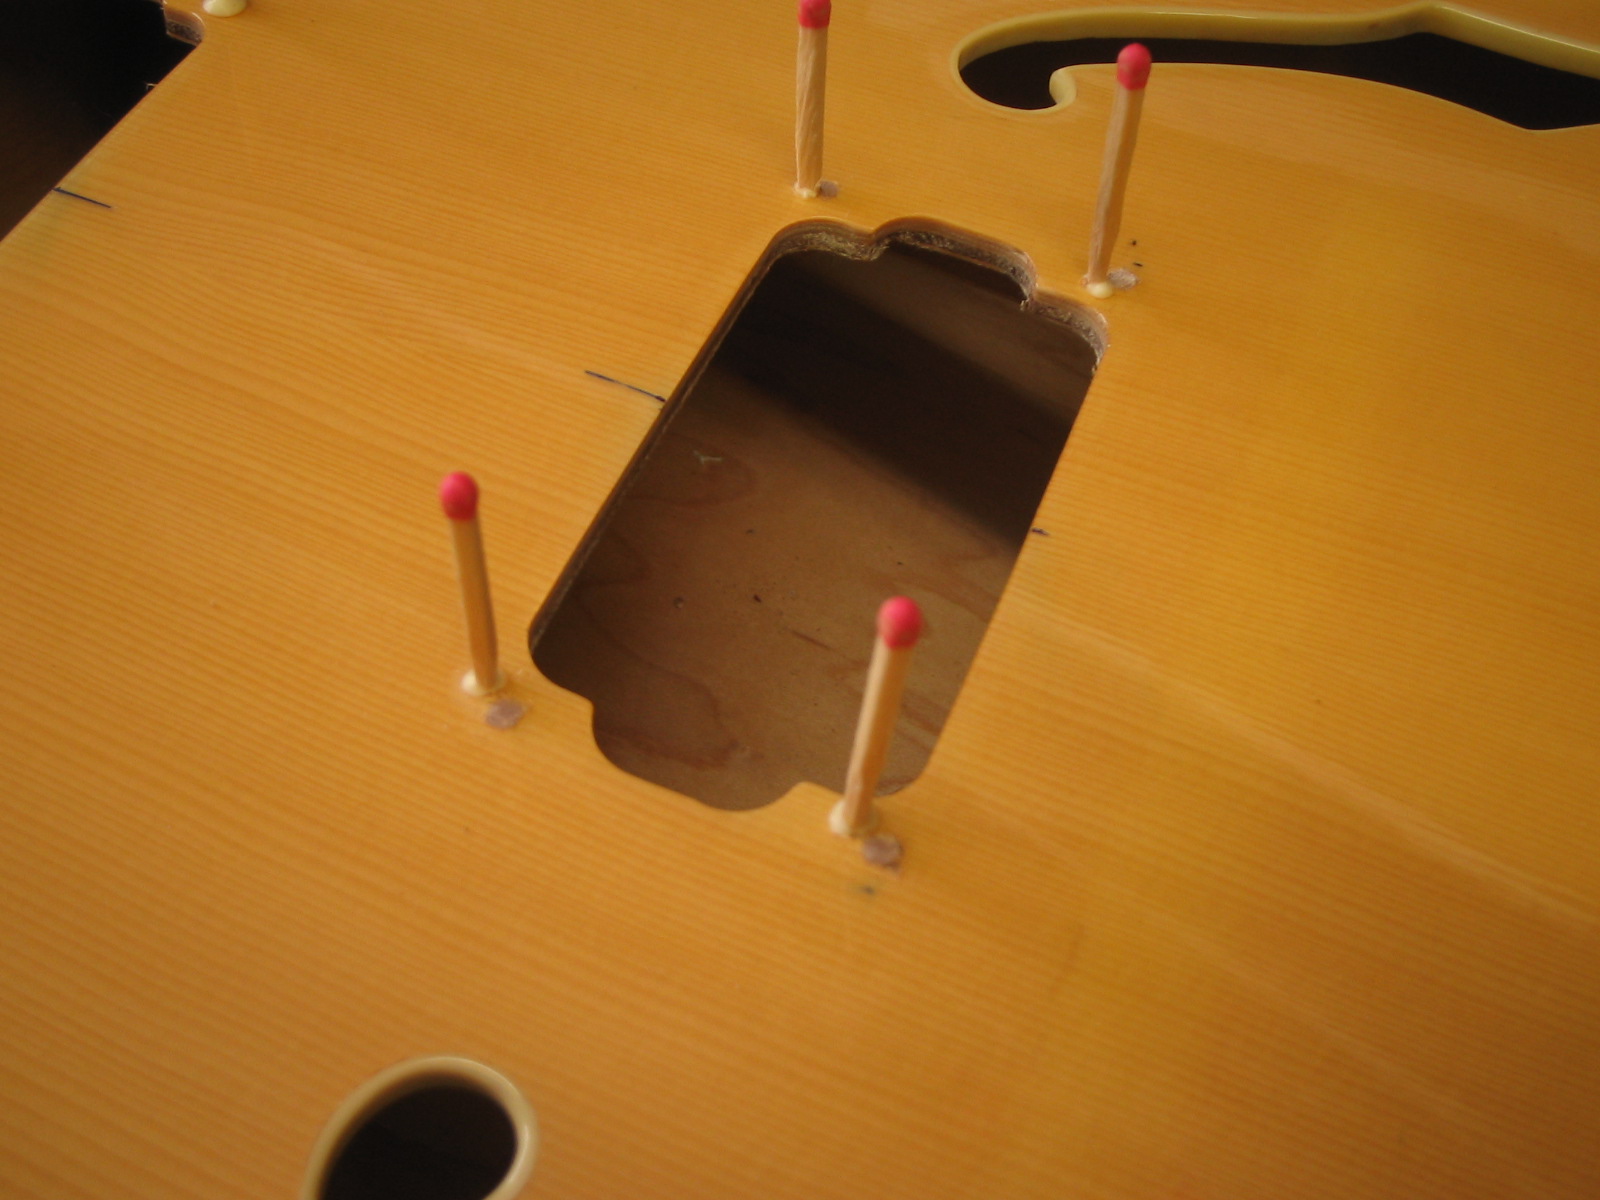
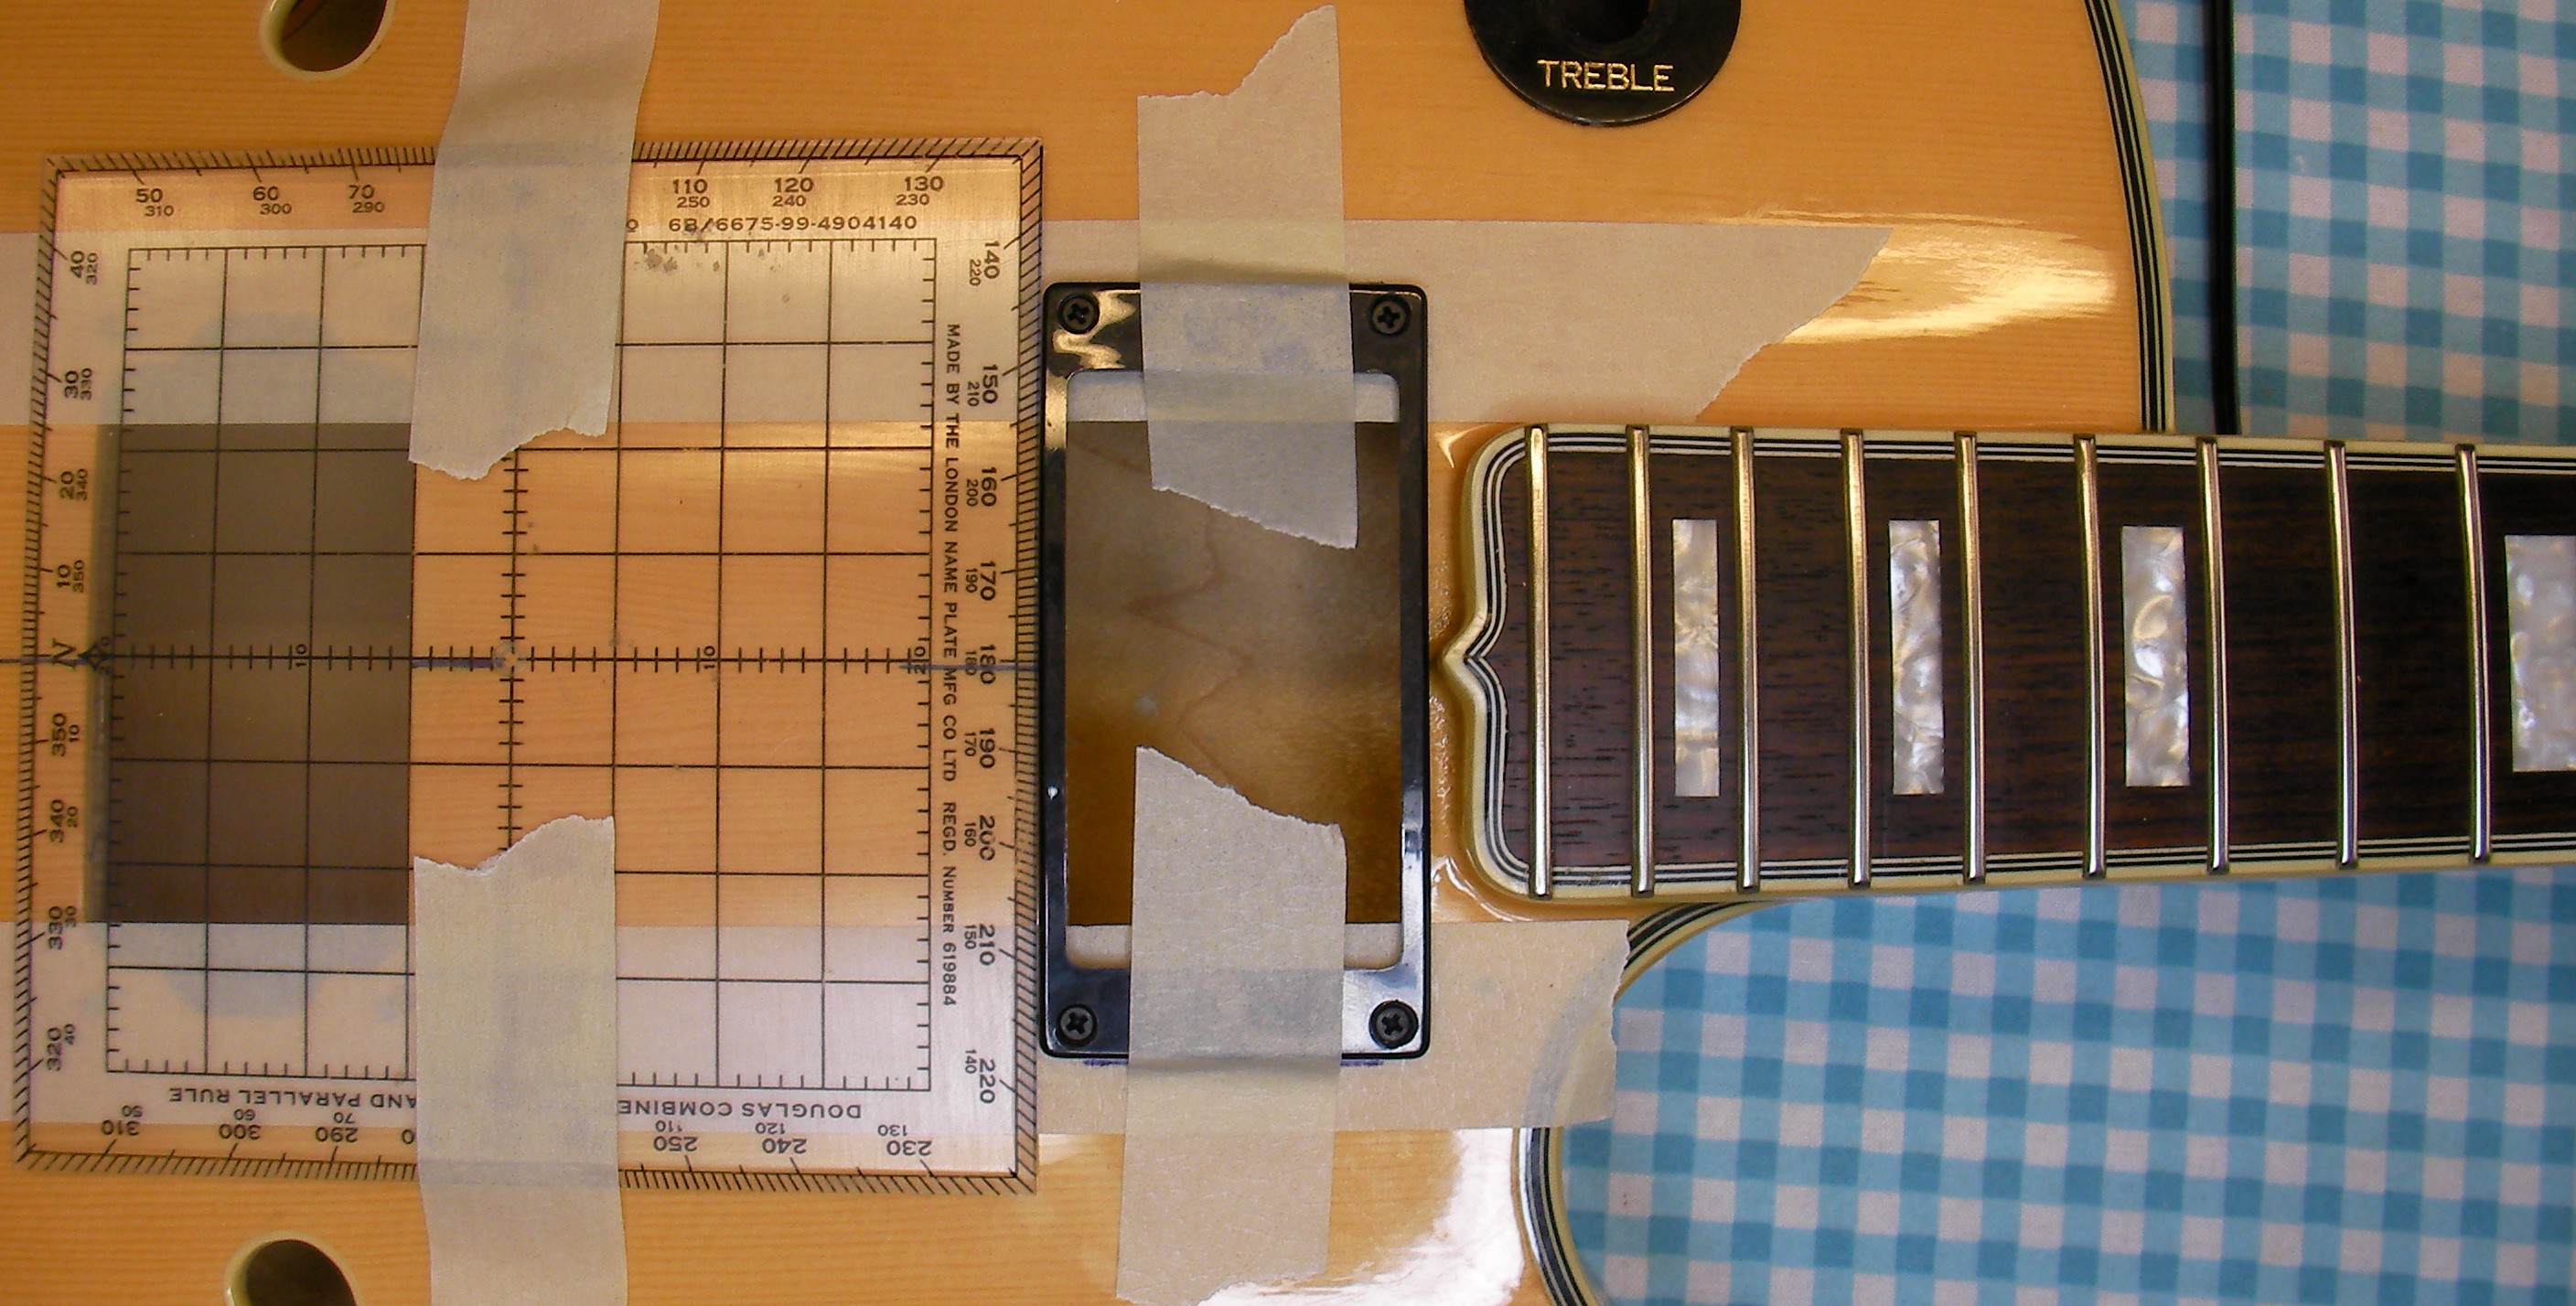
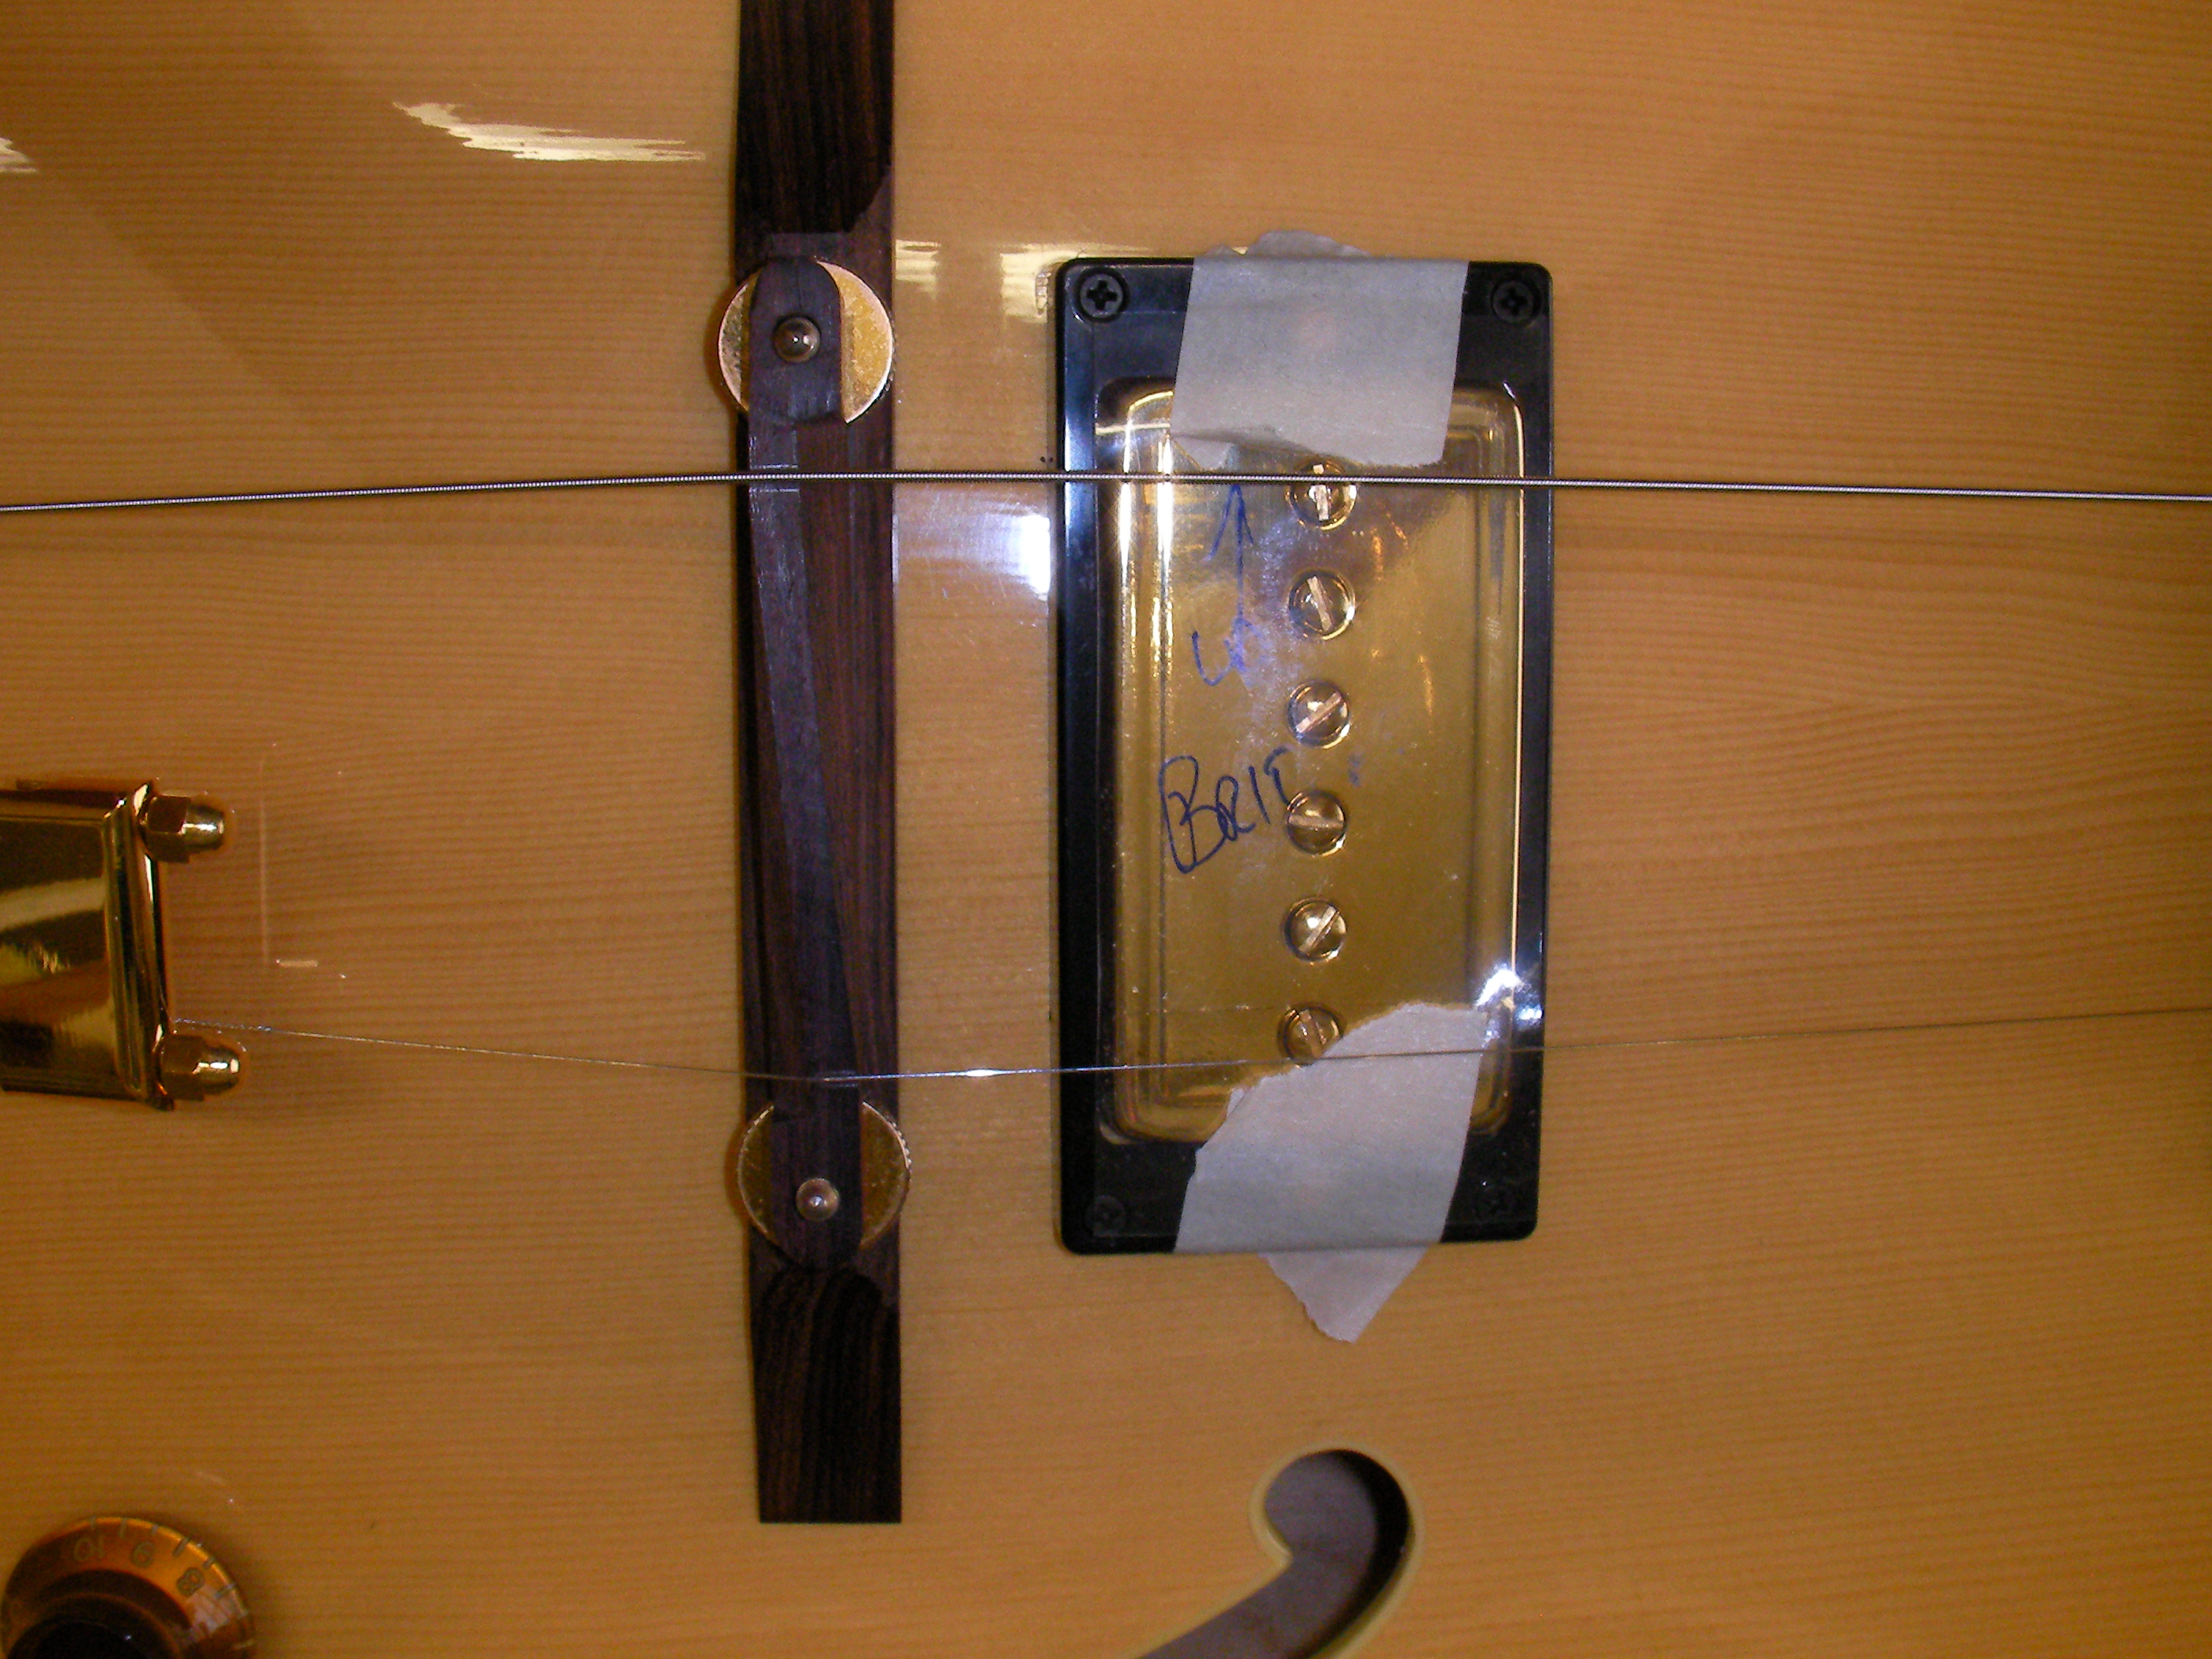
By using a piece of cotton I marked exactly where the strings will sit once the new tailpeace is fitted. From that I’ve worked out an exact centreline so I can correctly locate the pickup rings.
I can now work out exactly where the holes need to go…
Someone has had a go at fitting different pickup rings in the past so there are already 2 other sets of holes, one set of which has been filled. Sadly none of them are in the right place so I’ll have to fill the remaining holes and re-drill yet another set. With such fine holes I find the best way is to gently shape a match to the right size and use that as a filler. Once the glue dries cut off the tops and use a sharp chisel to level the surface.
While they are drying I’ve also started on the re-wire. To make sure all the wires are long enough and don’t sit immediately behind the F-holes I made an exact 1:1 scale cardboard template on which I mounted all the components and built the wiring loom on that. At least I know everything will fit!
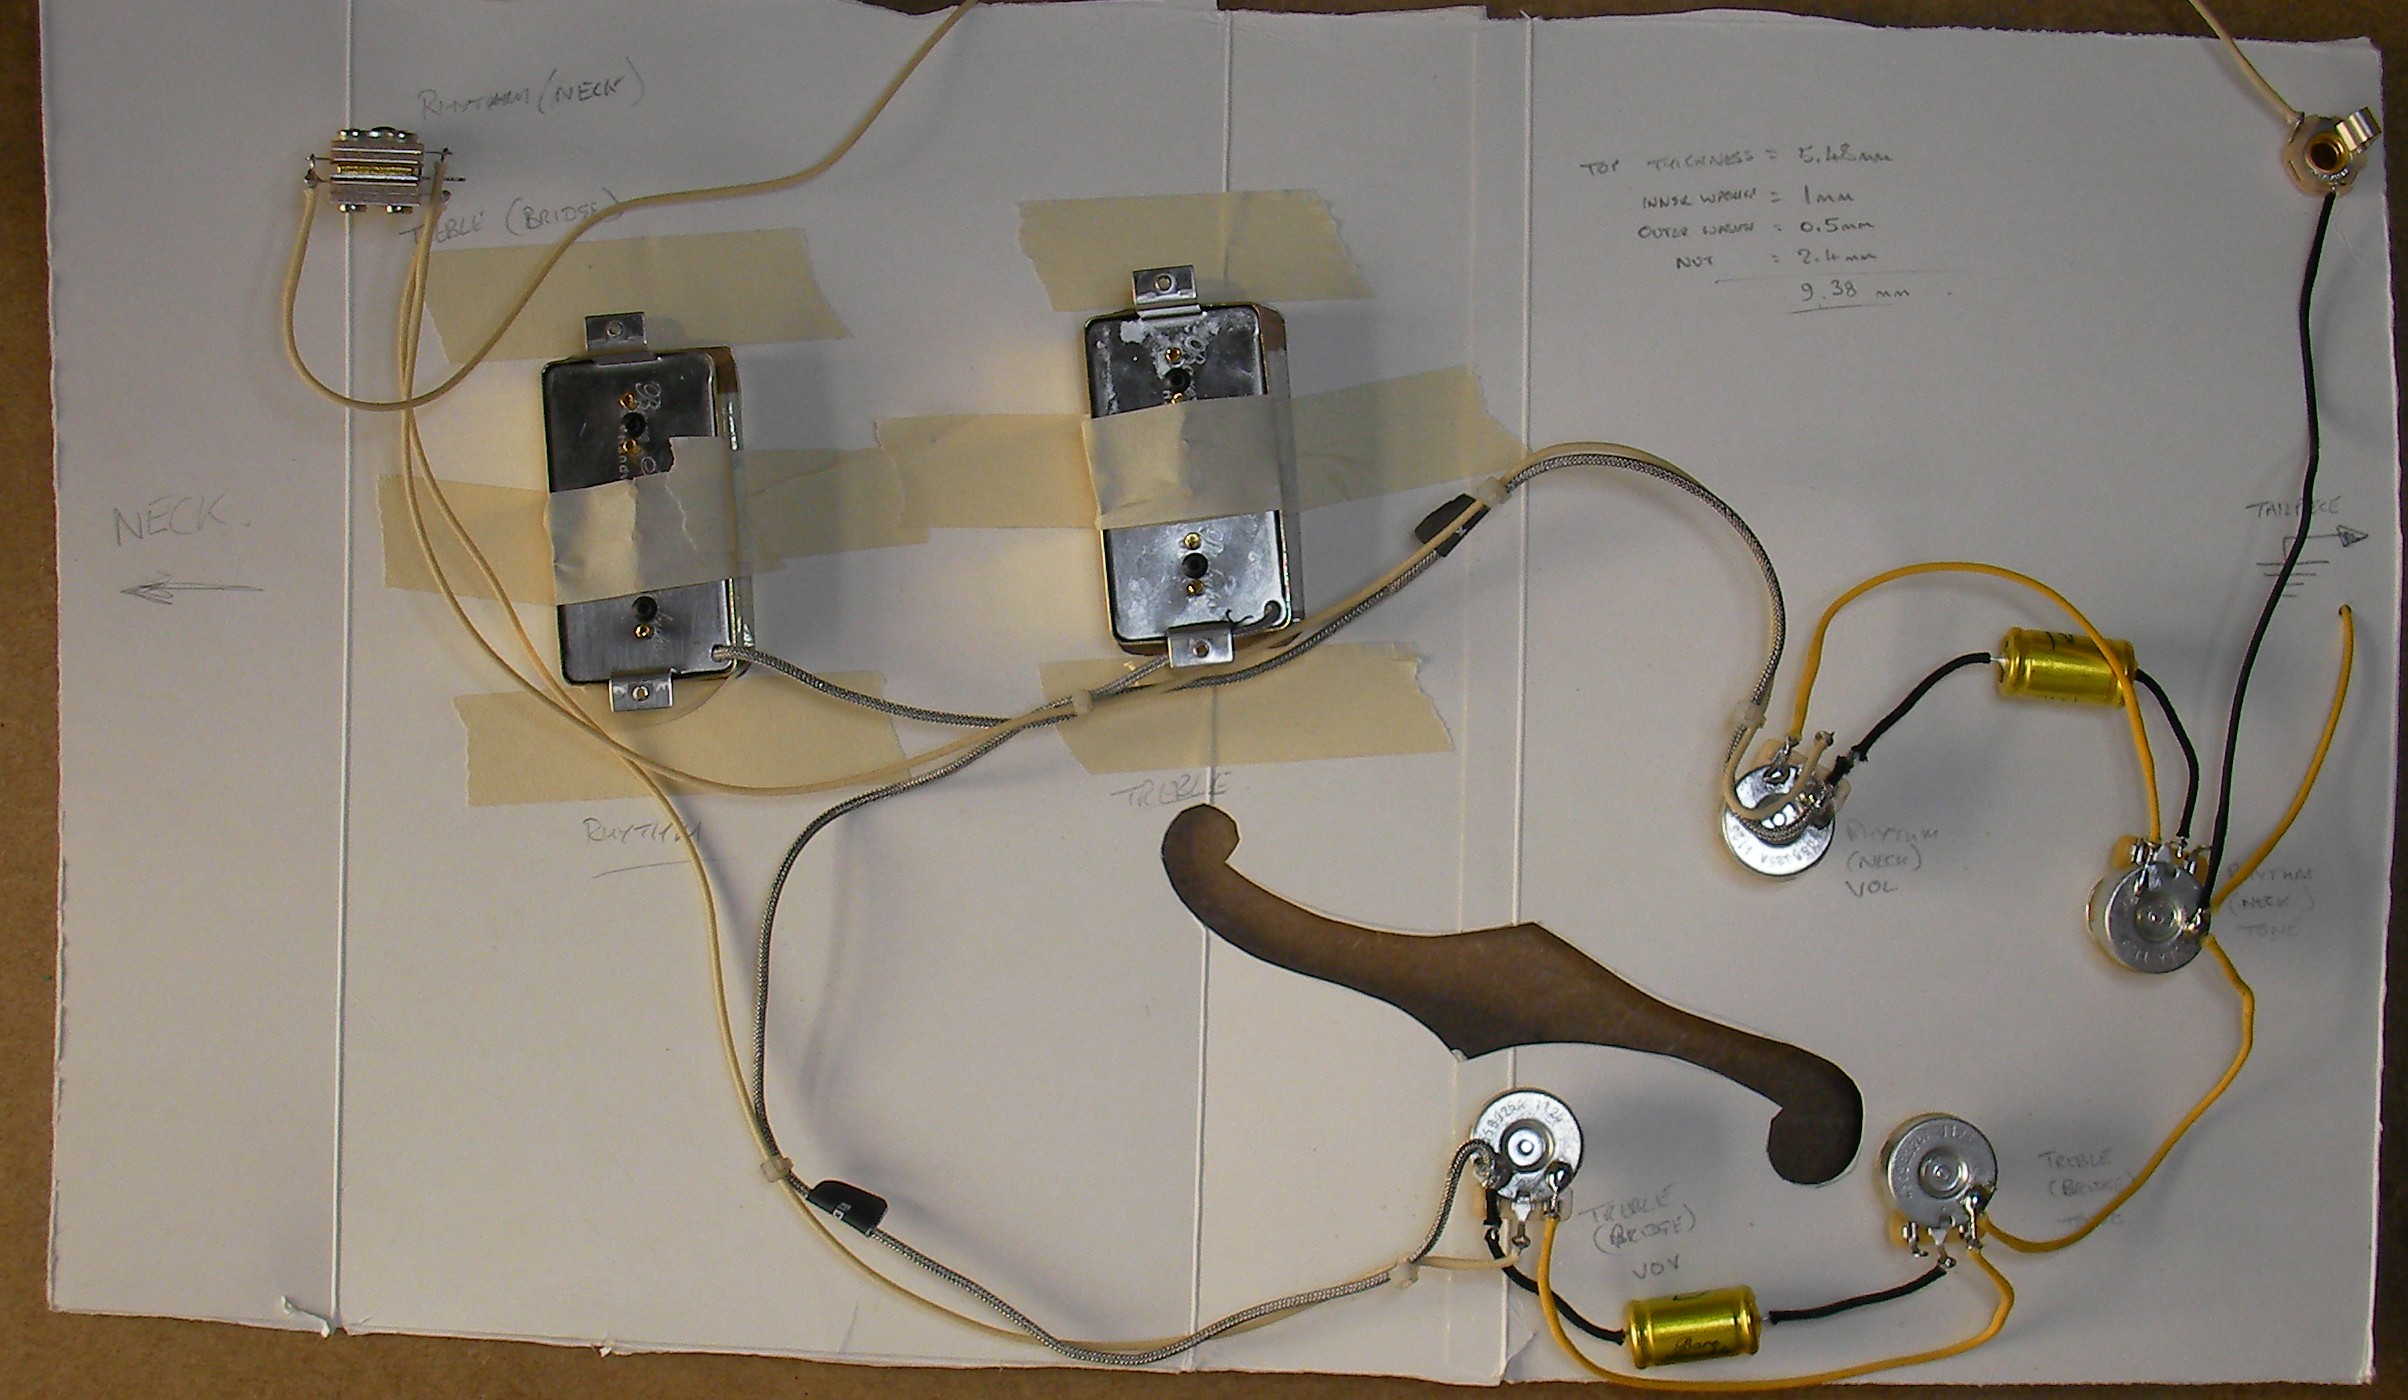
While putting the wiring loom together I also added some insulation to the capacitor legs, just in case they get disturbed and cause short circuits at any point in the future.

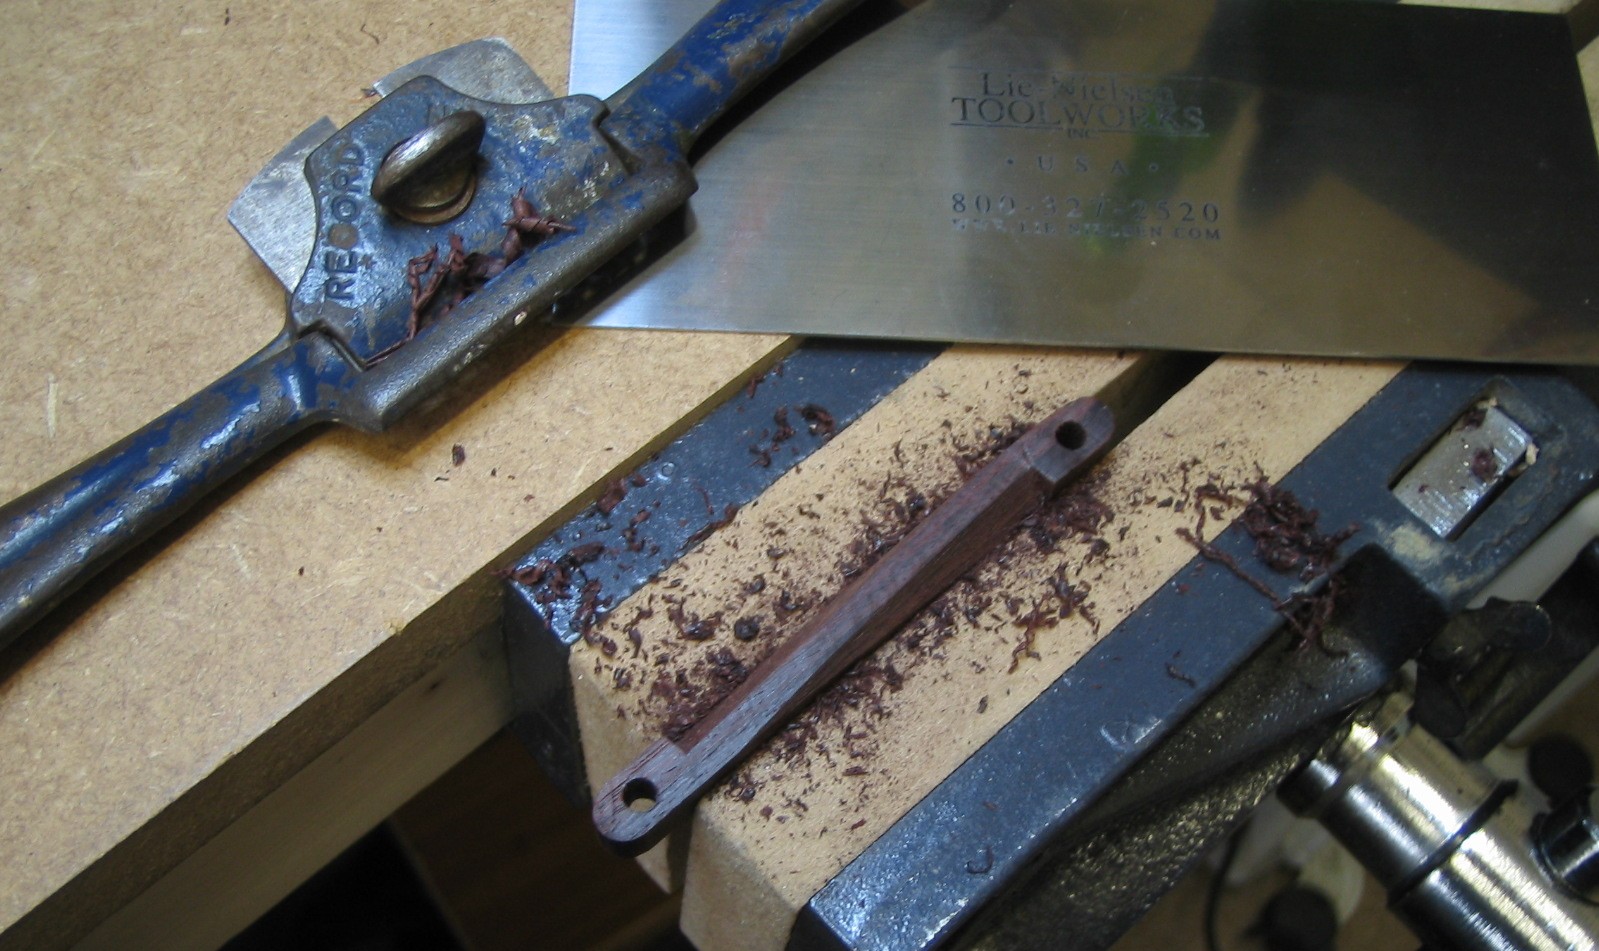
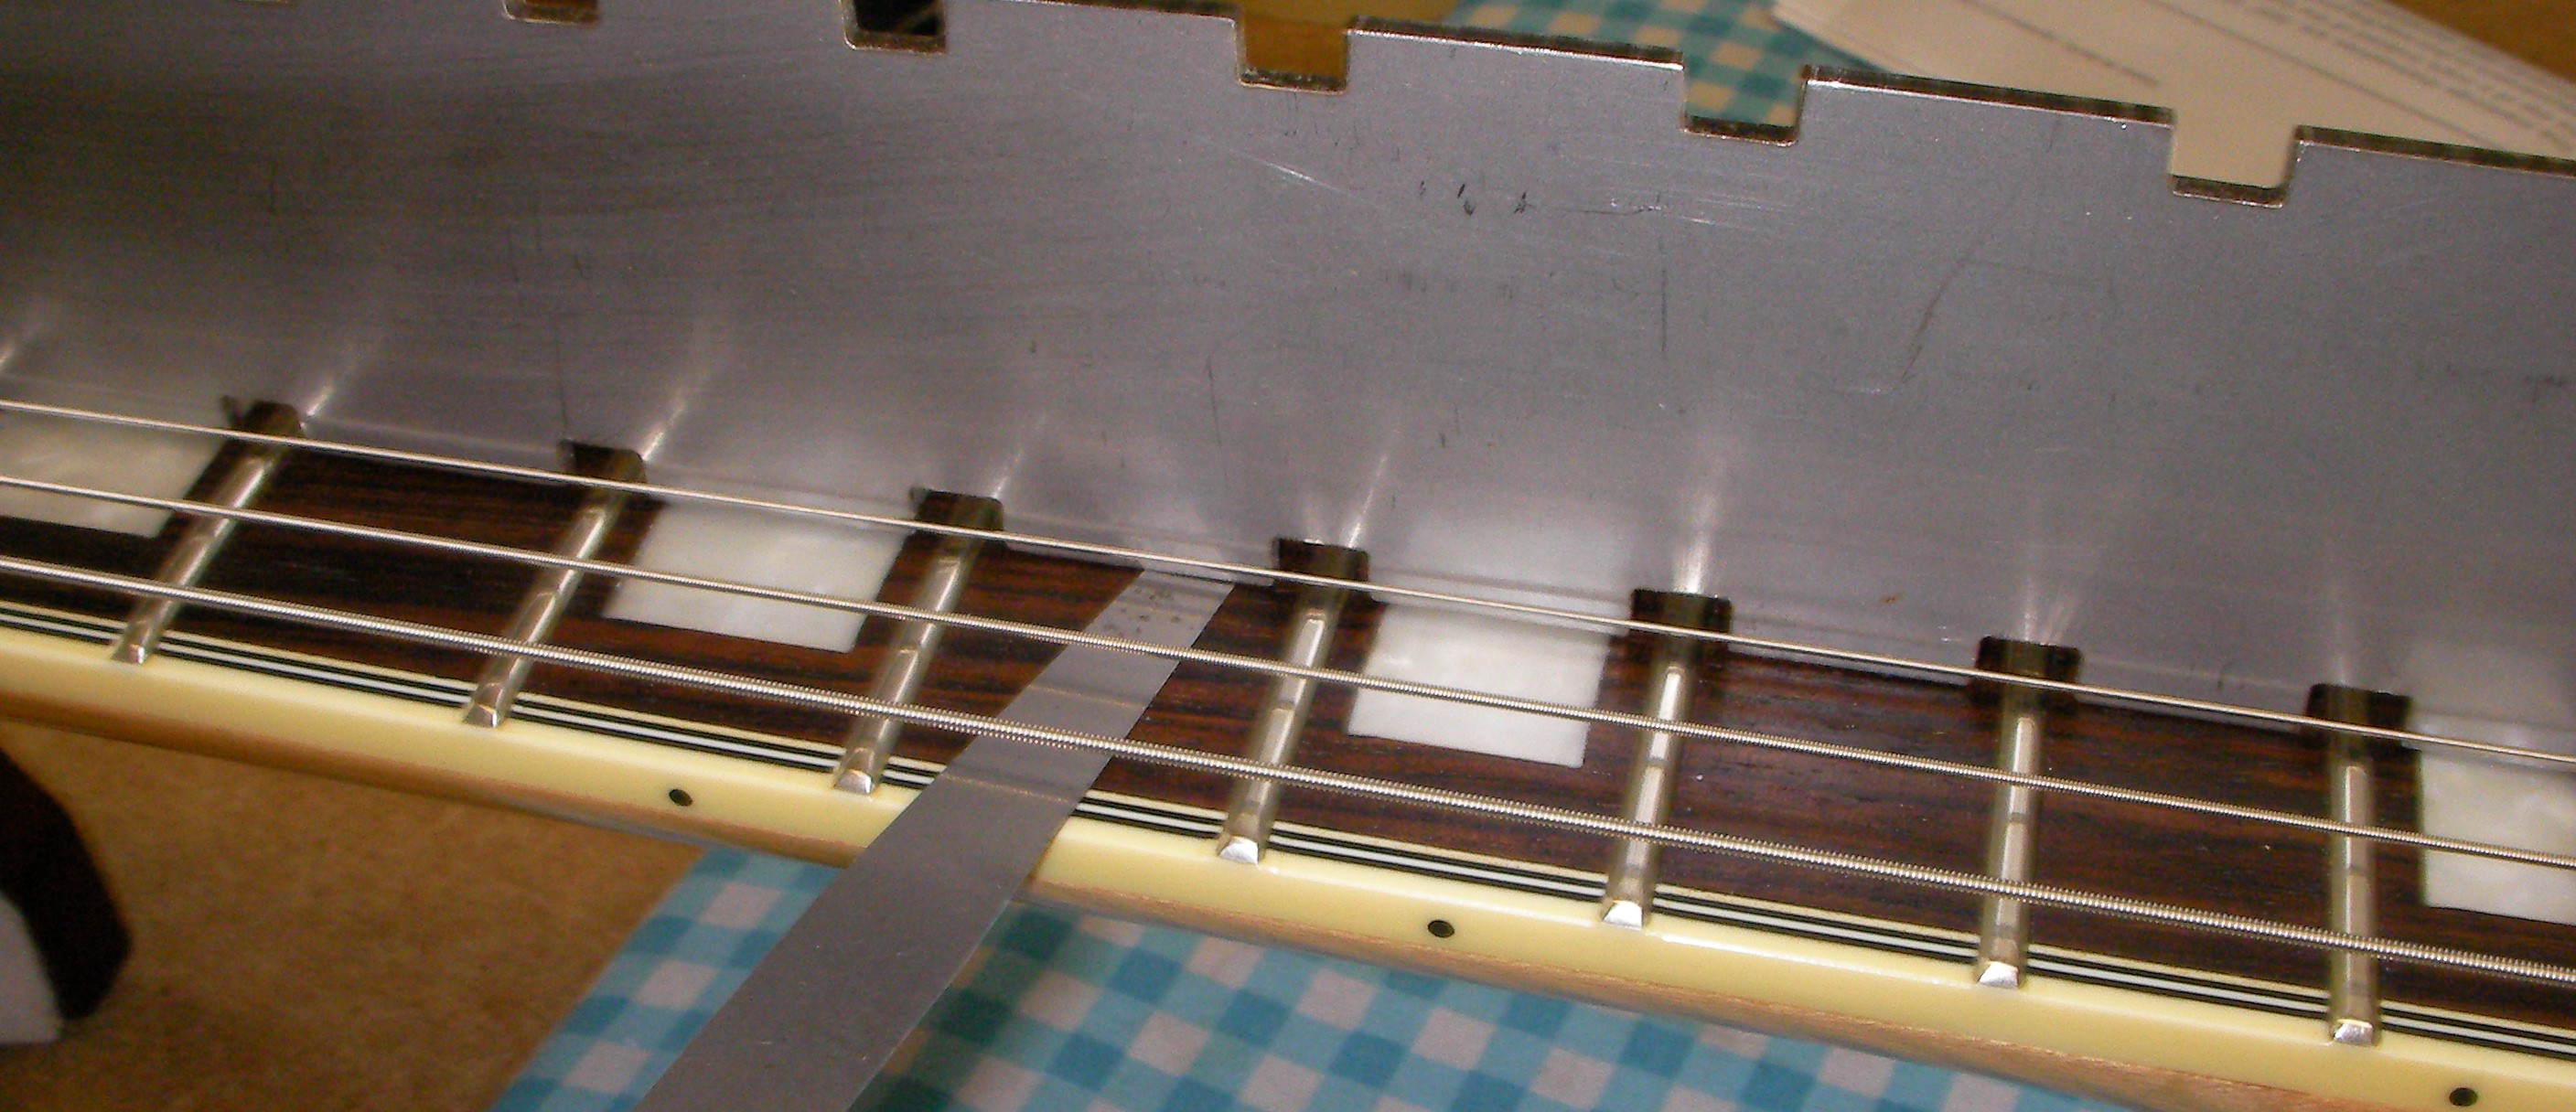
I’ve also tidied up the bridge. Over the years its had several extra string slots cut into it so I gently took a couple of millimeters of the top, I’ll cut the new slots when I get to the setup phase.
There isn’t much wrong with the neck so all I’ve done is give the fingerboard and frets a bit of a clean and oil.
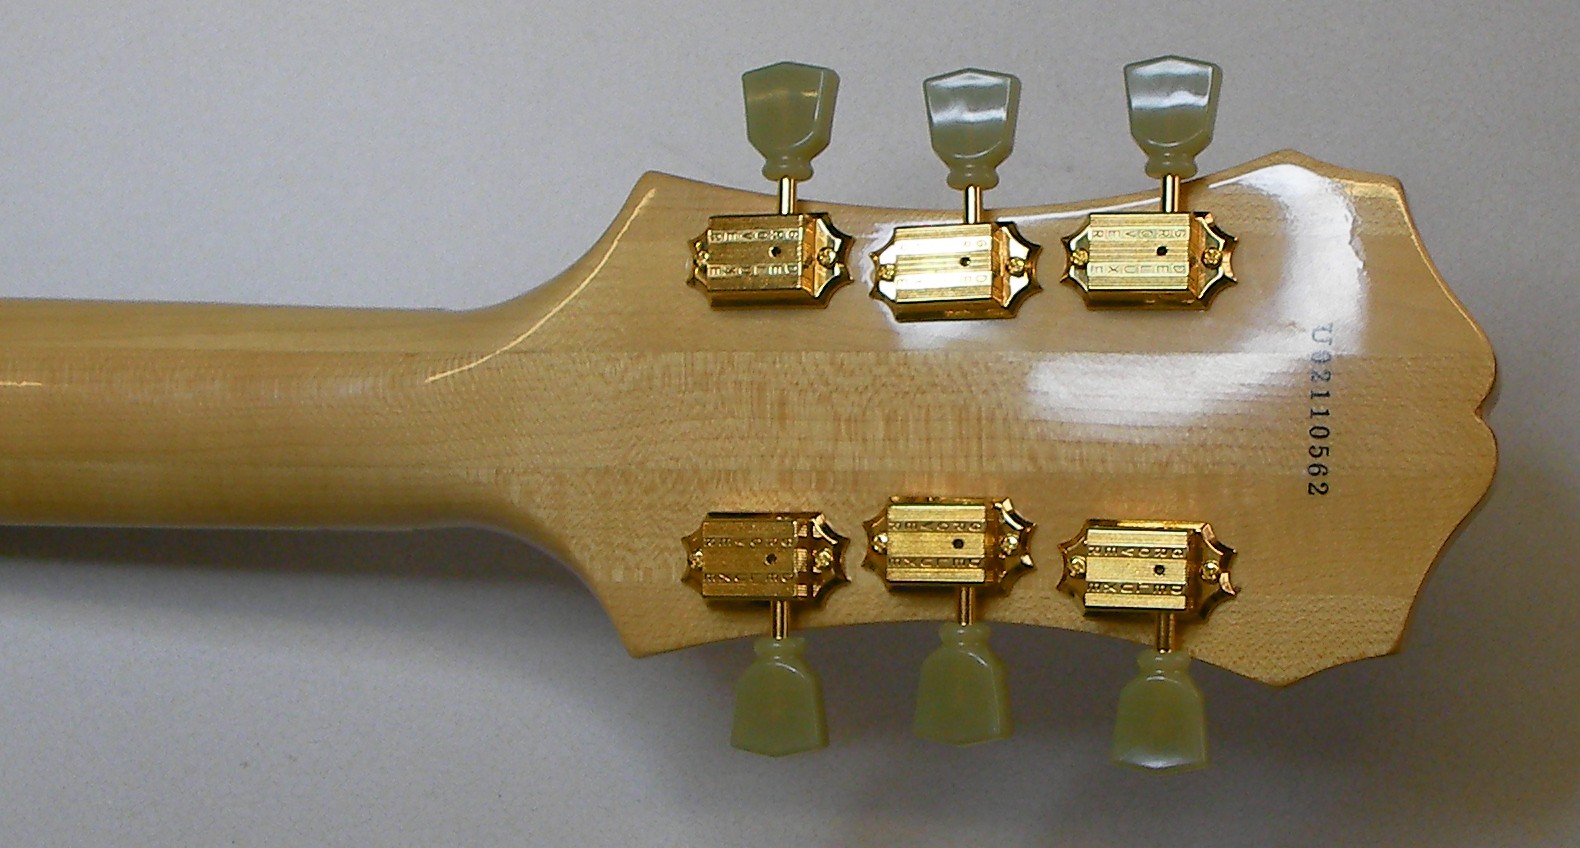
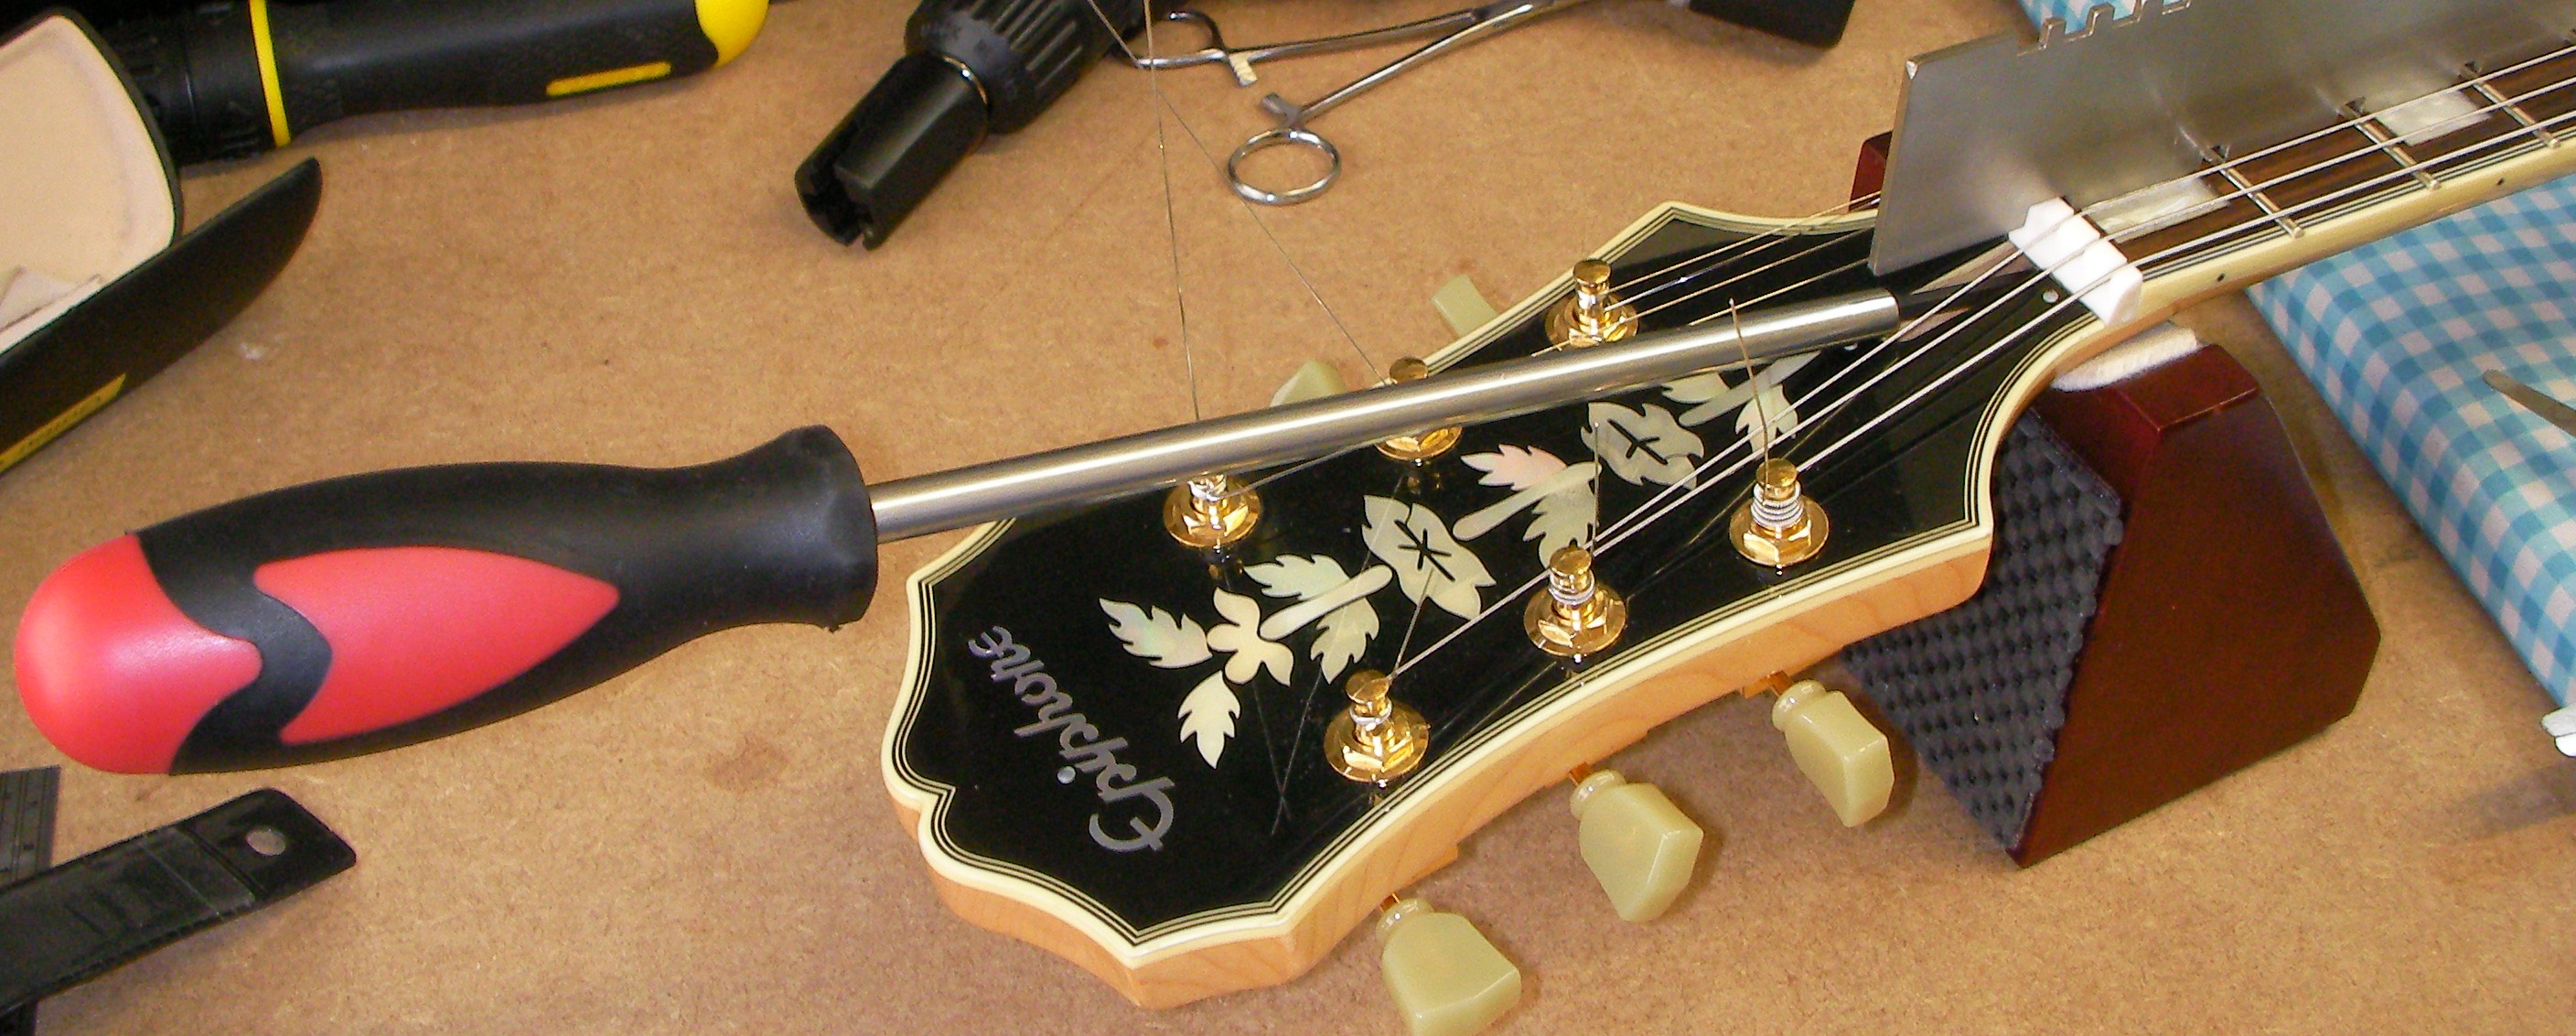
I changed the machine heads for some nice Gold ones.
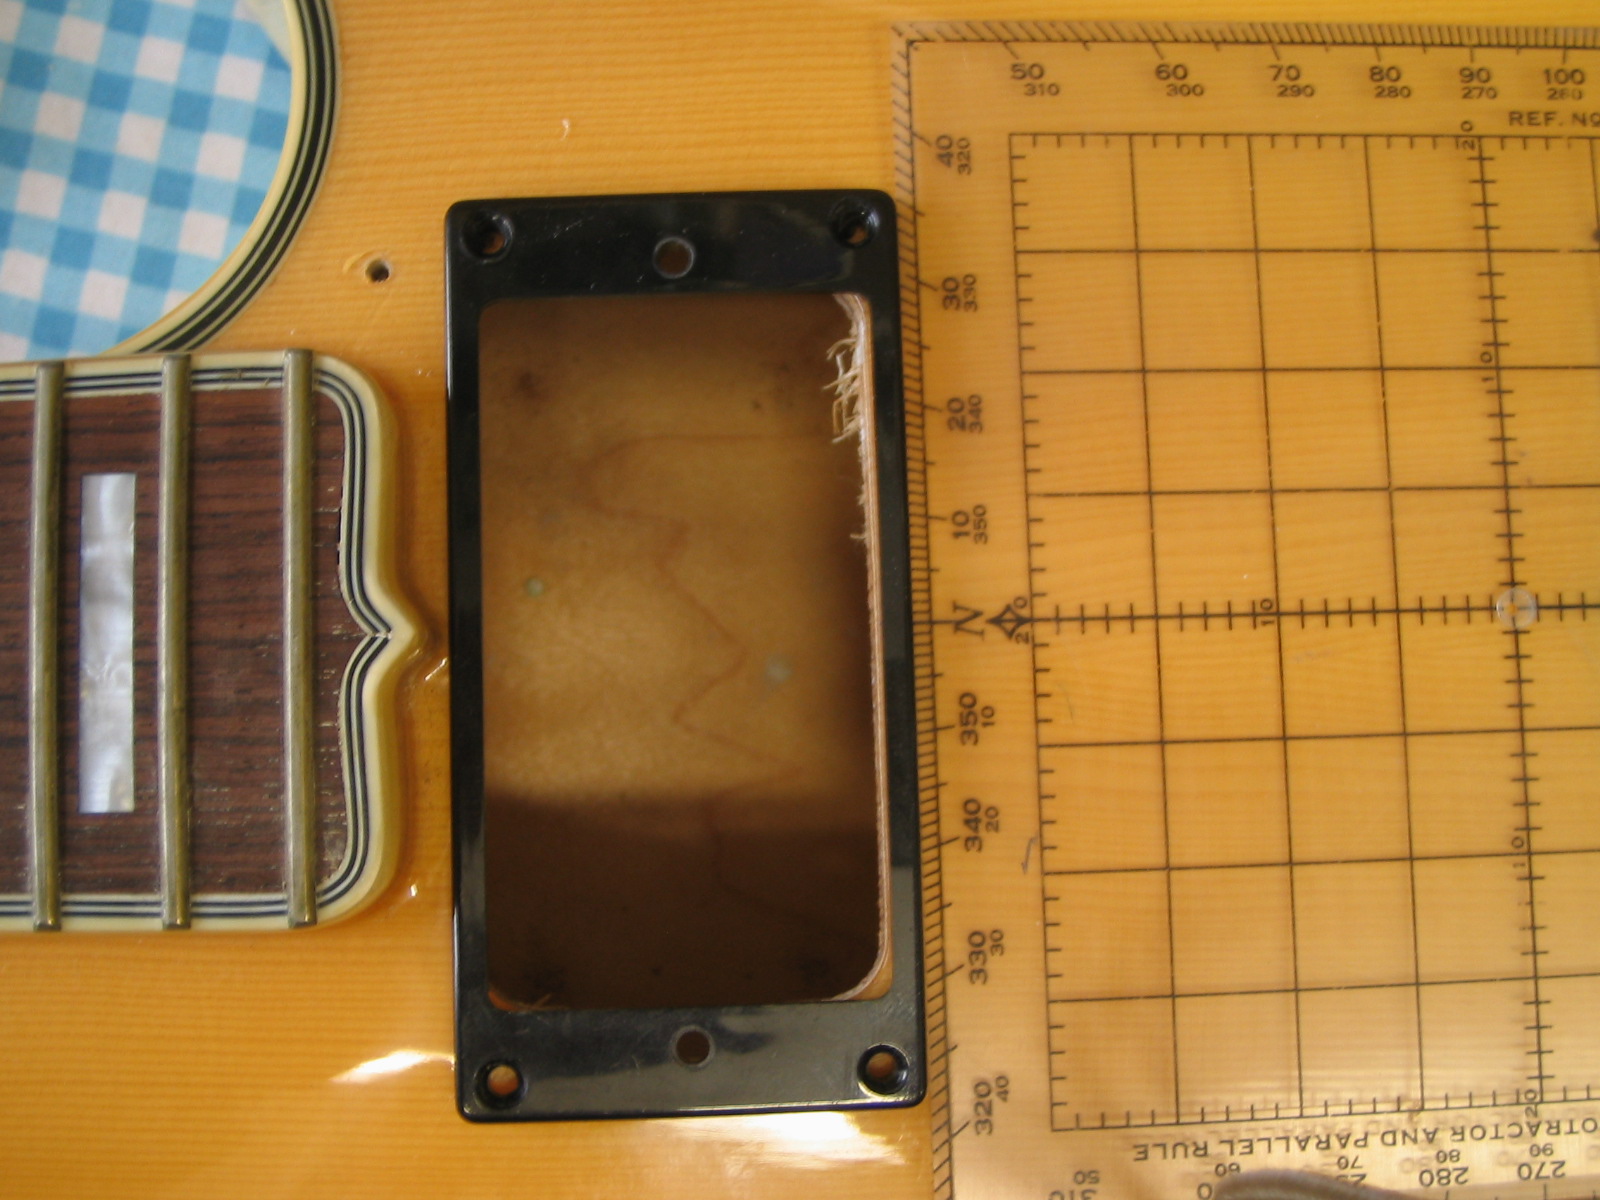
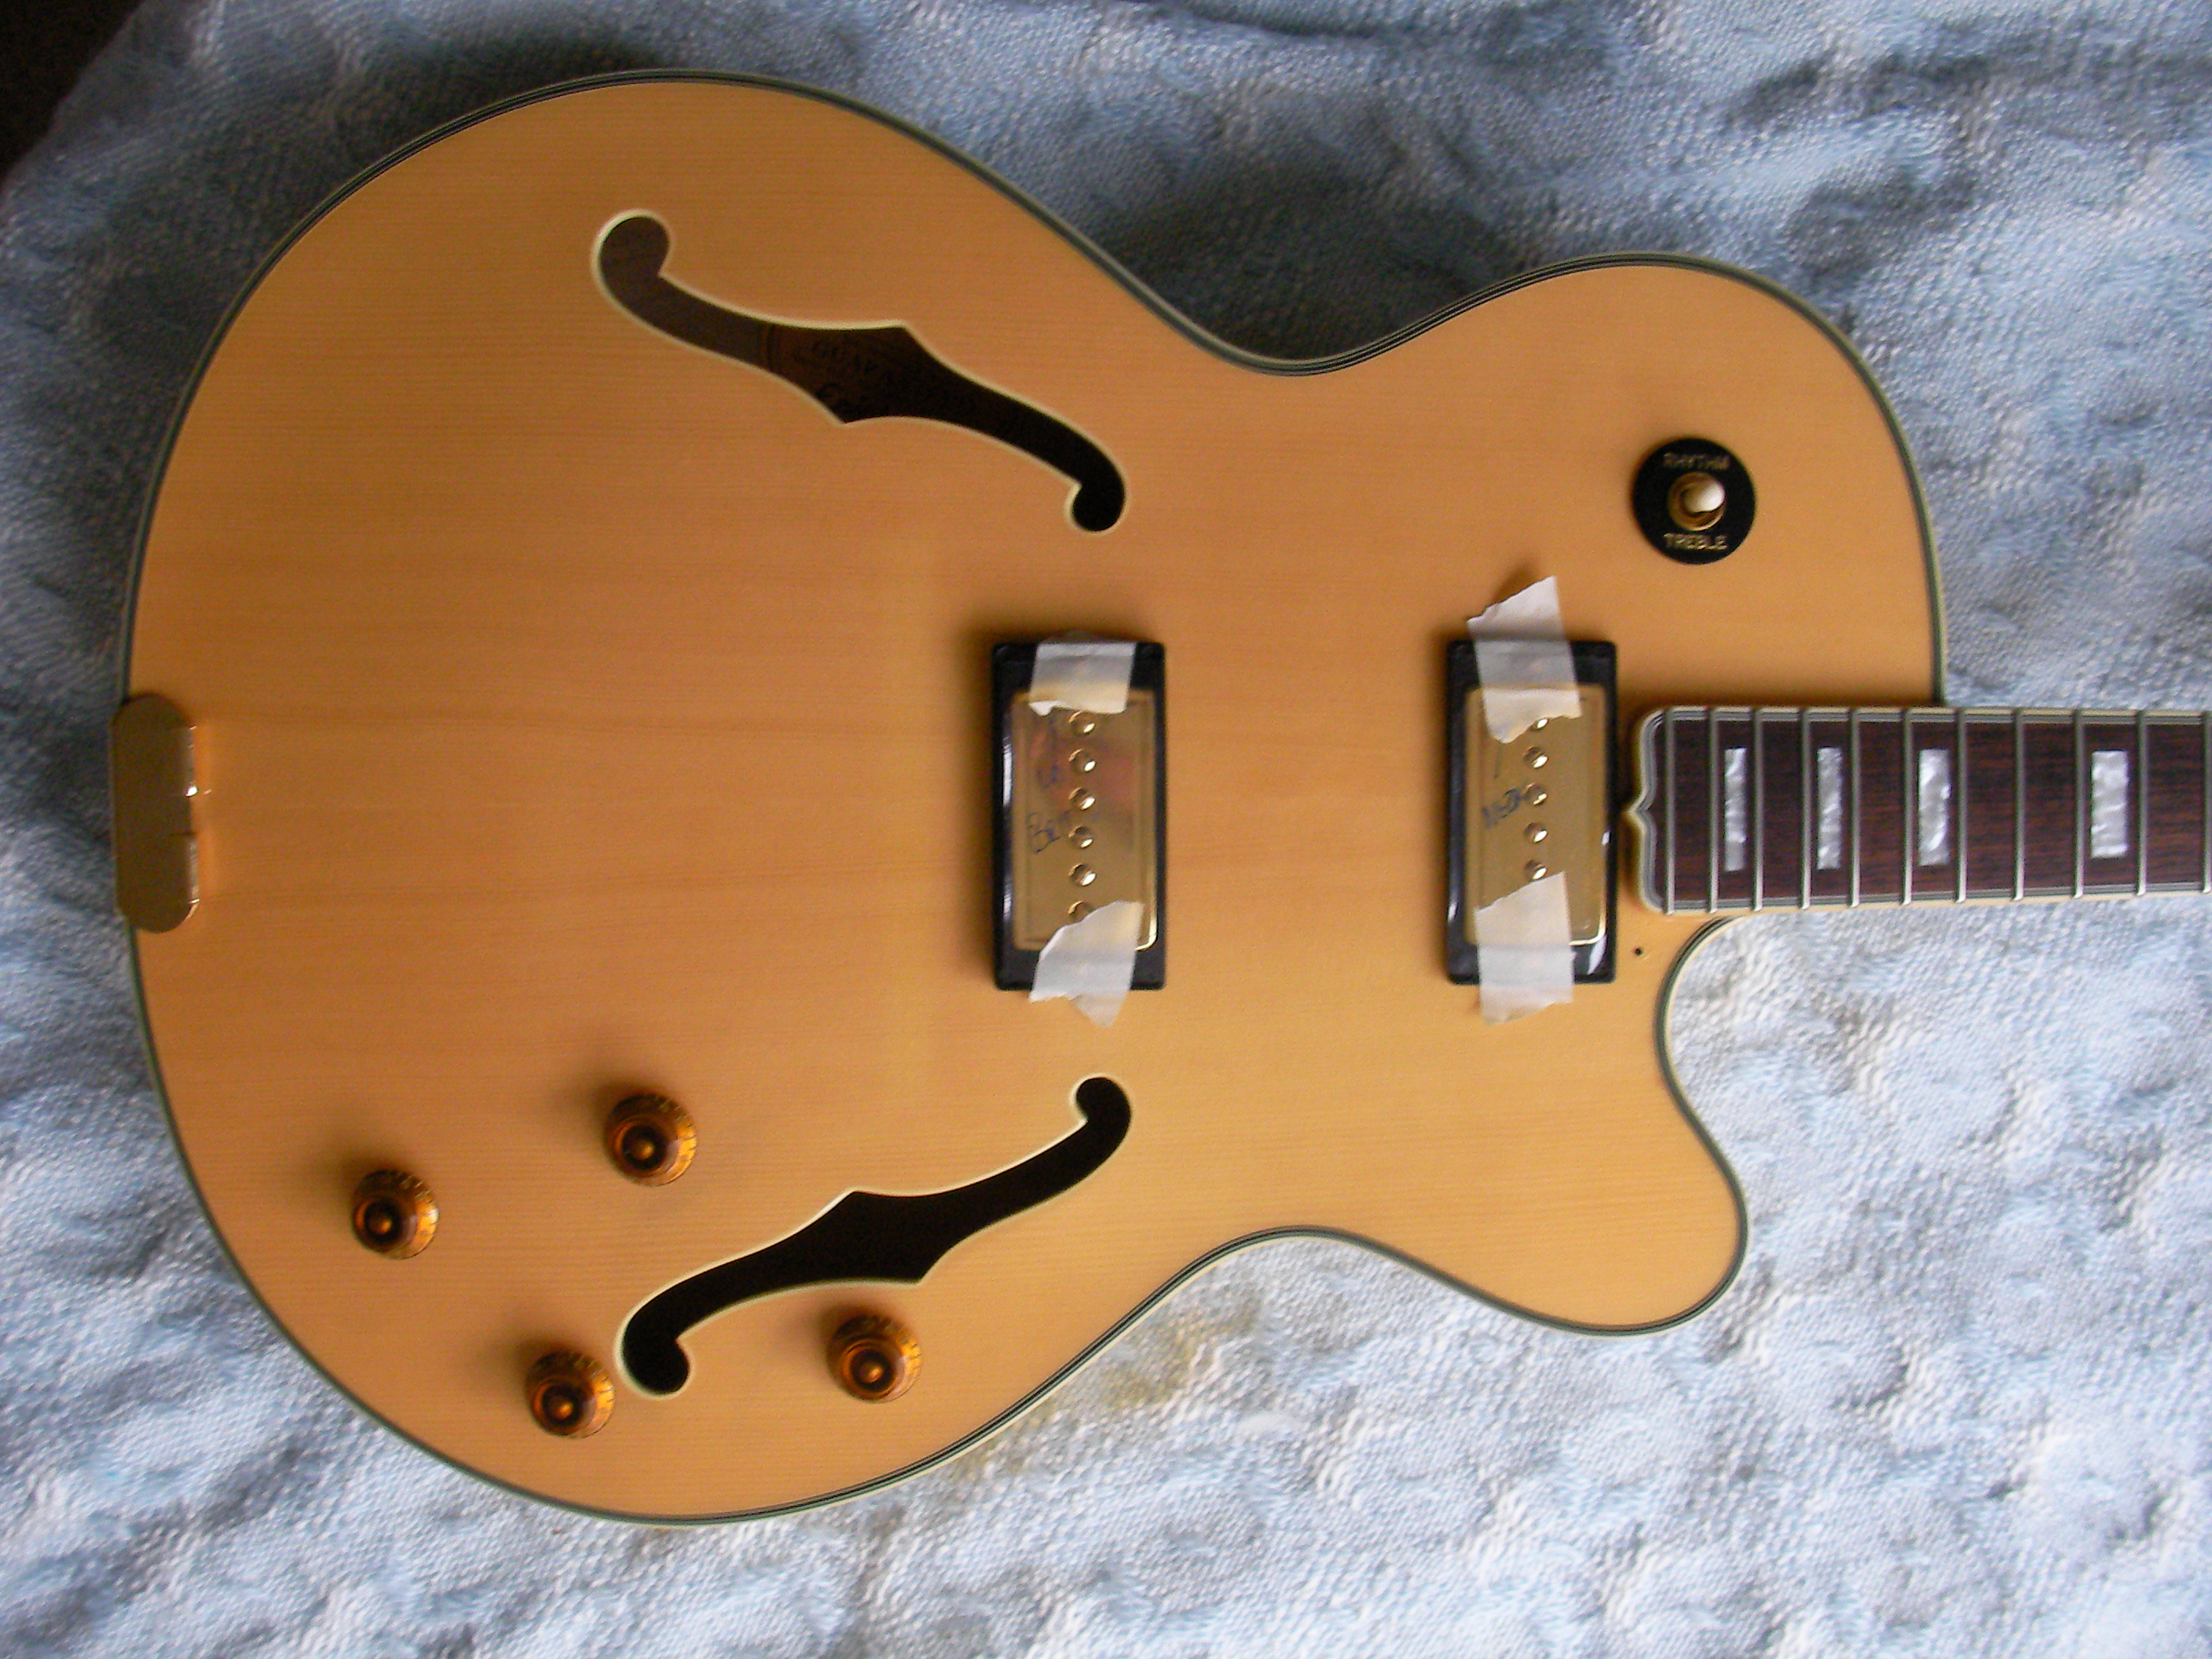
Now that the old holes are filled and a centre line accurately established its time to work out exactly where the holes for the new pickup rings should be.
Using tape to protect the guitar top and some more tape to keep everything in place very gently drill the new holes.
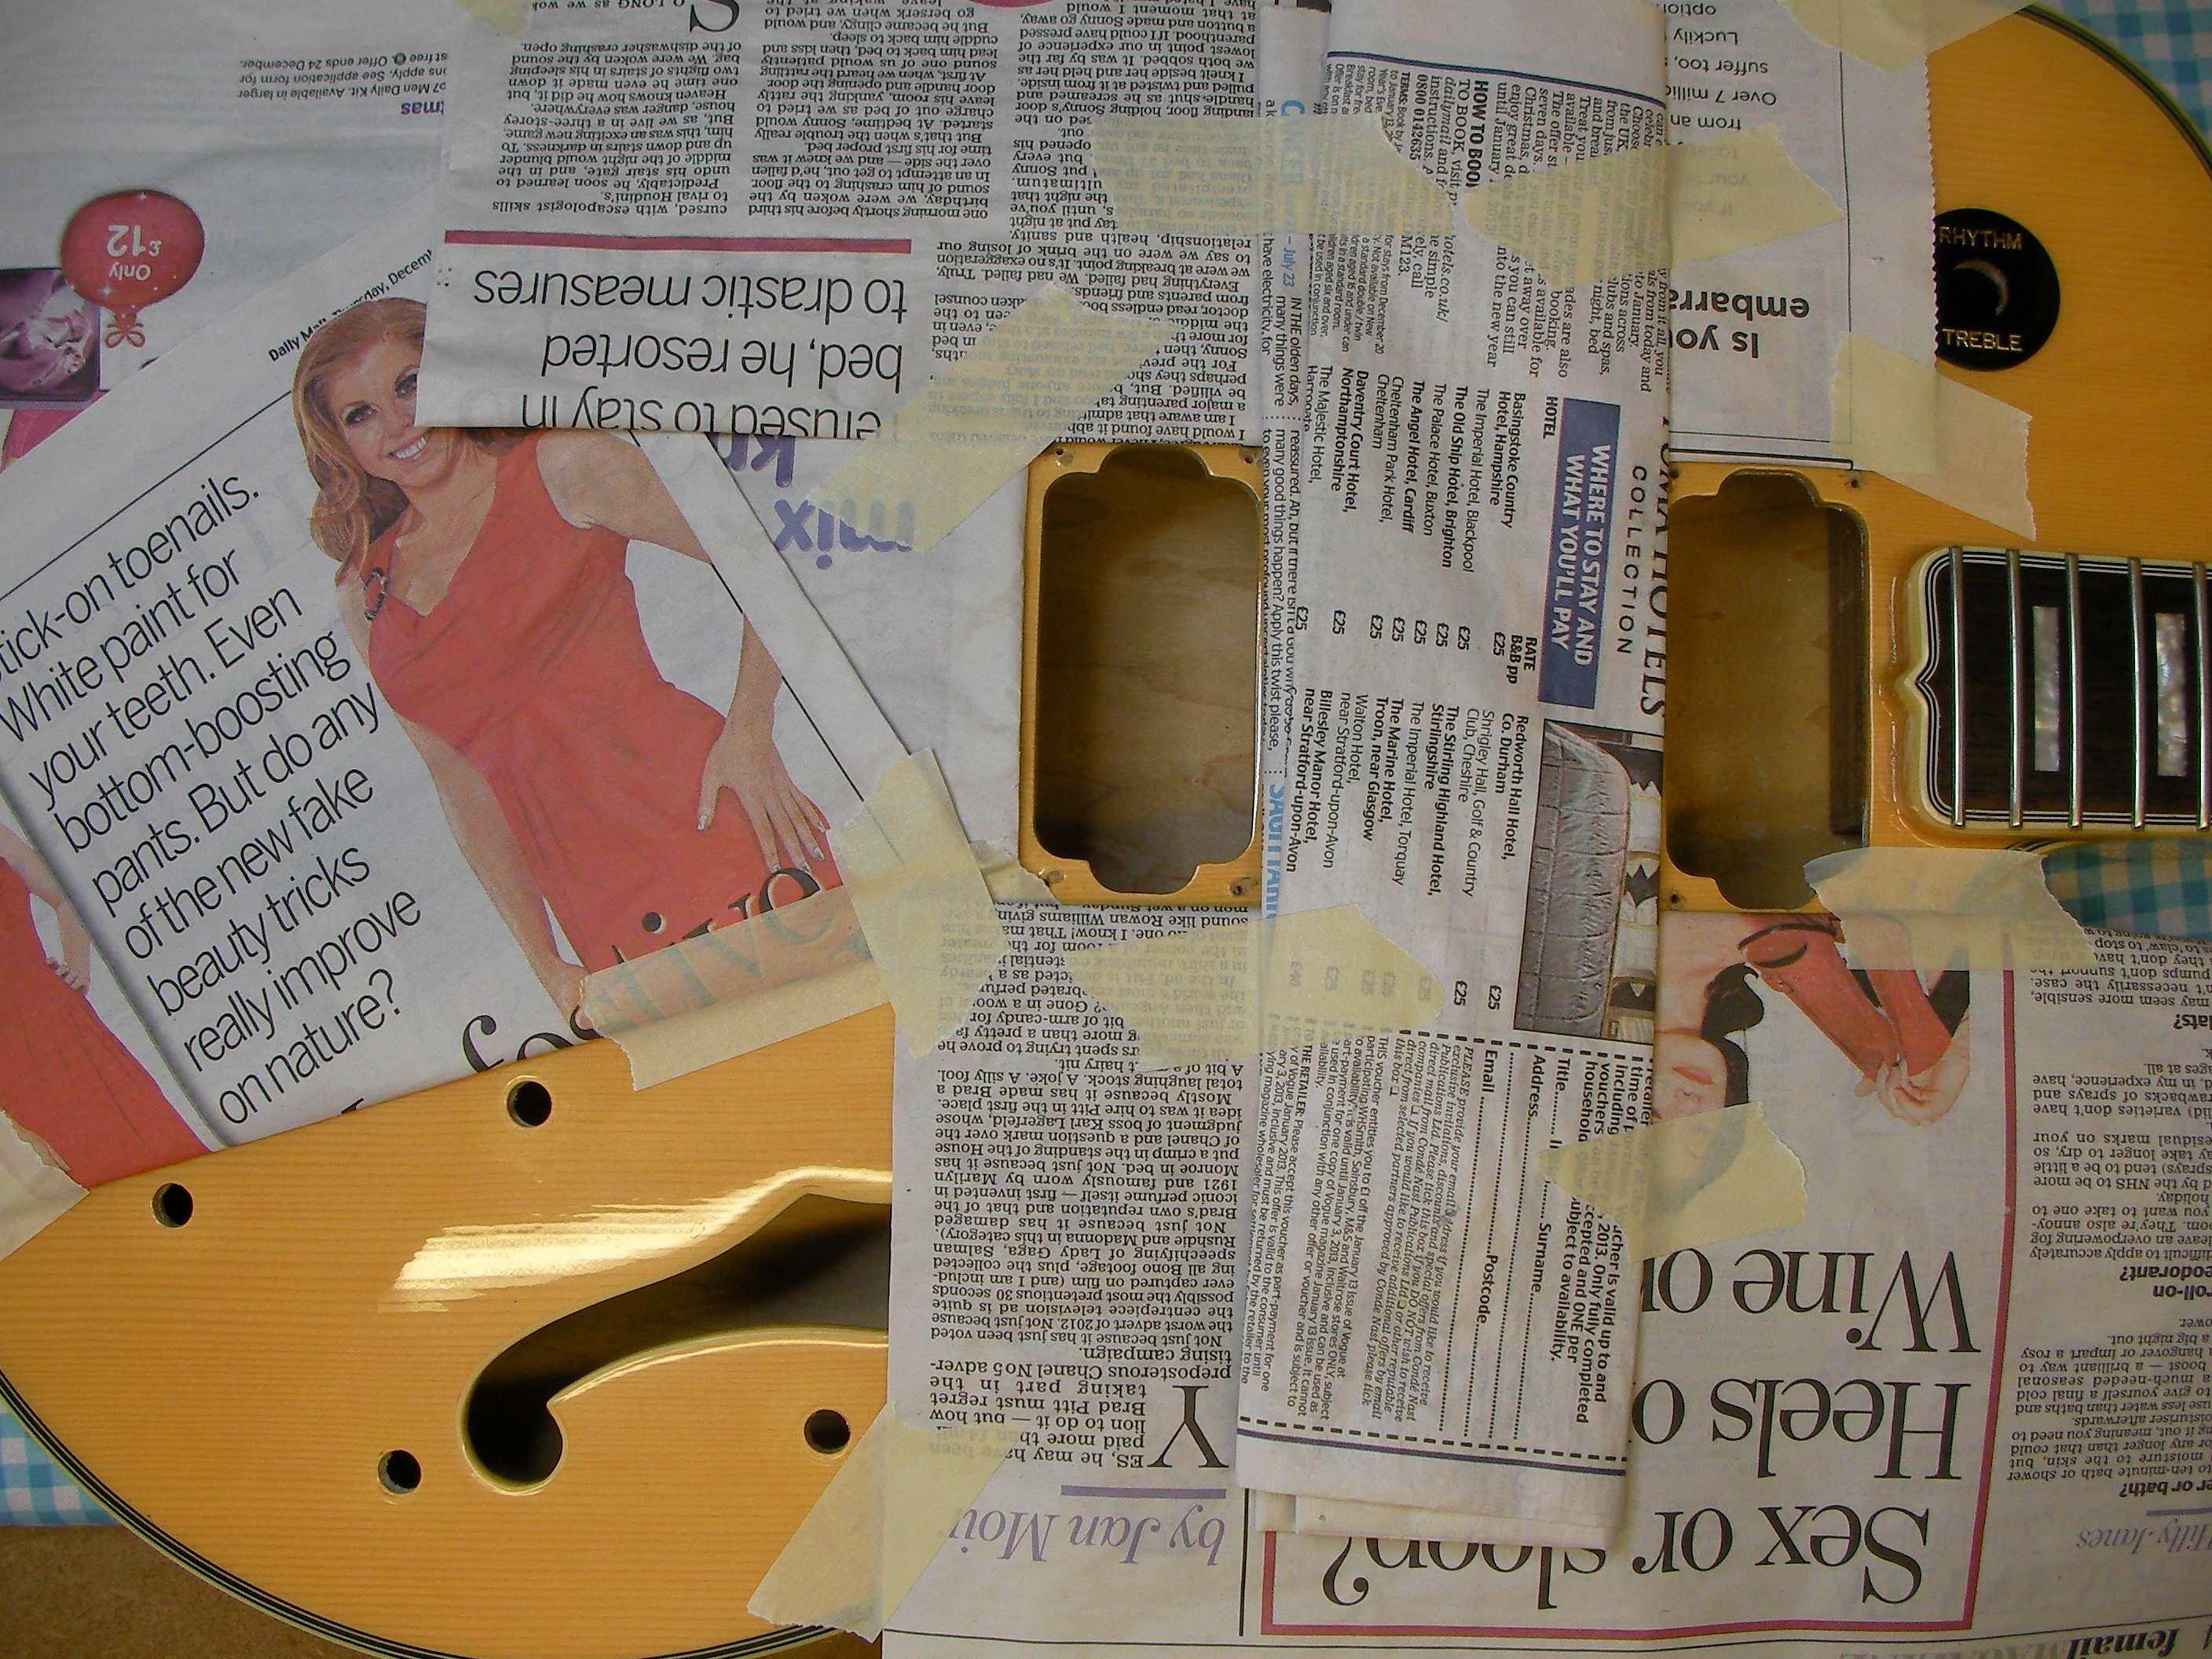
To make sure to top doesn’t get damaged while feeding in lots of wire, pickups and switches etc (which all have nasty sharp edges) I like to use old newspaper.
Things never seem to quite go as planned. Thought I had it all sorted only to find the old pots has slightly smaller shafts so had to gently make the holes slightly bigger.

It’s also a bit like key-hole surgery trying to feed all that wiring through the pickup holes and into place.
After a little fiddling around finally got everything where it needs to be.
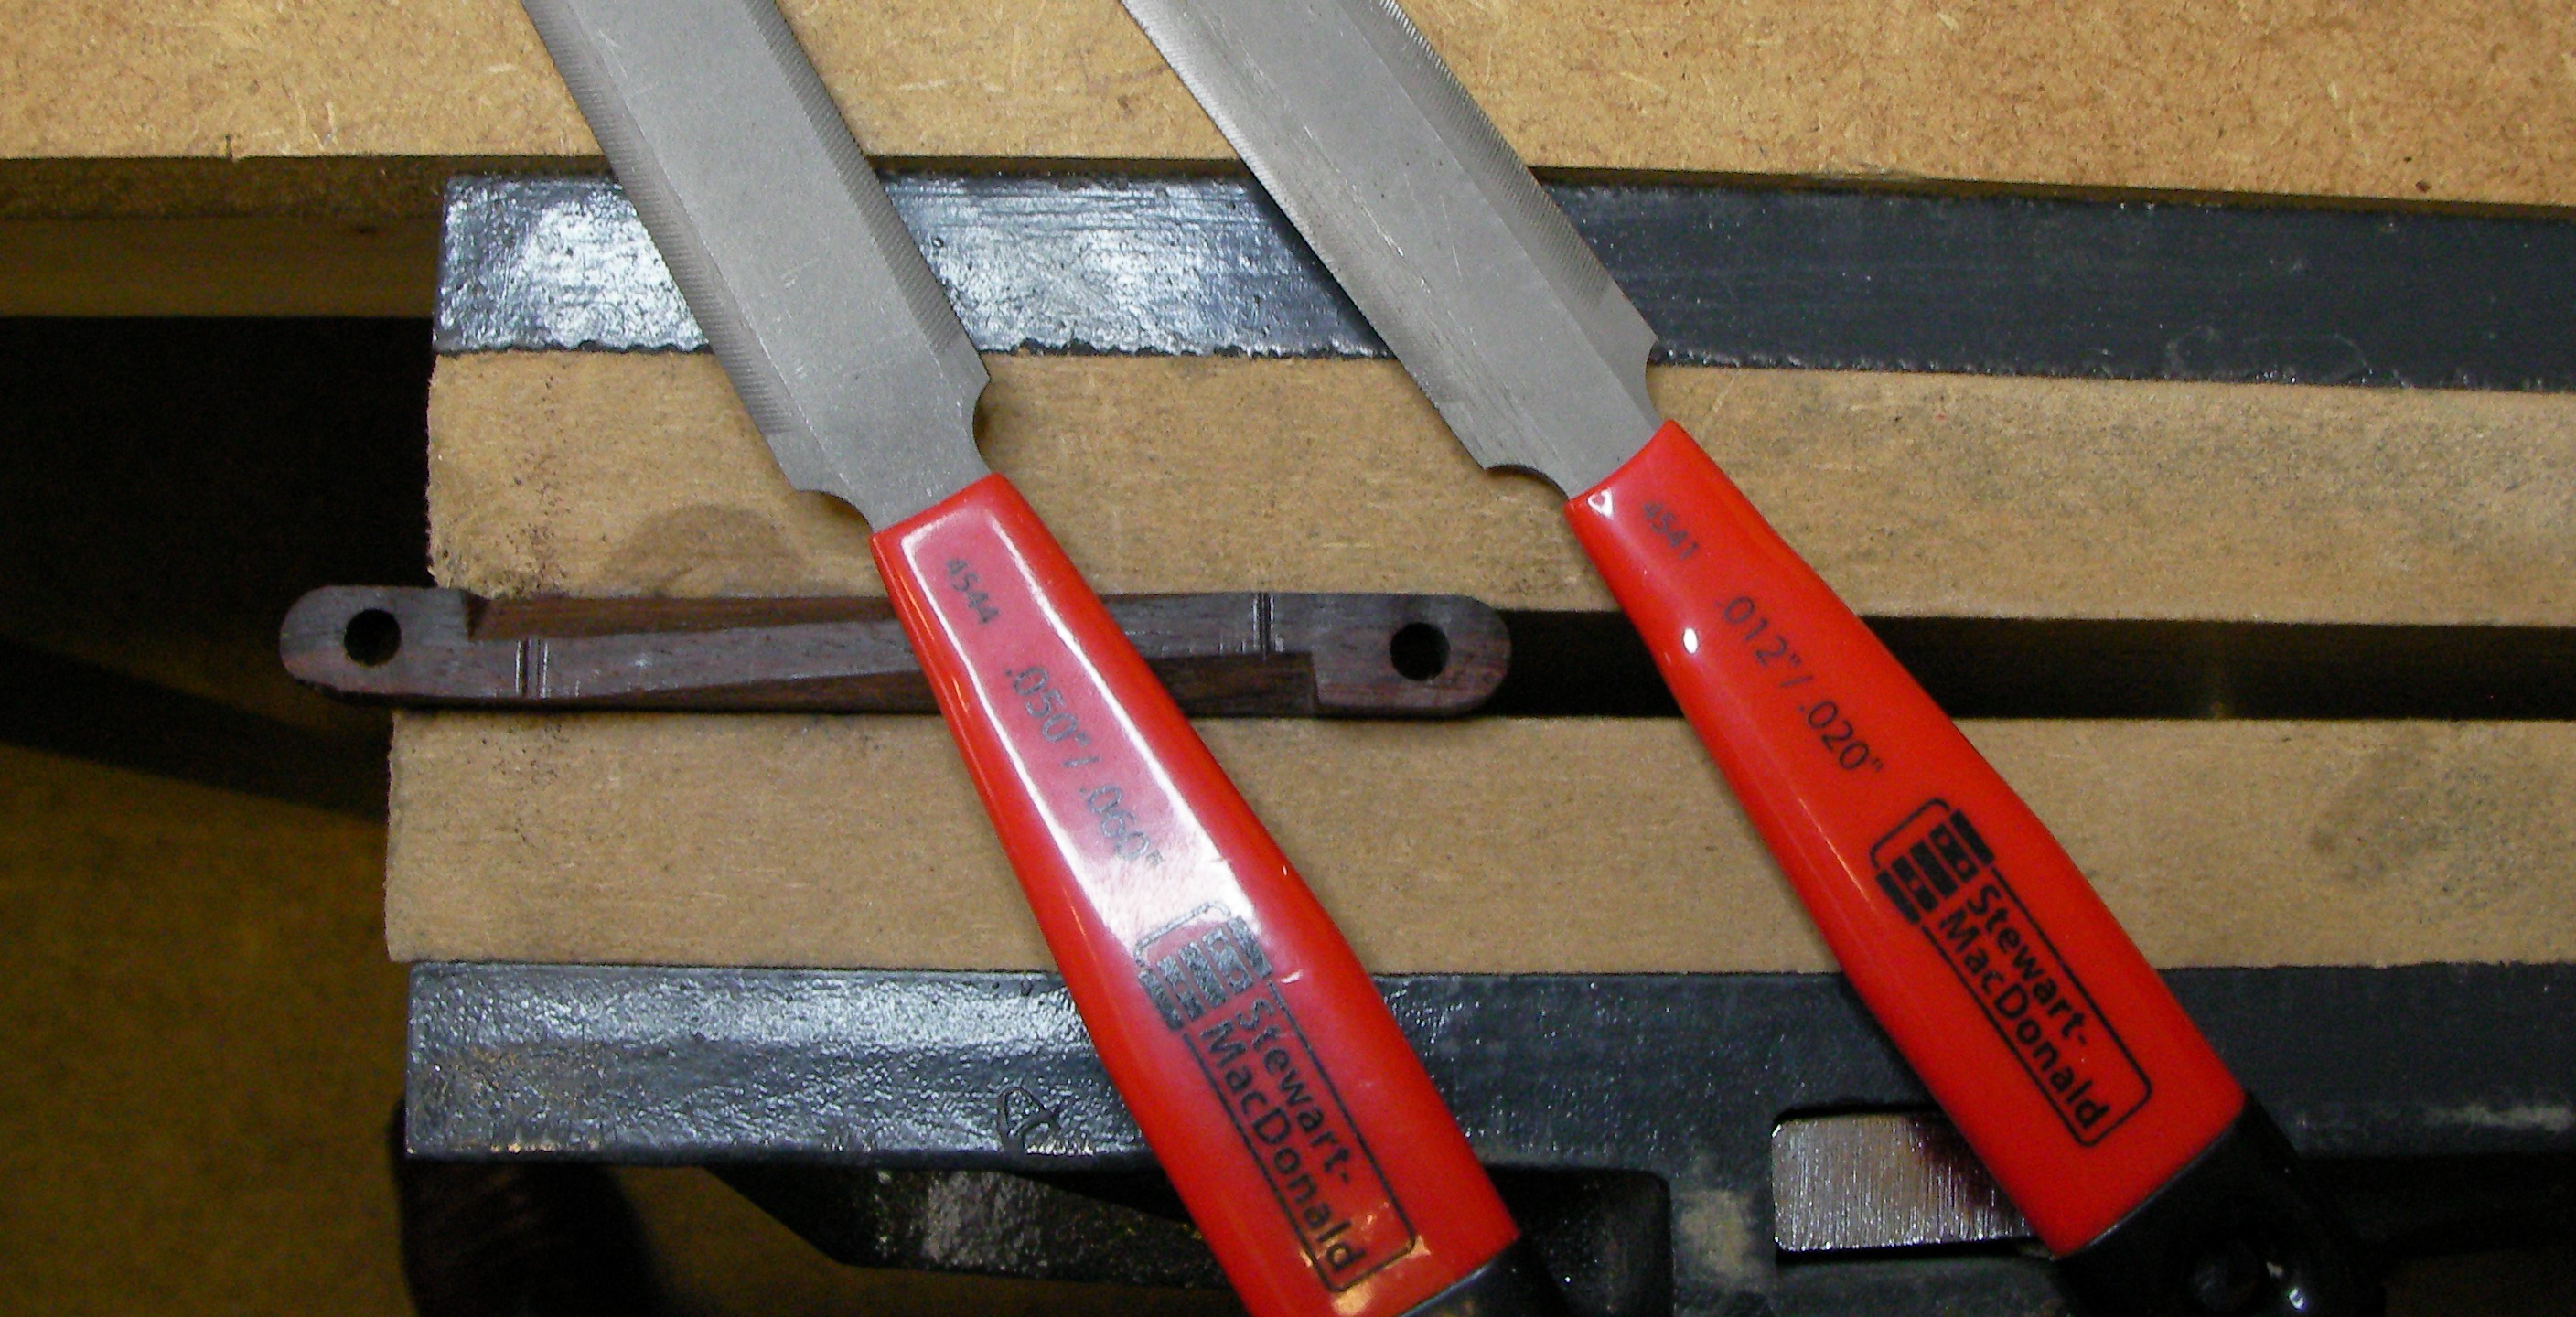
Having got all the electrics fitted and working its now time to fit the new tailpiece and strings. Since I tidied up the top of the bridge earlier I also needed to re-cut some string slots in it. Firstly I fitted the 2 “E” strings to correctly place the floating bridge…
Using the appropriate file I cut slots in the bridge to ensure the strings don’t slip whilst playing.
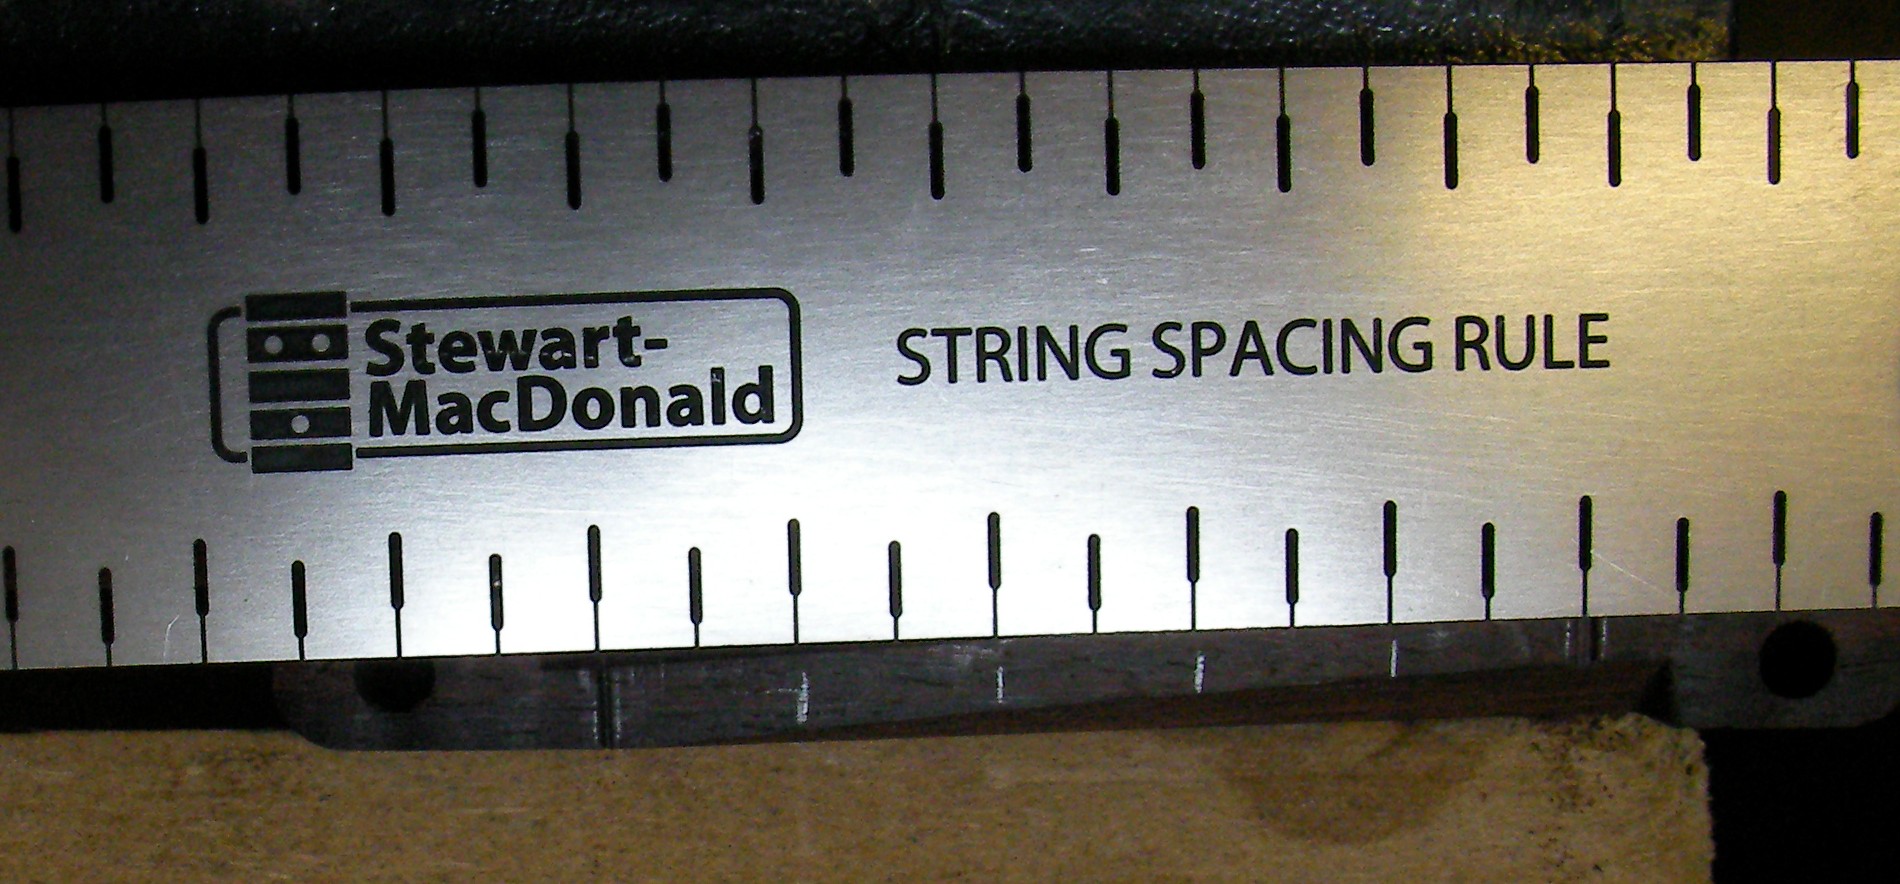
Then I marked up the locations for the other strings using a string spacing rule. The spacing between the strings should be progressively smaller rather than equal.
Now that the strings were all fitted all I needed to complete was the final setup…
As measured at the beginning, the neck has lust a little too much set in it..
So a quick tweak of the truss-rod to level it off a little.
A final adjustment of the bridge for action height and intonation and the job is done!
A comment from the owner:
“Over the moon with the recent return of my Epiphone Emperor. Vintage spec replacement componants, combined with a top drawer set-up really has made this guitar something quite special. George’s attention to detail and highest spec parts have made a real difference. Looks, plays and sounds like a guitar 3 or 4 times it’s original purchase price. Couldn’t be happier with it-thankyou George!”