Made a start, pulled out all the old electrics….
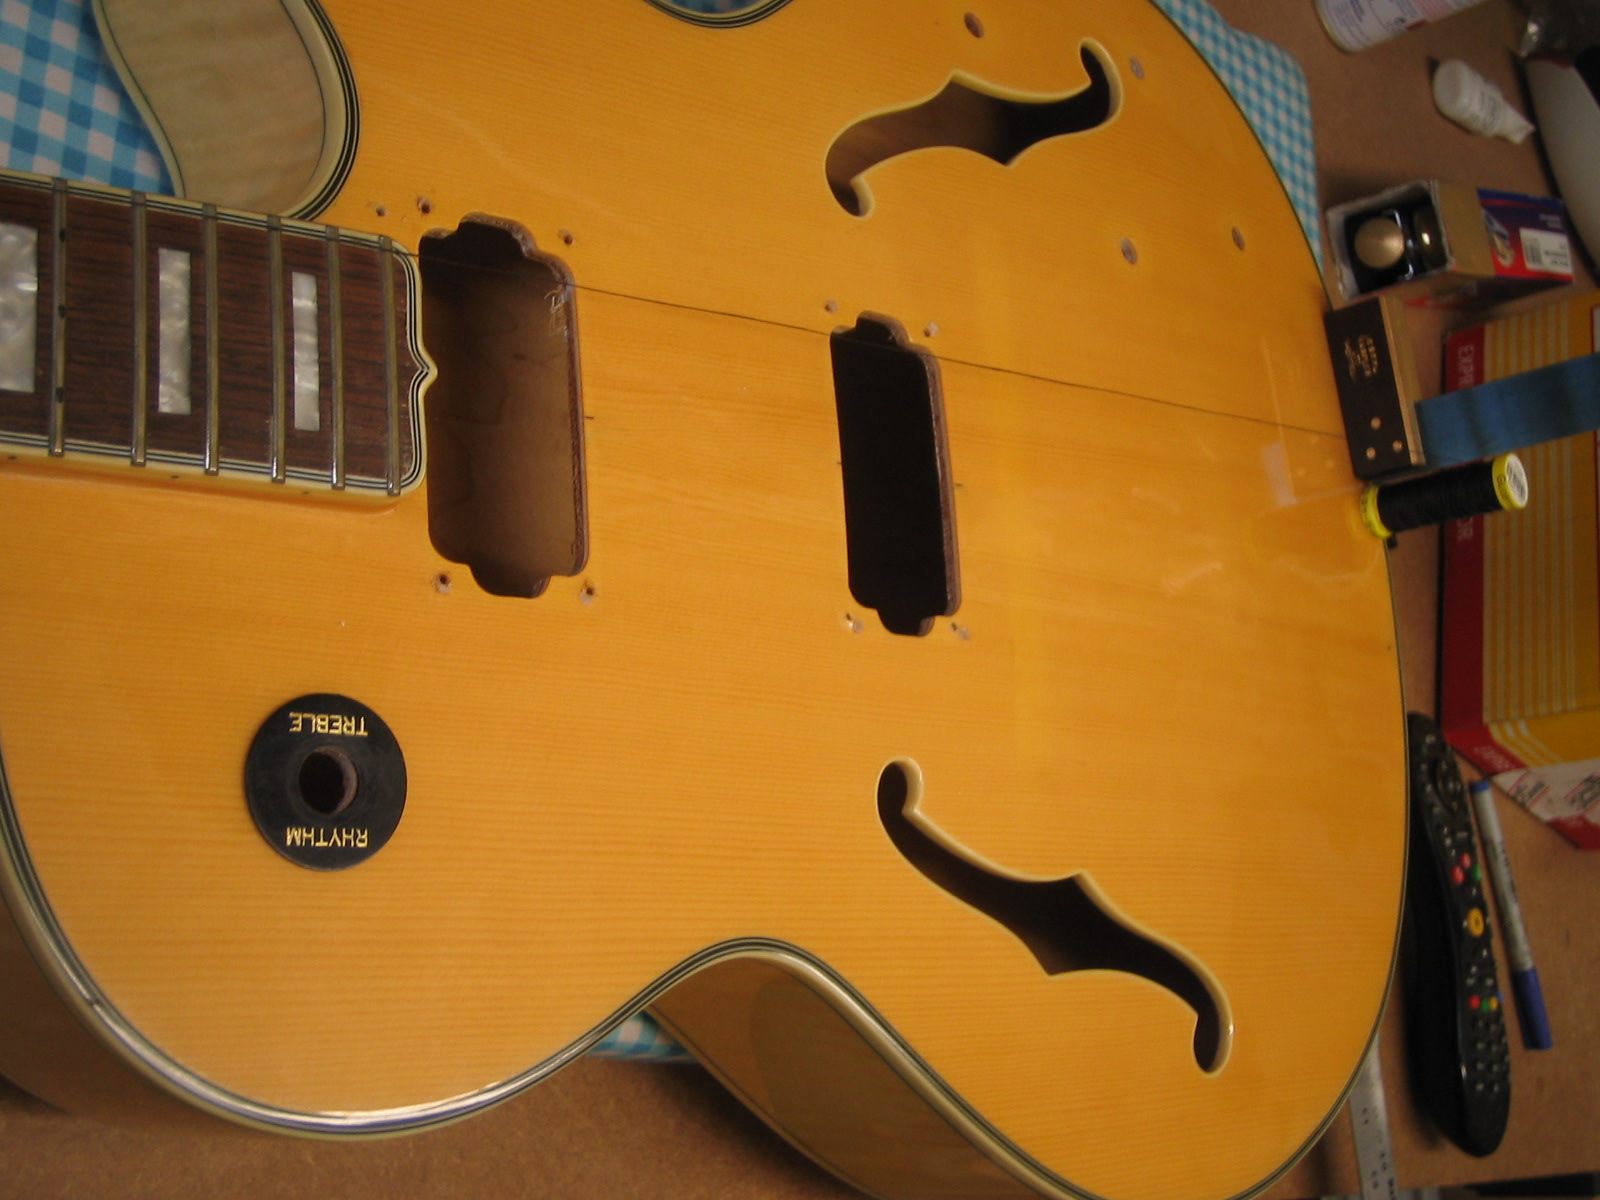
By using a piece of cotton I marked exactly where the strings will sit once the new tailpeace is fitted. From that I’ve worked out an exact centreline so I can correctly locate the pickup rings.
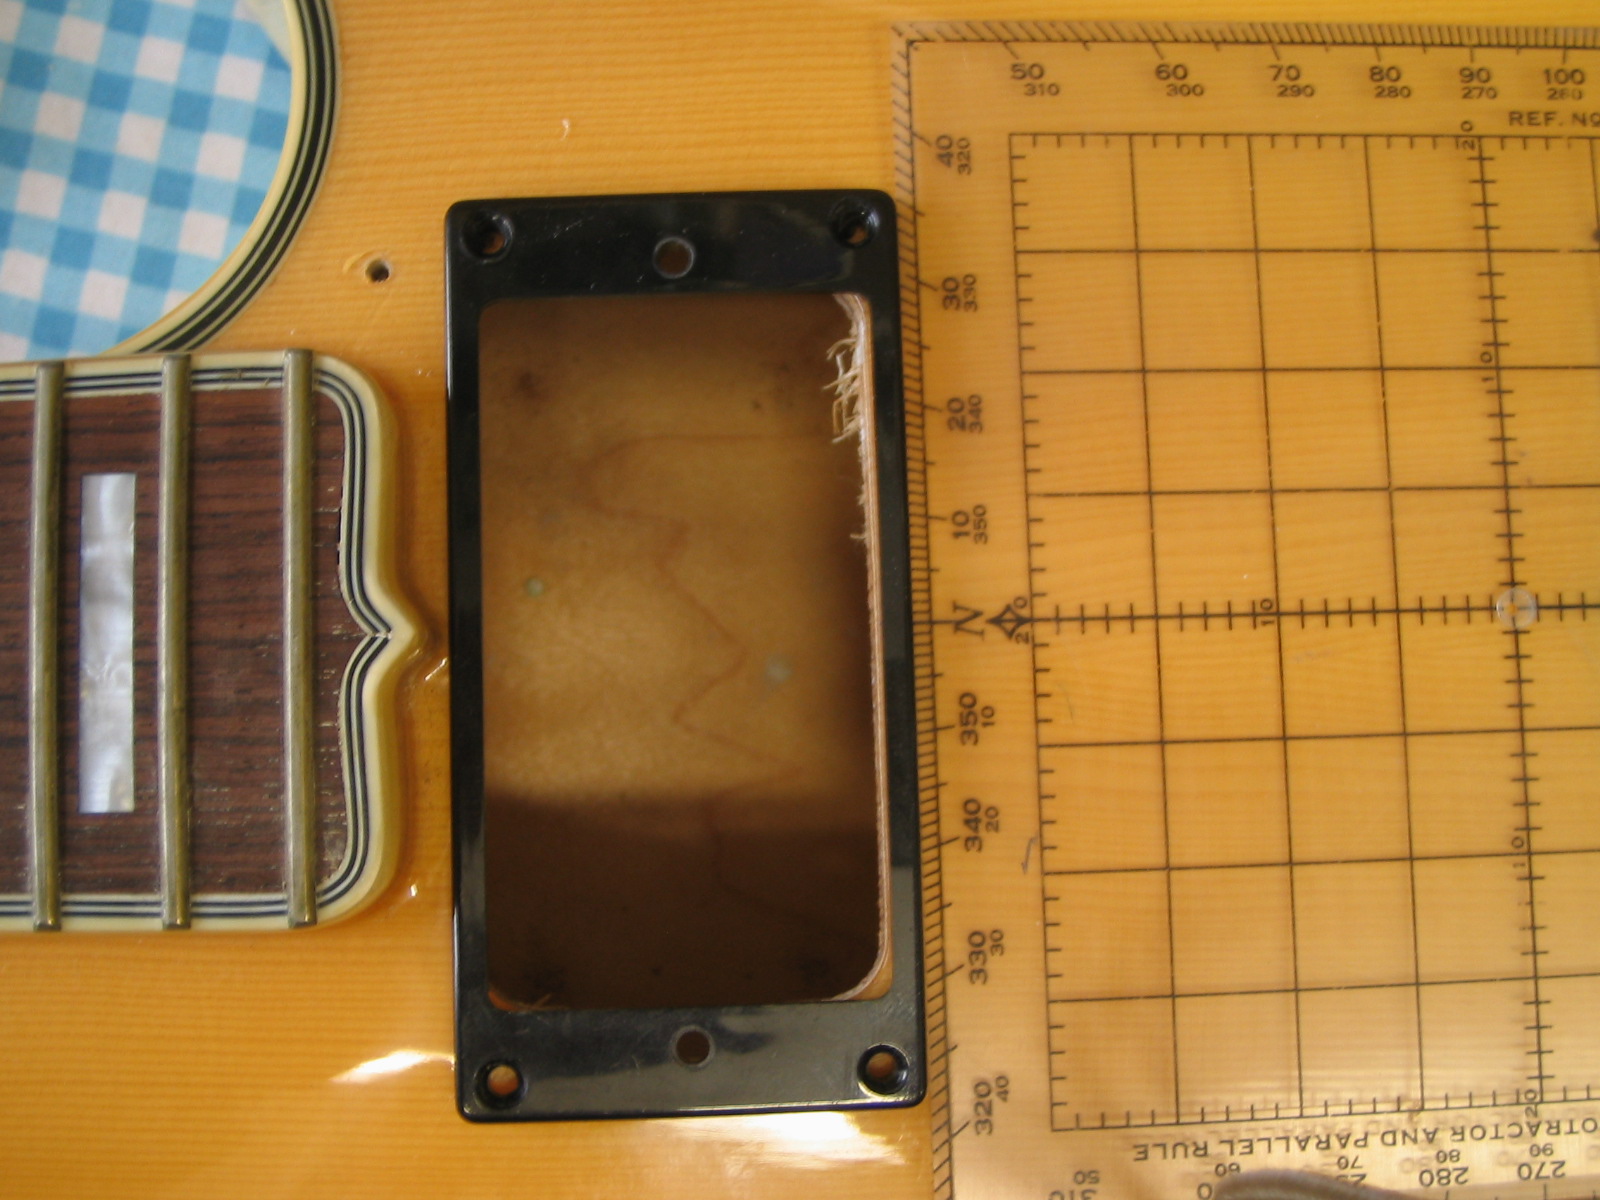
I can now work out exactly where the holes need to go…
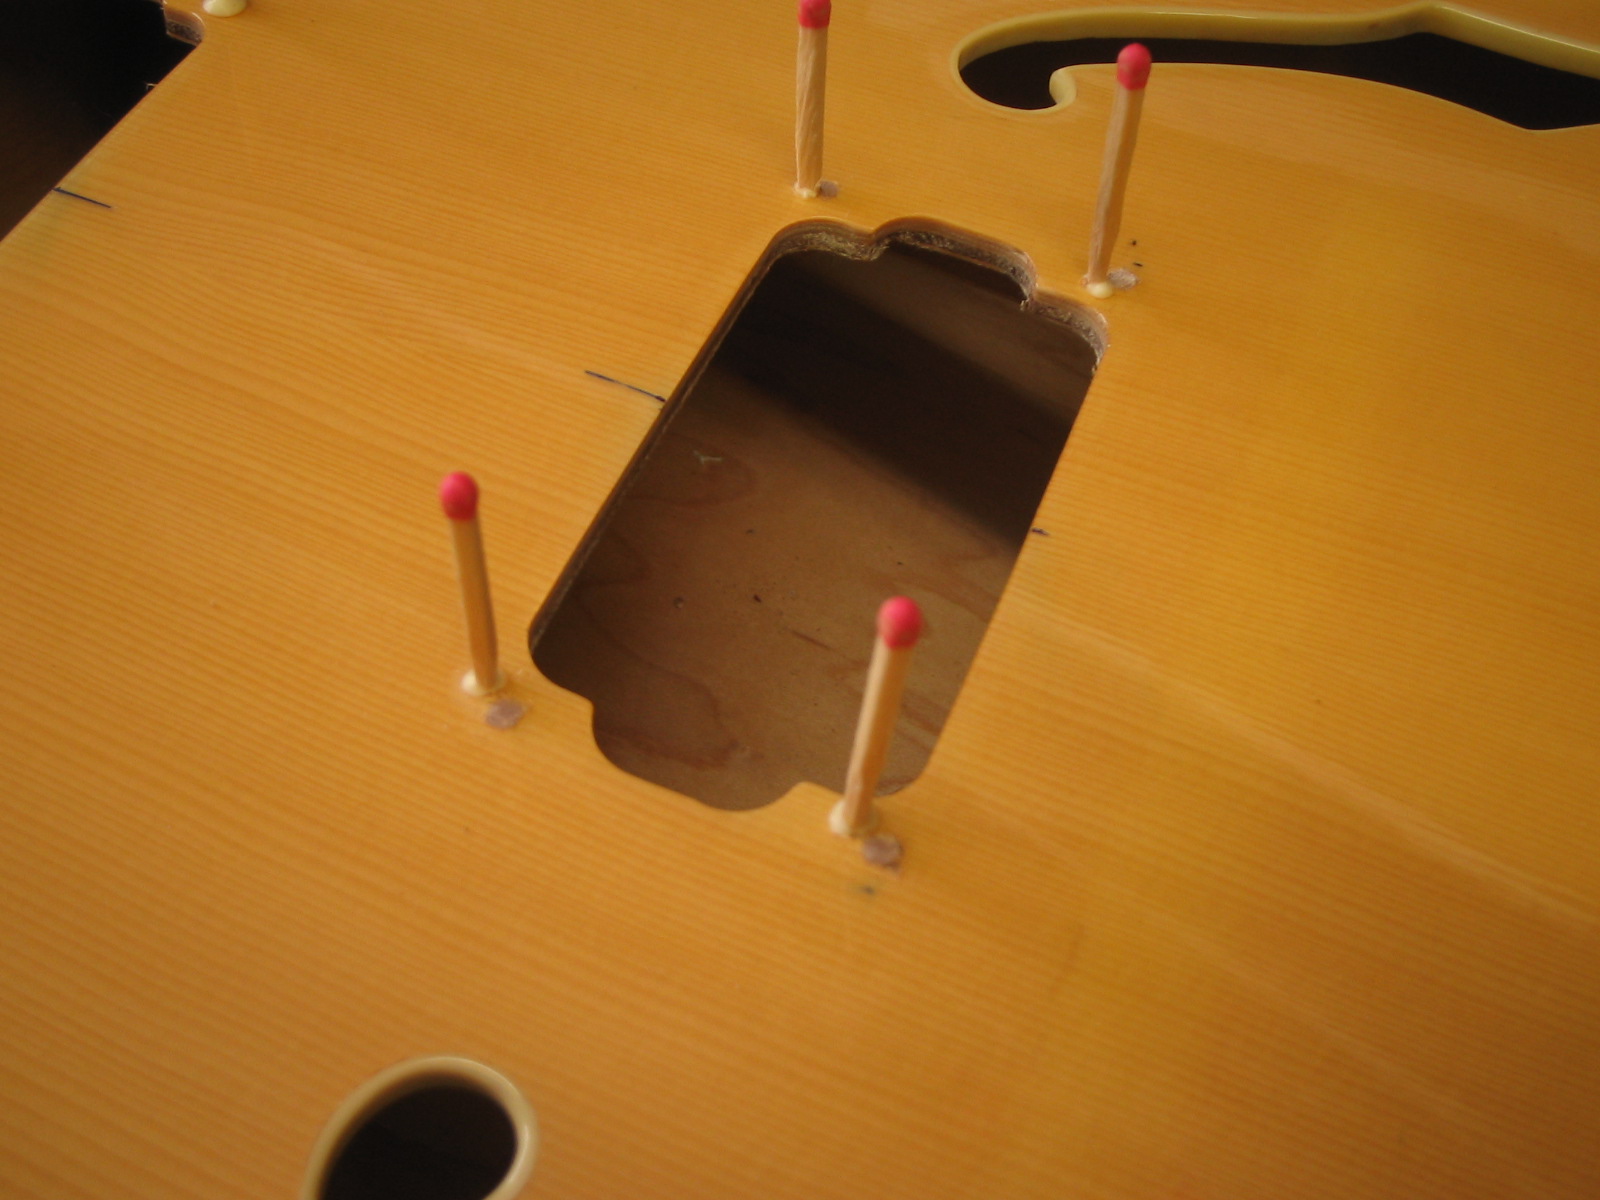
Someone has had a go at fitting different pickup rings in the past so there are already 2 other sets of holes, one set of which has been filled. Sadly none of them are in the right place so I’ll have to fill the remaining holes and re-drill yet another set. With such fine holes I find the best way is to gently shape a match to the right size and use that as a filler. Once the glue dries cut off the tops and use a sharp chisel to level the surface.
While they are drying I’ve also started on the re-wire. To make sure all the wires are long enough and don’t sit immediately behind the F-holes I made an exact 1:1 scale cardboard template on which I mounted all the components and built the wiring loom on that. At least I know everything will fit!
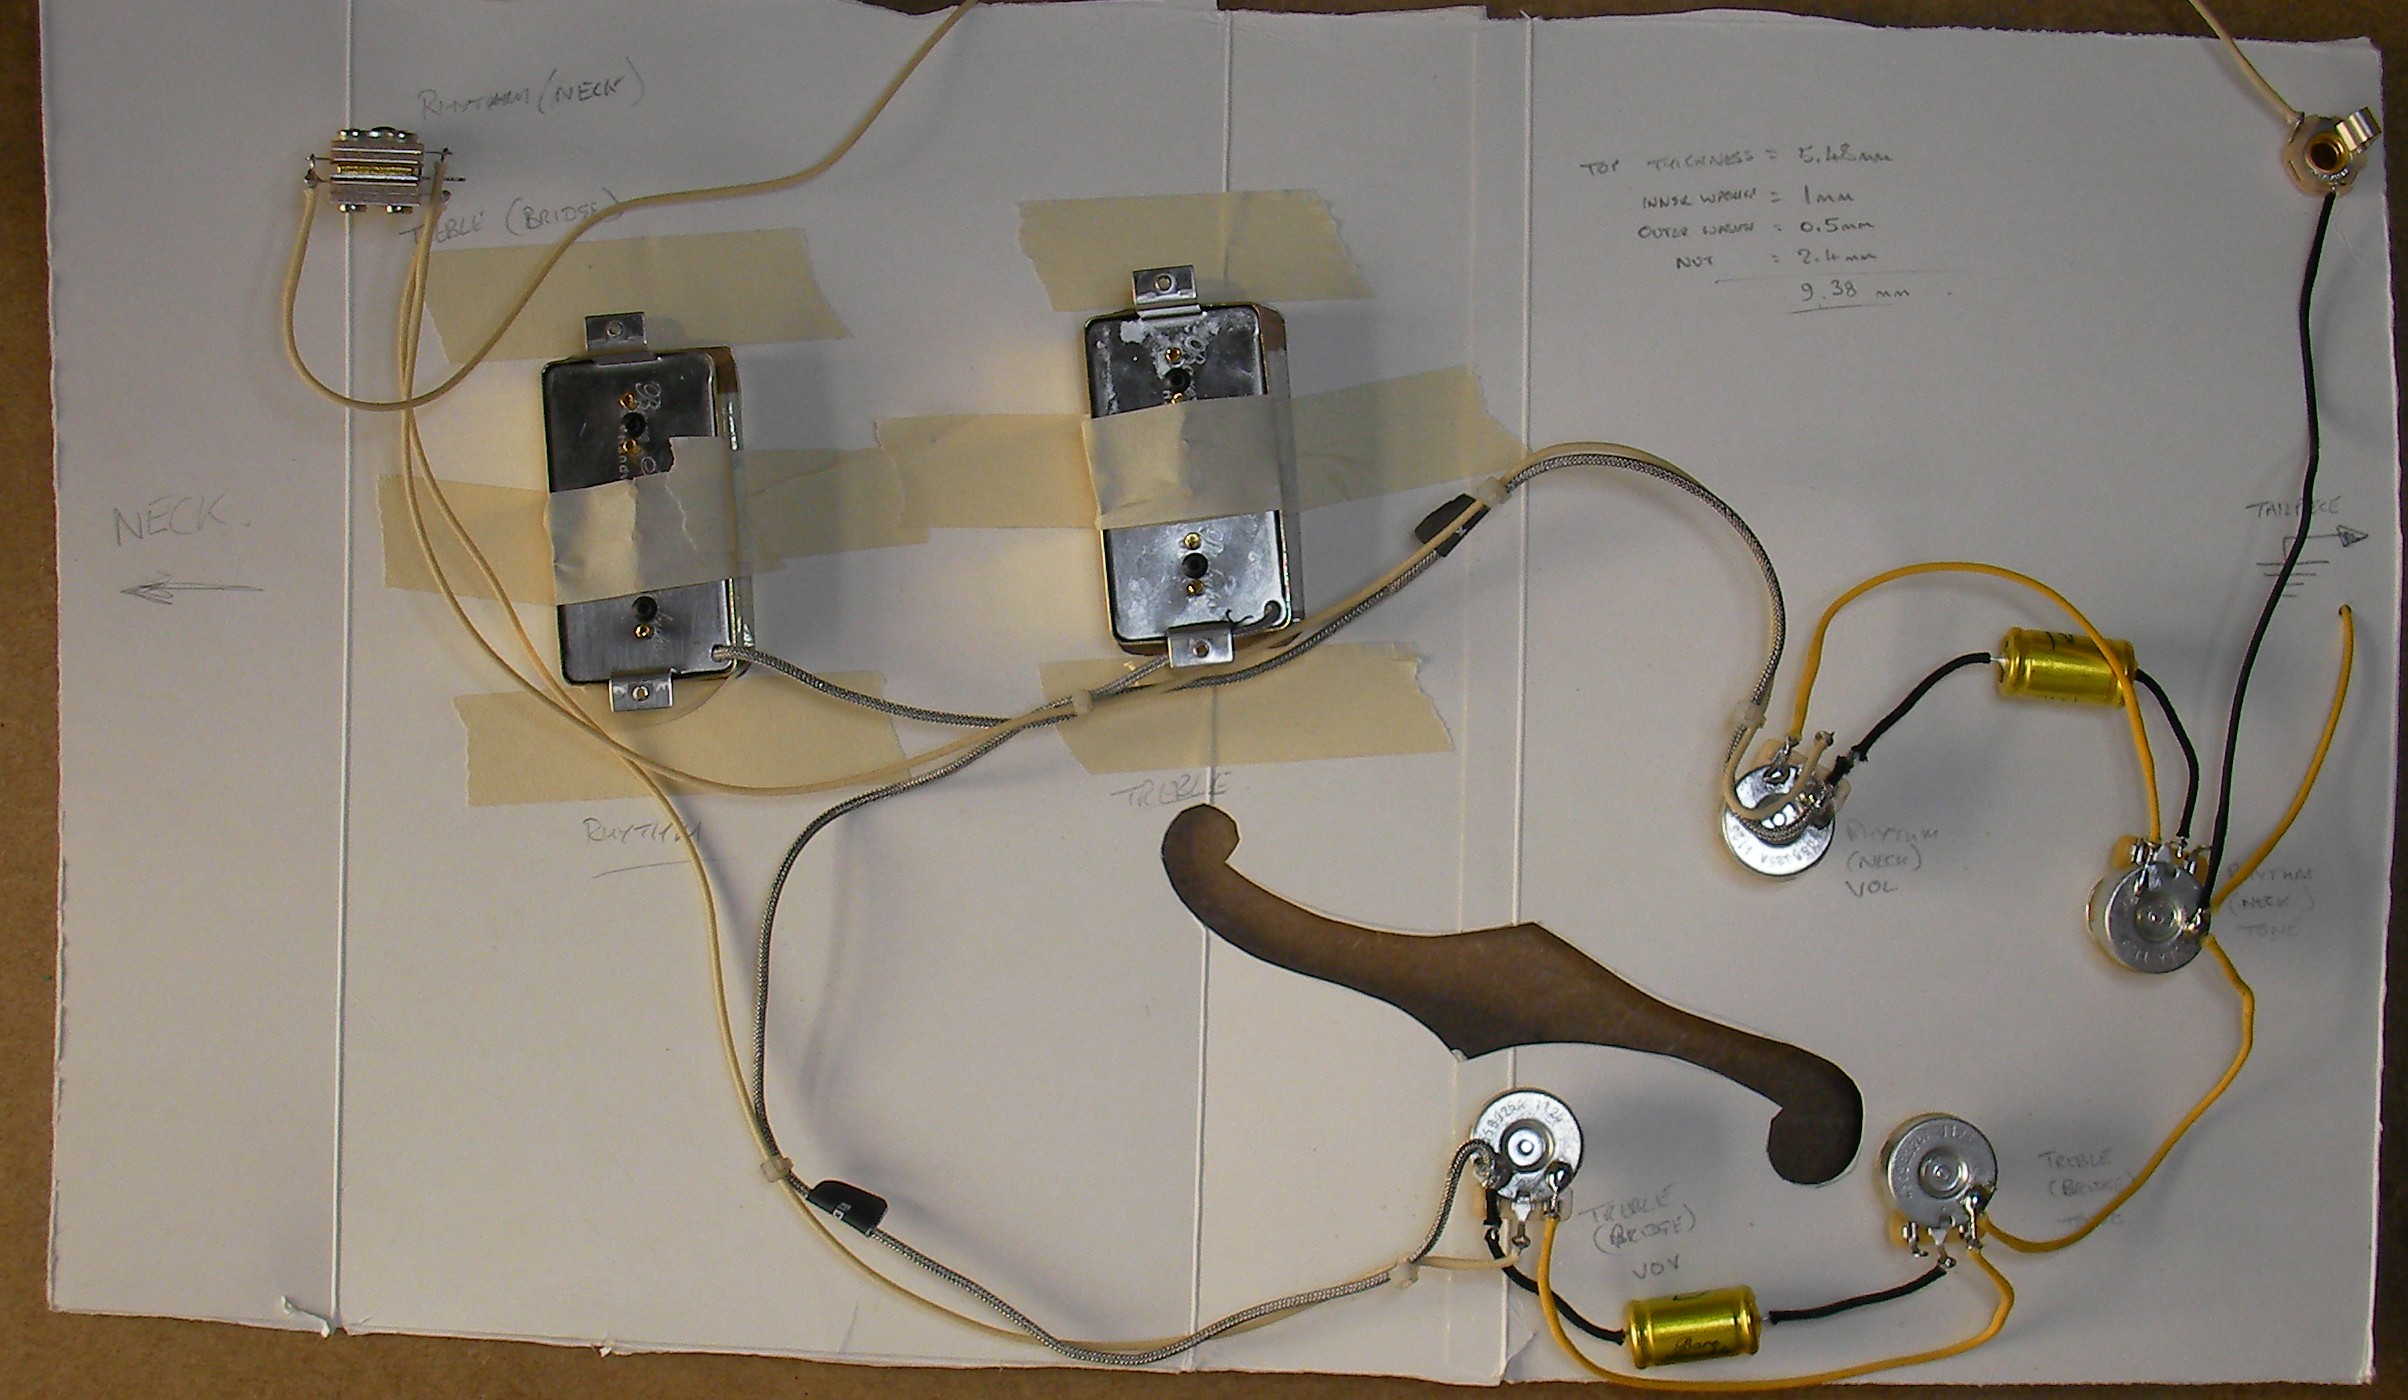
While putting the wiring loom together I also added some insulation to the capacitor legs, just in case they get disturbed and cause short circuits at any point in the future.

I’ve also tidied up the bridge. Over the years its had several extra string slots cut into it so I gently took a couple of millimeters of the top, I’ll cut the new slots when I get to the setup phase.
More to come in a couple of days. I’ve got some other small jobs to clear out of the way, I’m still missing some minor parts, mainly the screws for the pickup rings.
To see the next phase click here
To see the start of this project click here.