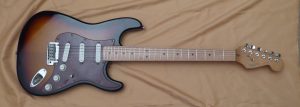
What do you do with really worn frets? The simplest option is just change the neck for a new one, that’s part of the reason why good old Leo Fender designed them that way, so that when they were that worn you just replace the neck. If however, you want to keep your original neck, then the other option is to replace the frets…
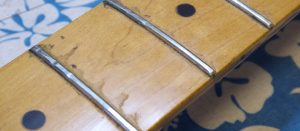
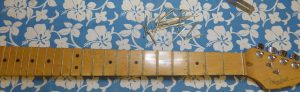
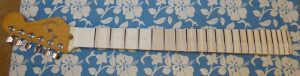
These frets really are worn down.

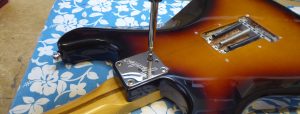
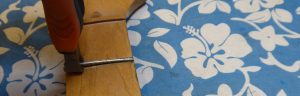
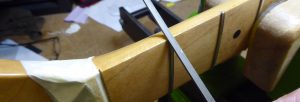
So off with the neck, it’s a lot easier to work on it that way.
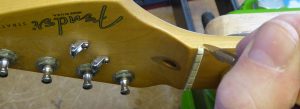
The nut needs to come out next, It’ll be in the way later when re-finishing the fretboard and levelling the new frets.
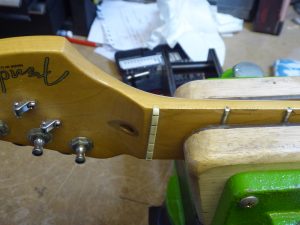
The original finish to the neck was applied after the frets and nut and so complicates things a little. If you just pull out the nut then you can damage the finish, so you need to carefully score around it first.
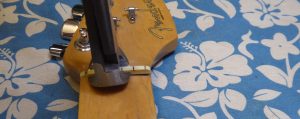
The nut should just lift out in one piece. If you’re not careful you’ll have to cut and fit a new nut as well. This one did come out nicely.
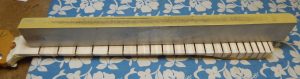
Getting the old frets out can be tricky, the aim is to do as little damage as possible to the fretboard. By heating each fret it will expand (and contract) a little, loosening it in the slot and melting any glue that might have been used.
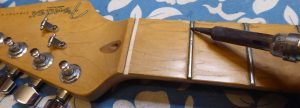
Then as carefully as possible lever out each fret.
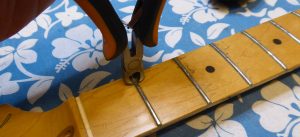
Gently does it!
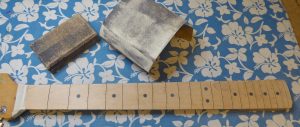
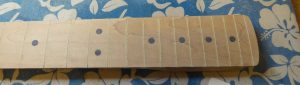
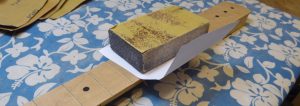
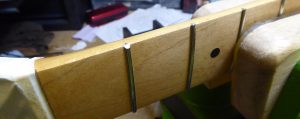
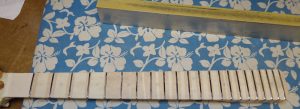
Unfortunately, since the finish was applied on top of the frets and I inevitably crushed the wood a little the fretboard is a bit of a mess…
Putting new frets in now won’t look so good so I’m going to re-finish the fretboard. First sand it down to get rid of all the old finish.
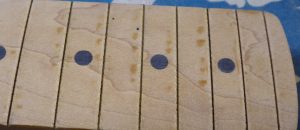
In doing that you can see the spots where I crushed the wood levering out the frets.
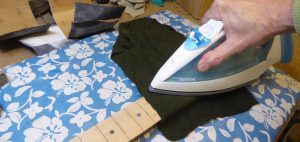
It’s possible to bring the wood fibres back with a little steam. A damp cloth and steam iron will do the trick.
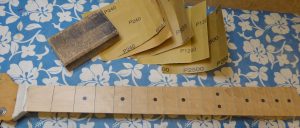
After that a little more light sanding shows that the wood grain was nicely raised back to normal.
To get a nice smooth finish needs a little patience and several, finer and finer grains of sandpaper.
Lastly, gently dampen the wood to raise the loose fibres…..
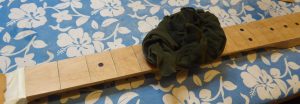
and again finer and finer paper, finishing off with just plain paper.
Make sure all the sanding dust is removed from the fret slots…
and re-finish with several coats of Danish Oil.

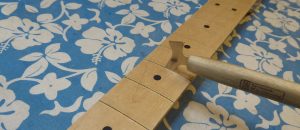
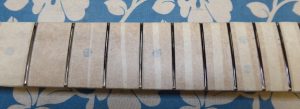
Let that dry for a couple of days and then fit some new frets.
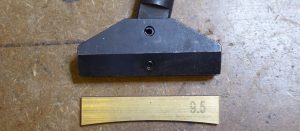
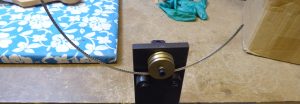
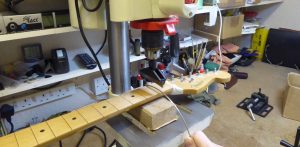
I’m going to press the fret-wire in using my pillar drill with an appropriately radiused press.
First bend the wire into a slightly tighter curve, otherwise it’s very difficult to get the ends to sit nicely and not rise up.
Using the pillar drill as a press….
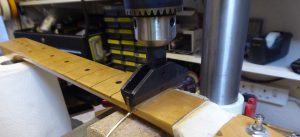
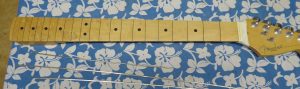
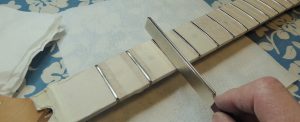
That’s the easy part. The ends are just snipped off roughly….
so each fret end has to be filed down to a roughly 45 degree angle and flush with the side of the neck…
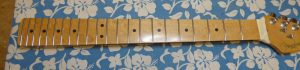
One down, 44 ends to go!
Having pressed each fret in by hand there’s no guarantee that they will all be even. I don’t perhaps have enough practice with the press and I want the neck to be as near perfect as I can get. There were a couple of small inconsistencies so I need to level the tops.
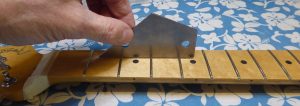
Before I can do that I need to make sure the fretboard is completely flat by adjusting the truss-rod.
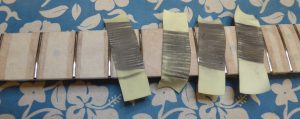
I’ve taped it up to protect the new finish and coloured the tops of the frets with a black marker pen.
I use a calibrated flat beam with self adhesive sandpaper.
You can see where the beam is touching and therefore grinding away the frets…
All I need to do is keep going until I get down to the lowest point. Having done that I now need to round off the tops of the frets again.
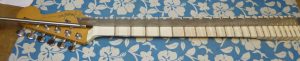
The frets are now all even and level, with nicely rounded tops. All I need to do now is to re-polish each fret, using 4 finer and finer grades of micromesh cloth.
Once that’s done simply re-fit it to the guitar and it’s good to go! Well, with a full setup to make sure the action is back to normal.