Ukuleles are really popular these days. This one is really nice and the owner wants an electric pickup fitted. Not a particularly difficult job, but lots of scope to cause a lot of damage….
The pickup sits under the bridge saddle, but the pickup is quite tall so if I just put it under the saddle the action will come up considerably.
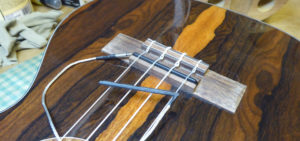
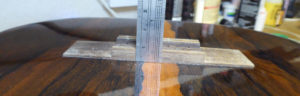
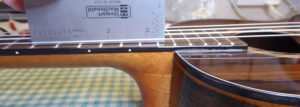
I measured the depth of the slot for the saddle……
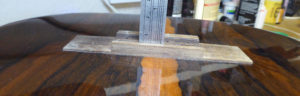
and the thickness of the bridge. That gave me about 3mm to spare, which might just be enough.
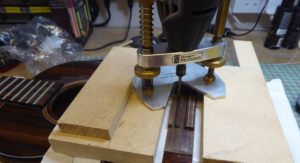
How to cut the slot for the saddle a little deeper, but accurately.
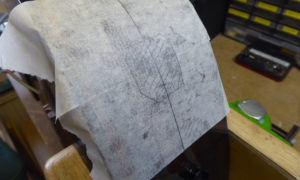
Firstly, to protect the surface, some low adhesive drafting tape. On top of that some double sided tape….

stuck to that, a couple of blocks of MDF to give me an even surface for the router.

To keep the straight line, another block as a guide.
and a hole for the pickup cable.

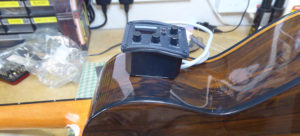
The pre-amp needs to go about there…
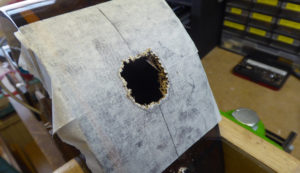
Carefully marking out the cut-out, to make sure it’s central and square, then drill a few holes.
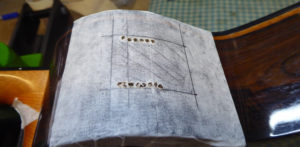
Carefully joining the holes gives me a start so I can get a fine saw blade in.

That gave me a rough opening…….
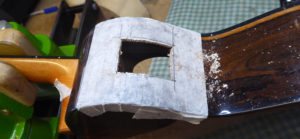
finishing it off carefully with a sharp chisel.

So that’s the amp in place.
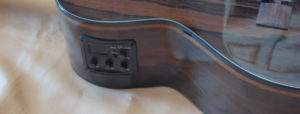
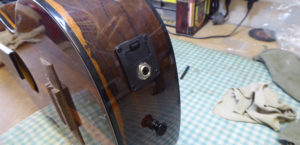
Next the battery box and jack socket, around about there, using the same principles…
Starting with the drill…..
That’s coming along just nicely.
So there it is back together.
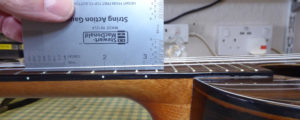
Unfortunately the action height was still a high….
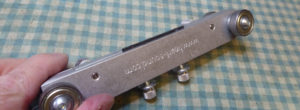
I can’t cut the slot for the saddle any lower or I’ll cut through the top so I need to take a bit off the bridge saddle.
The easiest way to do that is to clamp it in the saddle tool, with just the right amount sticking out…
Using a flat board and sandpaper all I need t do is grind it down to the level of the clamp…
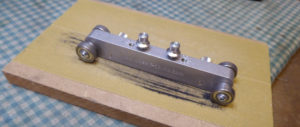
Since the clamp has bearings at each corner it’s impossible to go too far…
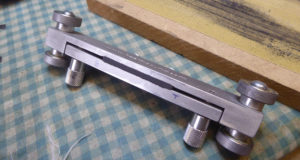
And by definition the bottom has to be perfectly flat and square.
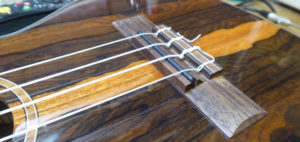
Once it was back together again this time the action was spot on.
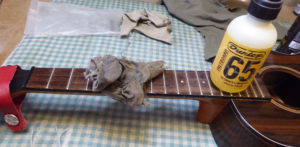
While I’m at it and the string were off I also gave the fretboard a little lemon-oil as it was rather dry.
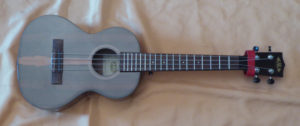
And there it is, good to go.
A few words from the owner:
“Thankyou George for a really professional job fitting a tuner and pre amp and jack plug in my ukelele . As a novice and never having used an amp i now look forward to the new experience of playing through the said amp. Many thanks.”