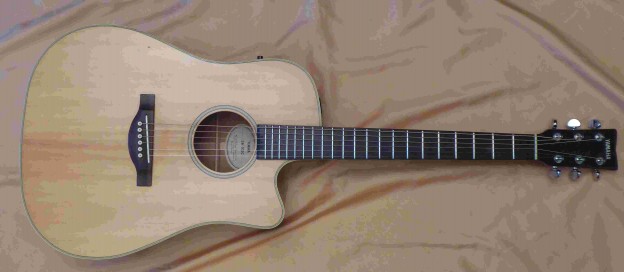
This one has seen some action, mostly up at the “paying end”.
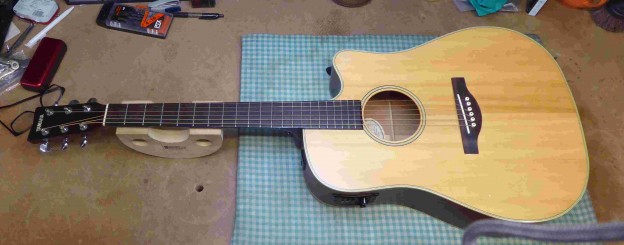
First thing then, off with the strings and nut.
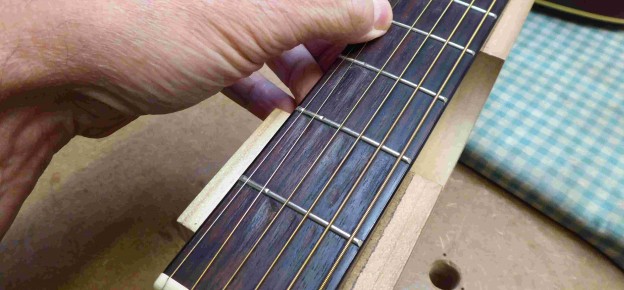
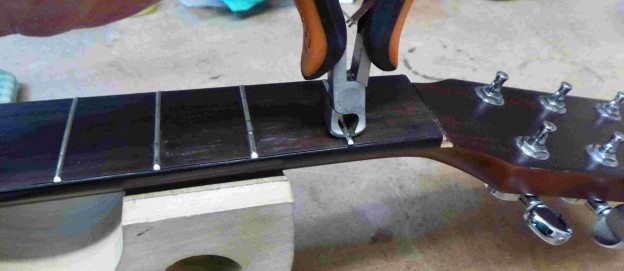
The first 3 or 4 frets are very very worn, beyond dressing, so I’m going to replace them, along with the next 3. Heating up the fret with a soldering iron loosens up any glue and helps free it.
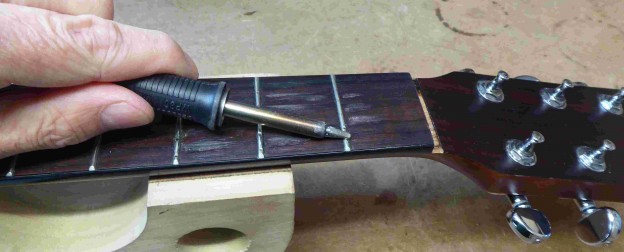
Fret pulling pliers to ease the old fret out.
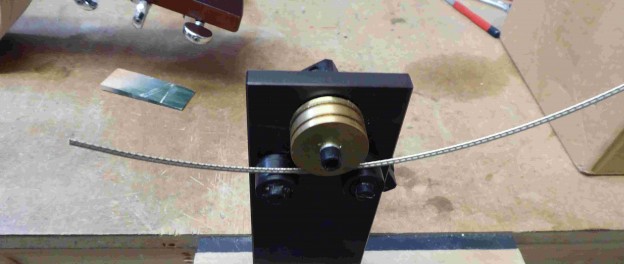
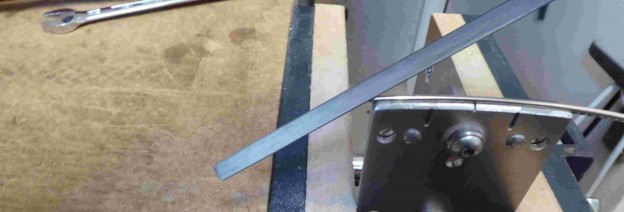
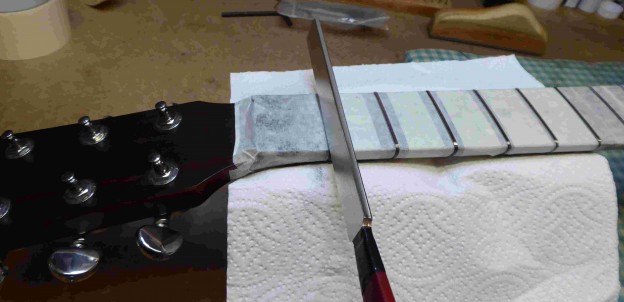
The new fret-wire needs a gentle curve before cutting it to length..
Since the neck has a binding on the side of the fretboard, I need to take a little off the tang at each end.
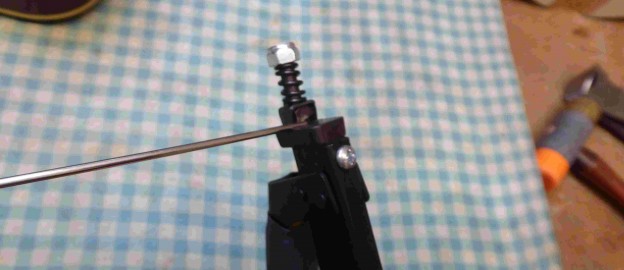
just like that…
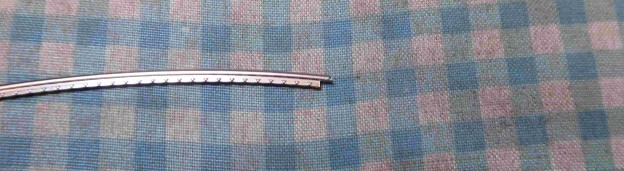
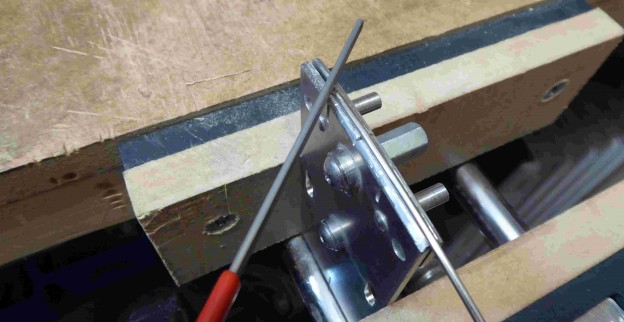
The ends need to be shaped as well.
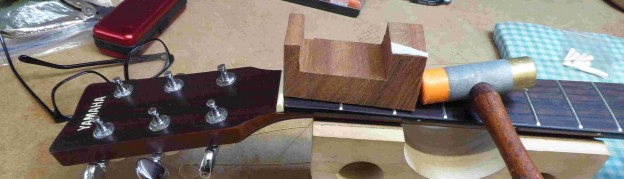
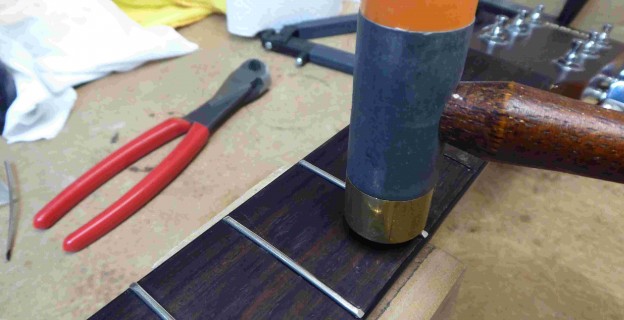
and then tapped into place..
With the new frets fitted they now need to be levelled. 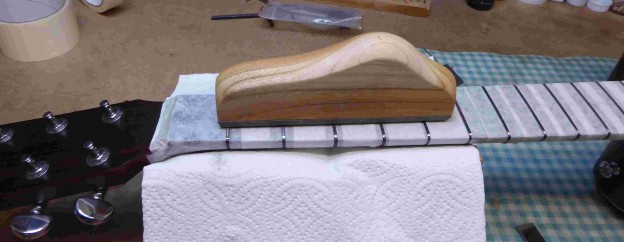
and then the tops rounding off again.
That does leave them a little dull, so 4 levels of micromesh to bring back the shine.

And there it is, 6 new frets…
For all the other things I can do for you check out www.guitar-george.co.uk