Here’s a bit of an oddball. This guy’s just got hold of a great guitar, the only trouble is it’s got no neck! Yeh, it’s a complicated story, but I’ve sorted out a new one which should do nicely…
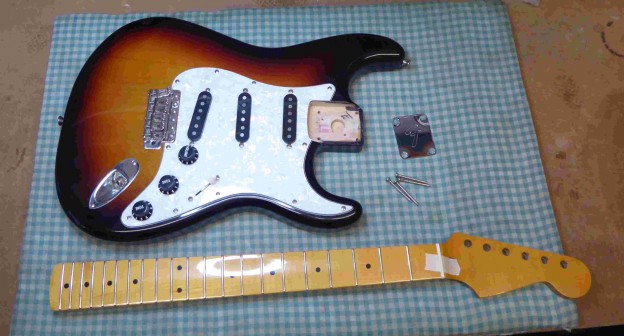
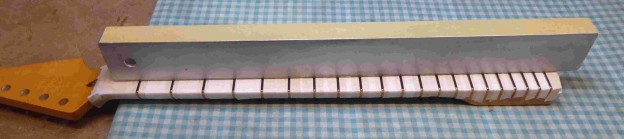
The profile is really nice and it’s got a great finish too. The only trouble is it’s got a couple of uneven frets so that’s going to be the first job.
Out with the nut. Surprisingly it’s a nice bone one so I’ll re-use that when it comes to it.
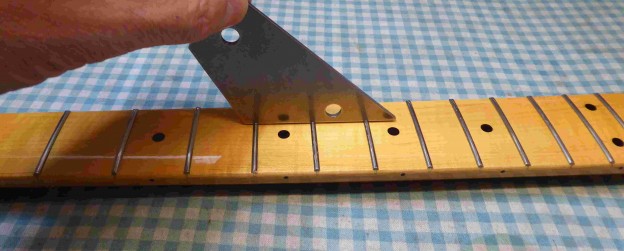
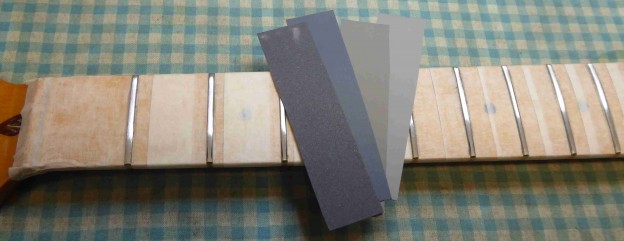
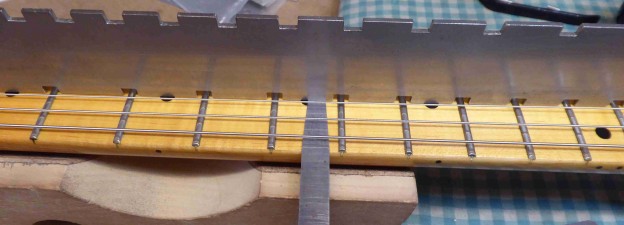
Tape up the frertboard to protect it, level it off using the truss-rod and mark the fret tops with black pen.
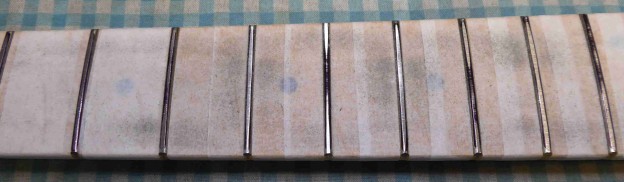
Using a level beam with sticky backed sandpaper and start grinding until everything is down to the lowest common point.
You can see here where the low points are, where the black marker ink hasn’t been touched.
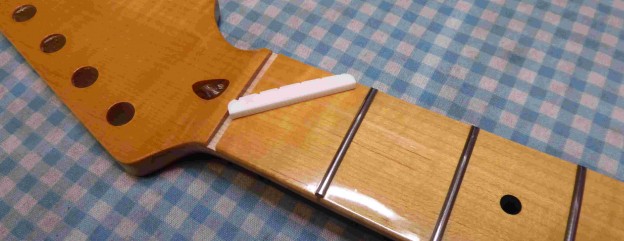
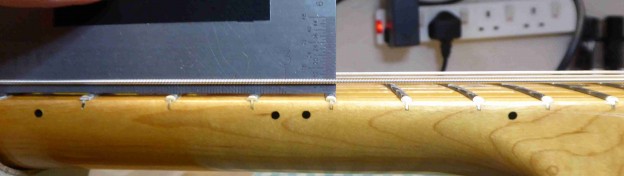
Once the tops are all level they then need rounding off again.
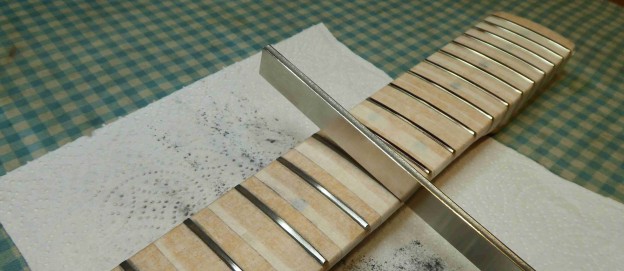
You can see the ones to the left that I’ve done, the one in the middle that’s about half done and the ones to the right that still have flat tops.
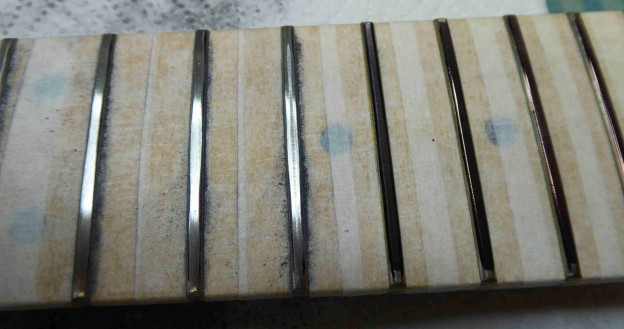
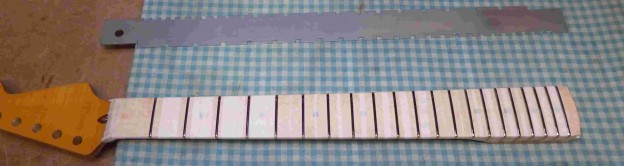
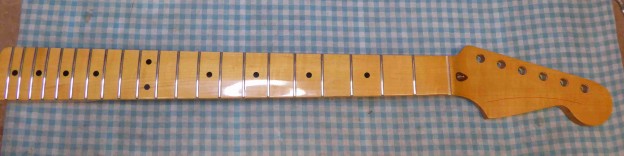
That does leave a very dull, scratched finish so each fret needs to be polished with 4 grades of micromesh.
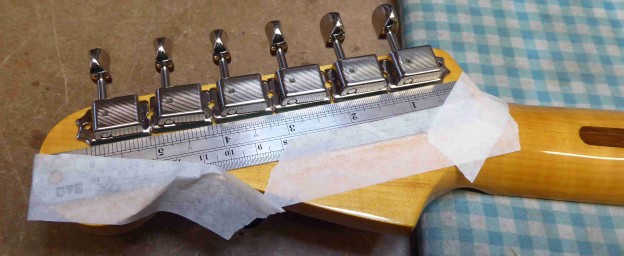
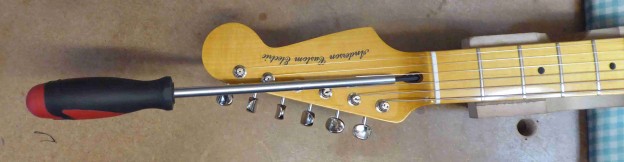
With that done now it’s time to start putting it back together. Starting with a new set of machine heads.
To make sure they end up straight I used the steel rule as a guide.
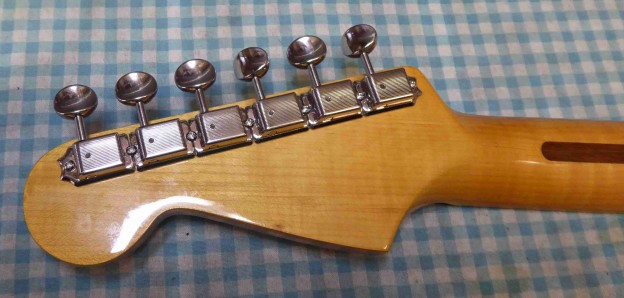
Looking good..
With the nut glued back into place it’s ready to fit to the body.
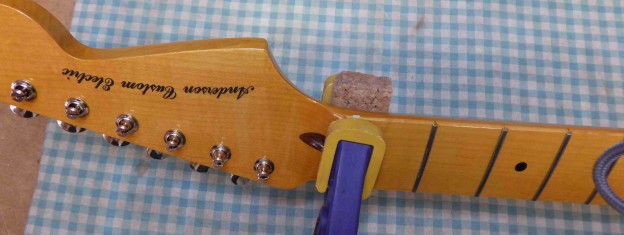
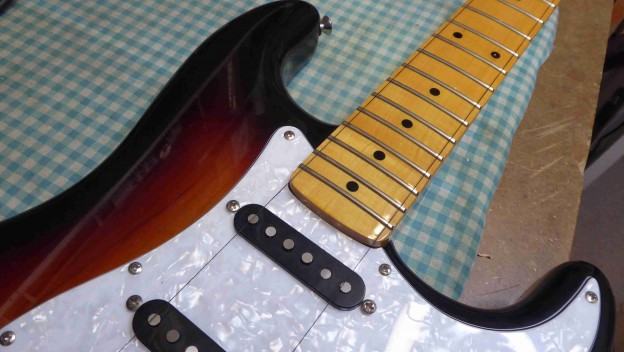
It fits quite nicely, the only question is does it line up properly?
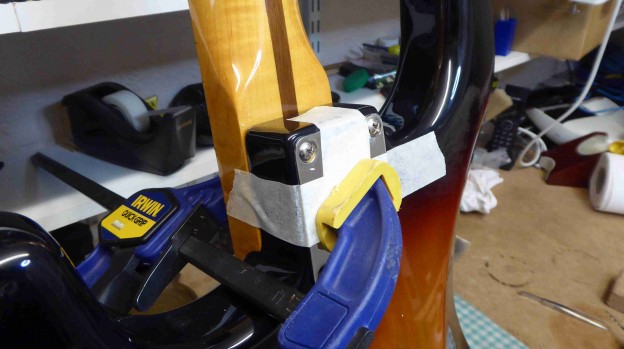
With a couple of lengths of black thread in place of the “E” strings I could see that the line wasn’t quite right.

but with the neck clamped it was possible to just ease it across and bolt it into place.
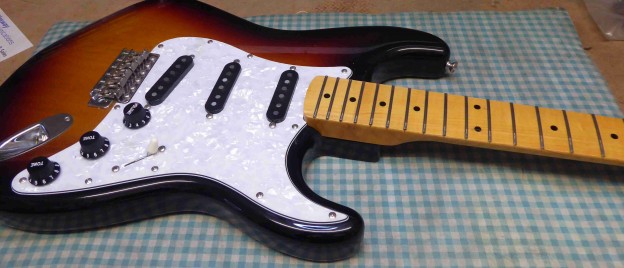
That’s right now. Time to fit the strings
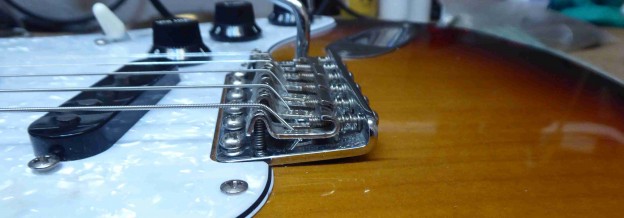
Before the standard setup I also need to sort out the trem’ It’s sitting flat on the body so it’ll only drop the note down and not up.
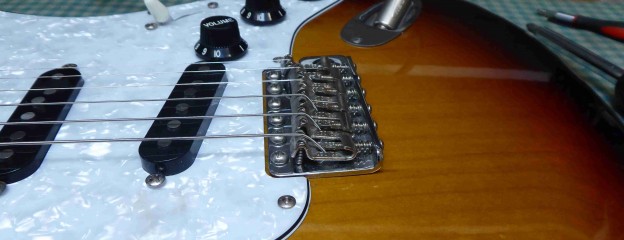
The screws for the trem’ claw have been screwed in all the way. Some people like it that way but I prefer to be able to bend notes up as well as down.
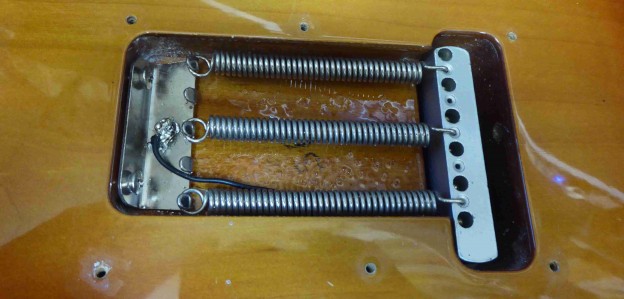
It’s a bit of trial and error but I’ve loosened the claw off by about 10mm.
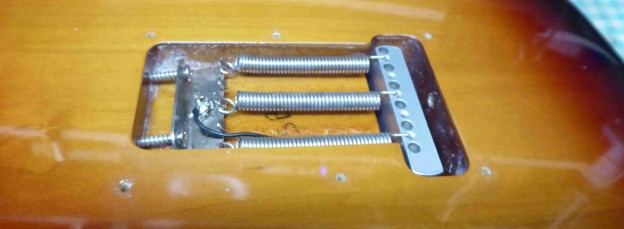
With a bit of fiddling about that’s about it.
So all it needs now is a standard 5 point setup:
No.1 The neck set, or curve. It should have a very slight upward curve.
It was a little too high so tighten up the truss-rod a little.
No.2 The action at the 12th fret:
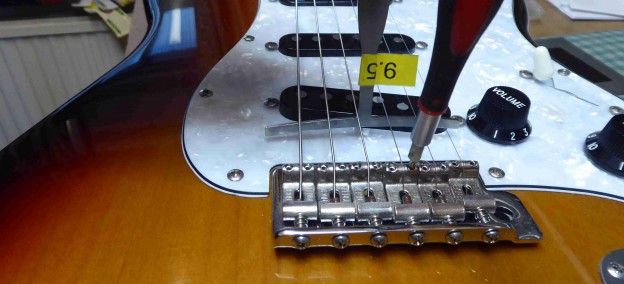
Starting with the outside “E” strings the action was a little low….
so raise the bridge saddle a little.
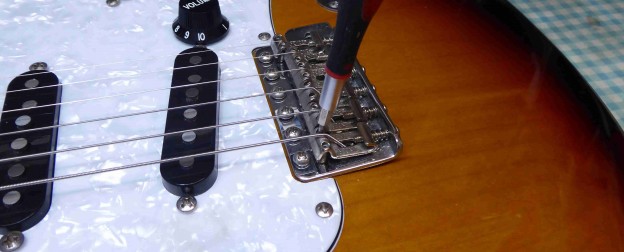
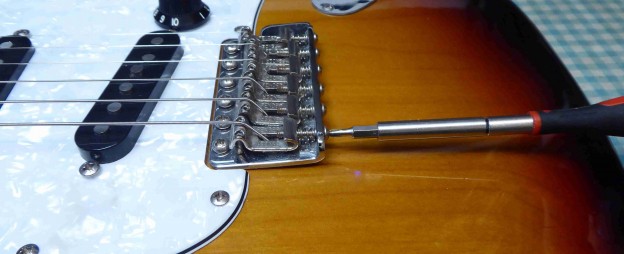
Once the outside strings are done then adjust the others so that they match the radius of the frertboard.
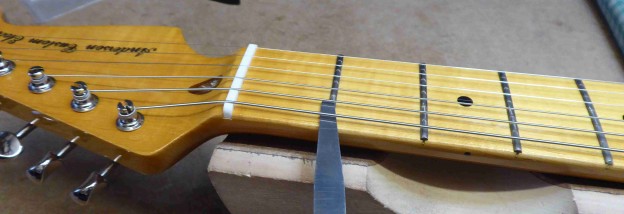
No.3 The action at the 1st fret:
As it’s a new nut the slots need to be cut down to the proper depth..

No.4 The Intonation:
This needs to be set right so that chords played further up the neck are also in tune.
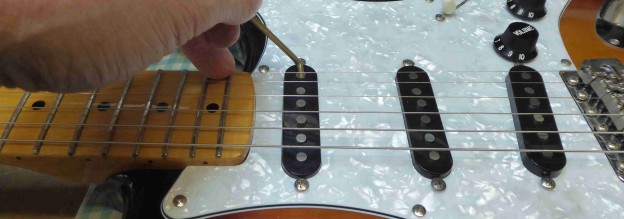
No.5 The pickup heights.
This is only a rough starting point. The only real way to sort that out is to plug it in and play it.
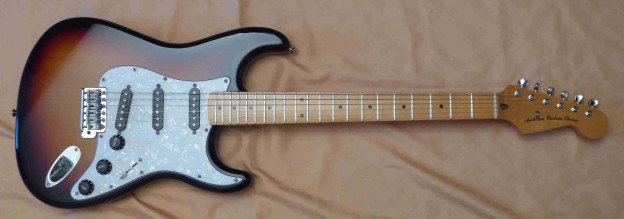
And there it is, ready to Rock ‘N’ Roll…
For anything else I can do check out the website: www.guitar-george.co.uk
A word or two from the customer:
“Hi George, a fantastic job and a really nice sounding guitar. I’m sure the pictures don’t do justice to the hard work you put in setting this up.”
“Absolutely fabulous job on my custom build, with a Fender body and a custom neck. The previous guitar that I had would choke and not sound right when I played it but now with the build that George had done, it sounds beautiful and I am unbelievably grateful to George”.
Thank You