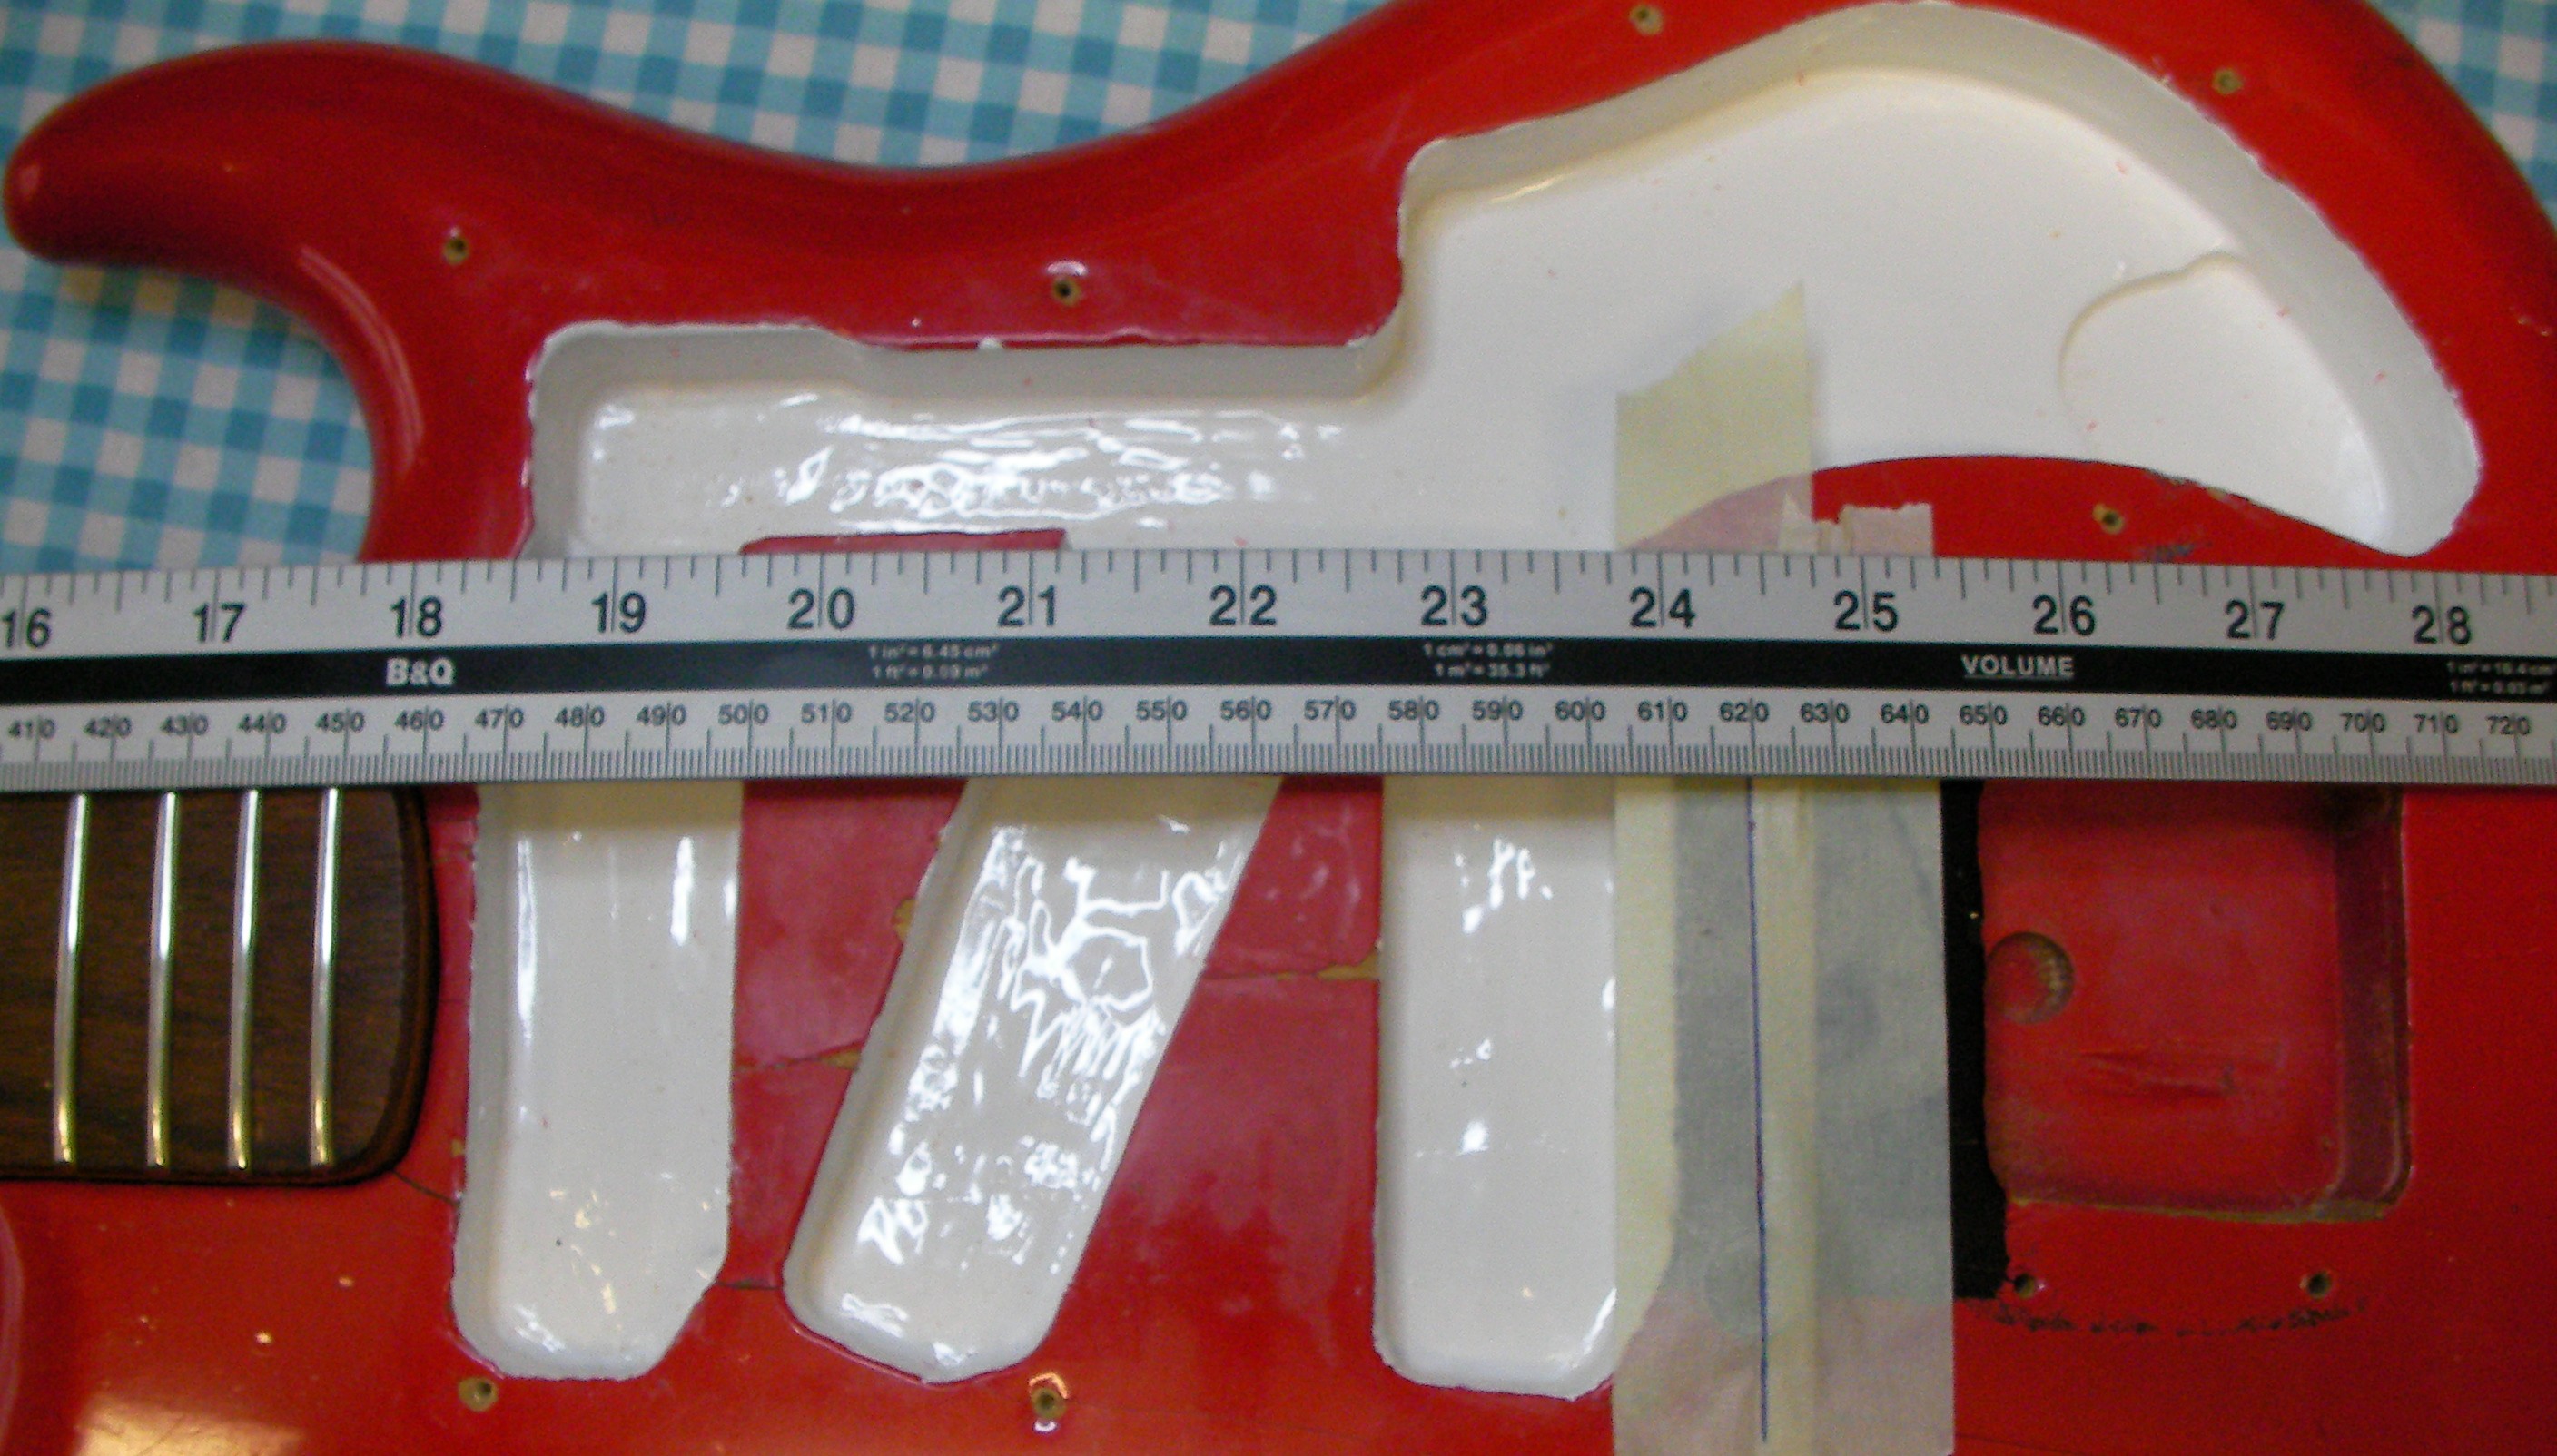
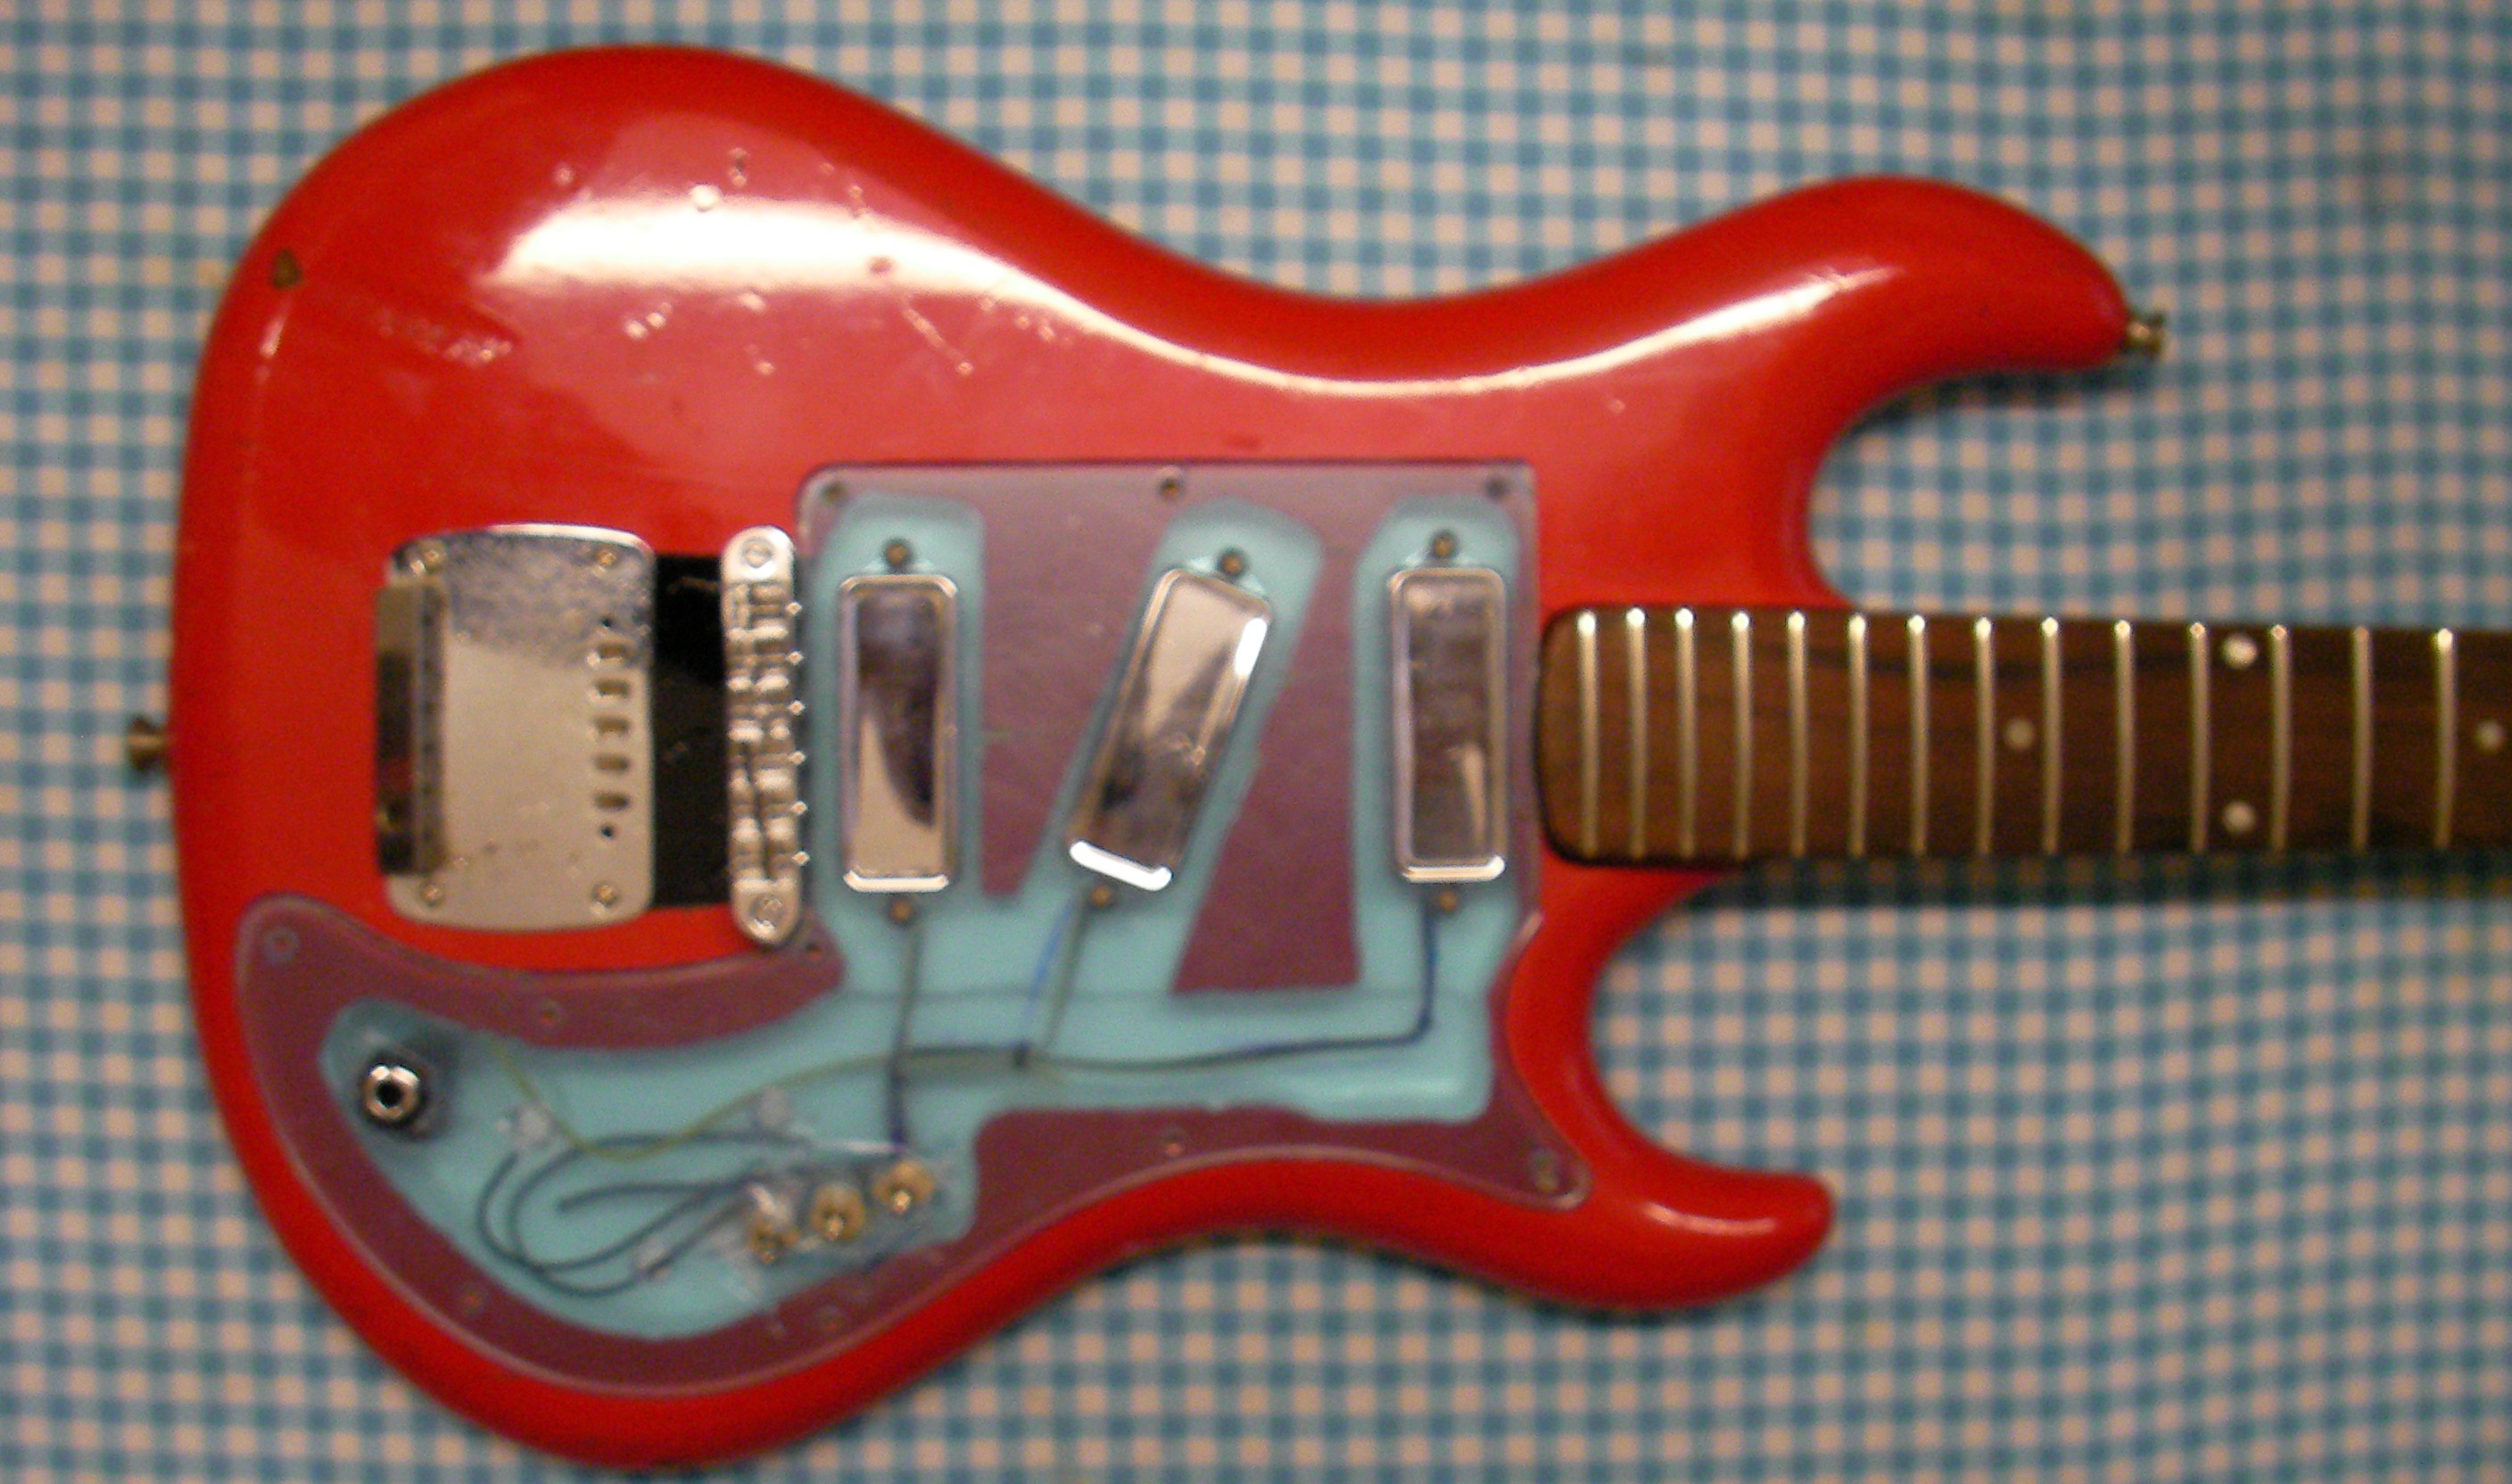
I had a little spare time this afternoon so had a bit of a play with the old Rapier. As I’ve not been able to find the proper bridge I decided to fit a “Tuneomatic” one. First thing I need to work out exactly where it’s going to fit so I needed to establish the intonation line. double the distance from the nut to 12th fret.
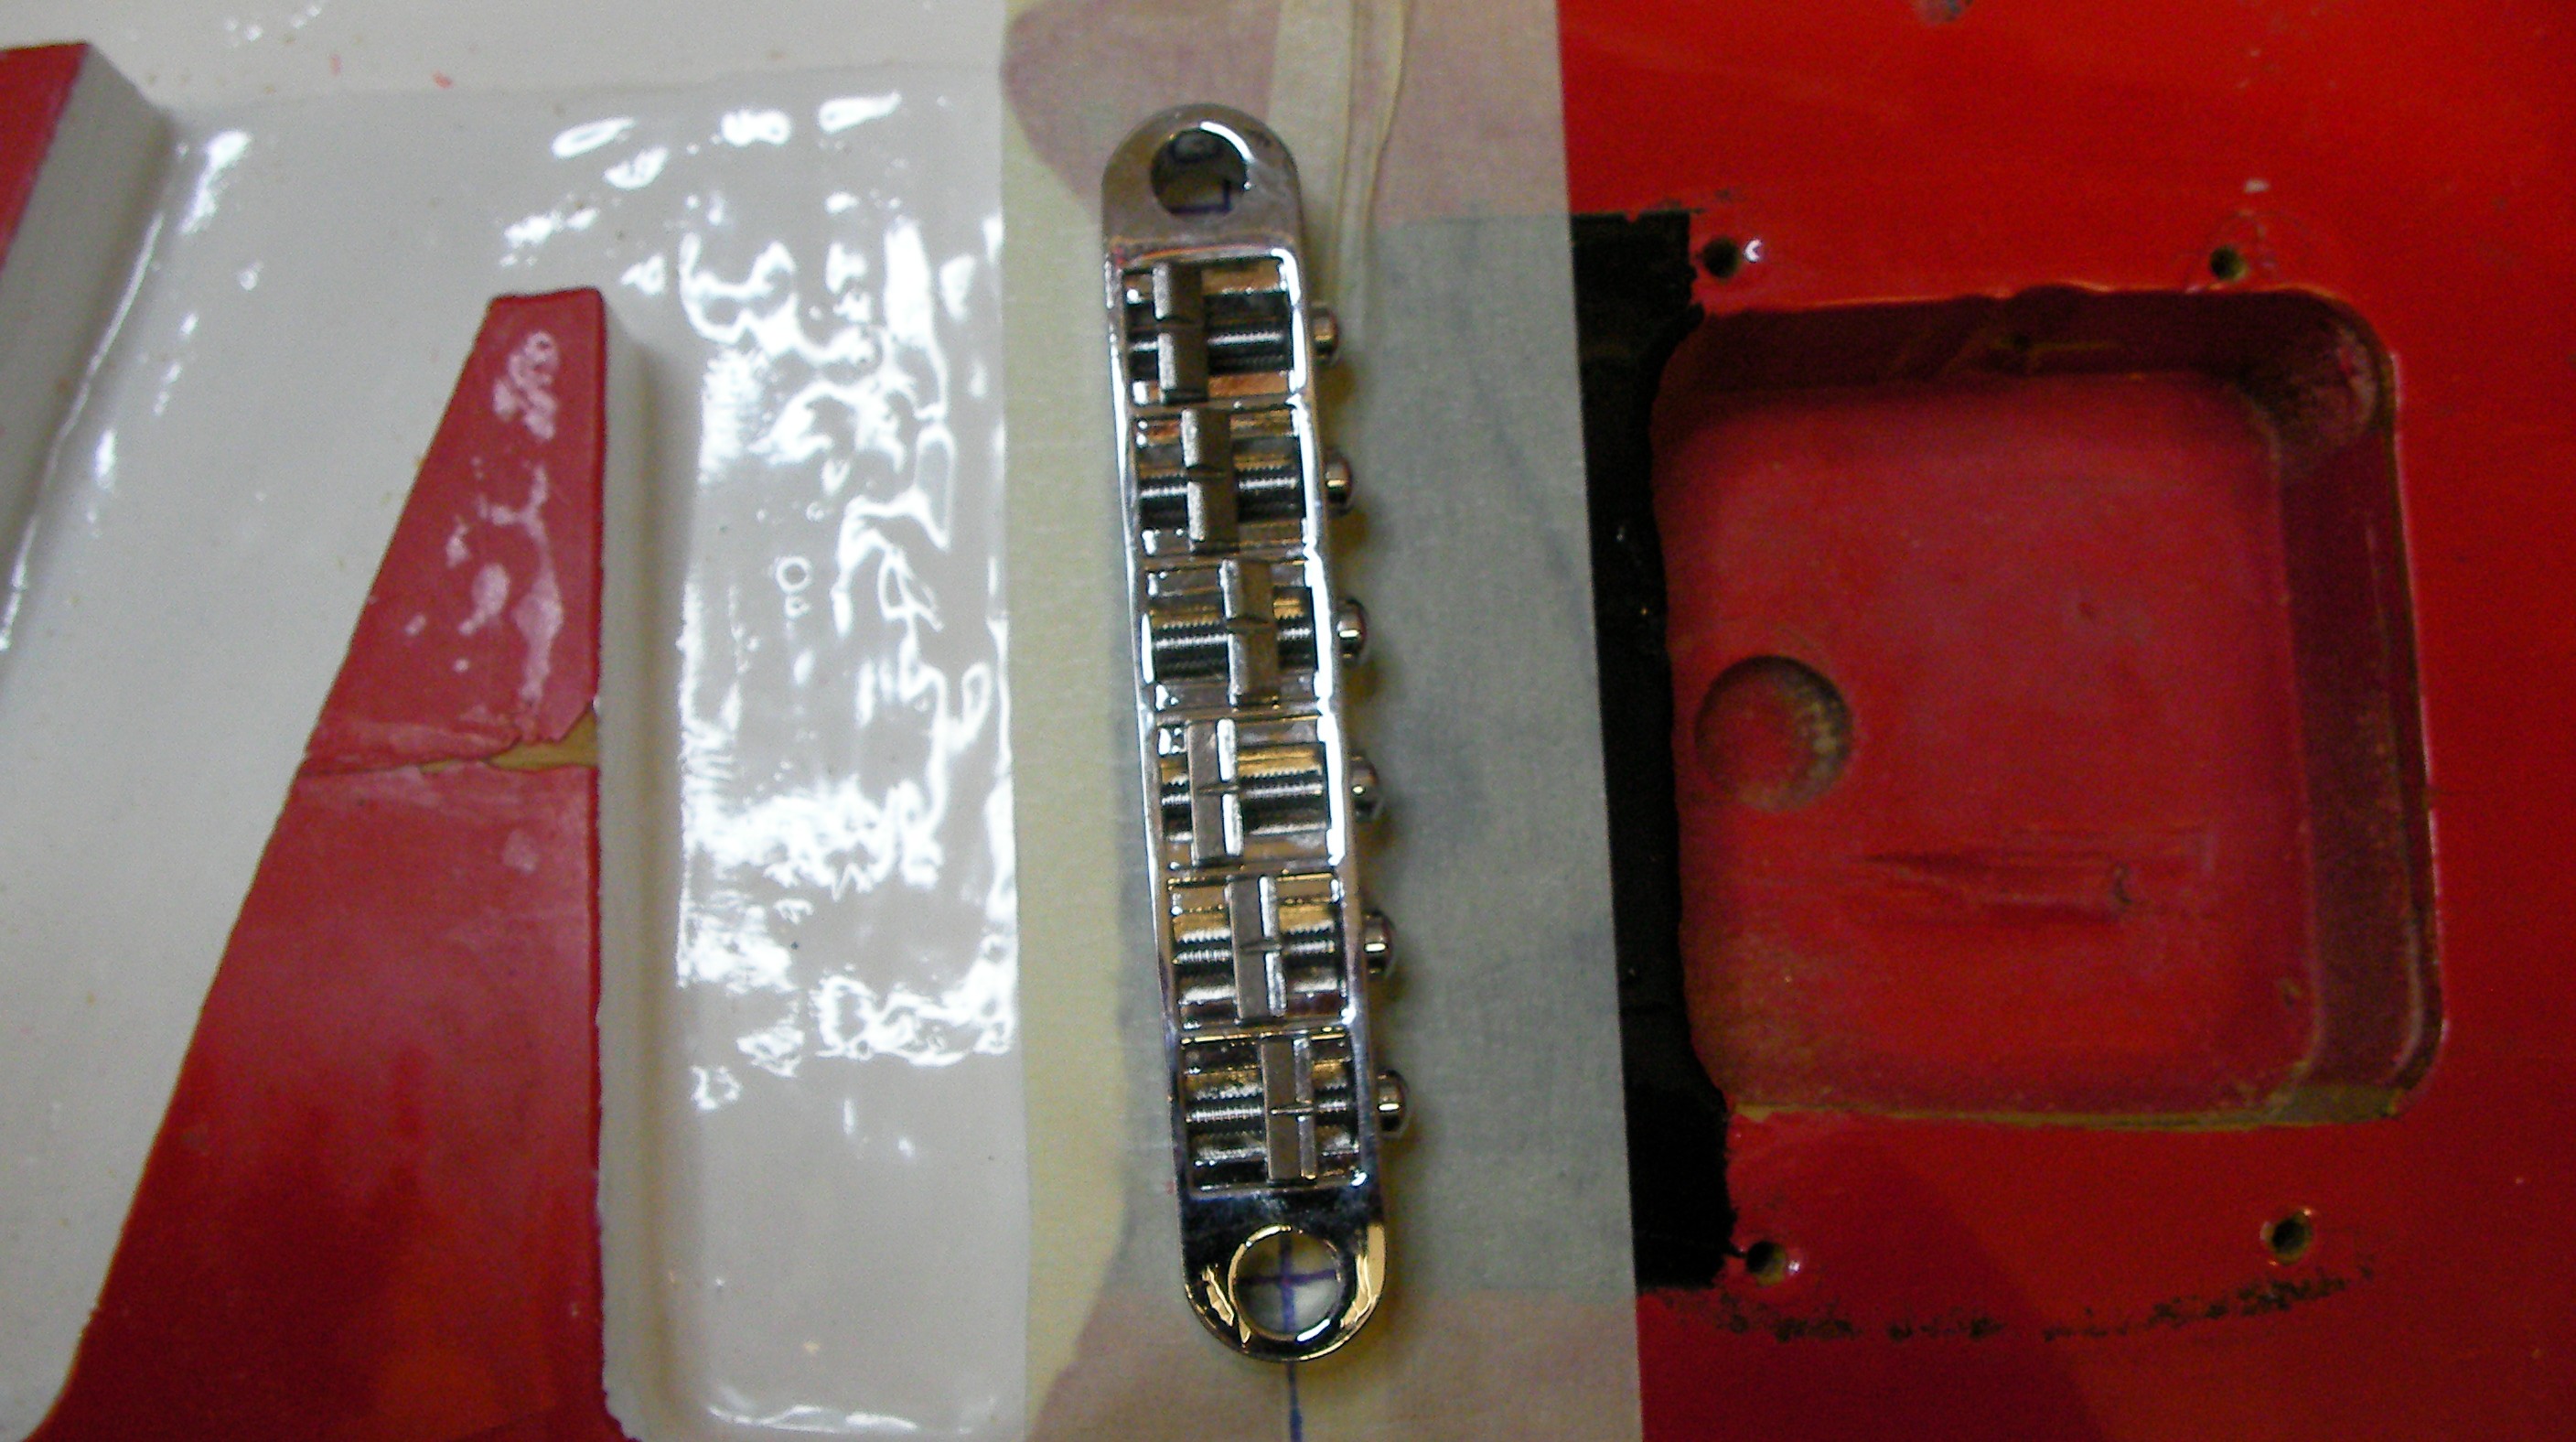
With the line of the bridge established, I marked where the mounting screws will sit.
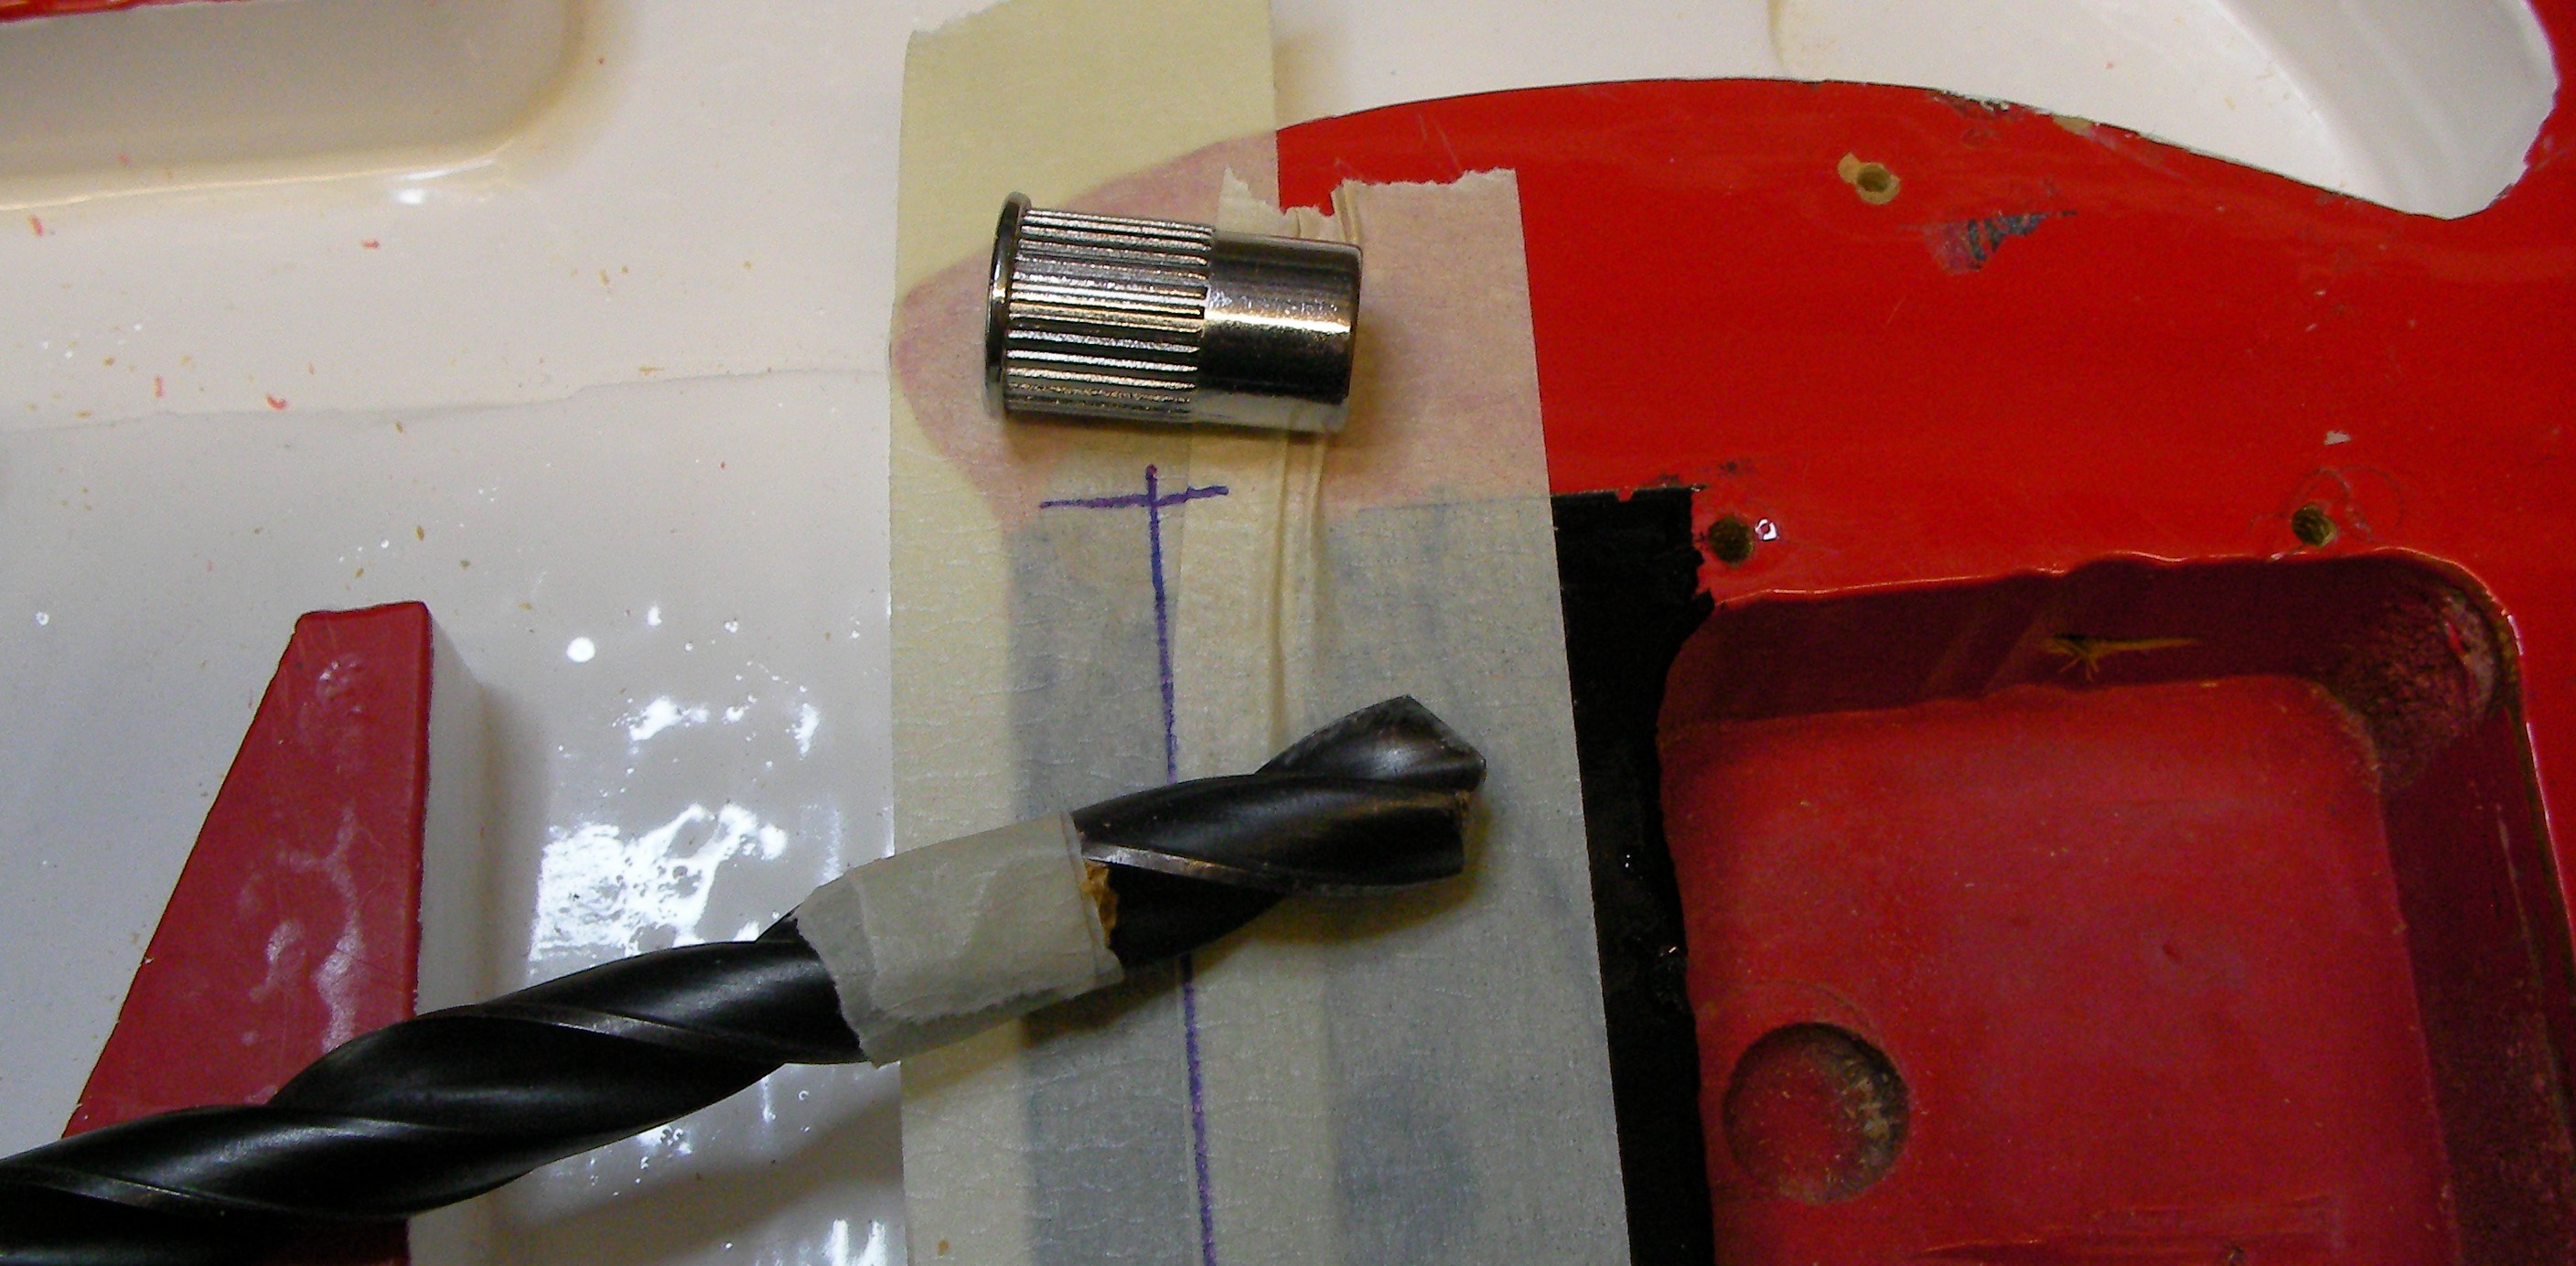
The tape on the drill is to make sure I don’t drill the hole too deeply.
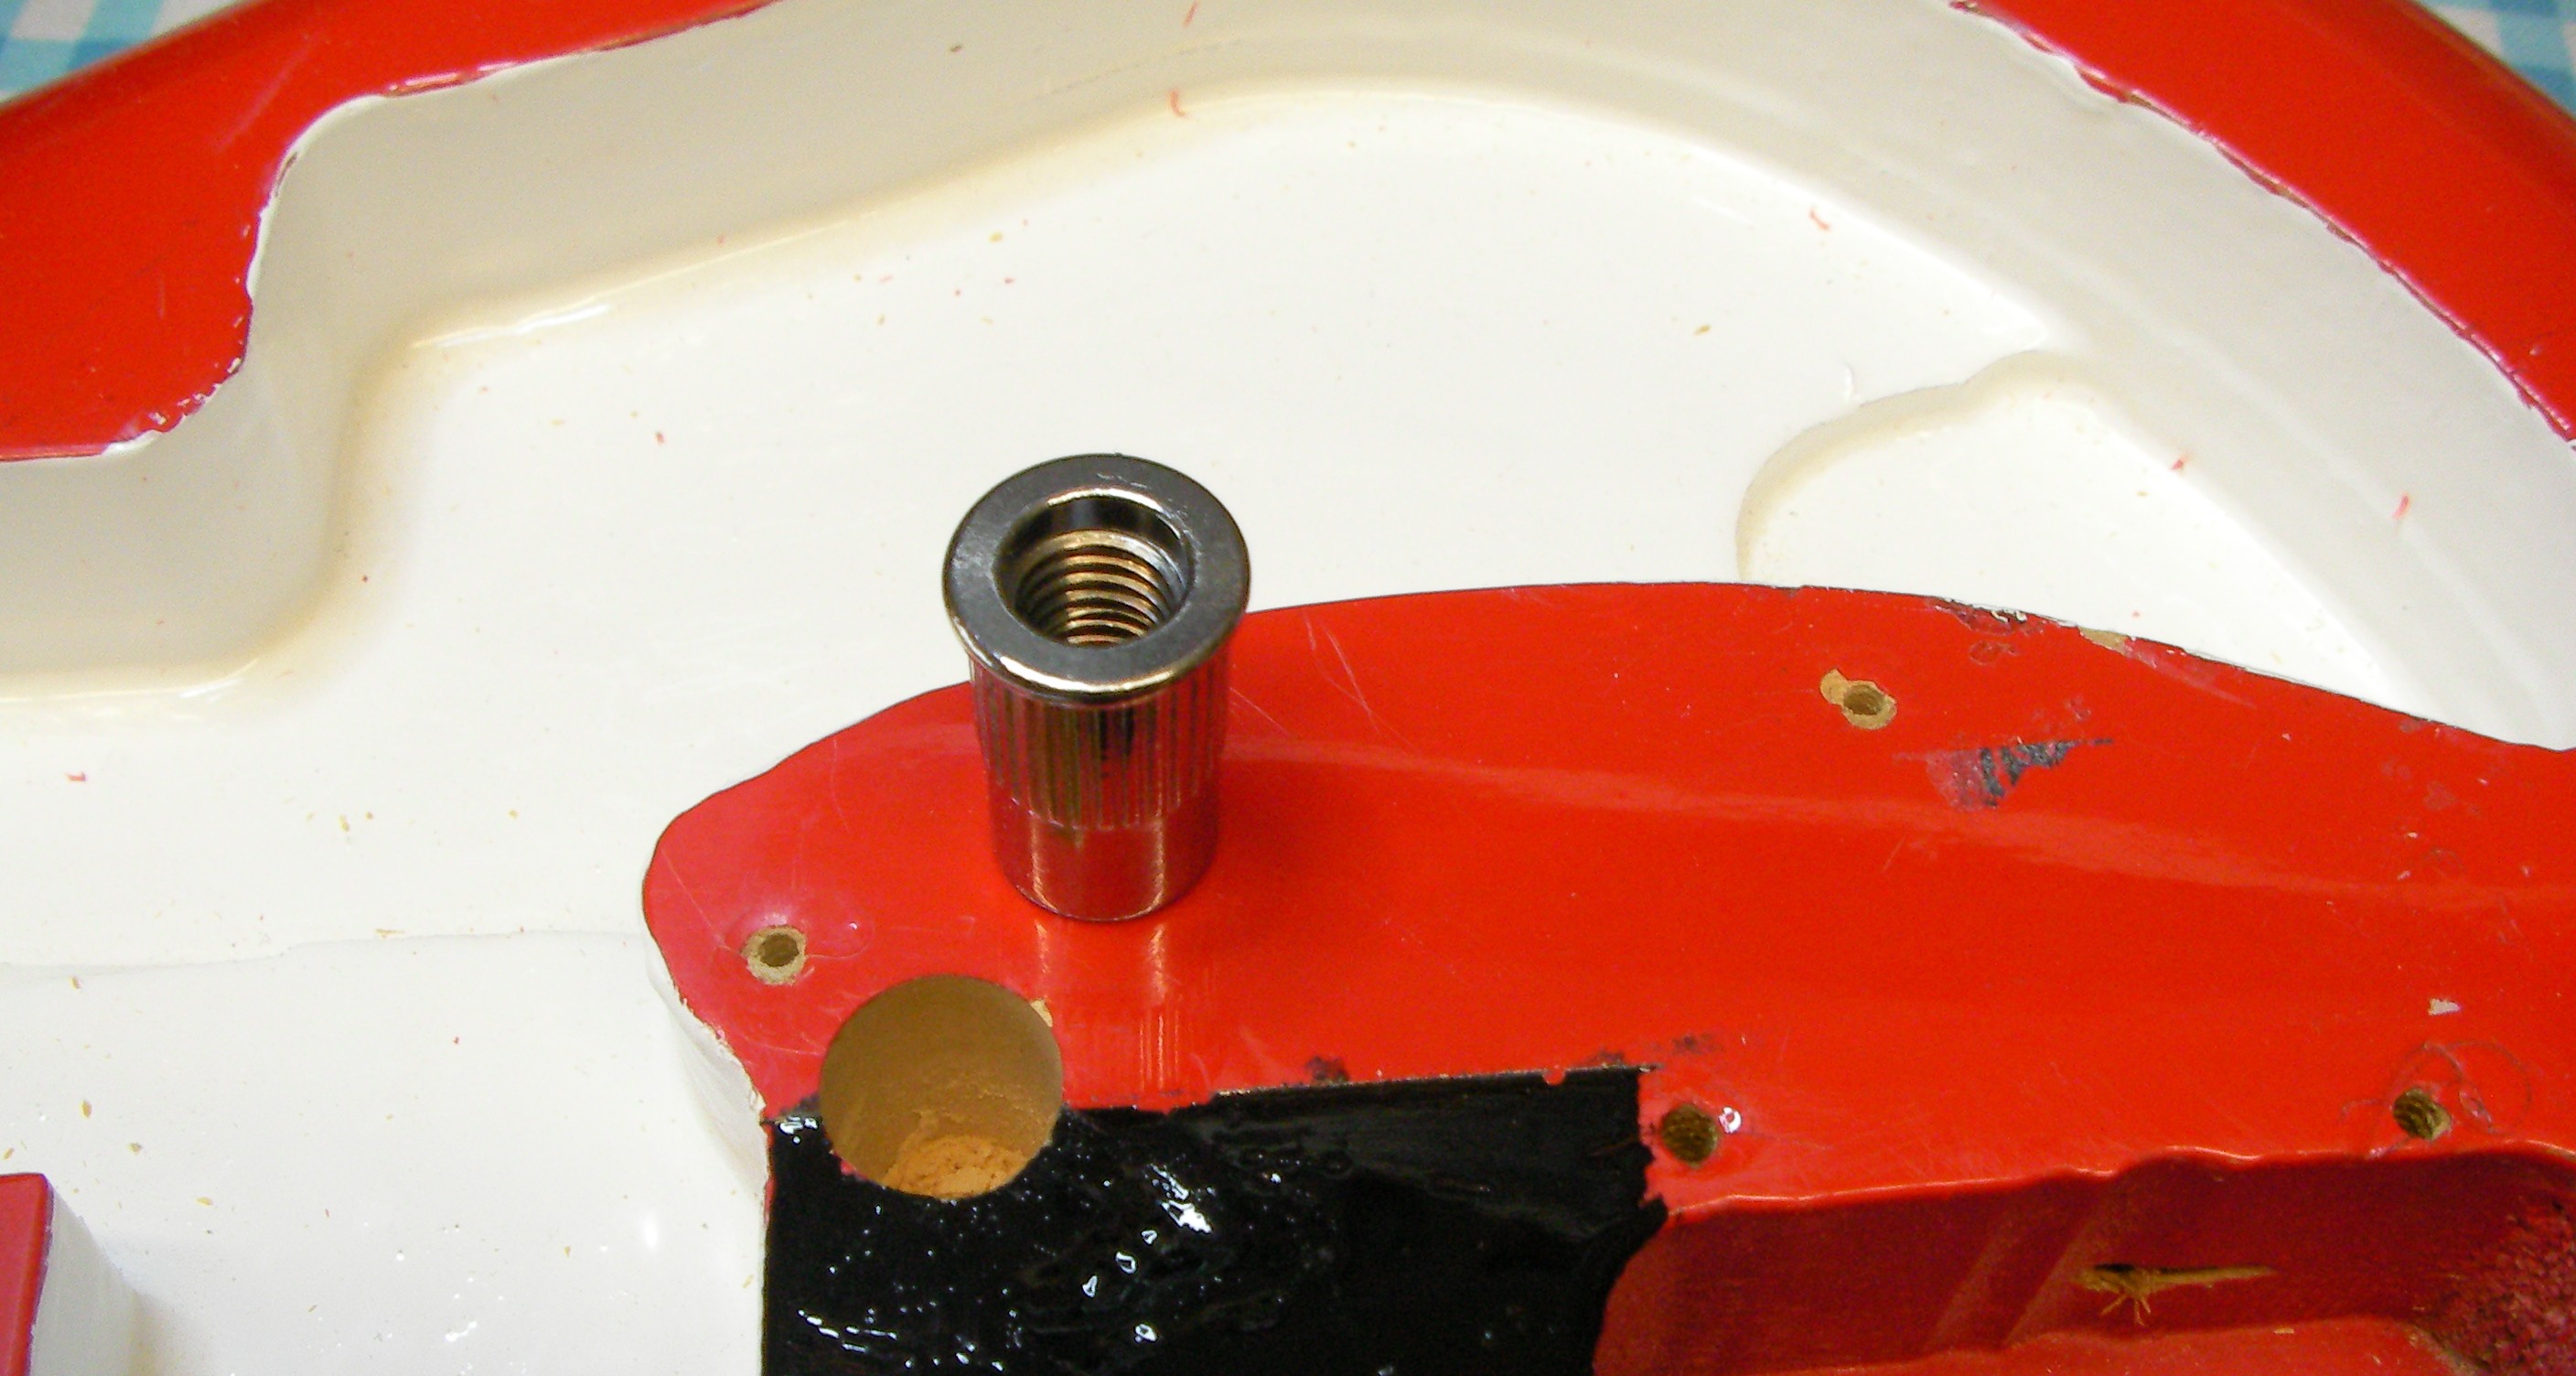
Gently tap the threaded parts with a soft hammer and screw in the bridge height adjustments.
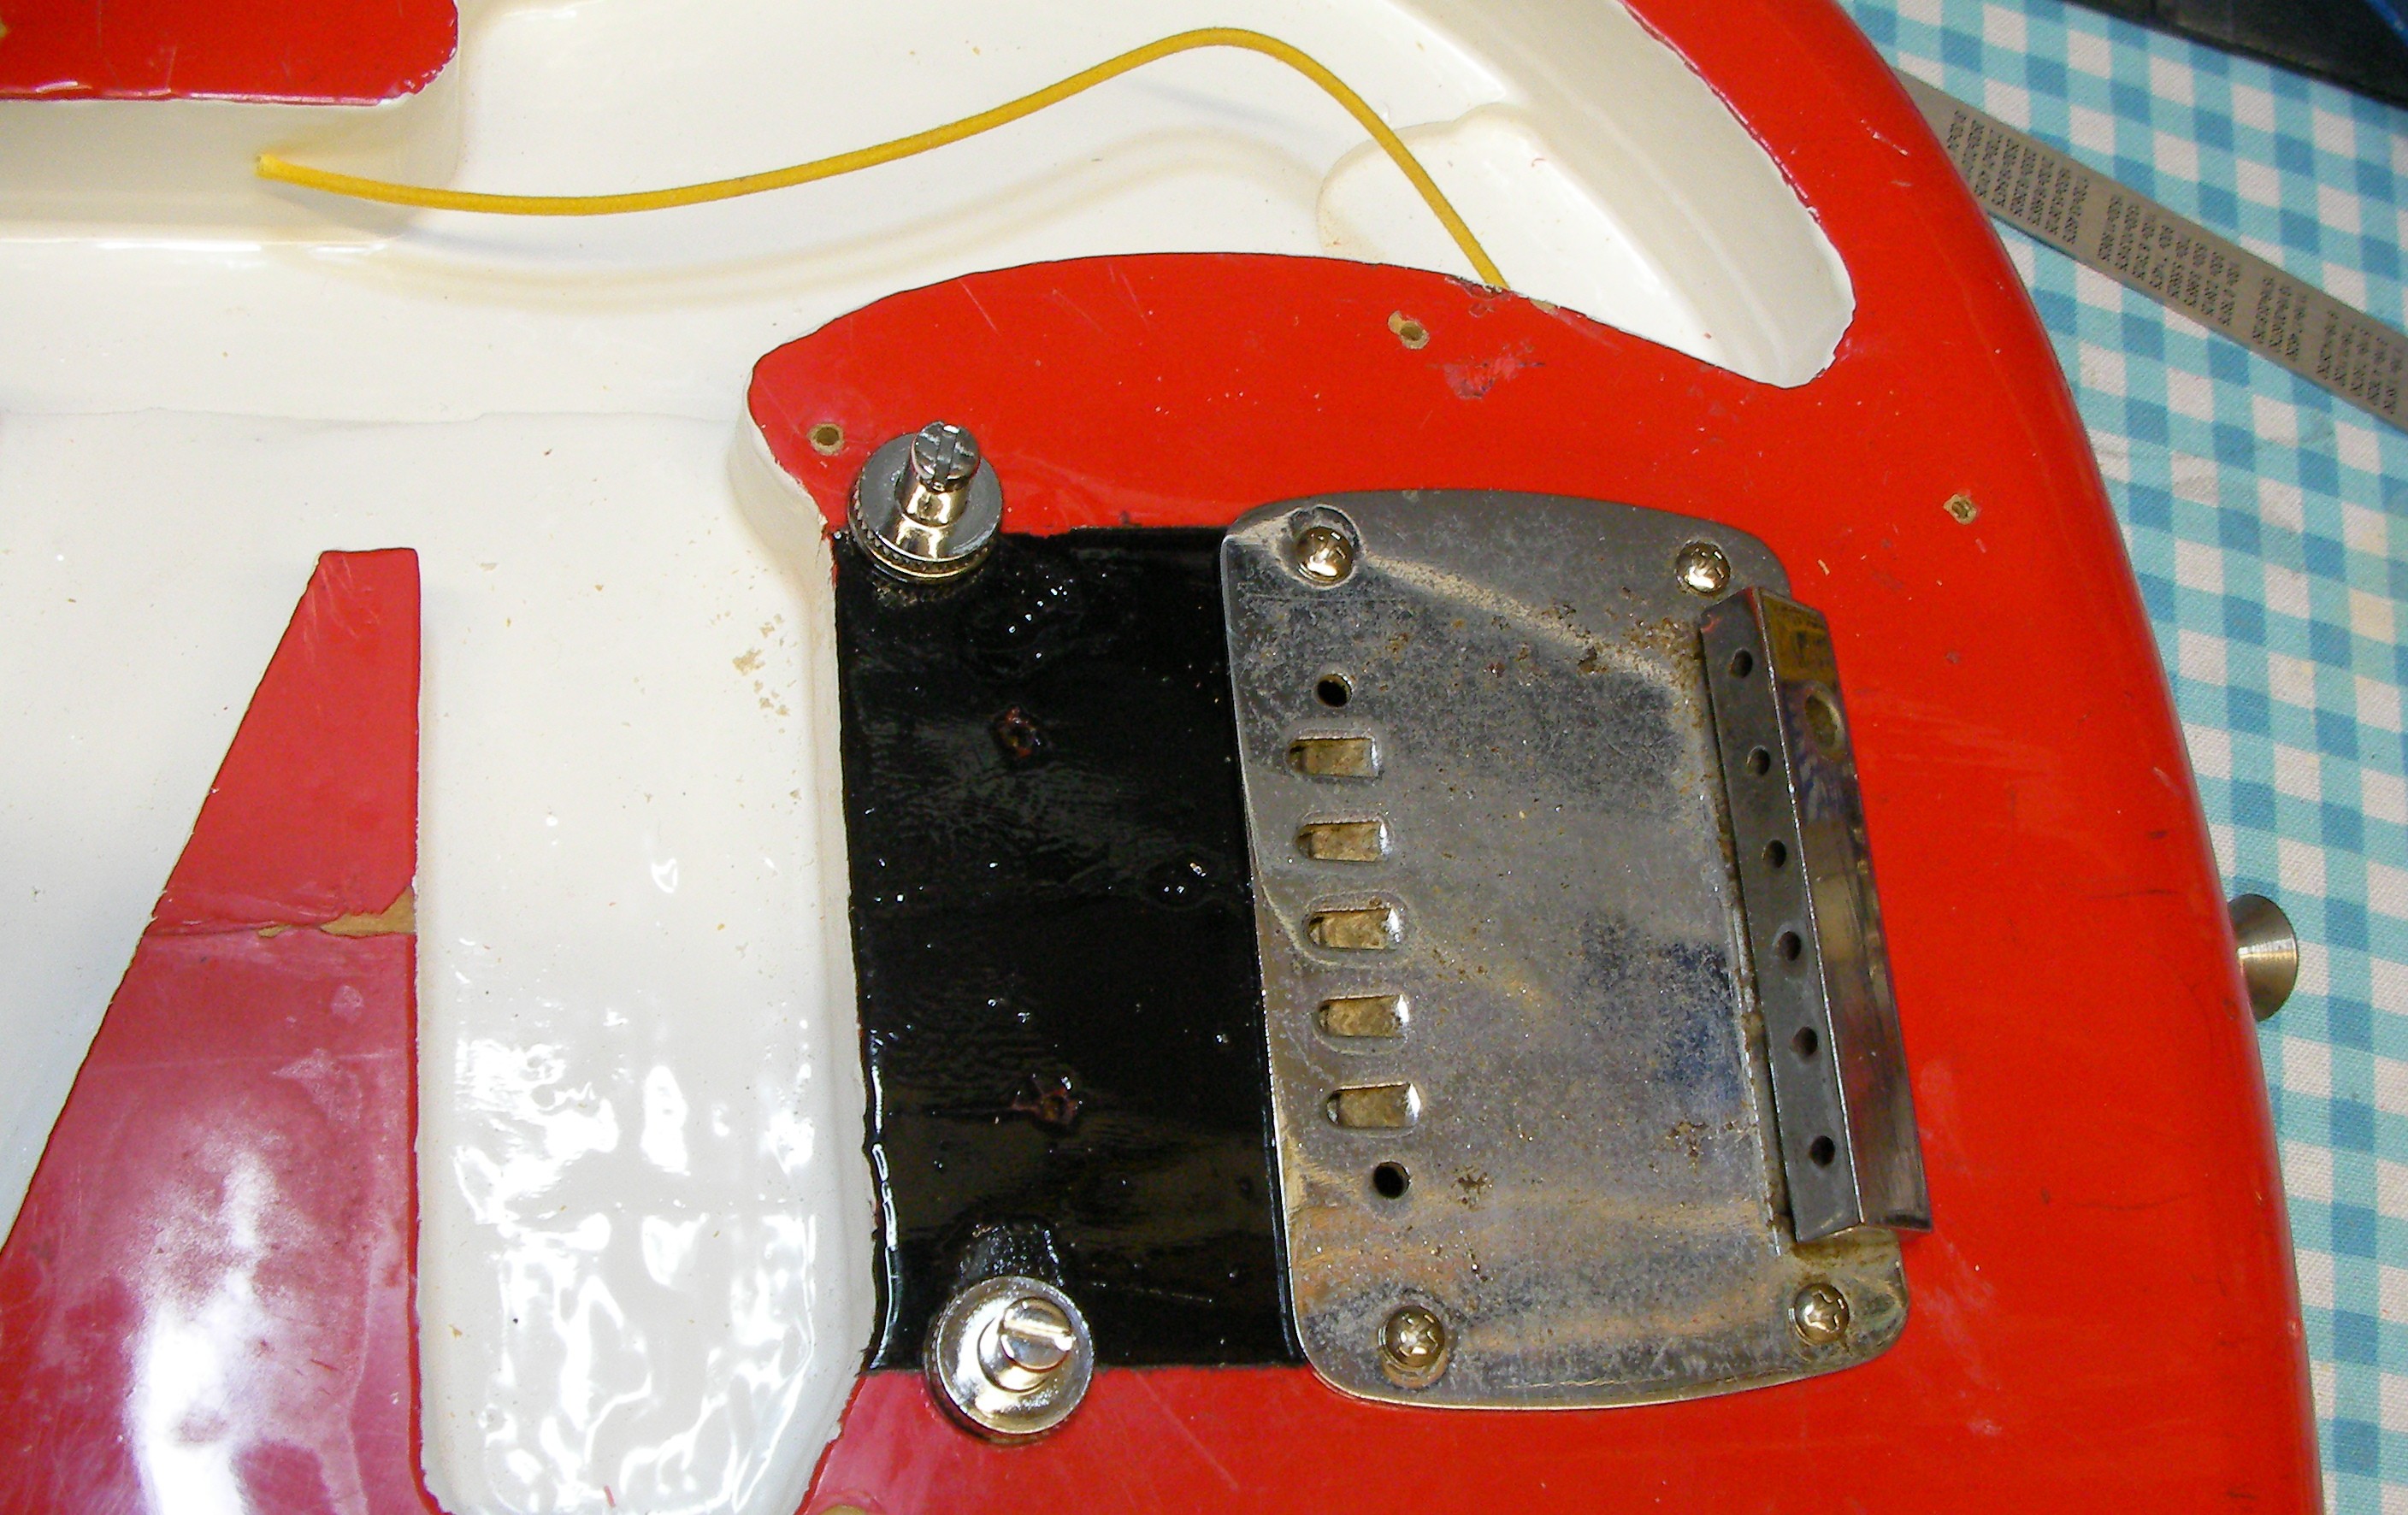 I also re-mounted the tailpiece. I don’t have the arm so the tremolo isn’t going to work, who knows, maybe I’ll be able to find an arm later. Notice the yellow wire to earth the tailpiece and strings.
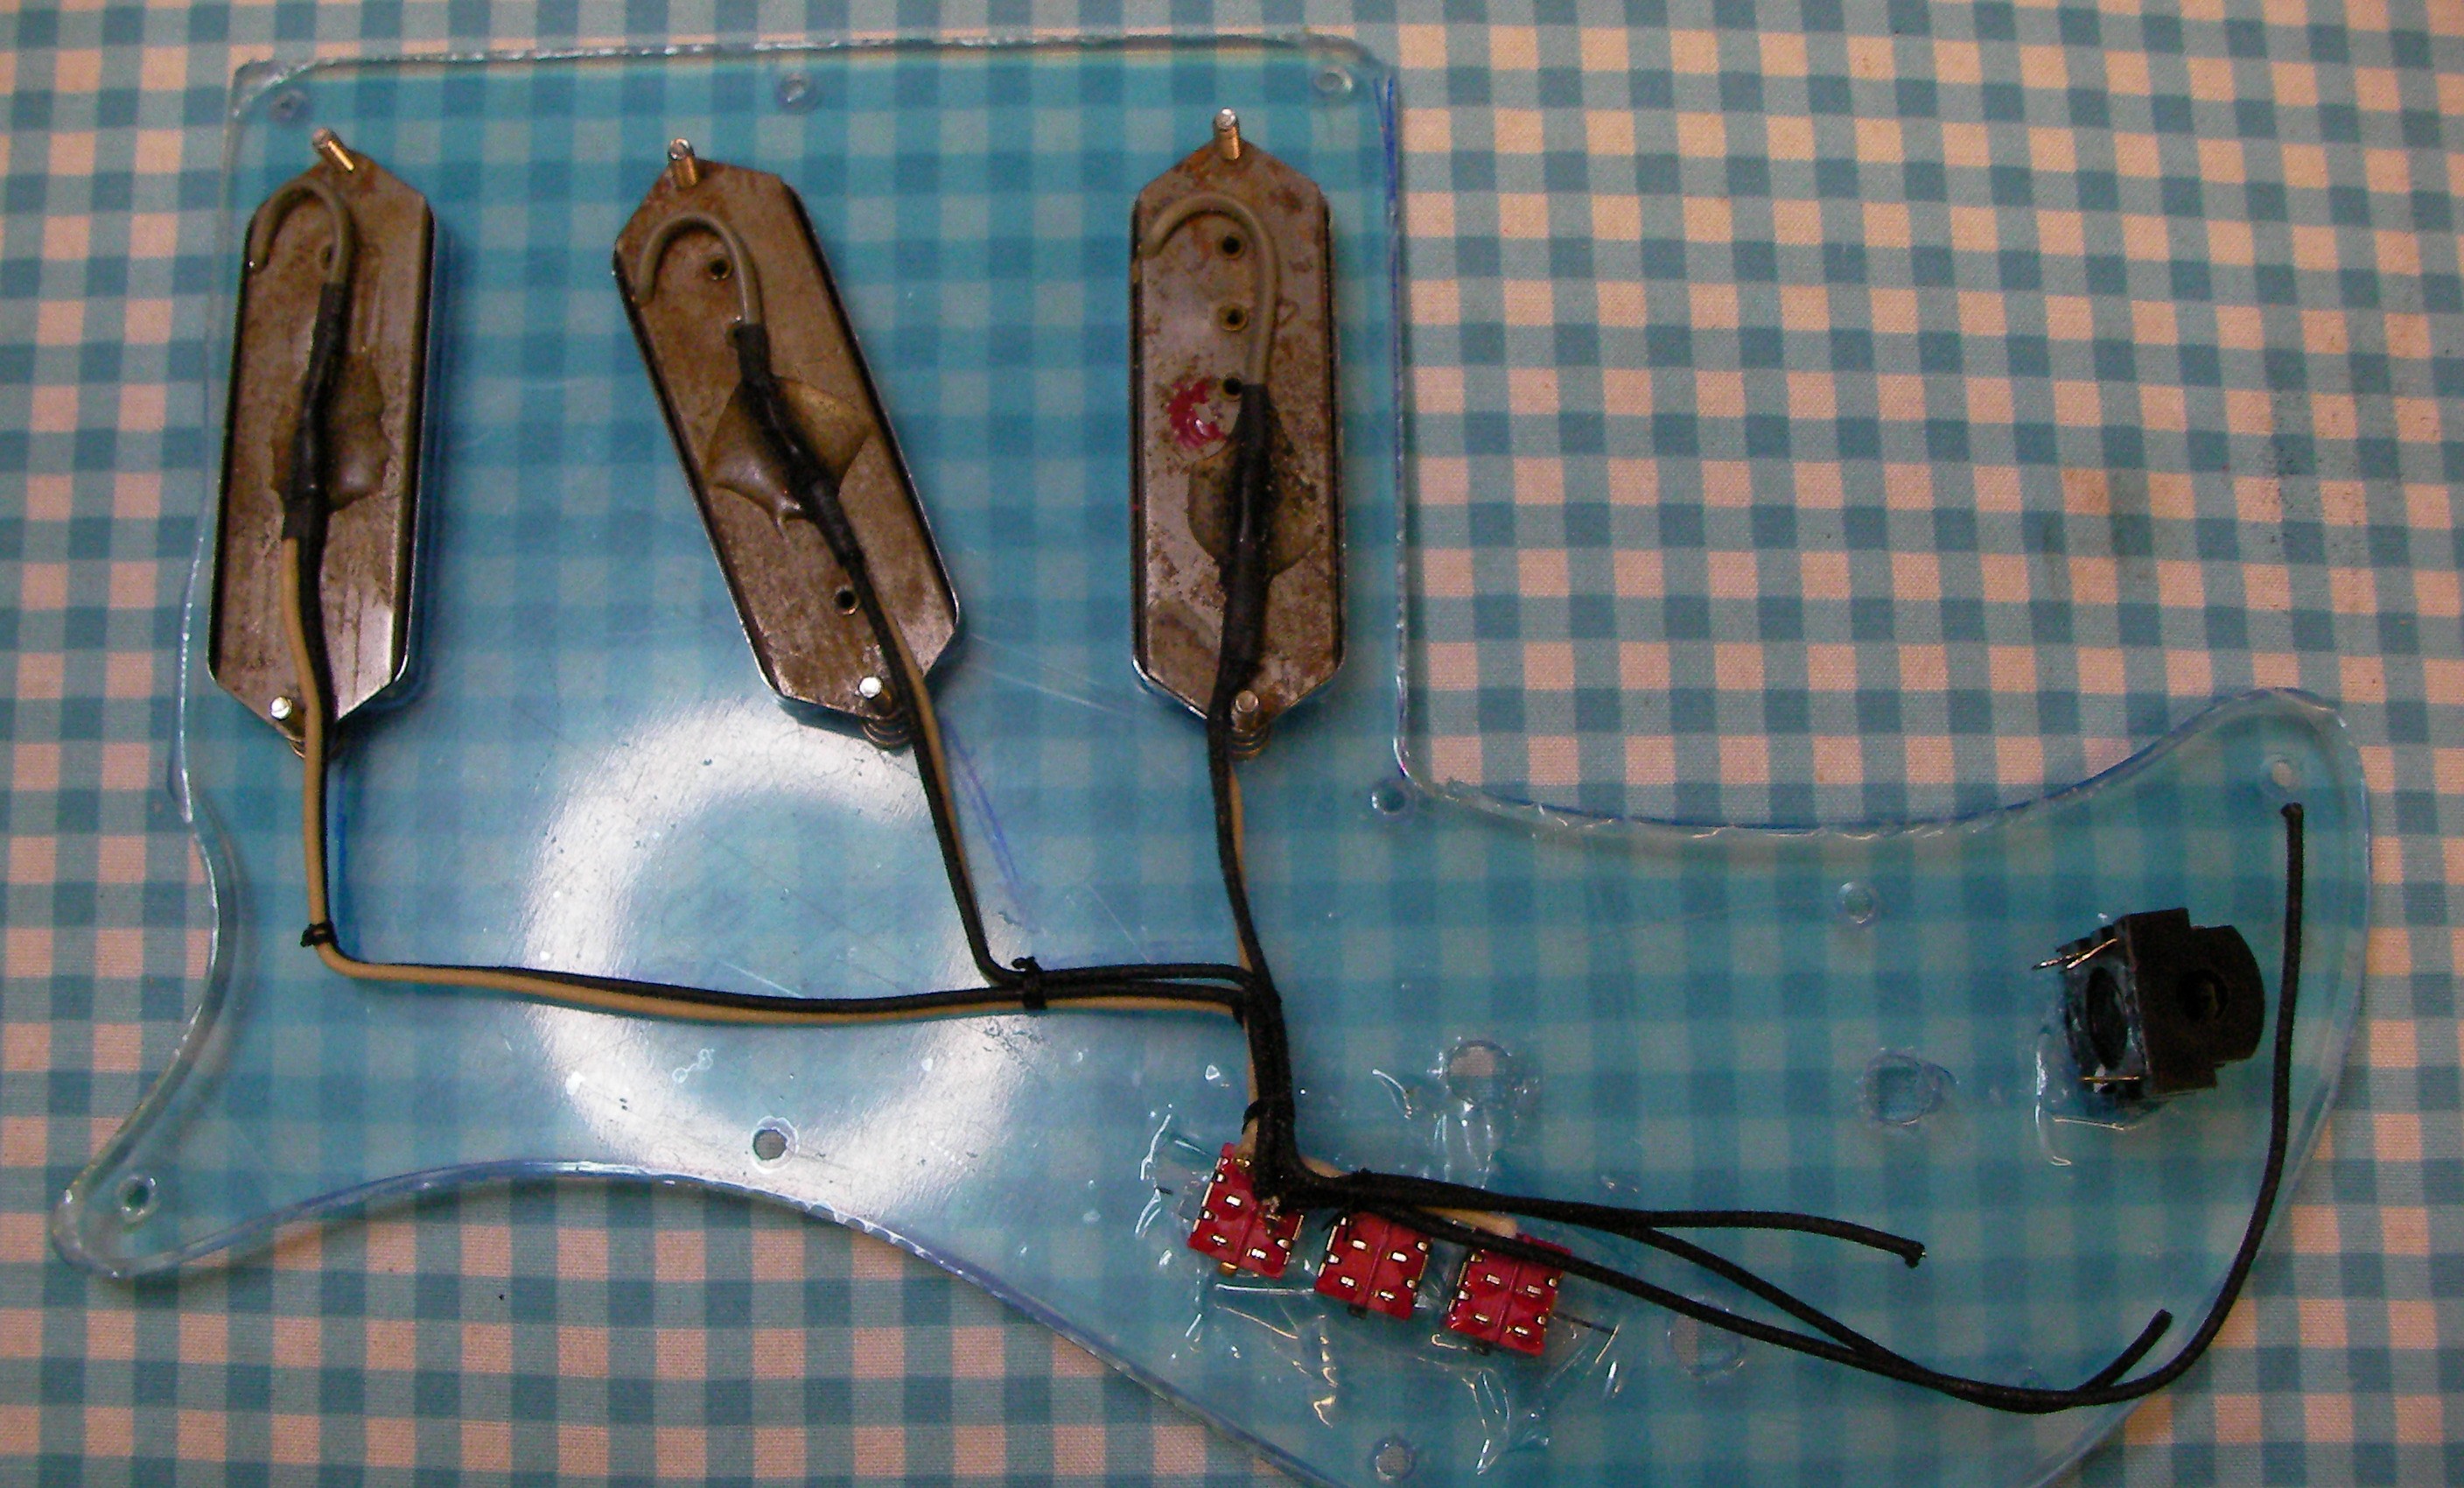
I also made a start on the pickguard. I’ve mounted the pickups and control switches. I thought I had the appropriate pots but I haven’t so I’ll have to order some up. I’ve drilled the holes anyway, I’ll wire the rest of it up when the pots get here.
Since the wiring will be seen through the pickguard I want to make sure it looks as tidy as possible. That’s generally what I aim for anyway, it’s just rarely seen! To keep it looking really neat I’ve joined new wires onto the old pickups and held the joint in place with a small blob of glue
Its going to look OK, strange but OK!
To see the beginning click here.
