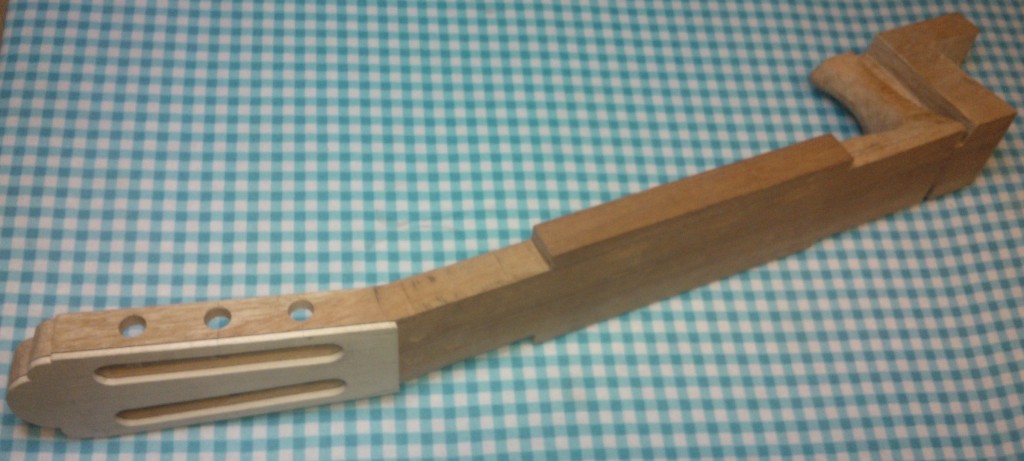
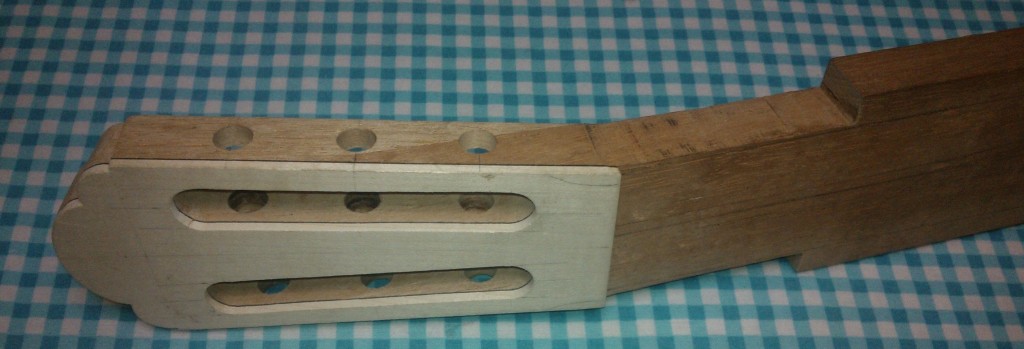
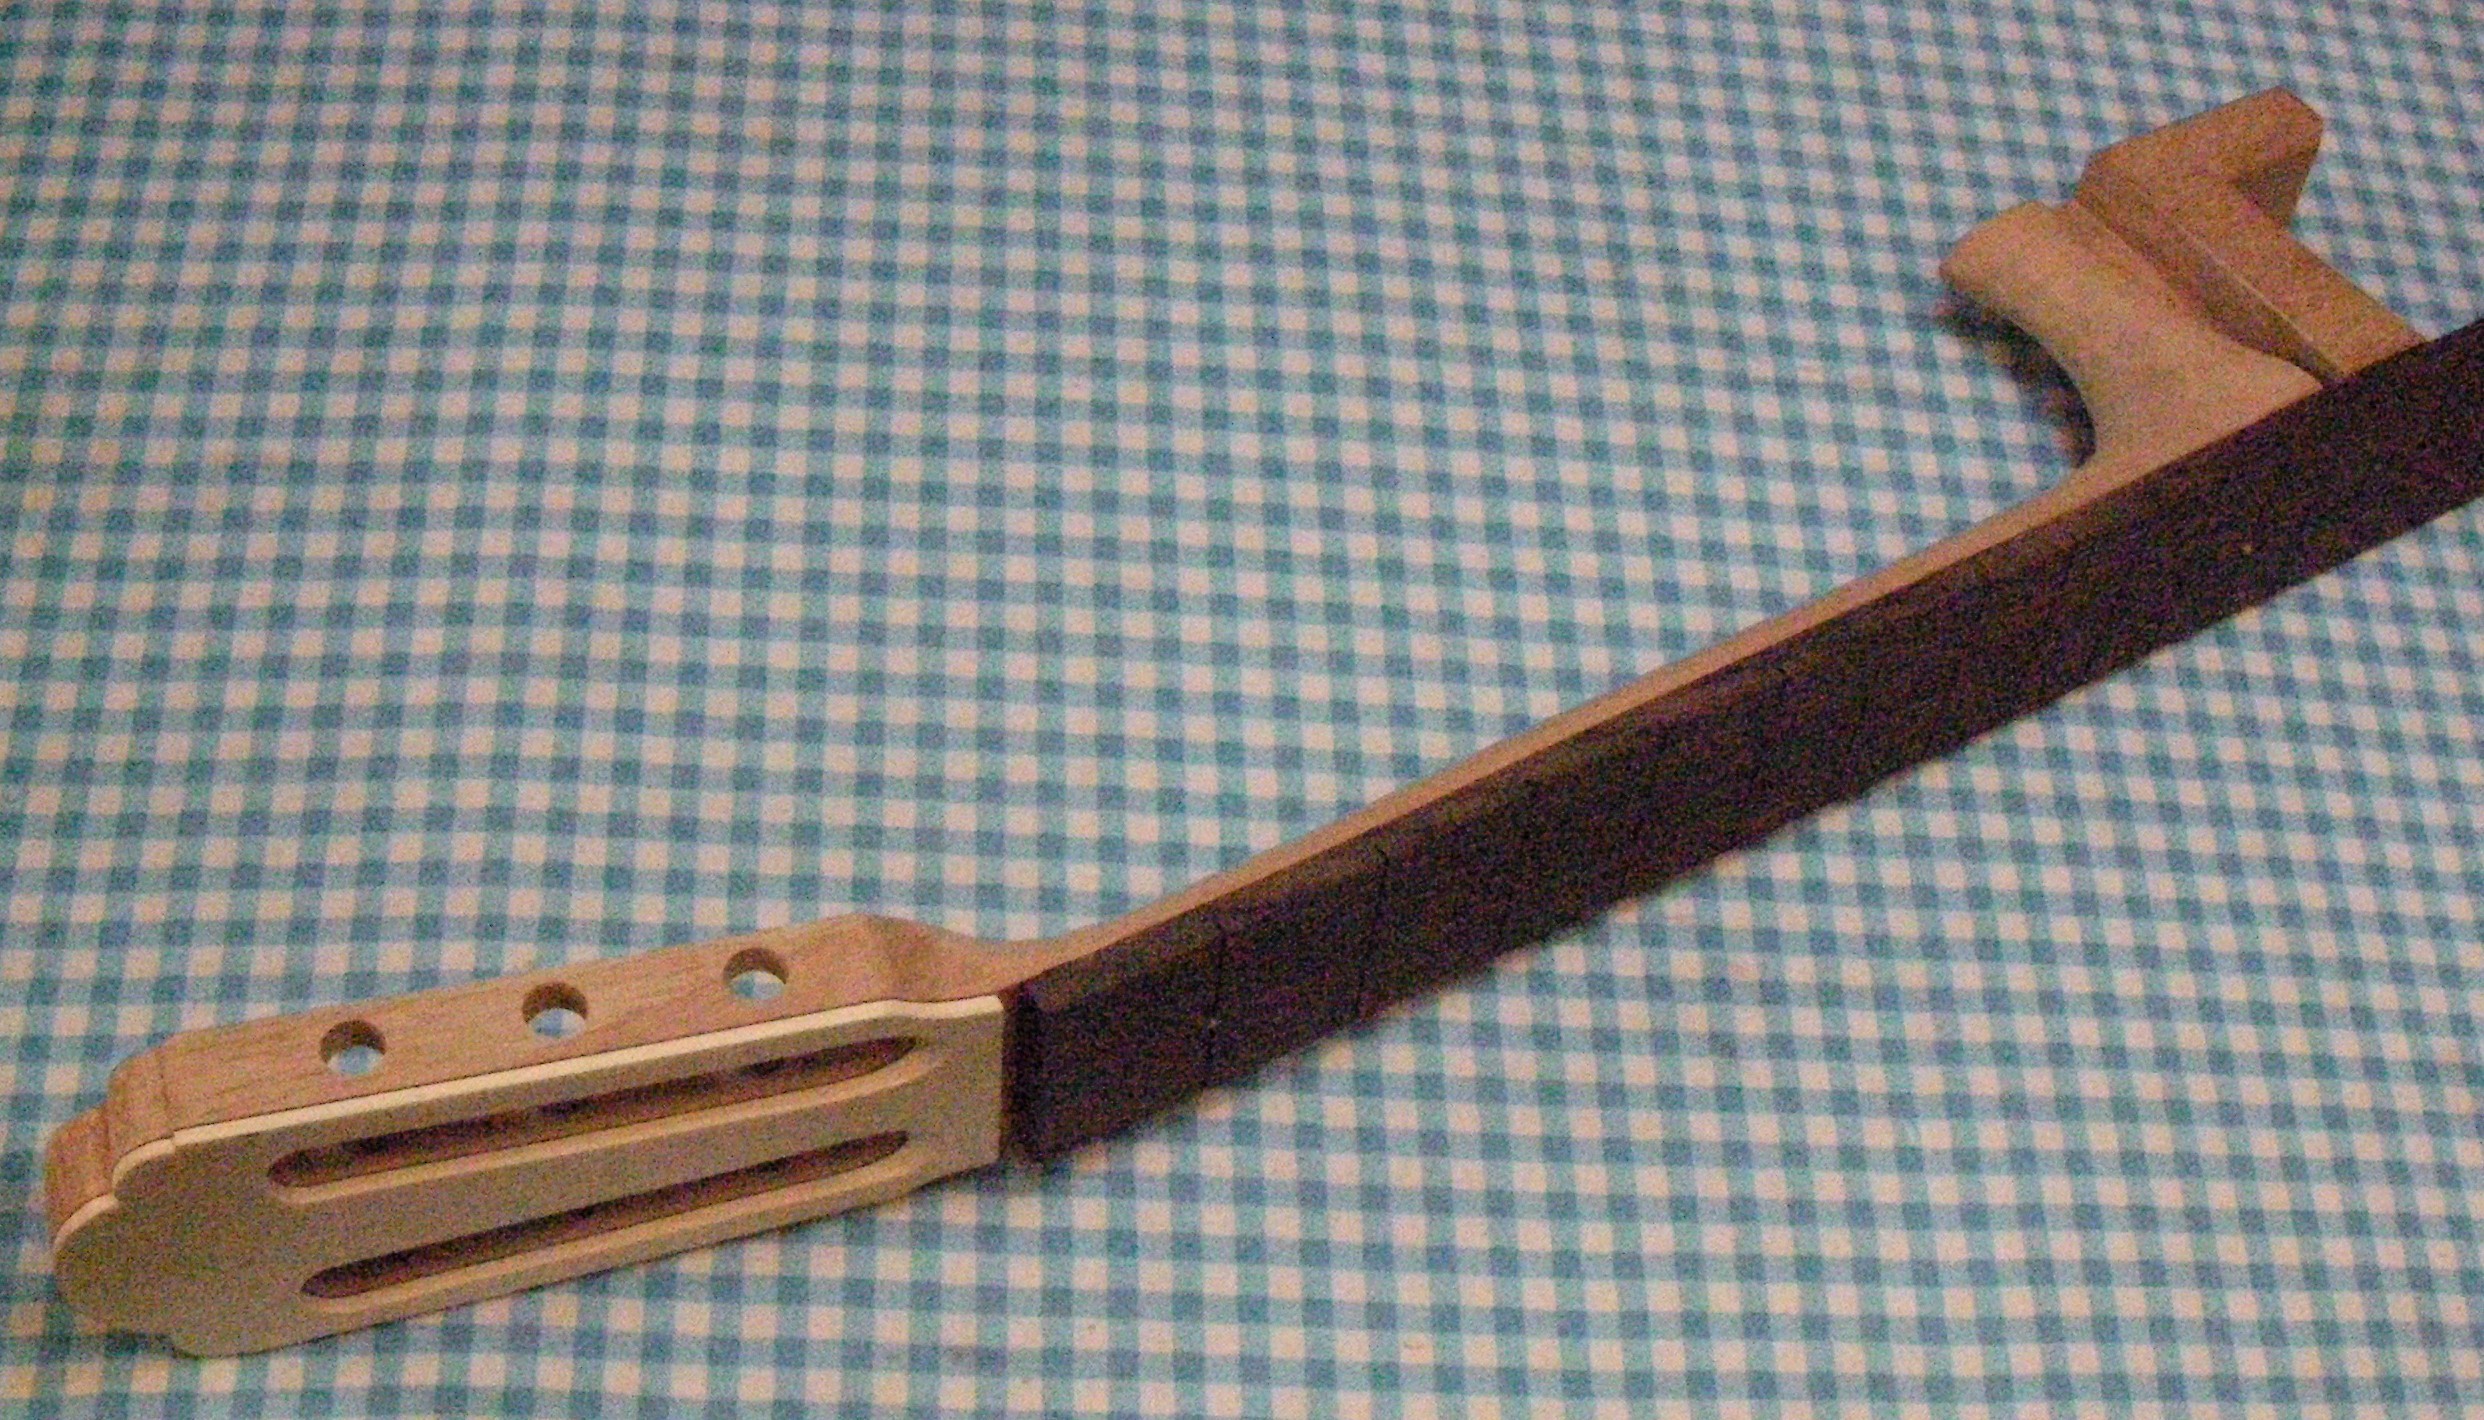
Since its been a little quiet I’ve been able to turn my attention to and on-going long-term project, a custom build Spanish Acoustic. So far I’m probably about half way to getting the neck finished…Keep watching and I’ll let you know how it goes.
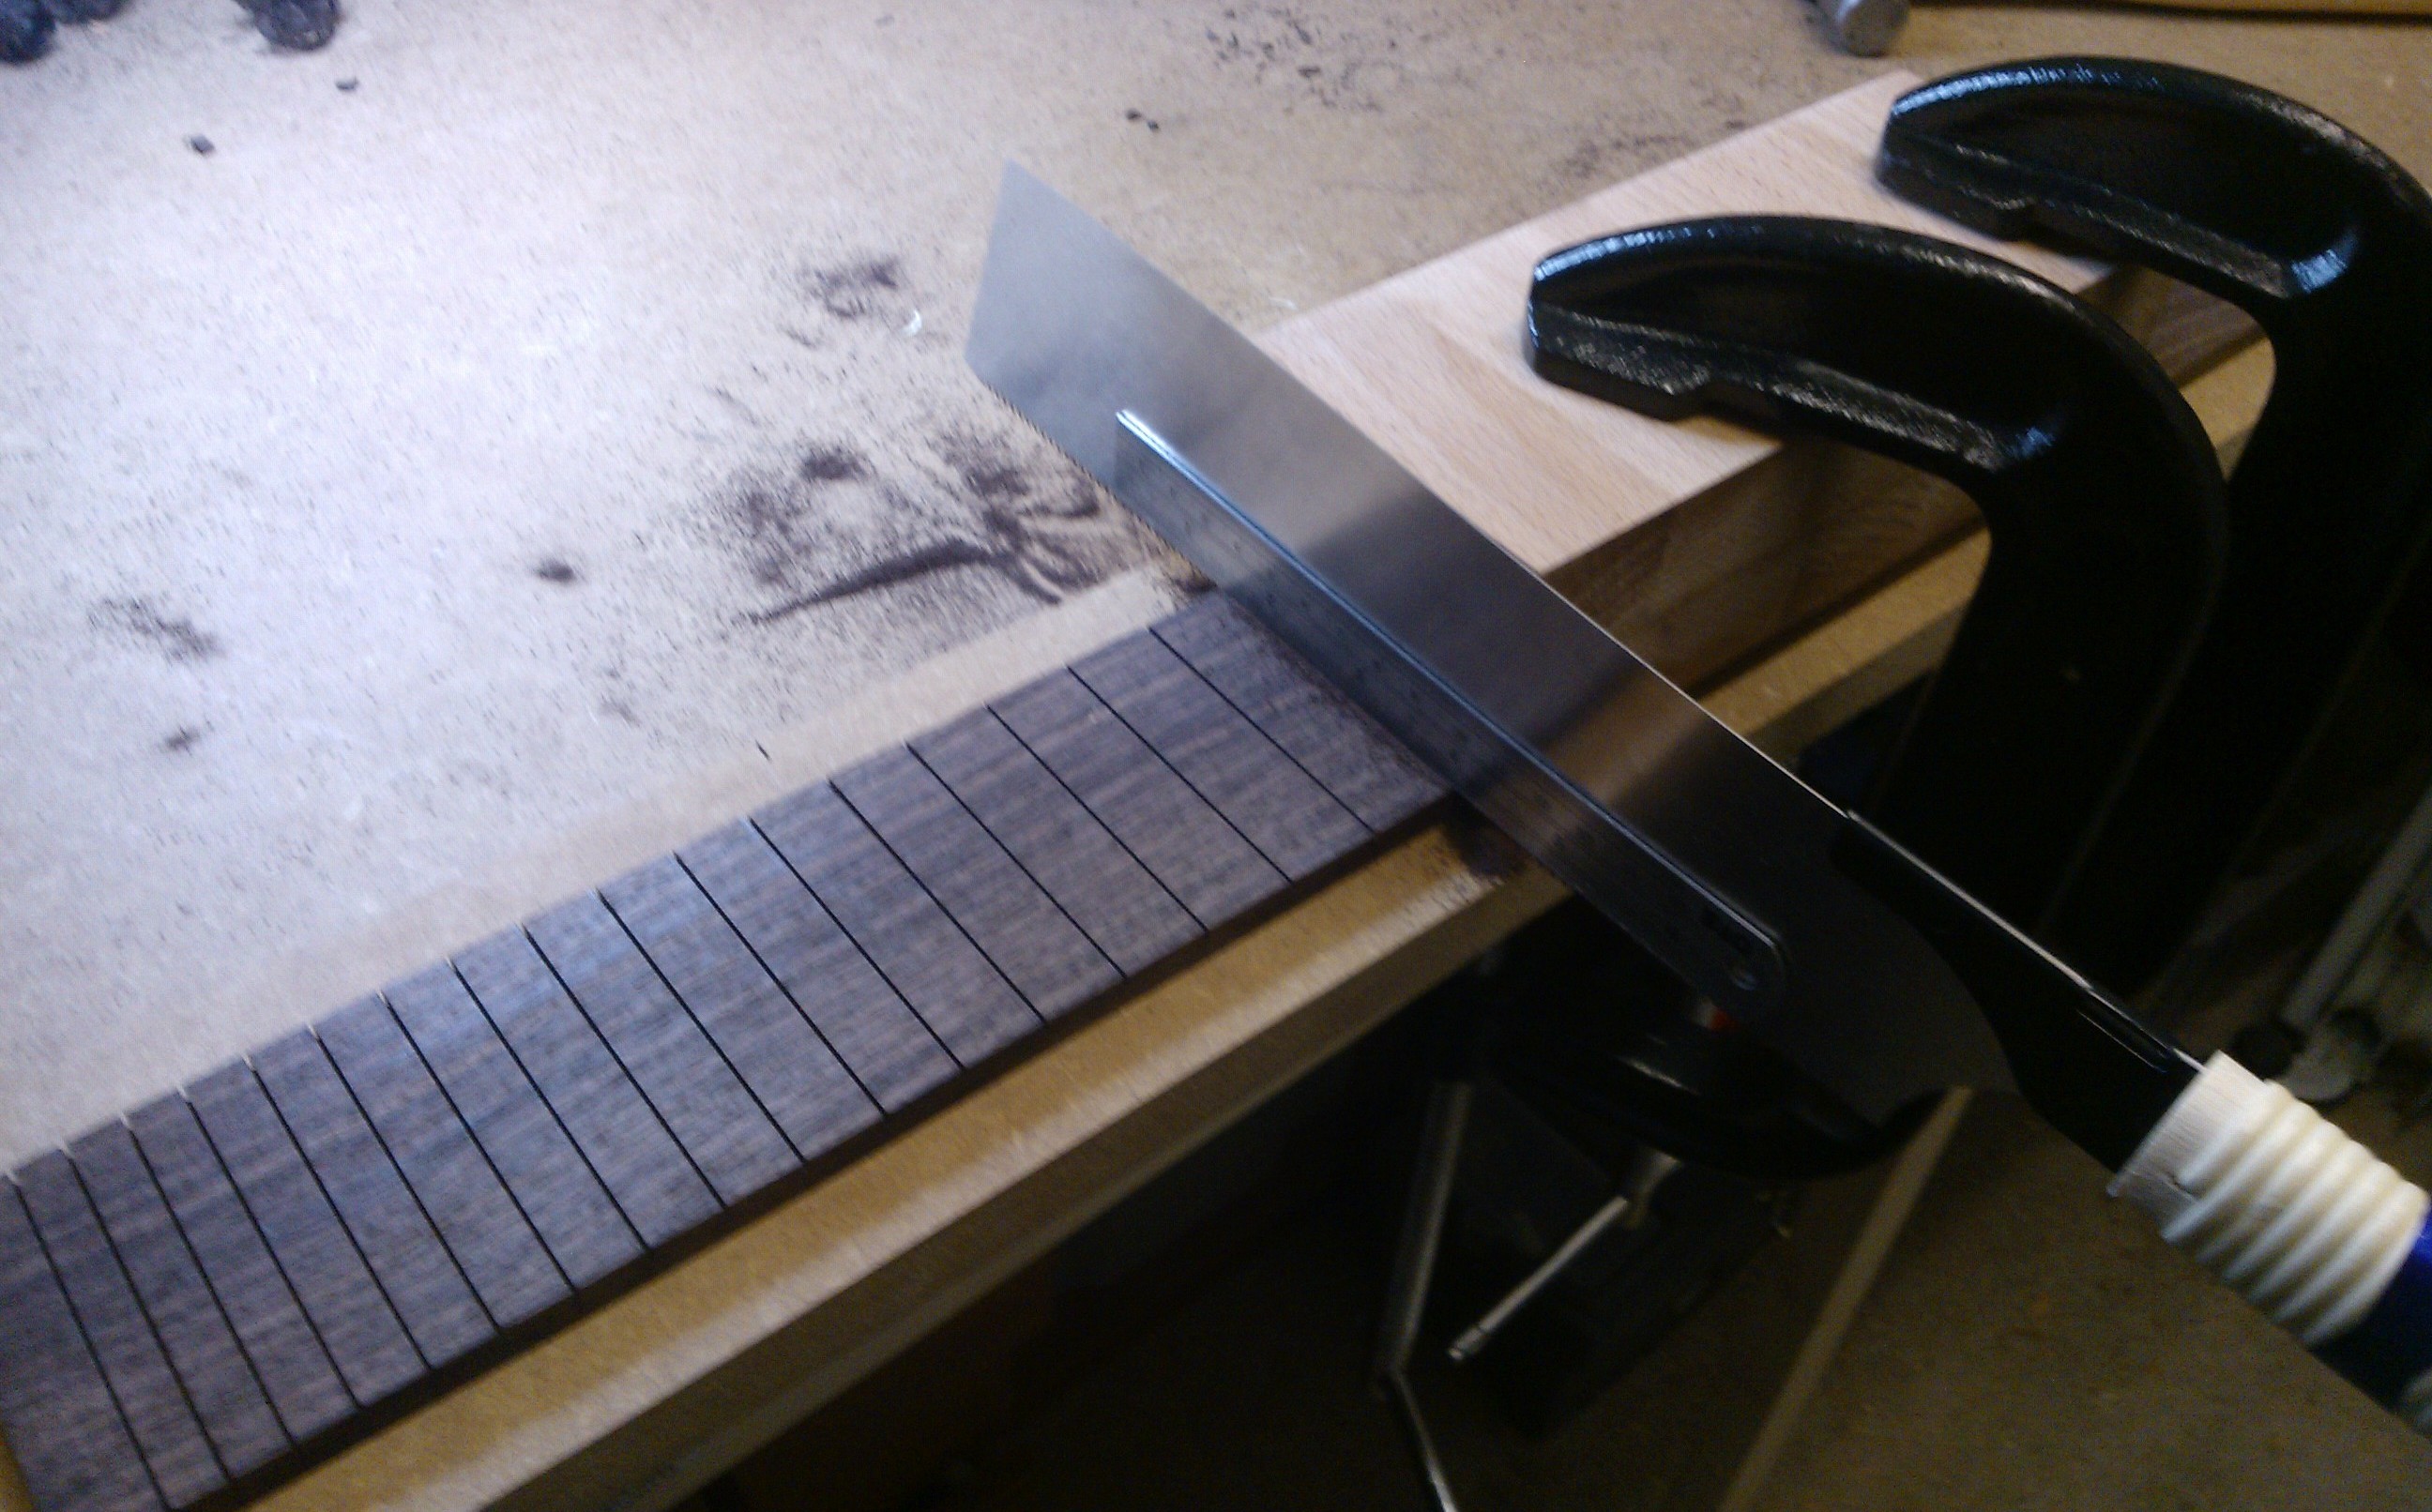
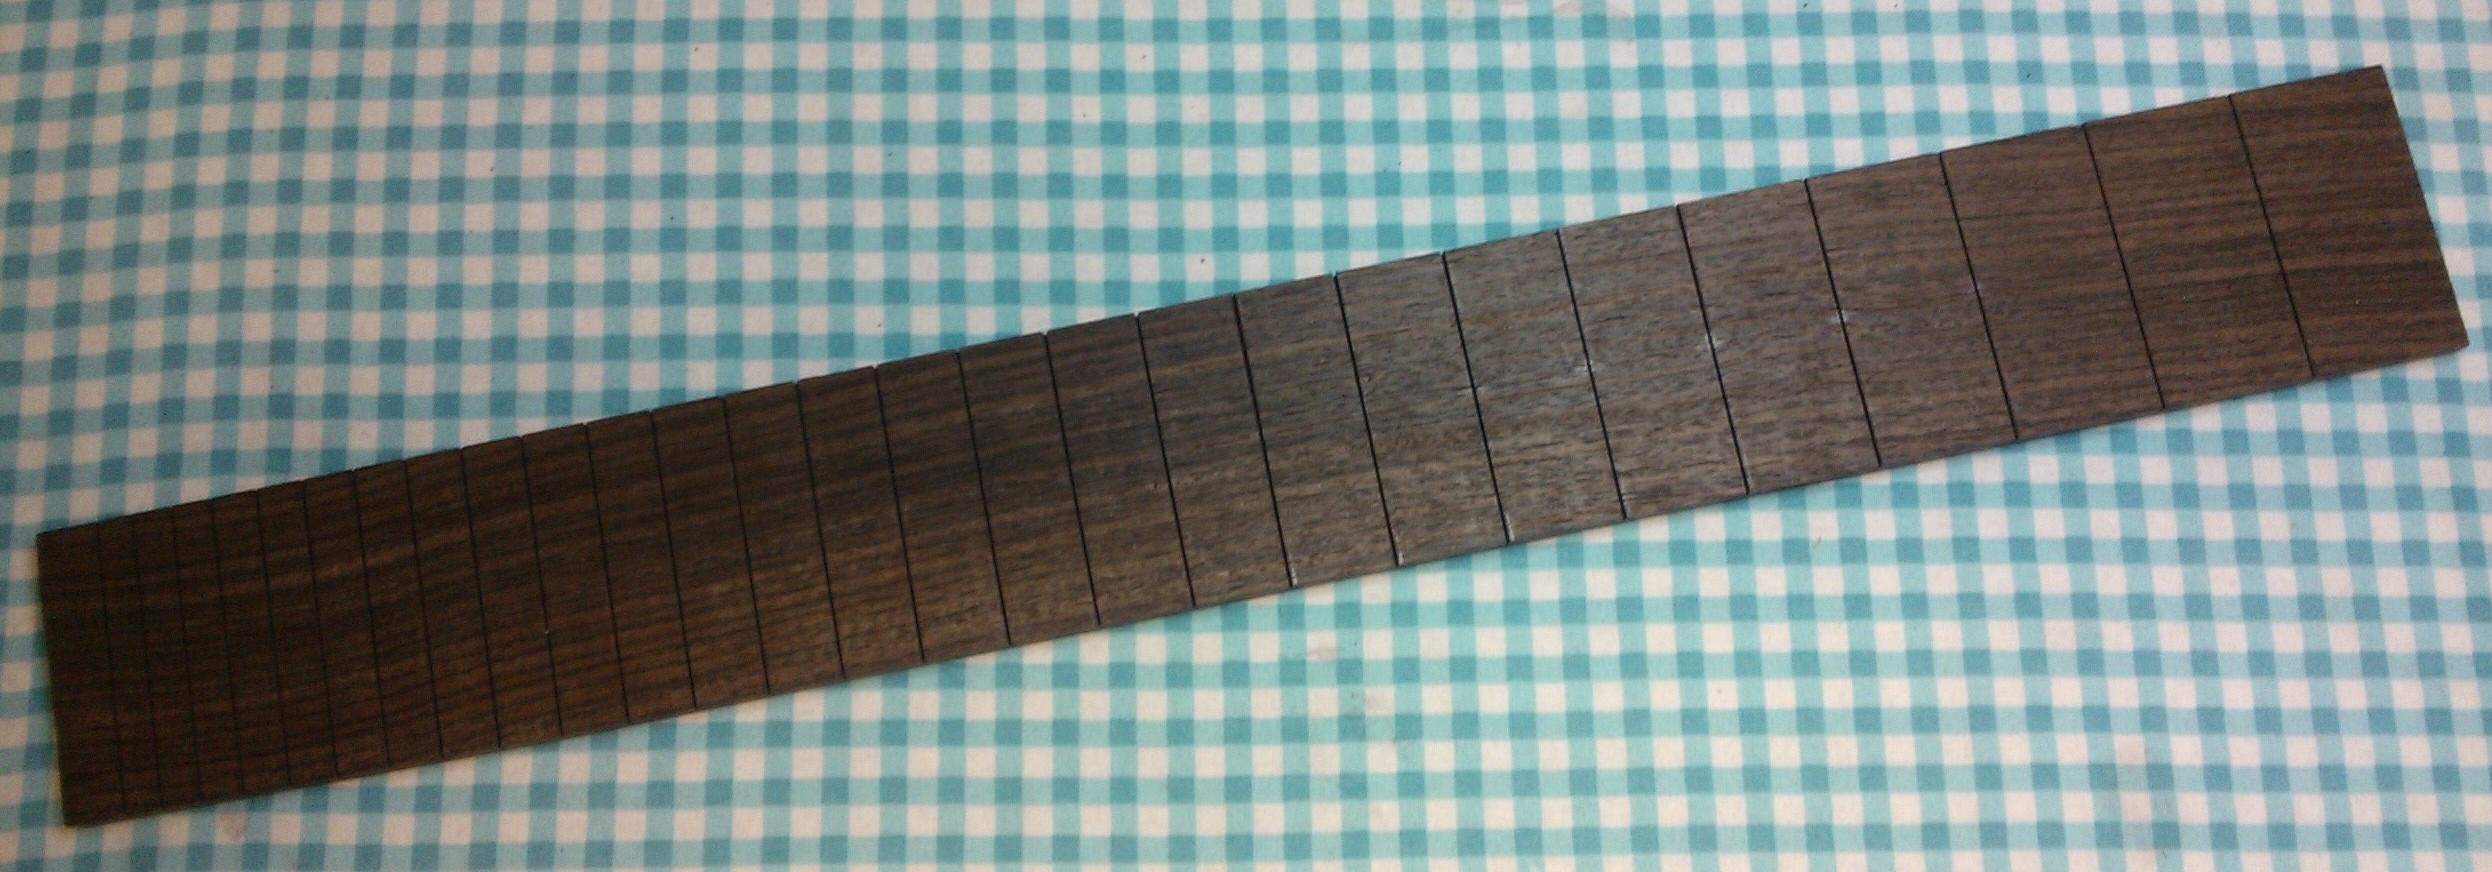
Next I levelled the fretboard and cut the fret slots.
The neck and fingerboard are just about done. They’ll need a final bit of sanding and final treating but the shape is there.
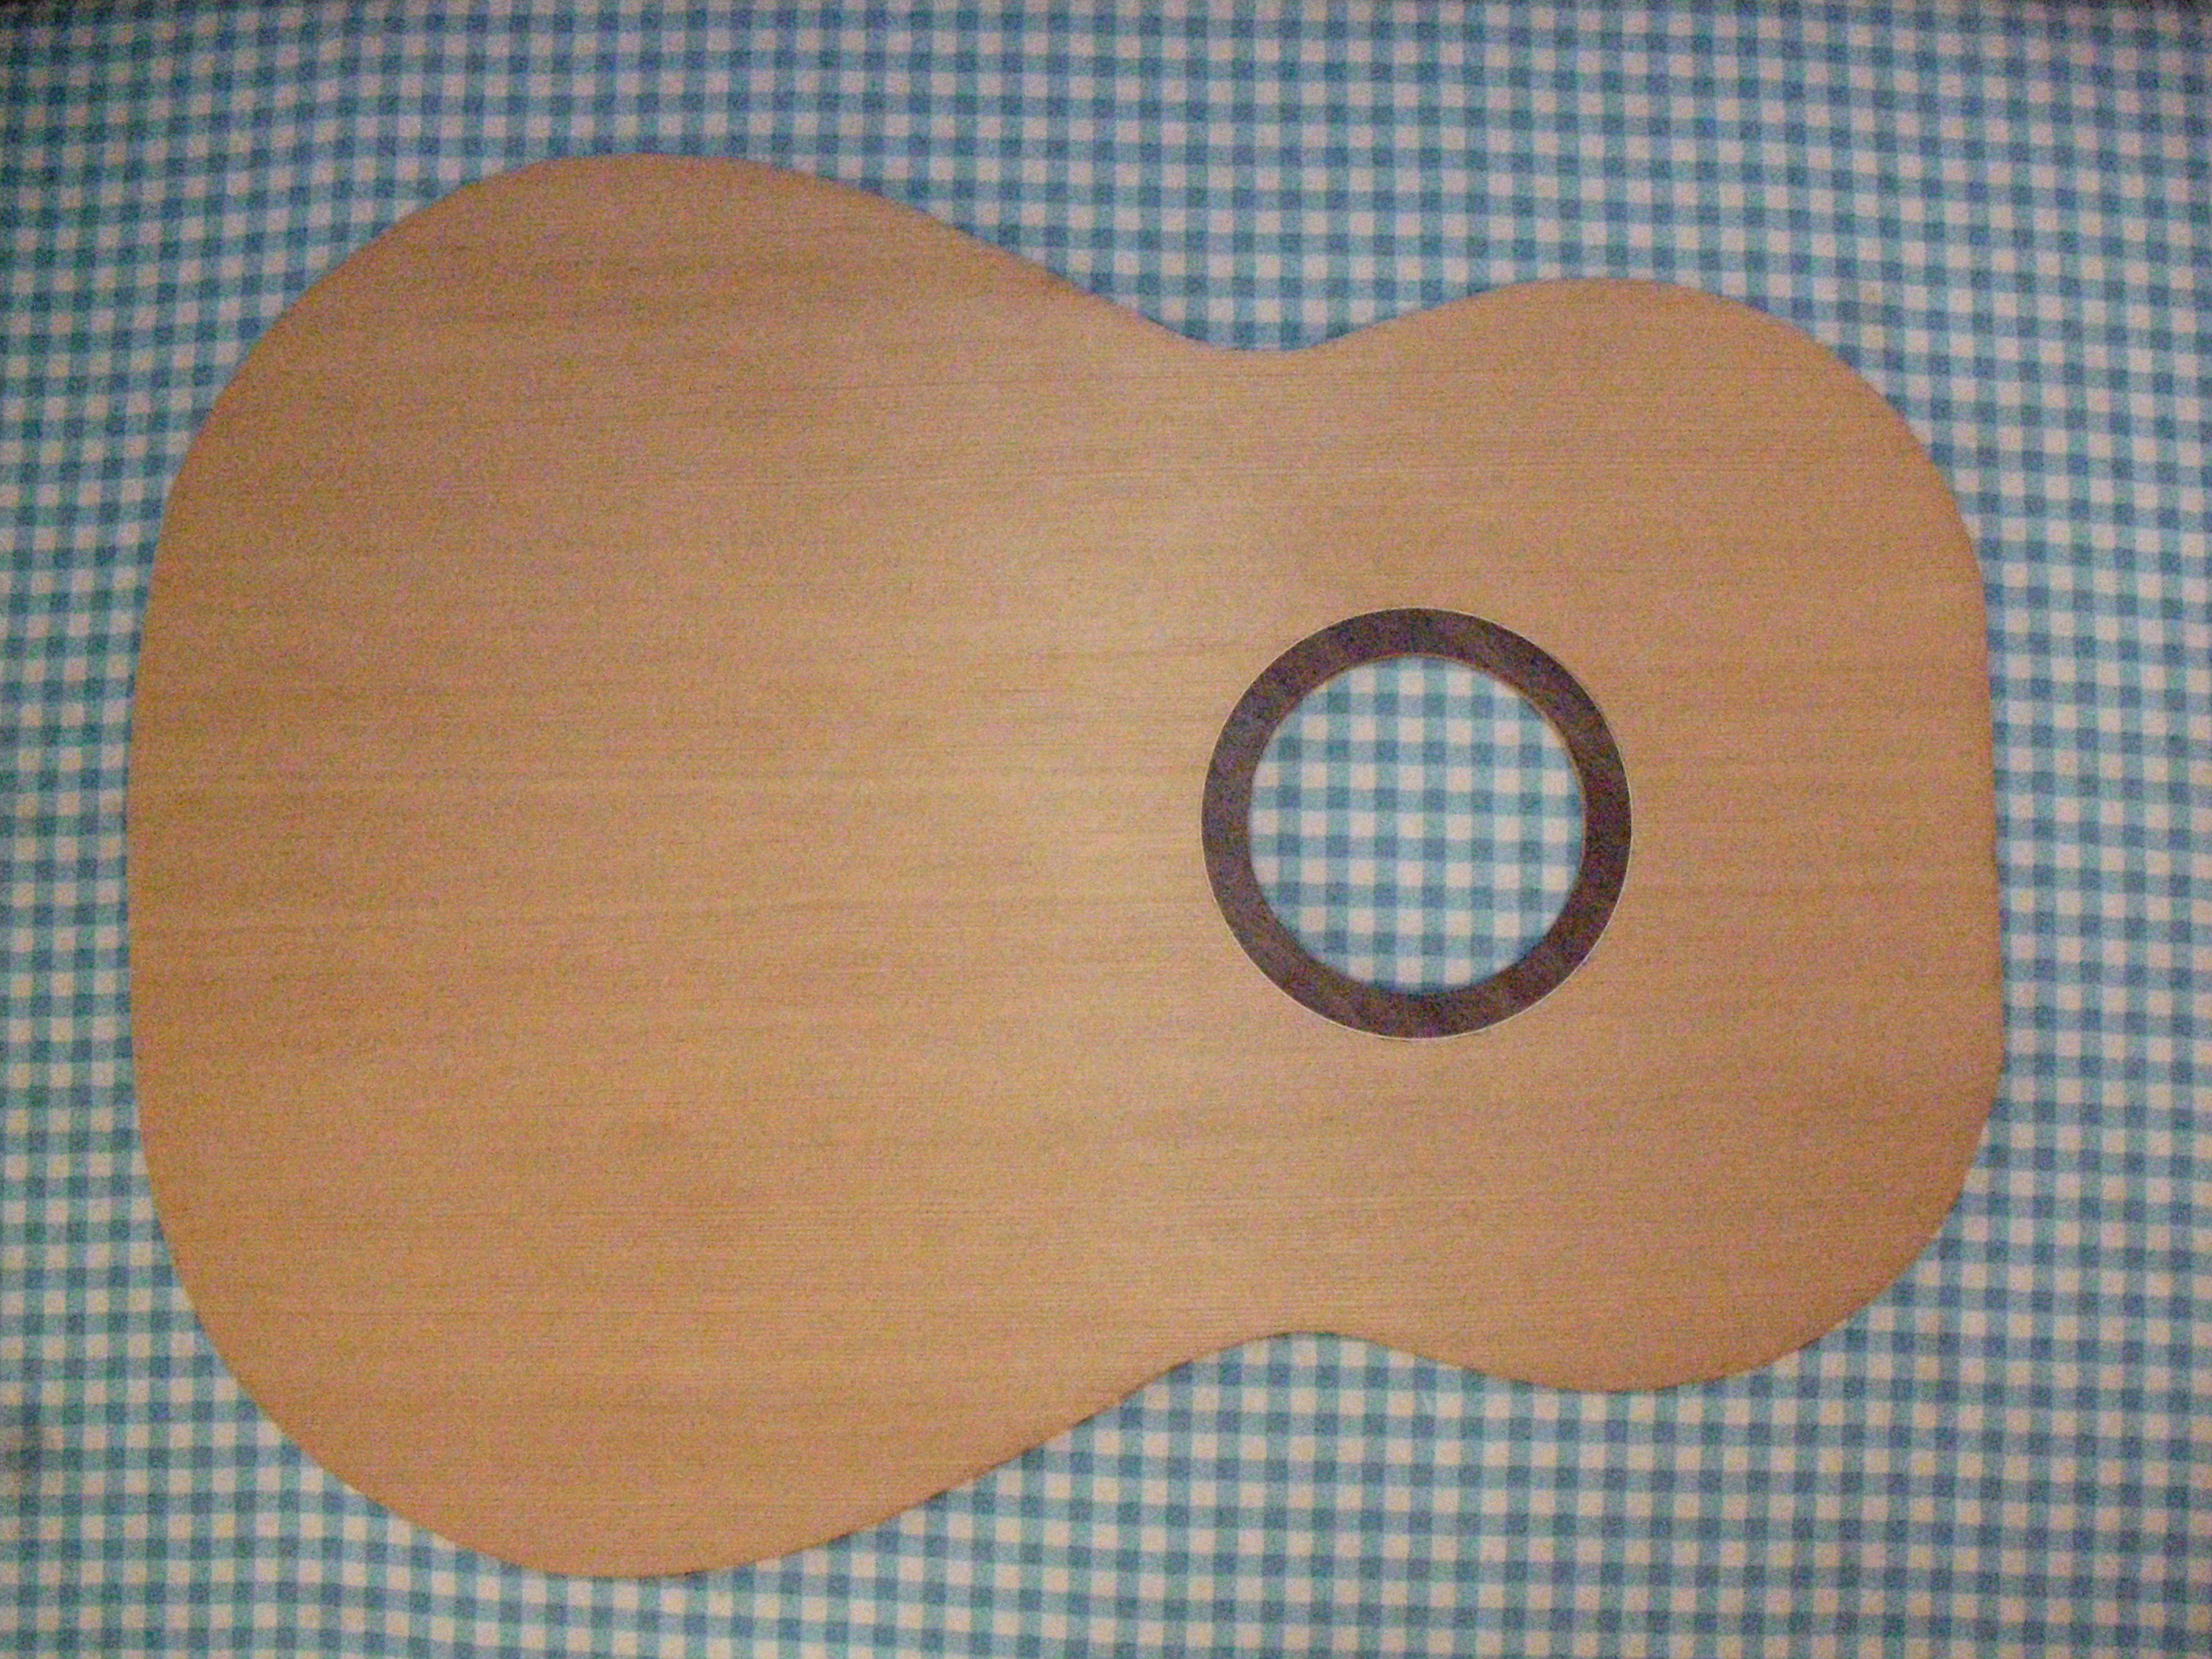
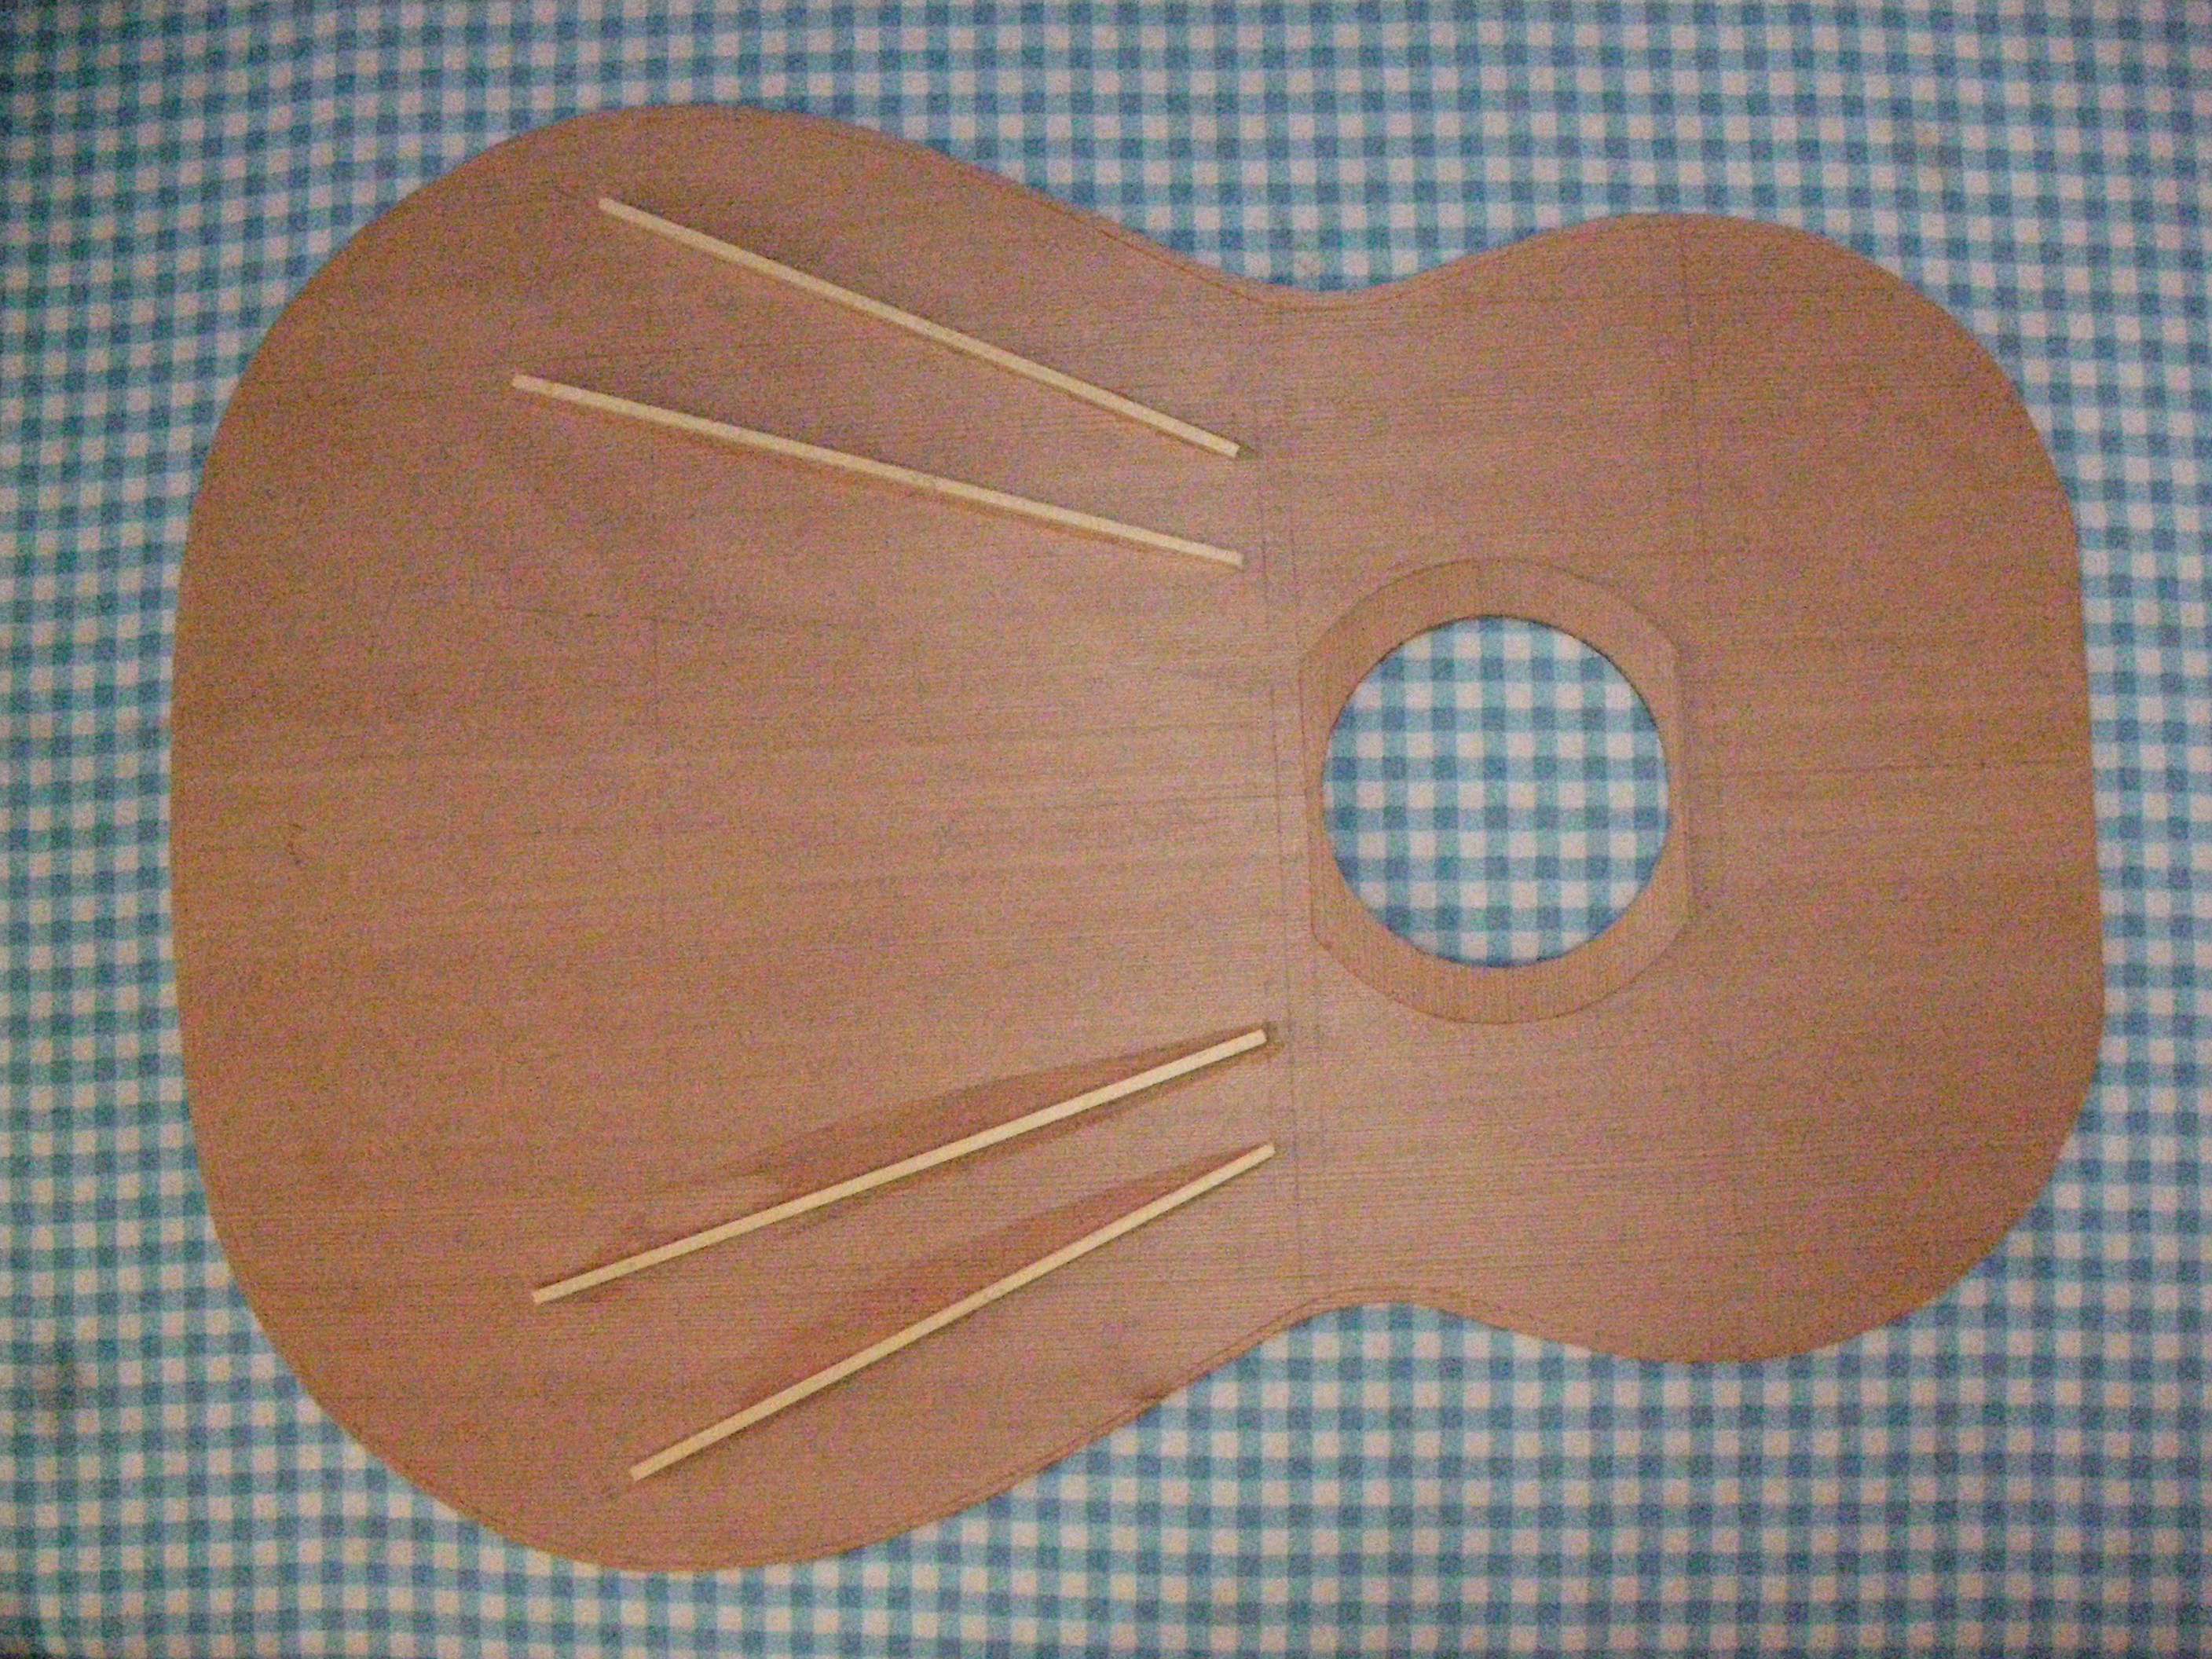
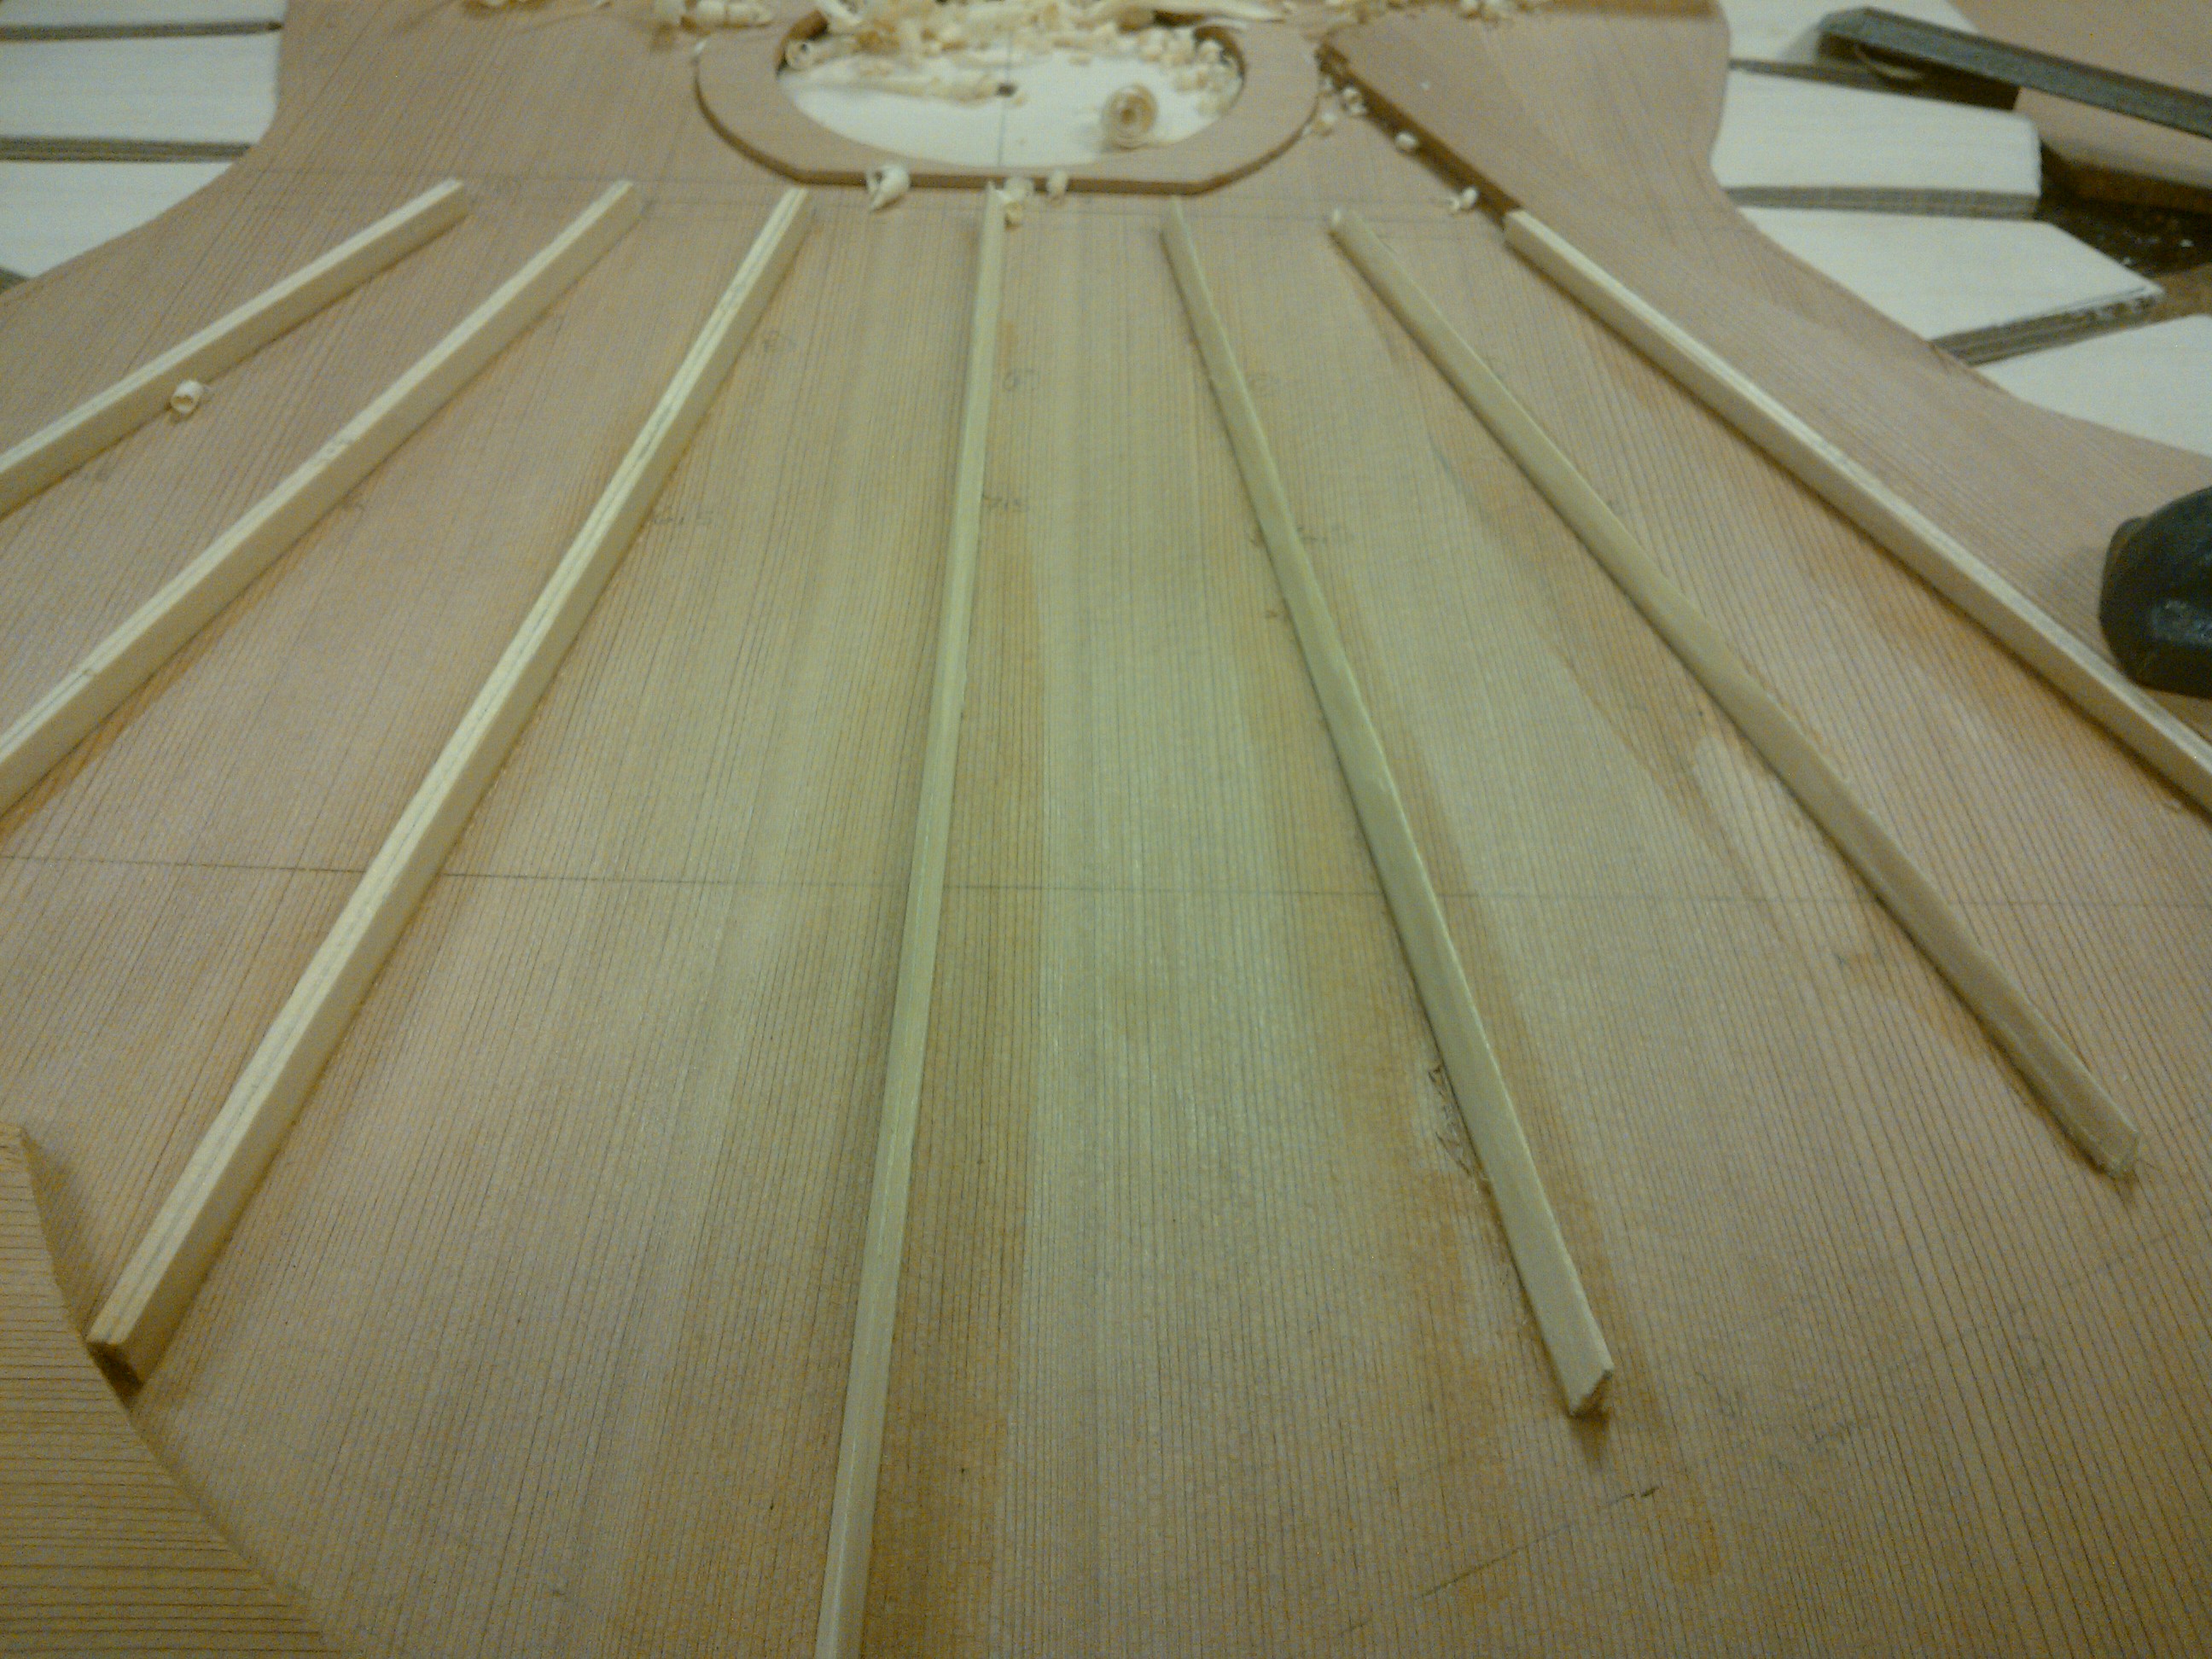
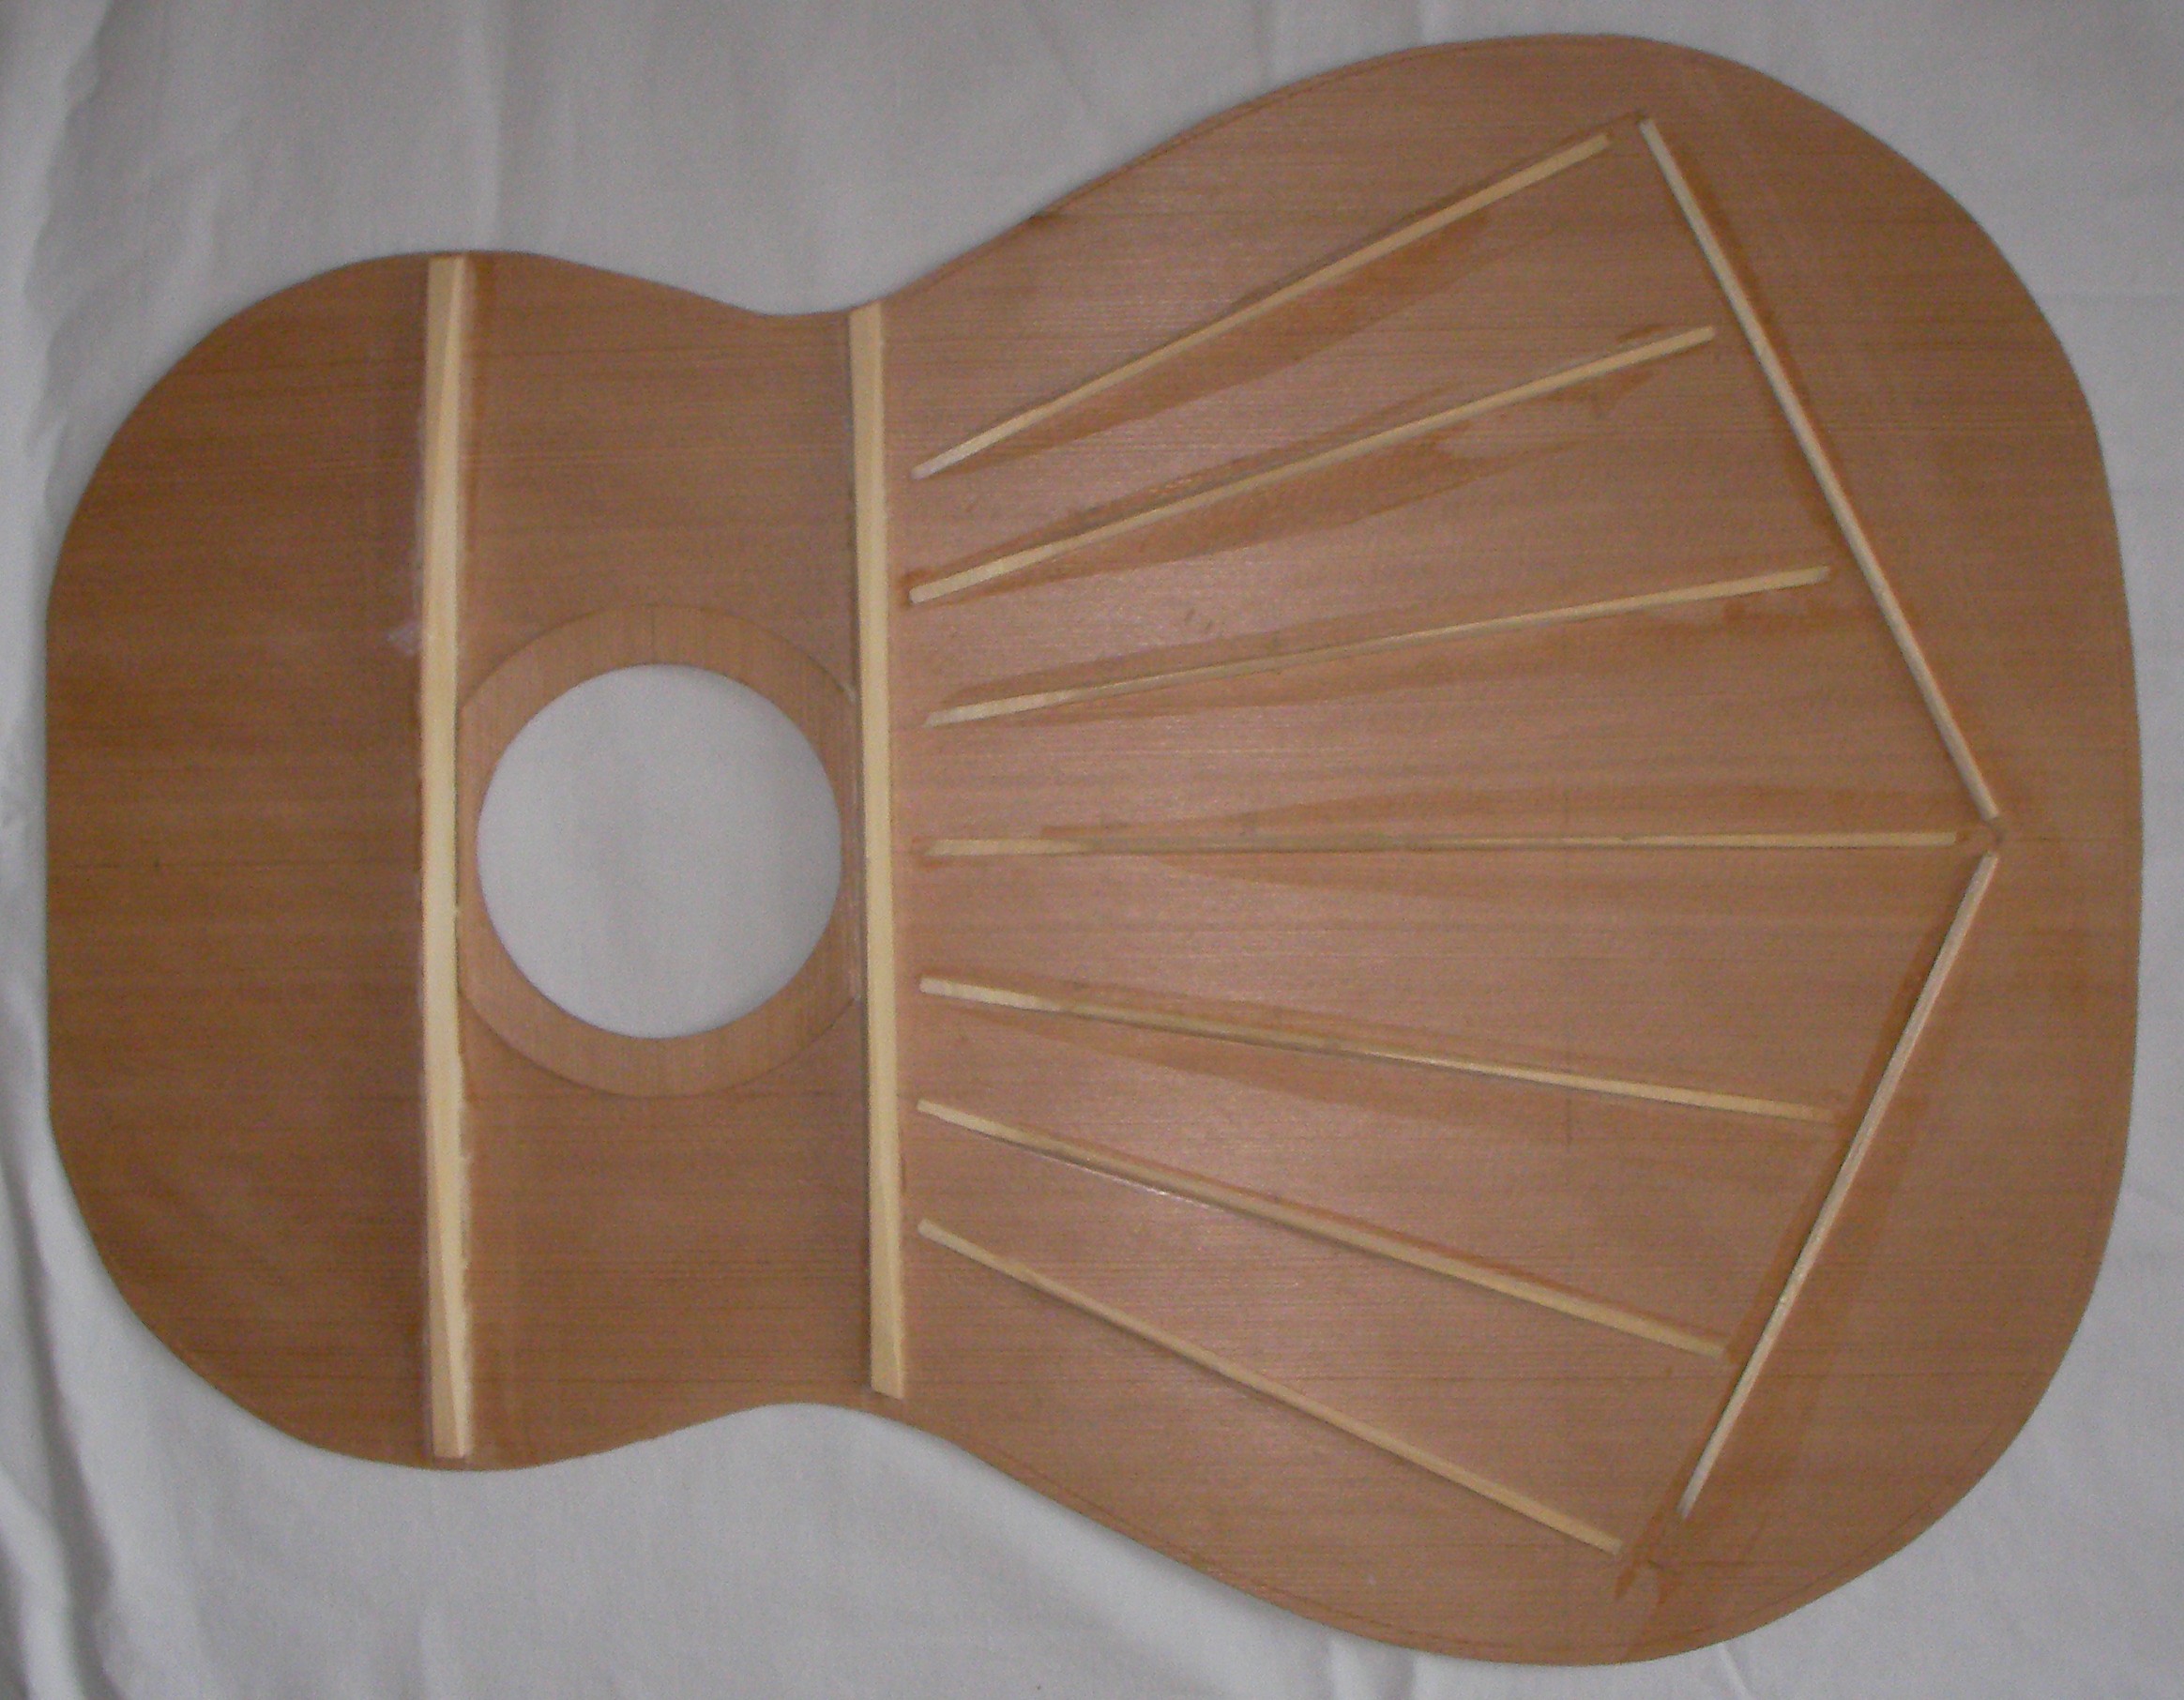
The top is coming along, I’ve got it to the right thickness and have the sound-hole cut. I’ve gone for a very simple rosewood inlay around the hole but I think it works. I’ve got some of the bracing done, I guess the next phase will be to finish that off.
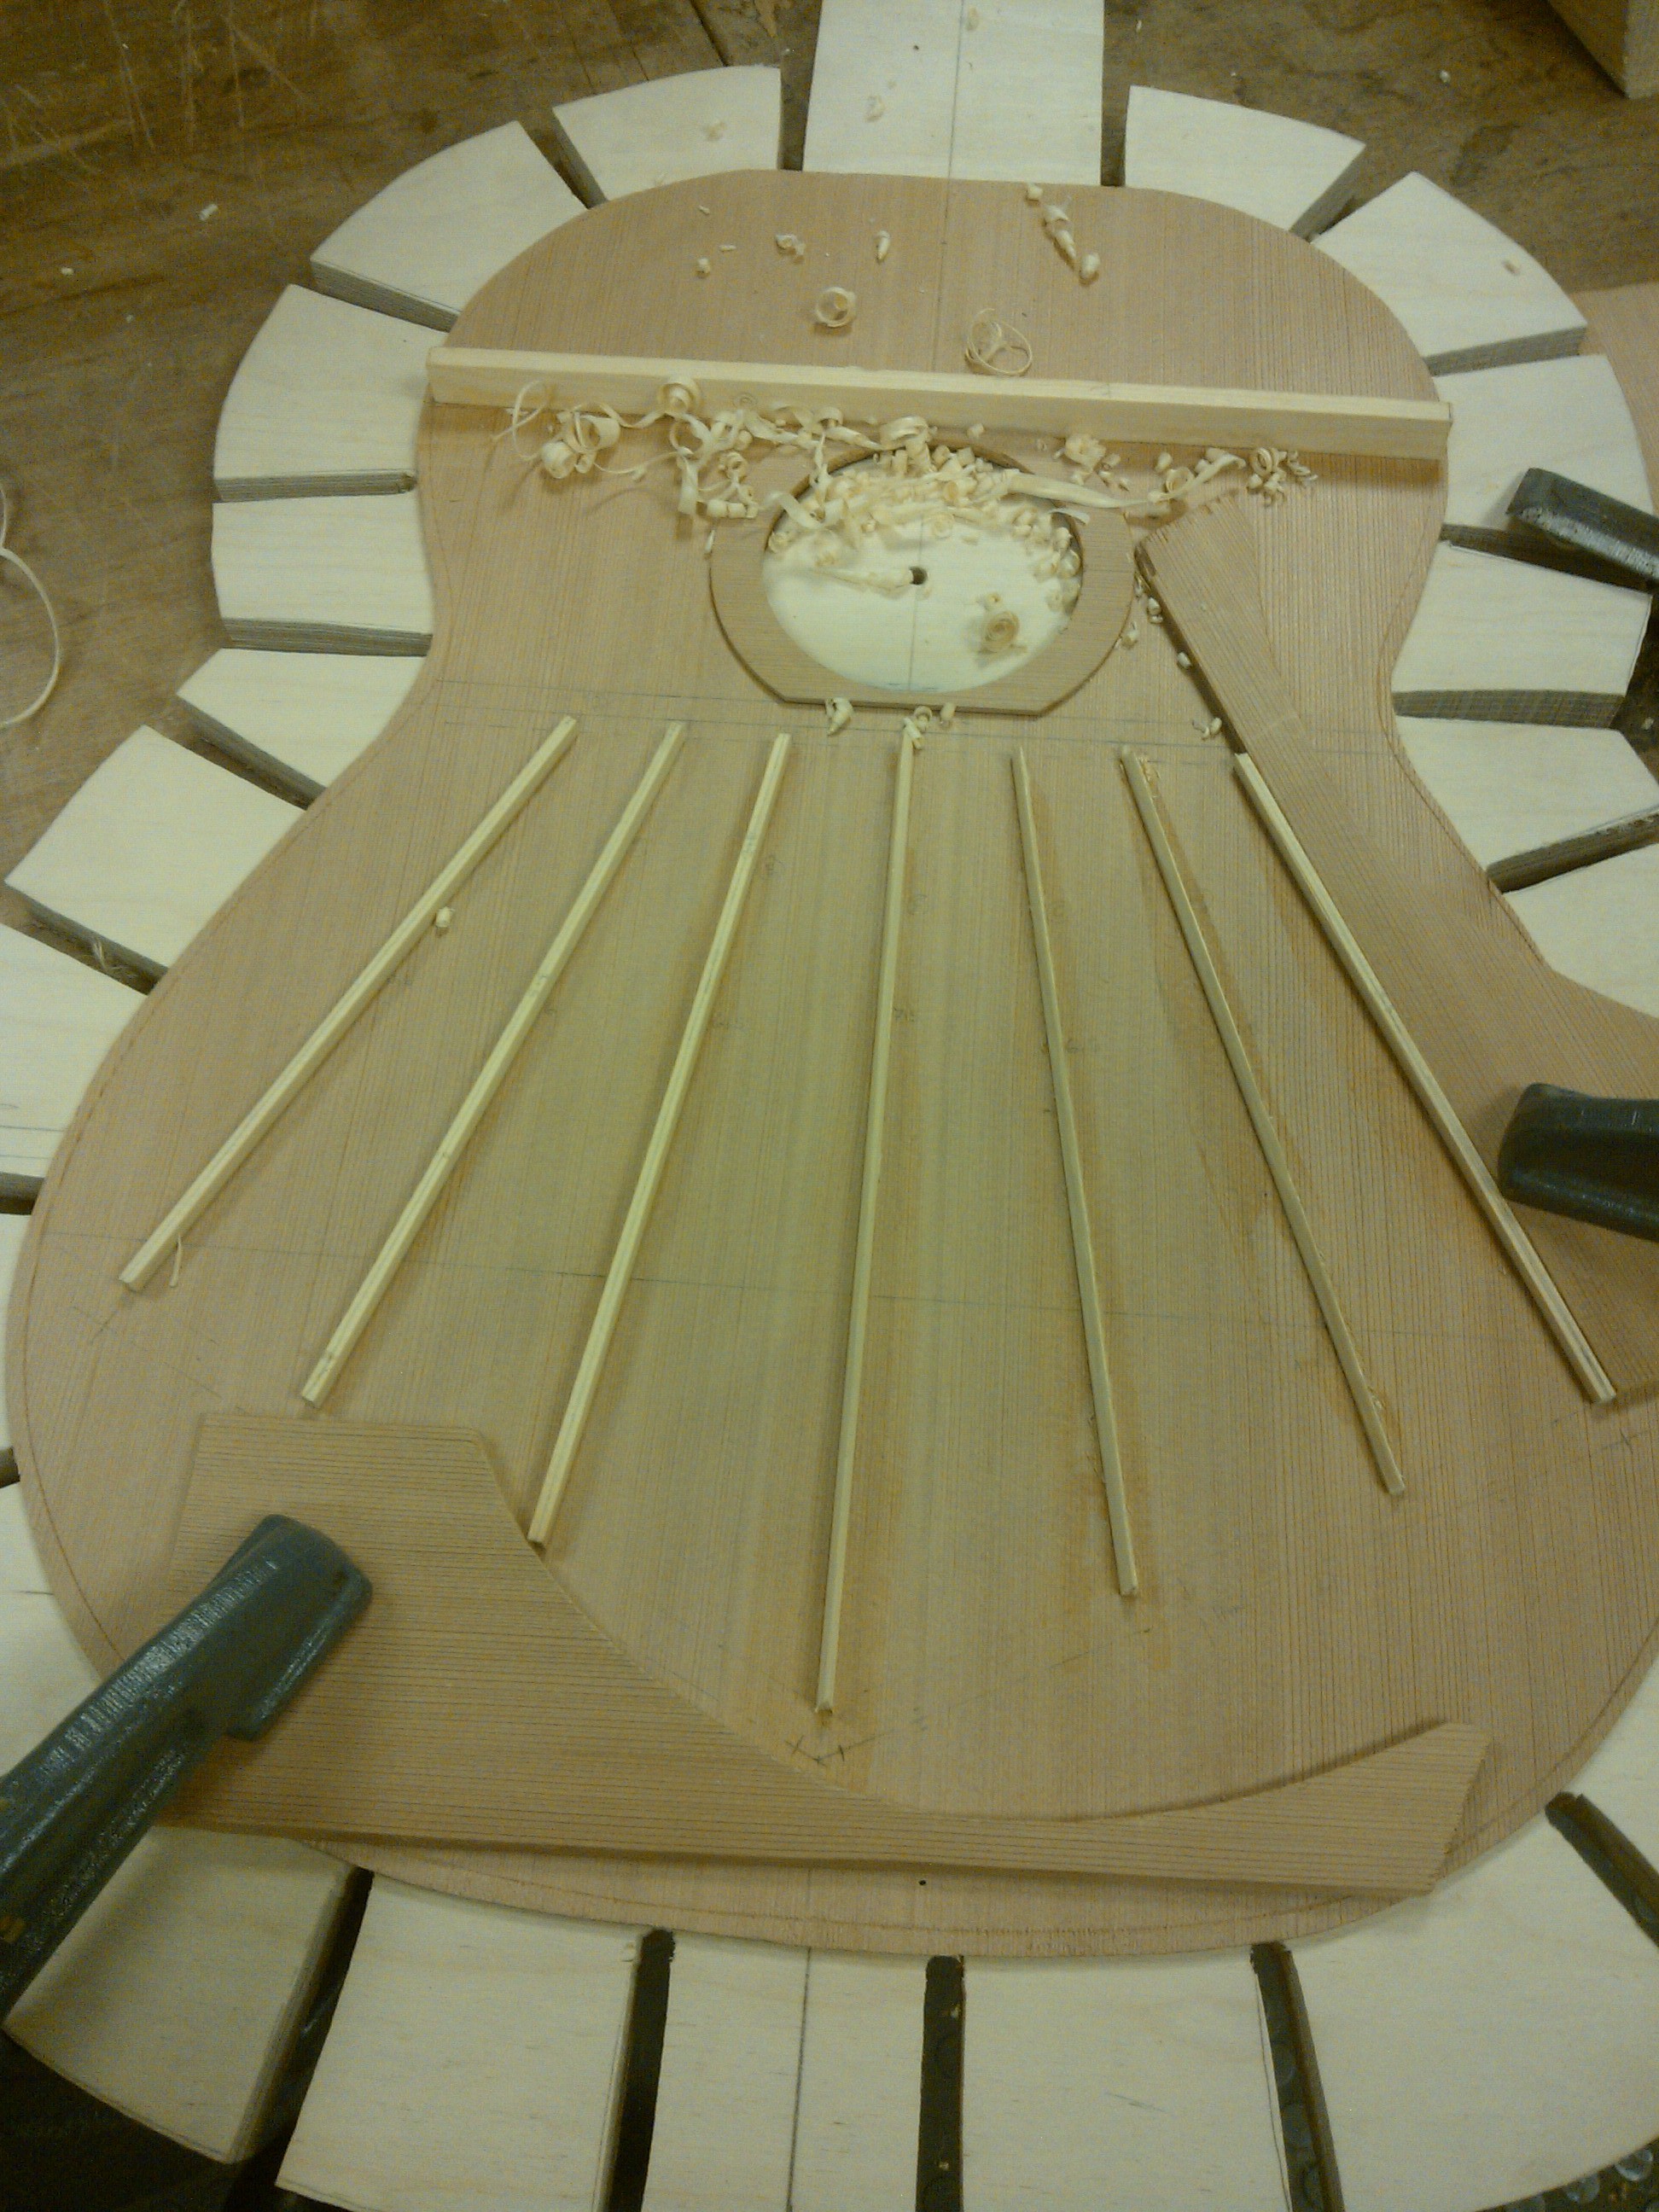
Once the bracings are all in place they just need trimming to shape
All done and shaped
With the neck and the soundboard complete it’s time to glue th two together. The important point is to get a straight line from the top of the neck to the bottom of the body.
While the glue dried on the soundboard and neck I also glued in the bracing for the back.
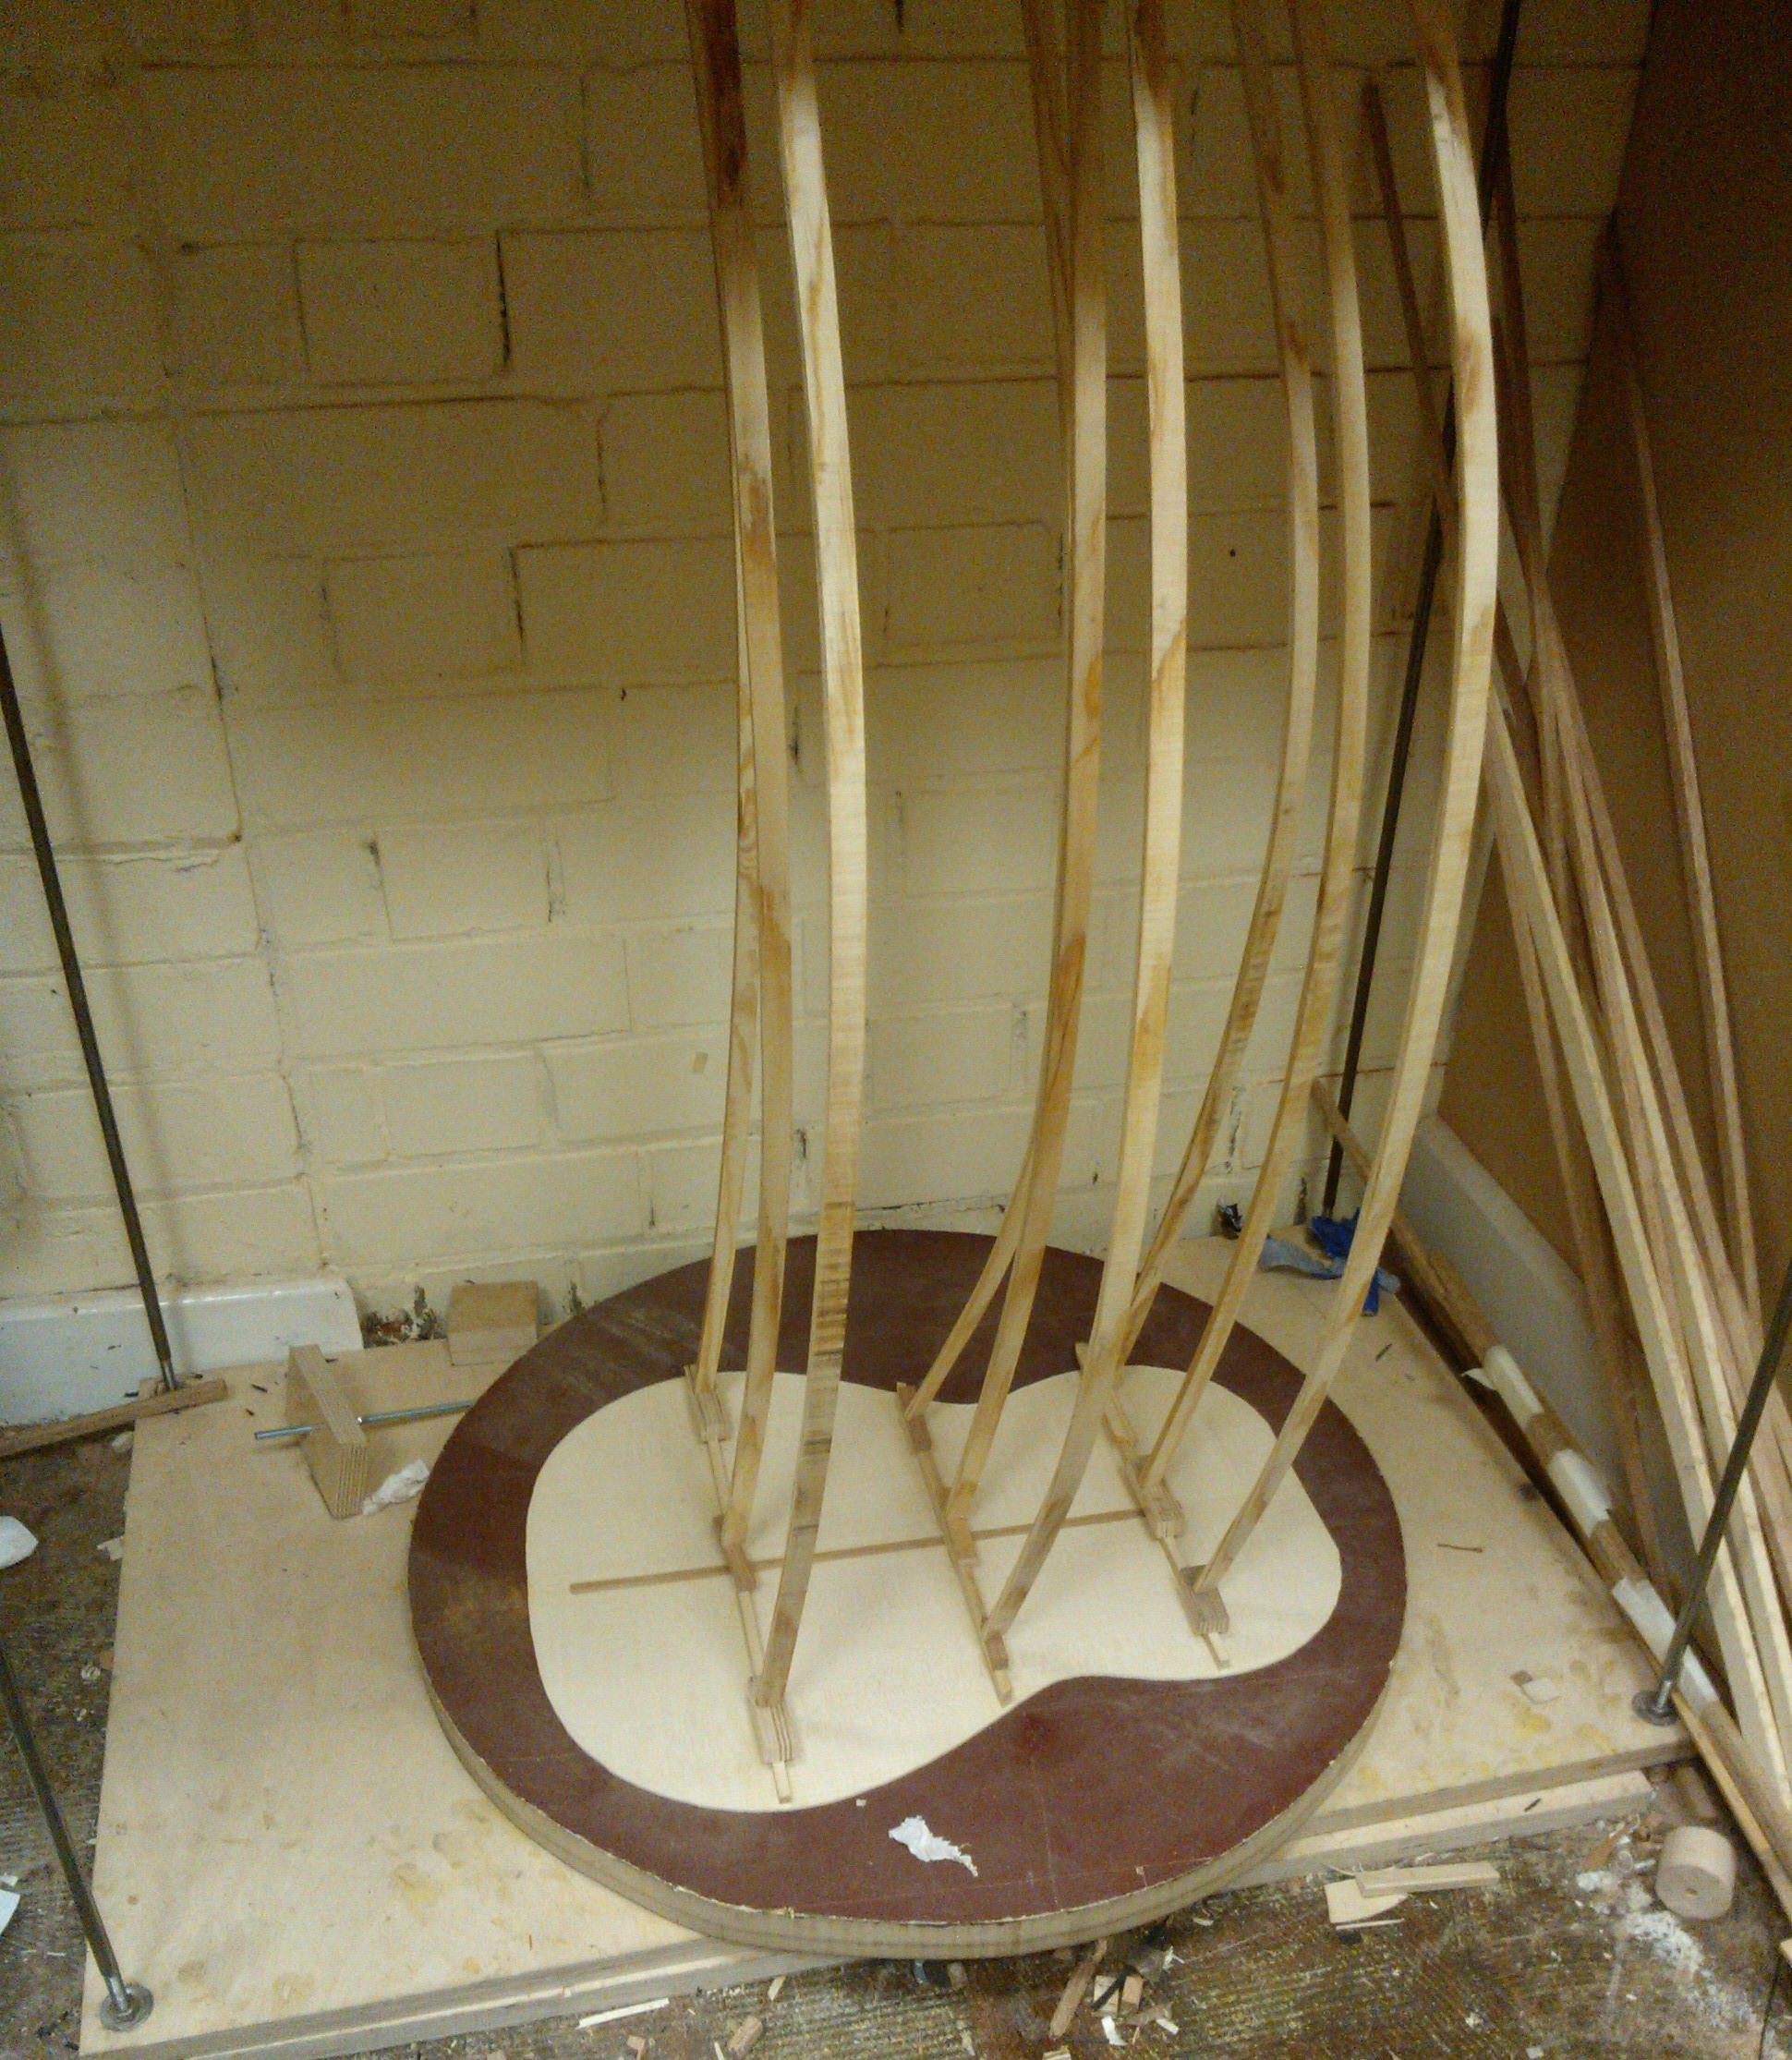
Got the sides shaped and fitted…
In fact it’s almost done, I really should have taken more pictures along the way. the top and bottom are fitted. Added a fine binding top and bottom with a thin black veneer.
Once the final finish is added it should look good.
The Fret-board isn’t fixed yet, I’ll fix that once the final finish is put to the body.
The heel is the right shape, just needs sanding down, and sanding down, and sanding and finishing and sanding etc etc etc….
I don’t seem to get much time to work on this one, but it’s been a little quiet this week so I’ve finished off the bridge.
The 2 white strips are bone so that the strings don’t cut into the wood when they are tied on. I’ve still got to cut the saddle for the strings. I’ll do that once it’s fitted to the Guitar.
I’ve put some fret markers on the side of the fretboard. Using the pillar drill to drill the holes…..
The markers come as a long thin plastic rod. Glue the end into the holes…
and cut it just slightly proud of the surface.
Then use a sharp chisel to cut it flat.

Before I fit the fretboard I need to put a finish on the body. I’ve going for Danish Oil…
Doesn’t look too bad. A couple more coats and it should be good.
With that done I glued the fretboard in place…
With the fret-board in place I next added the frets. I’ve got the lengths right and a 45º angle on the ends. The edges are still a little sharp so the next step will be to take those edges off.
I did hope I wouldn’t have to do this, but the frets weren’t as even as I hoped and I scratched the tops of some while getting the ends sorted. Since I’ve been at it for so long I might as well go the whole way and dress the frets. With the neck done I fitted the machine heads..
Almost ready for strings! Before that though It needs the saddle and nut.
As ever I’m using Bone, I still don’t think you can beat it. The slice for the saddle was a little thick so it took a bit of work to thin it down. The only way to do that, accurately, is by hand.
 With it sitting in the slot next I need to grind the extra bit off the end…
 Making sure it’s nice and square….
 The height is always going to be a bit of a guess. I measured the line from the 1st fret to the bridge which gave me about 5/64″ action height. Once the strings are fitted the neck will bow upwards so I need to take that into account. I’d rather go too high, I can sort that out later.
Anyway before I can fit the strings I need a nut. The generic blank is much too big so it’s going to nee quite a bit of work to get that right….
First I got the back and bottom flat and square then got the thickness right, so it fits in the slot.
 The last step, fit the strings and tweek the setup…
Job done. Might be a while before I start another one though!
