Putting a guitar together may seem easy but the devil is in the detail!
Despite what it says I suspect this neck isn’t genuine Fender, if it is, it’s a Friday afternoon special, the frets are all over the place. If It’s to play nicely they’ll need levelling first.

The masking tape is to protect the fretboard and the marker pen so I can tell when the file is touching everywhere.
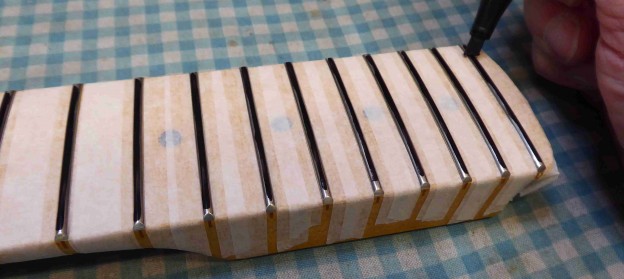
Making sure the fretboard is completely flat.

The calibrated beam is completely flat so once I’ve finished the fret tops must be even.

The biggest problem is the first fret, it’s very low. It means I’ve got to take all the others down to that level. 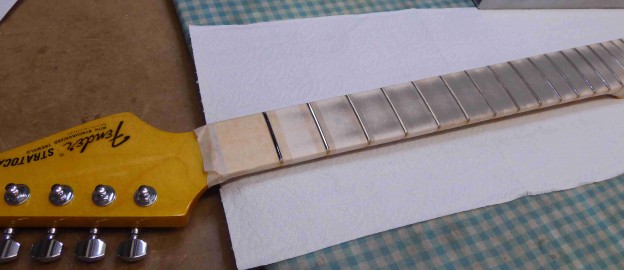
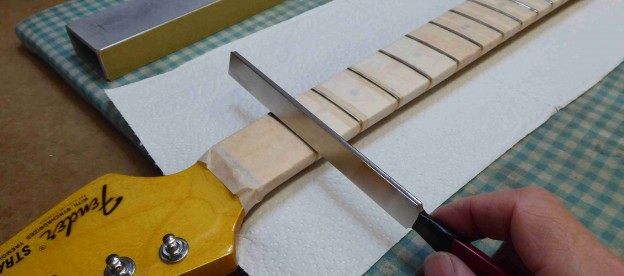
Once the frets are nice and level the tops need to be rounded off and polished again.
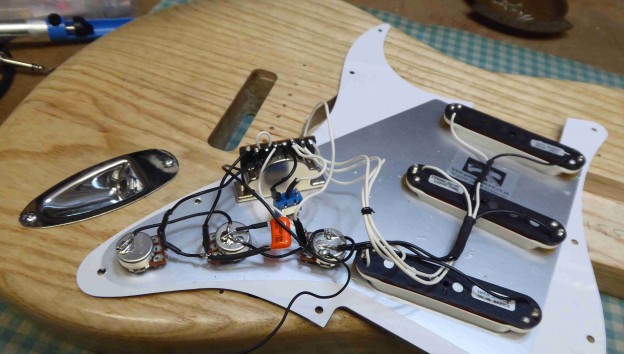
The electrics have already been done but there are a couple of problems.
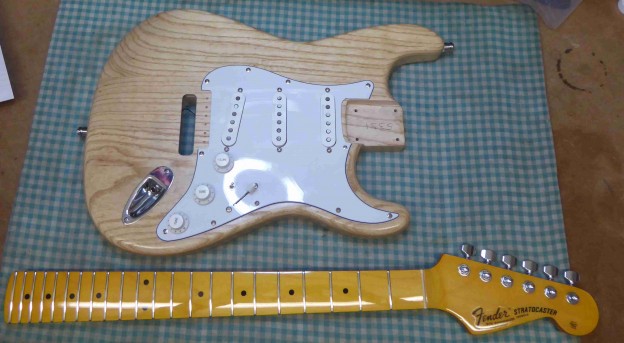
a crossed wire on the switch. The tone circuit wasn’t working very well either, wrong value on the tone cap’ for a start.
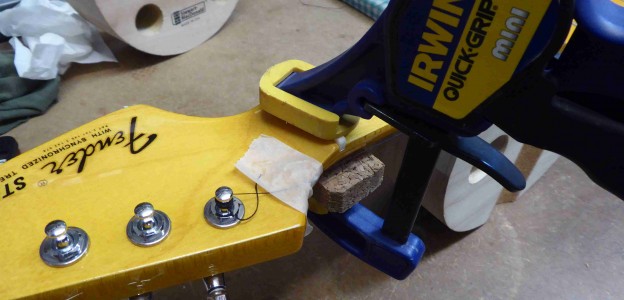
To make sure the neck goes in the right place, and is lined up properly I need the nut in place.
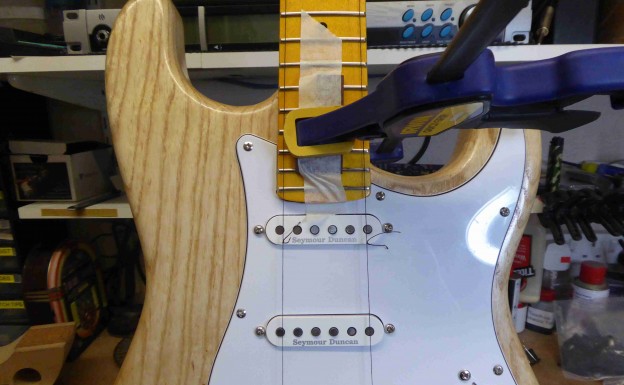
To check the line of the neck I use thick thread in place of the “E” strings. With the neck clamped into place, drill the holes and screw it in place.
With that done all it needs is a setup, starting with the tremolo action.
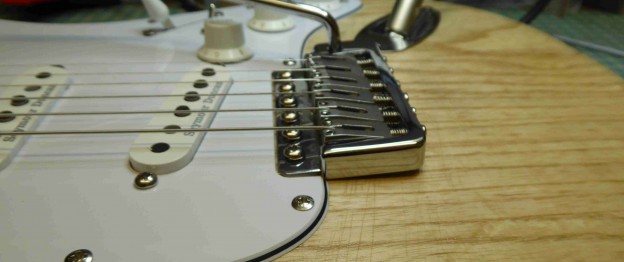
Starting with the “E” strings the action at the 12th fret was rather low…

so raise the bridge saddles.
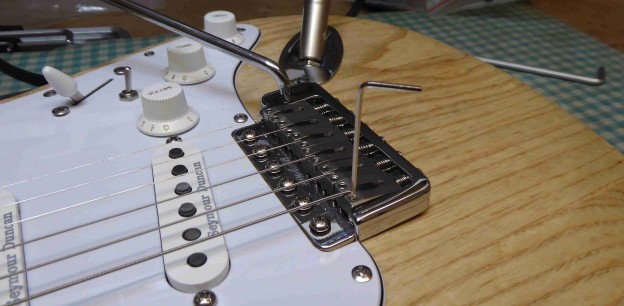
With the outside strings set, bring the other ones up to match the radius of the bridge to that of the fretboard.
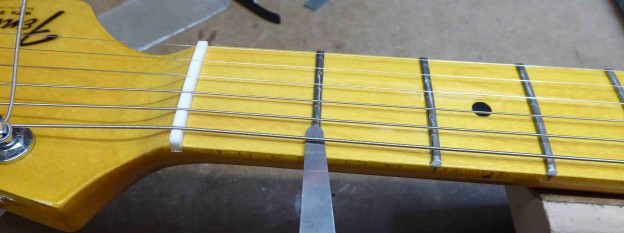
Back at the top of the neck the action at the 1st fret was much too high as well. With a new nut It would be, the slots always need cutting down.
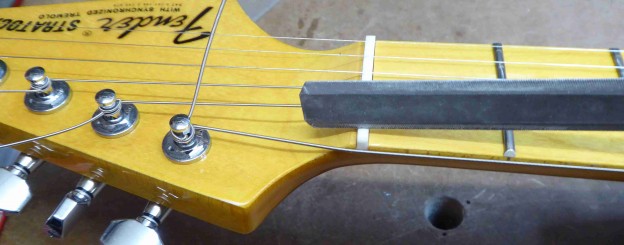
Using the appropriate file to match the string gauge.
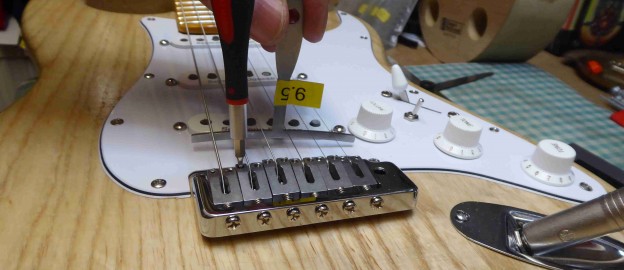
With the action set right the intonation needs setting so that it plays in tune all the way up and down the neck.
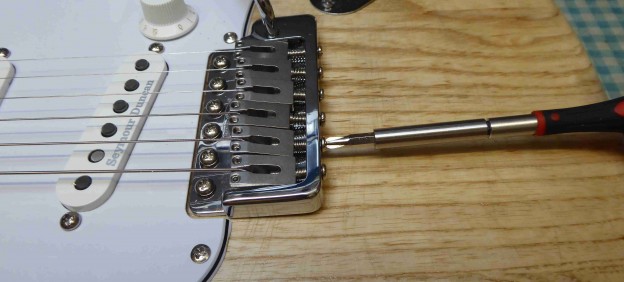
Last of all the pickup heights.
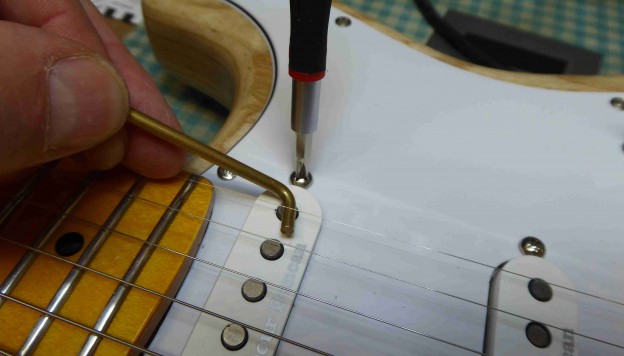
Of course there are a couple of other small details, the spring cover..
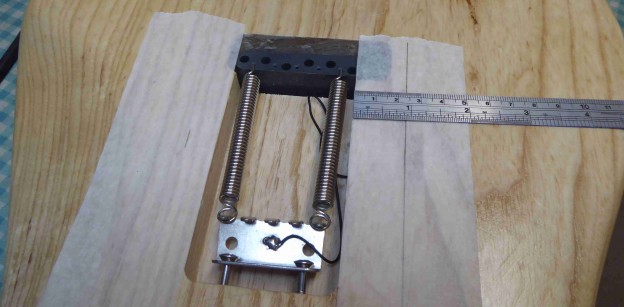
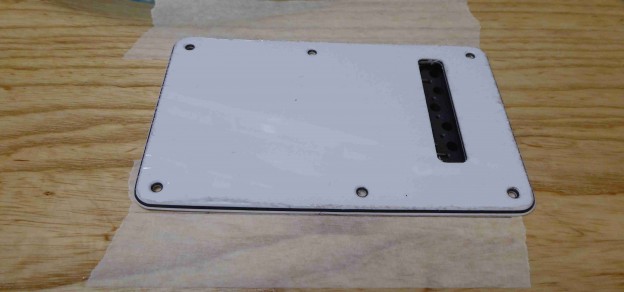
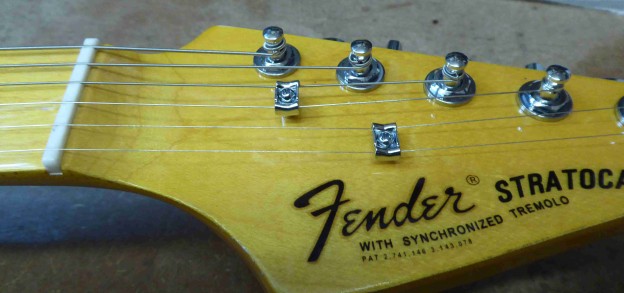
and a couple of string trees.
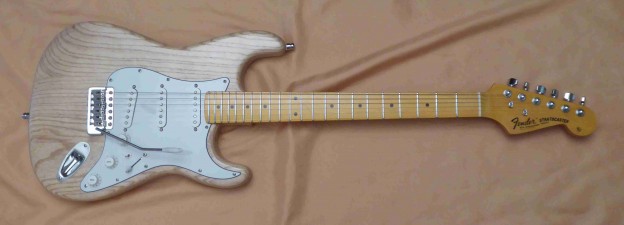
And there it is, good to go
For anything else I can do for you, check out www.guitar-george.co.uk