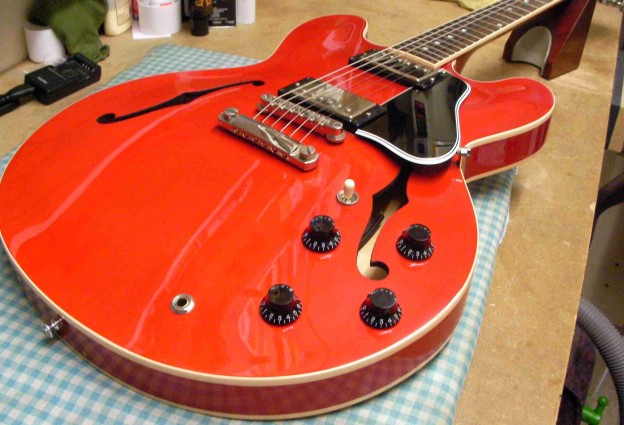
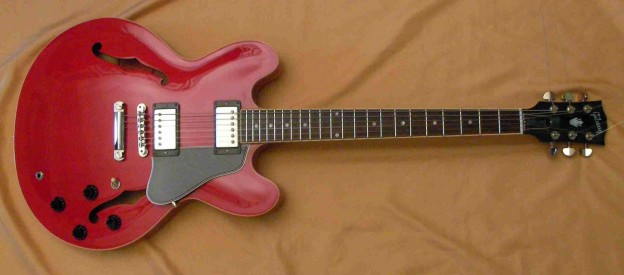
Wow, what a beautiful guitar. Reminds me of the first brand new guitar I ever bought, except mine was an Epiphone, I could never have afforded the Gibson when I was about 16.
This one has been well loved but well used so is in need of a little TLC. I’m sure I can get it back to it’s best.
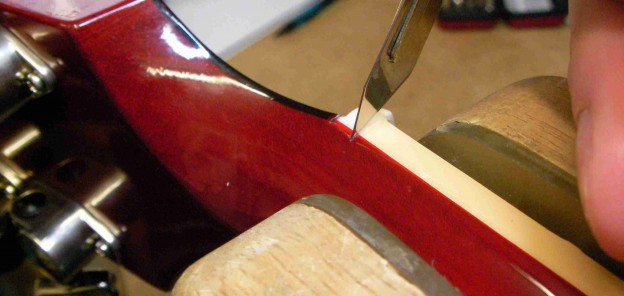
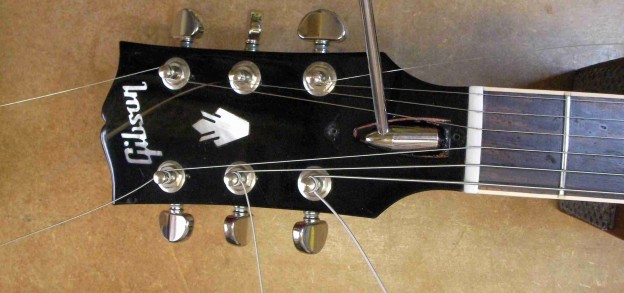
With the strings off the first job is to remove the nut. It’s always tricky with Gibsons as the lacquer on the neck is applied over the top. If you just chisel it out you can split and chip the finish, it’s best to score through the lacquer first with a scalpel and then tap it out.
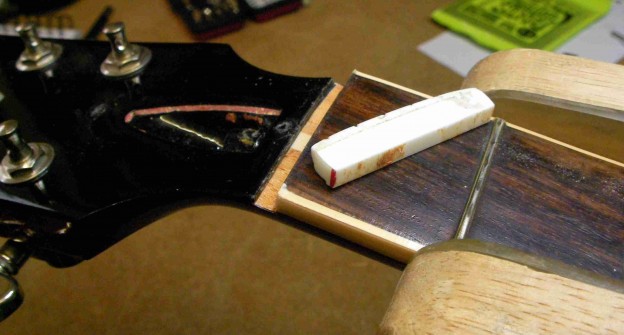
There it goes, came out nice and cleanly, more to the point should go back nicely.
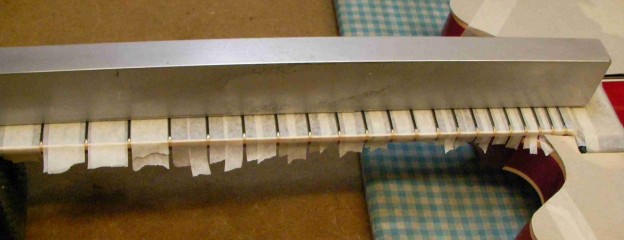
Before I can sort out the frets it’s important to make sure the fretboard is absolutely flat.
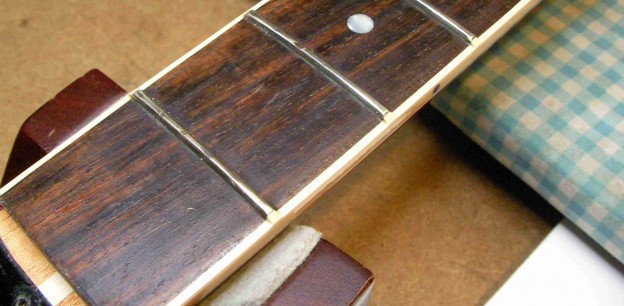
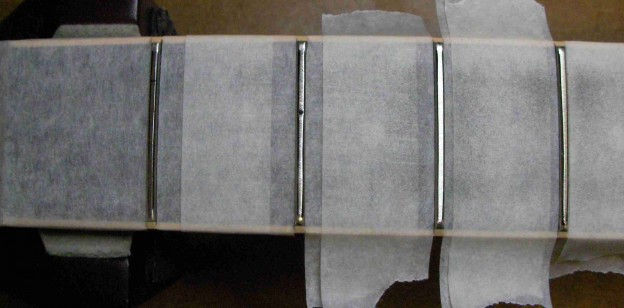
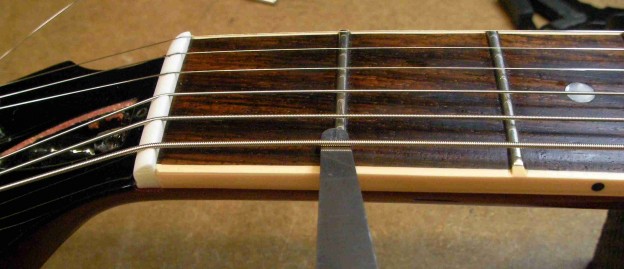
Here’s why I’m going to dress the frets, the first and second are rather notched through wear and tear. There are one or two uneven ones as well so a dress will sort that out too.
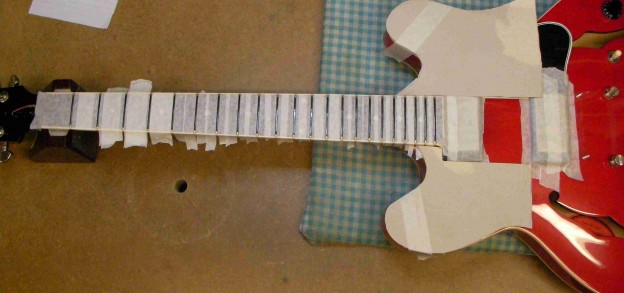
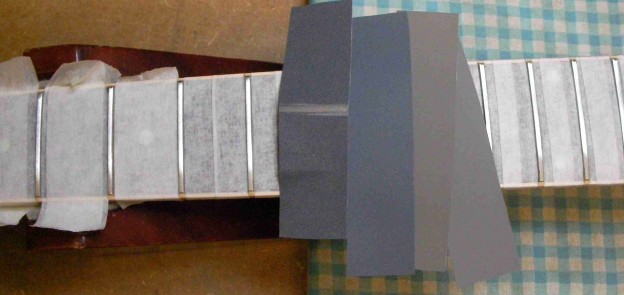
Of course before attacking the frets I tape up the fretboard and body to protect it whilst I work on it.
With the level beam and sandpaper grind down to the lowest point…
There we go, just about done, although up at the 14th fret there was a very low one.
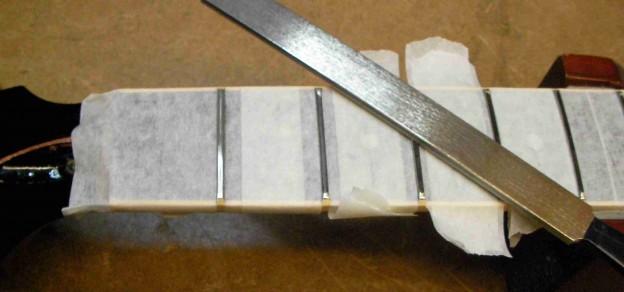
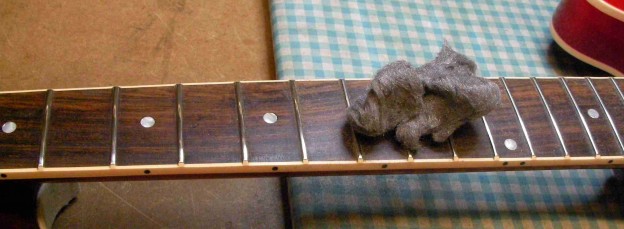
Once the frets are all levelled they need rounding off again.
and re-polishing…..
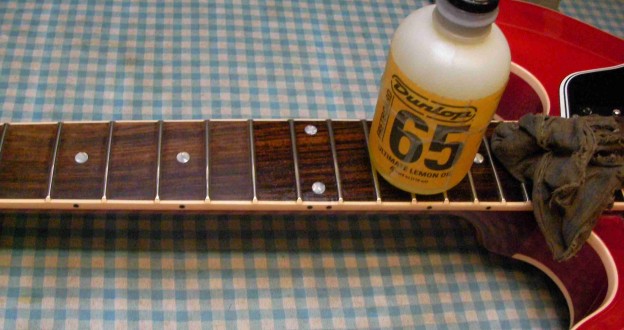
With the frets done I gave the fretboard a good clean…
and oil…
With that done it now needs a standard 5 point setup…
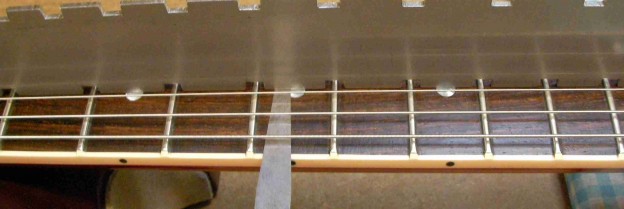
No.1 The neck set, or curve.
Just a little high so tighten the truss-rod a shade.
No.2 The action at the 12th fret. Since the bridge off while I cleaned the top of the guitar it was never going to go back at exactly the right height, it was always a guess!
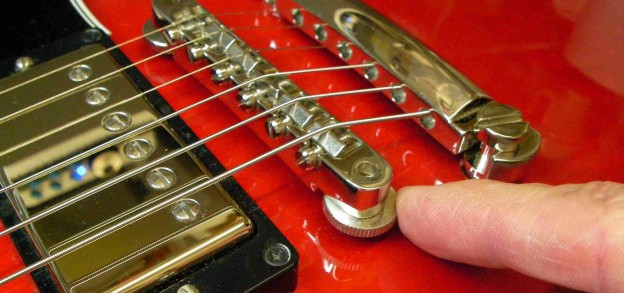
so wind up the thumb-wheels either end of the bridge.
No.3 The action at the 1st fret. Since I put the original nut back the action was back to where it was, which was about right.
No.4 The intonation, making sure it plays in tune all the way up and down the neck.
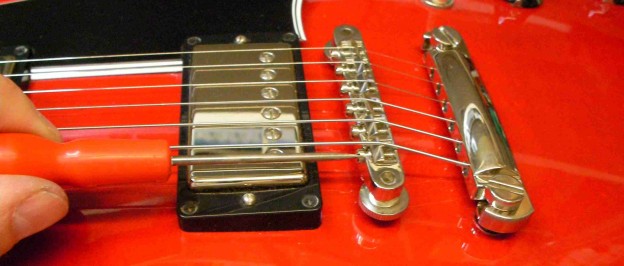
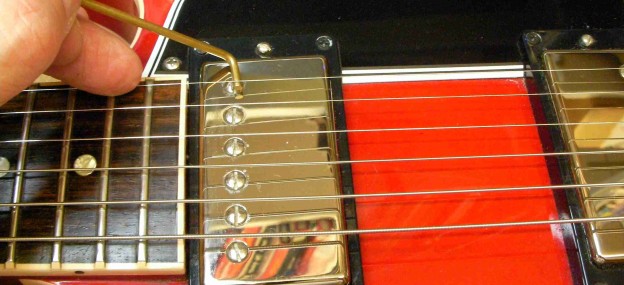
No.5 The pickup heights.
There she goes, better than new…
