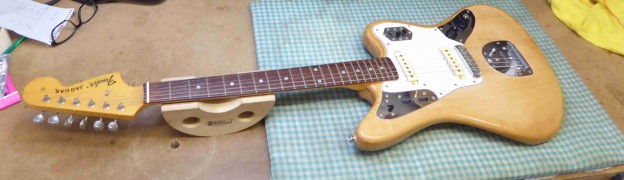
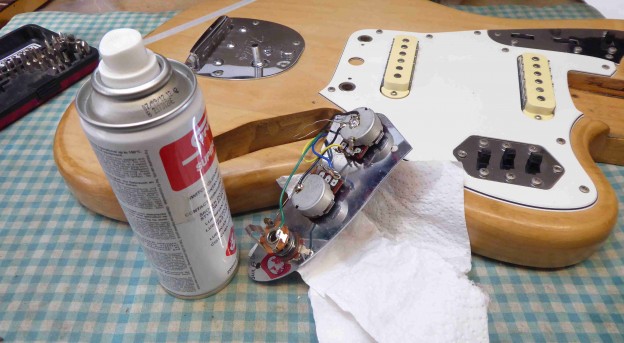
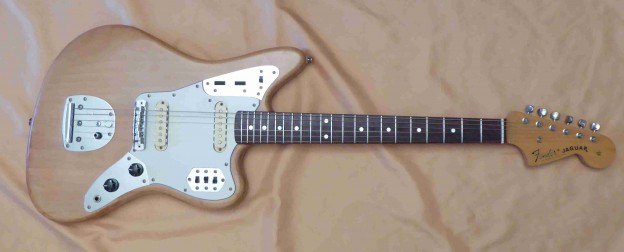
This was an interesting one. A 1970’s Fender Jaguar that’s seen some use! It’s actually in quite good condition, just a little worn. I’m sure it can be recovered and turned into something special….
The body’s been rubbed down to bare wood at some point, but looks cool!
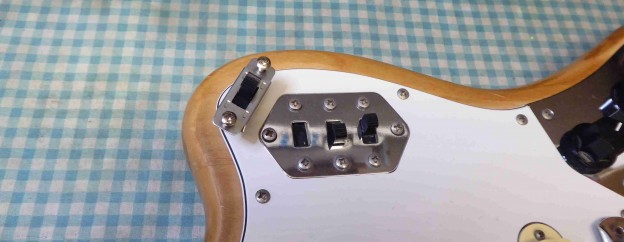
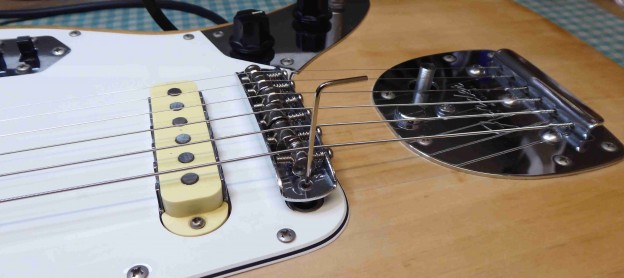
One of the switches has been broken, but that should be quite easy to replace.
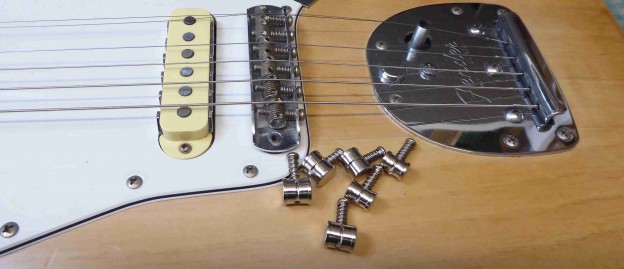
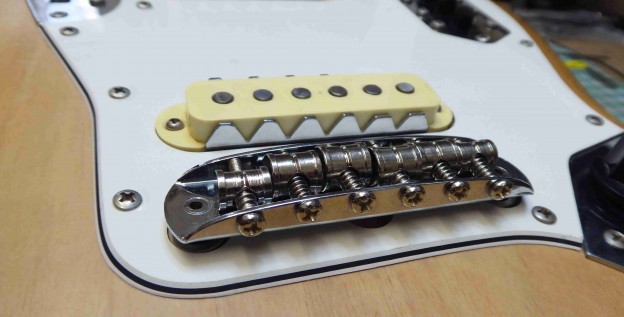
While I’m at it I’m also going to change the bridge saddles for mustang ones. I think they work better than the Jaguar saddles.
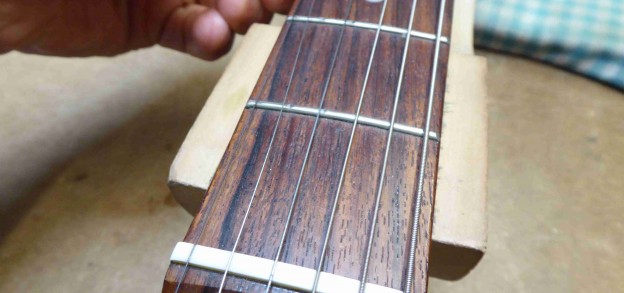
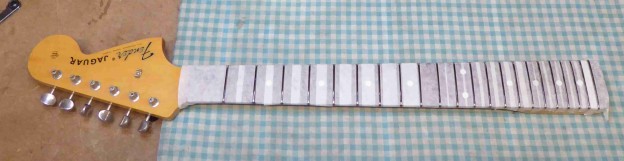
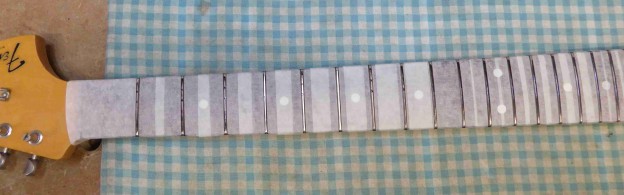
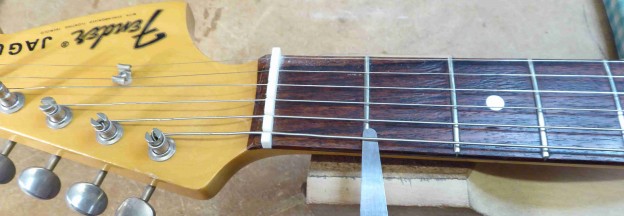
The frets are rather worn around the “paying” end so they’ll need dressing. If they were much worse then a partial or full re-fret would be needed, but I think there’s just about enough life left in these.
To make sure it all works well I gave all the switches and pots’ a good clean.
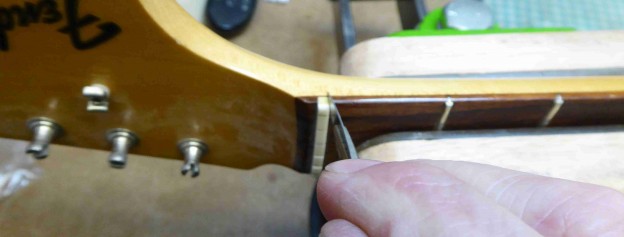
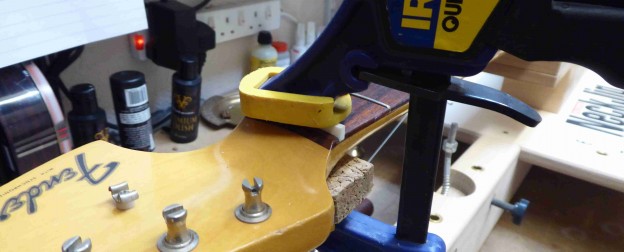
But back to that neck: first out with the nut. It needs to be eased out gently, since the lacquer’s applied after the nut’s fitted. More of that later….
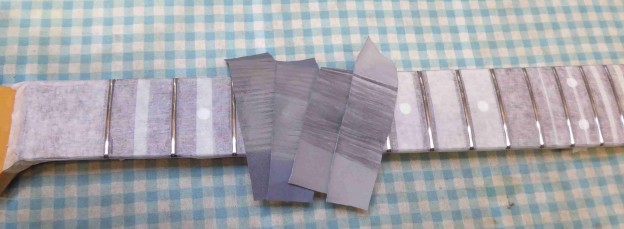
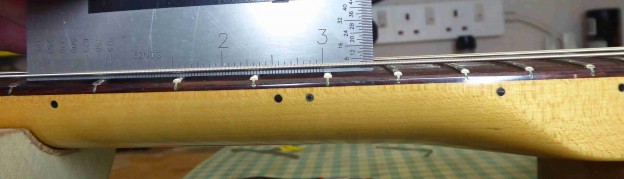
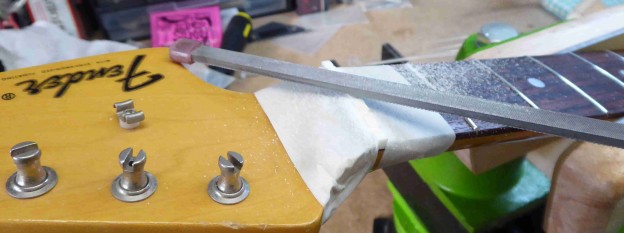
So there it is, ready to start. Levelled and taped up to protect it with the frets marked up with marker pen.
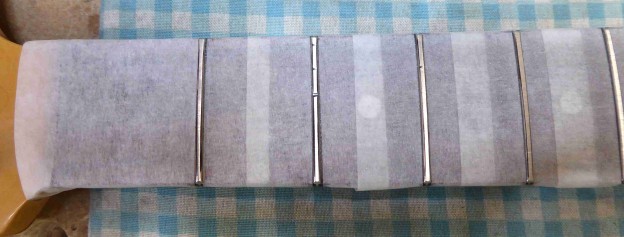
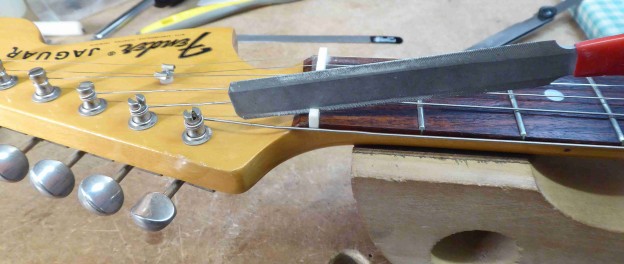
Out with the levelling beam.
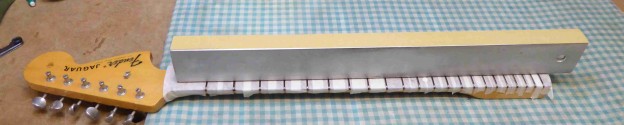
As soon as I start you can see all the low spots..
The deepest spot is on the 2nd fret under the G string. I need to take everything down to that common level.
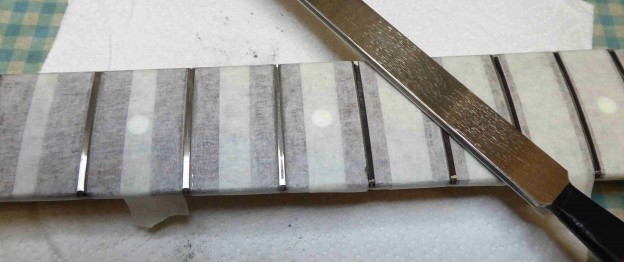
Once the tops are levelled down to the lowest point they need to be re-crowned.
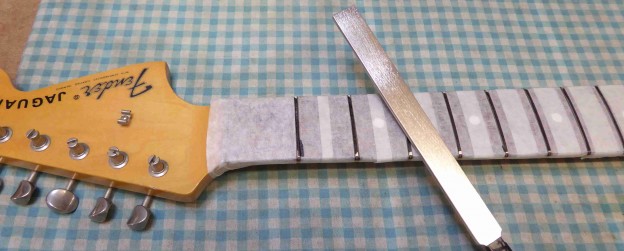
This is about half way through fret no.3. You can see the first 2 are now nicely rounded again while the rest are still flat on top.
With the frets nice and even, and rounded they need polishing up again, with 4 grades of micromesh.
Once the frets are done the fretboard needs a little attention. Get all the built up grime out with some steel wool…
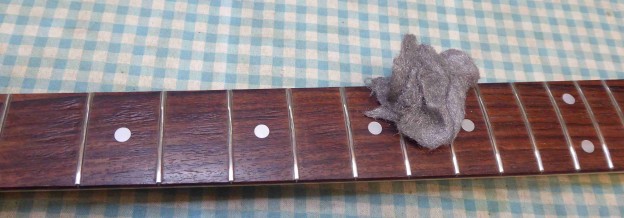
and then treat it with Lemon Oil to bring the wood back to life.

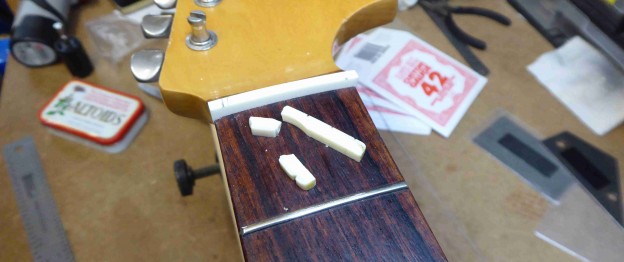
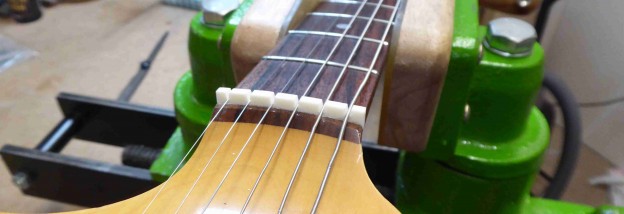
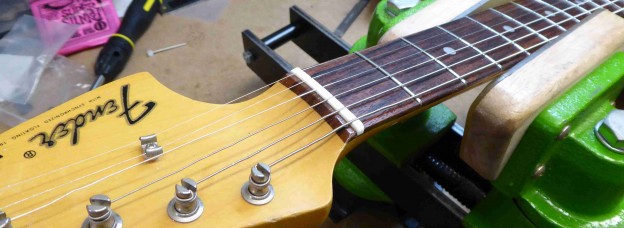
With that done it’s time to put it all back together, staring with the nut.
Unfortunately being a little old and brittle it came out in 3 pieces so I fitted a new bone one.
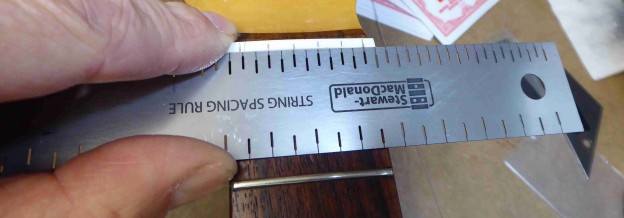
and that’s where the strings need to go.
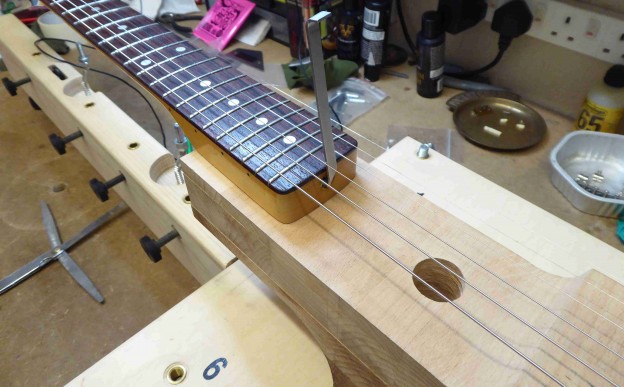
The trouble with these older necks is the truss-rod adjustment, it’s on the heel. Rather than risk having to take the neck off several times to get it right I put it on the neck jig. That way I can measure the neck set with the strings at normal tension.

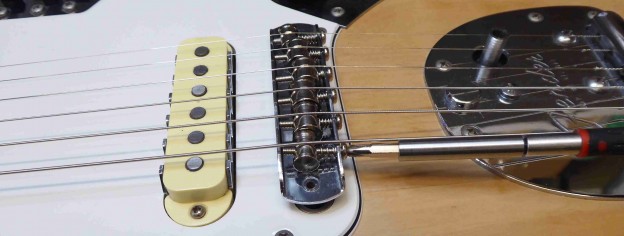
And those new saddles..
With all those changes the action came out rather low.
so up with the bridge a little.
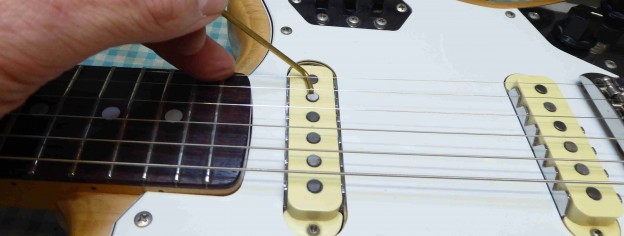
Back to that nut. It was way too tall so the action at the 1st fret was way to high.
so cut each string slot down..
That now leaves the nut looking rather odd, like a set of dragons teeth!
so take the top down to the right level..
That’s better..
All that’s left now are the last little bits, most importantly the intonation.
And last of all the pickup heights..
So there it is ready to Rock again, what a great guitar.
For all the other things I have to offer please check out www.guitar-george.co.uk