
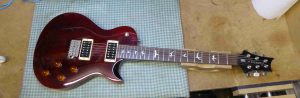
I can’t say I’ve ever really been a fan of PRS Guitars, they’re normally better than this one though. This one has some rather uneven frets so it’s never going to play well as it is. A fret-dress and a setup will sort that lot out though.
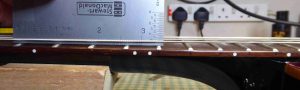
Using a Fret Rocker over 3 frets there should be no movement but it’s rattling a little.

With the string off, the nut removed and the neck levelled, the fret tops are sanded down with a calibrated beam.
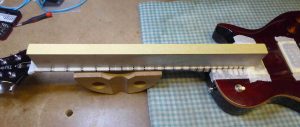
This is about half way through, you can see from the marker pen on the frets where the low points are. Once the file has gone down to these low points it’s time to stop.
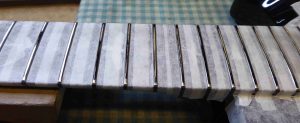
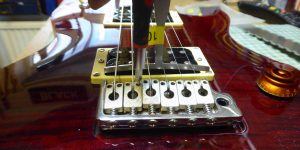
Once the tops are nice and level each one now needs to be rounded of again.

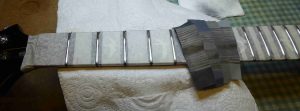
With the frets levelled and re-crowned each one now needs to be re-polished using 4 finer and finer grades of micromesh.
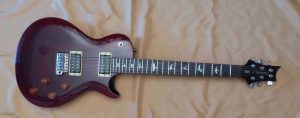
With the frets sorted out all it needs now is a setup to get it playing properly.
A setup is a fairly simple, step by step approach to make any guitar play and feel better.
There it is, playing really well now.
For any other work you might need go to www.guitar-george.co.uk