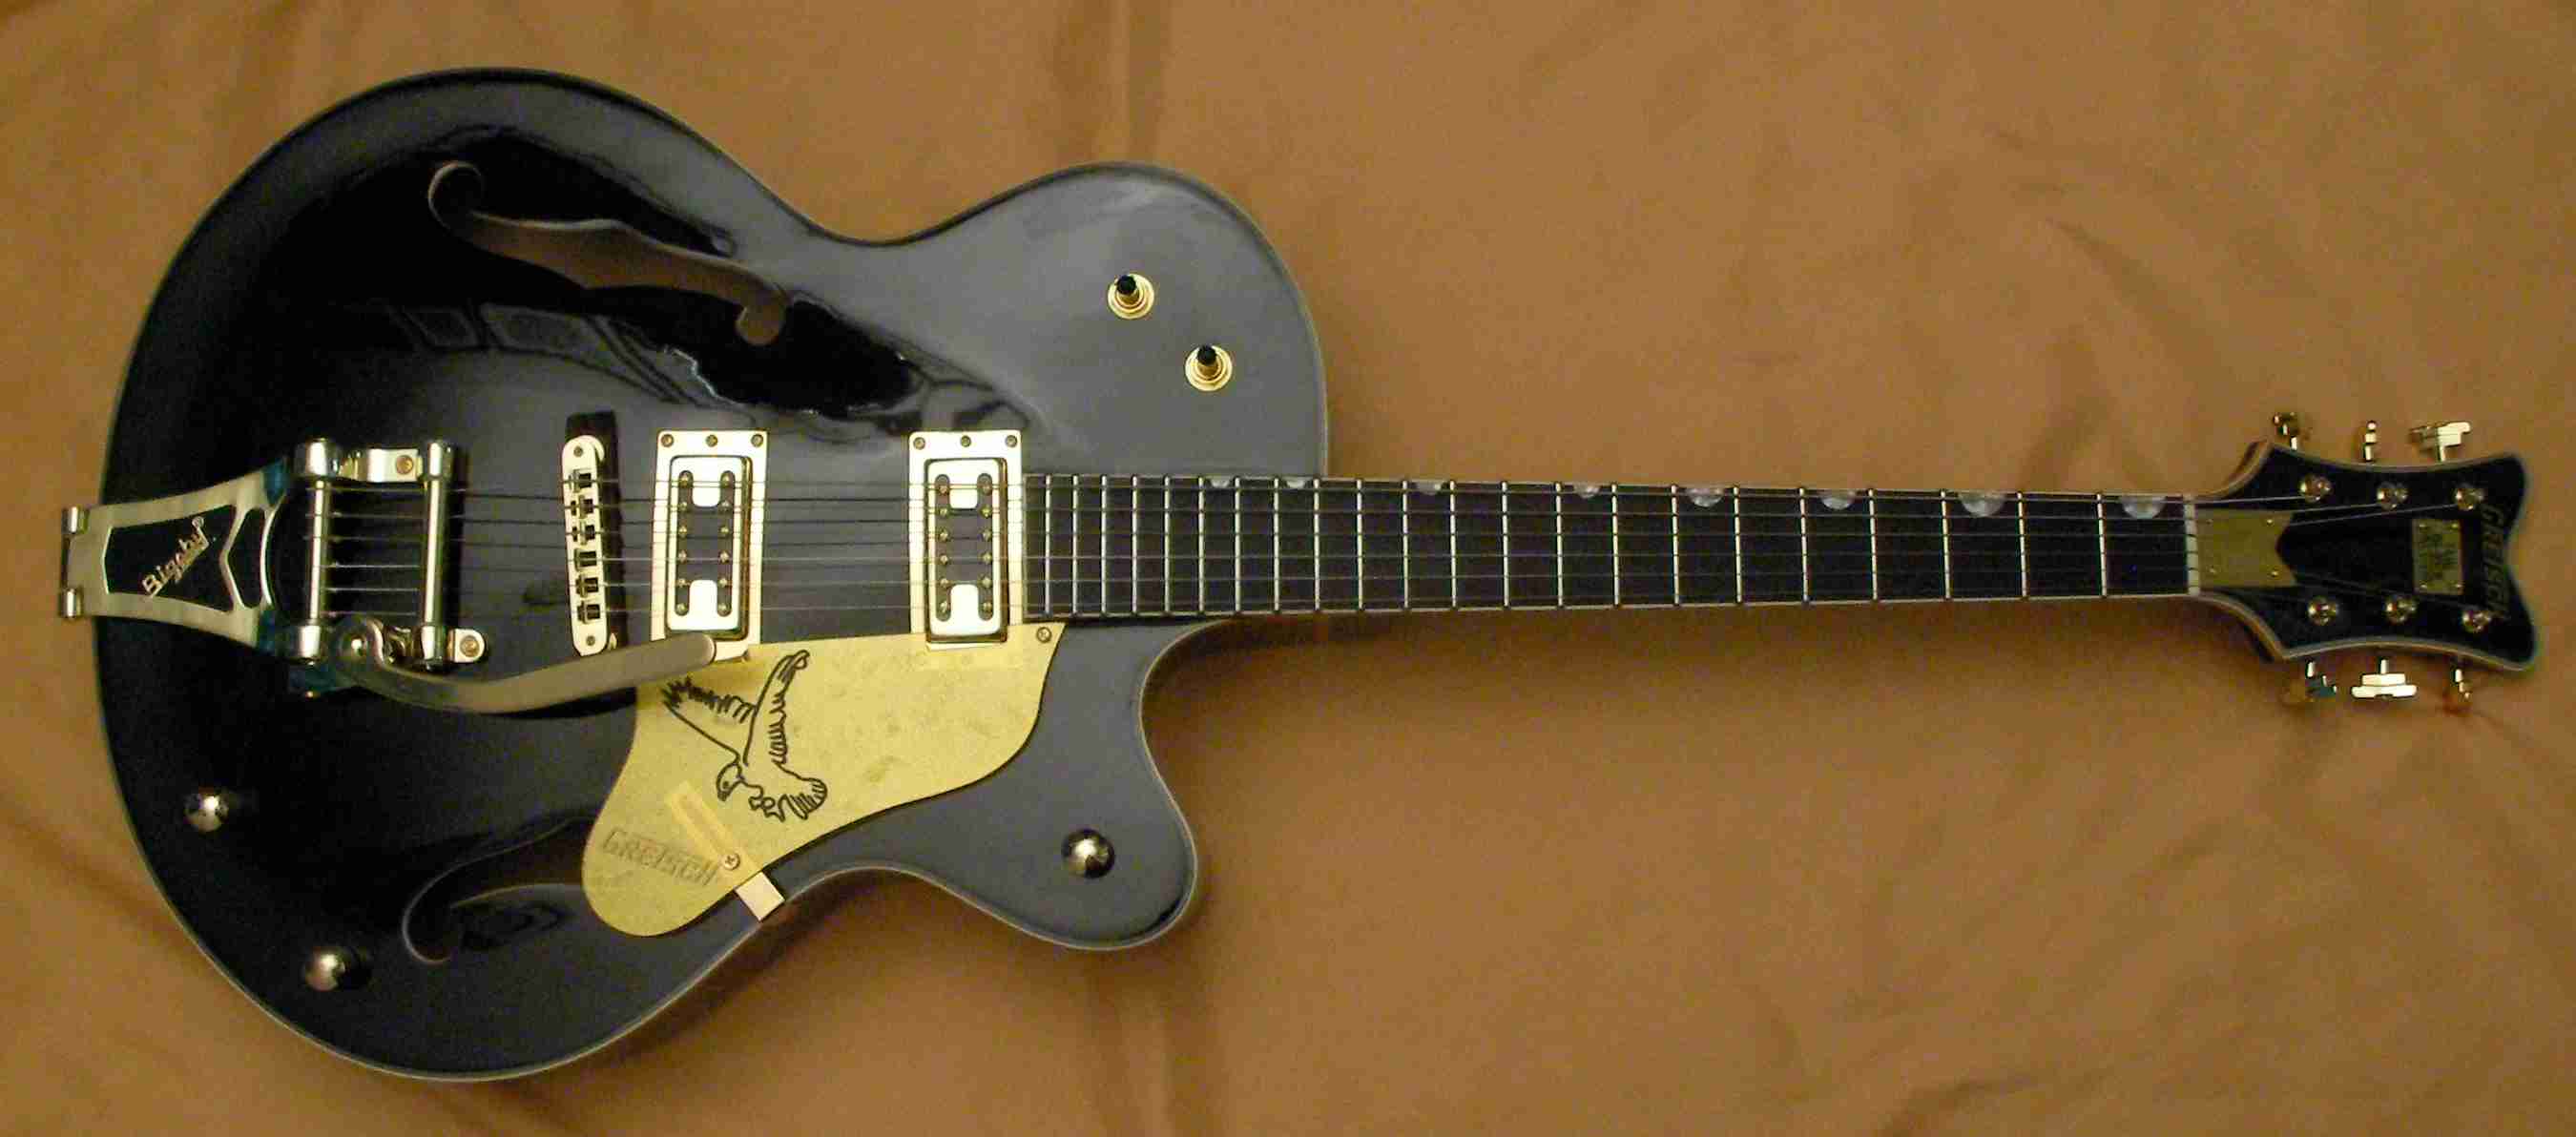
Wow, another big bodied Semi-Acoustic to play with! This one needs a lot more work to get it playing properly mind you.
Some of the frets are very uneven so they’ll need levelling if it’s ever going to play nicely.
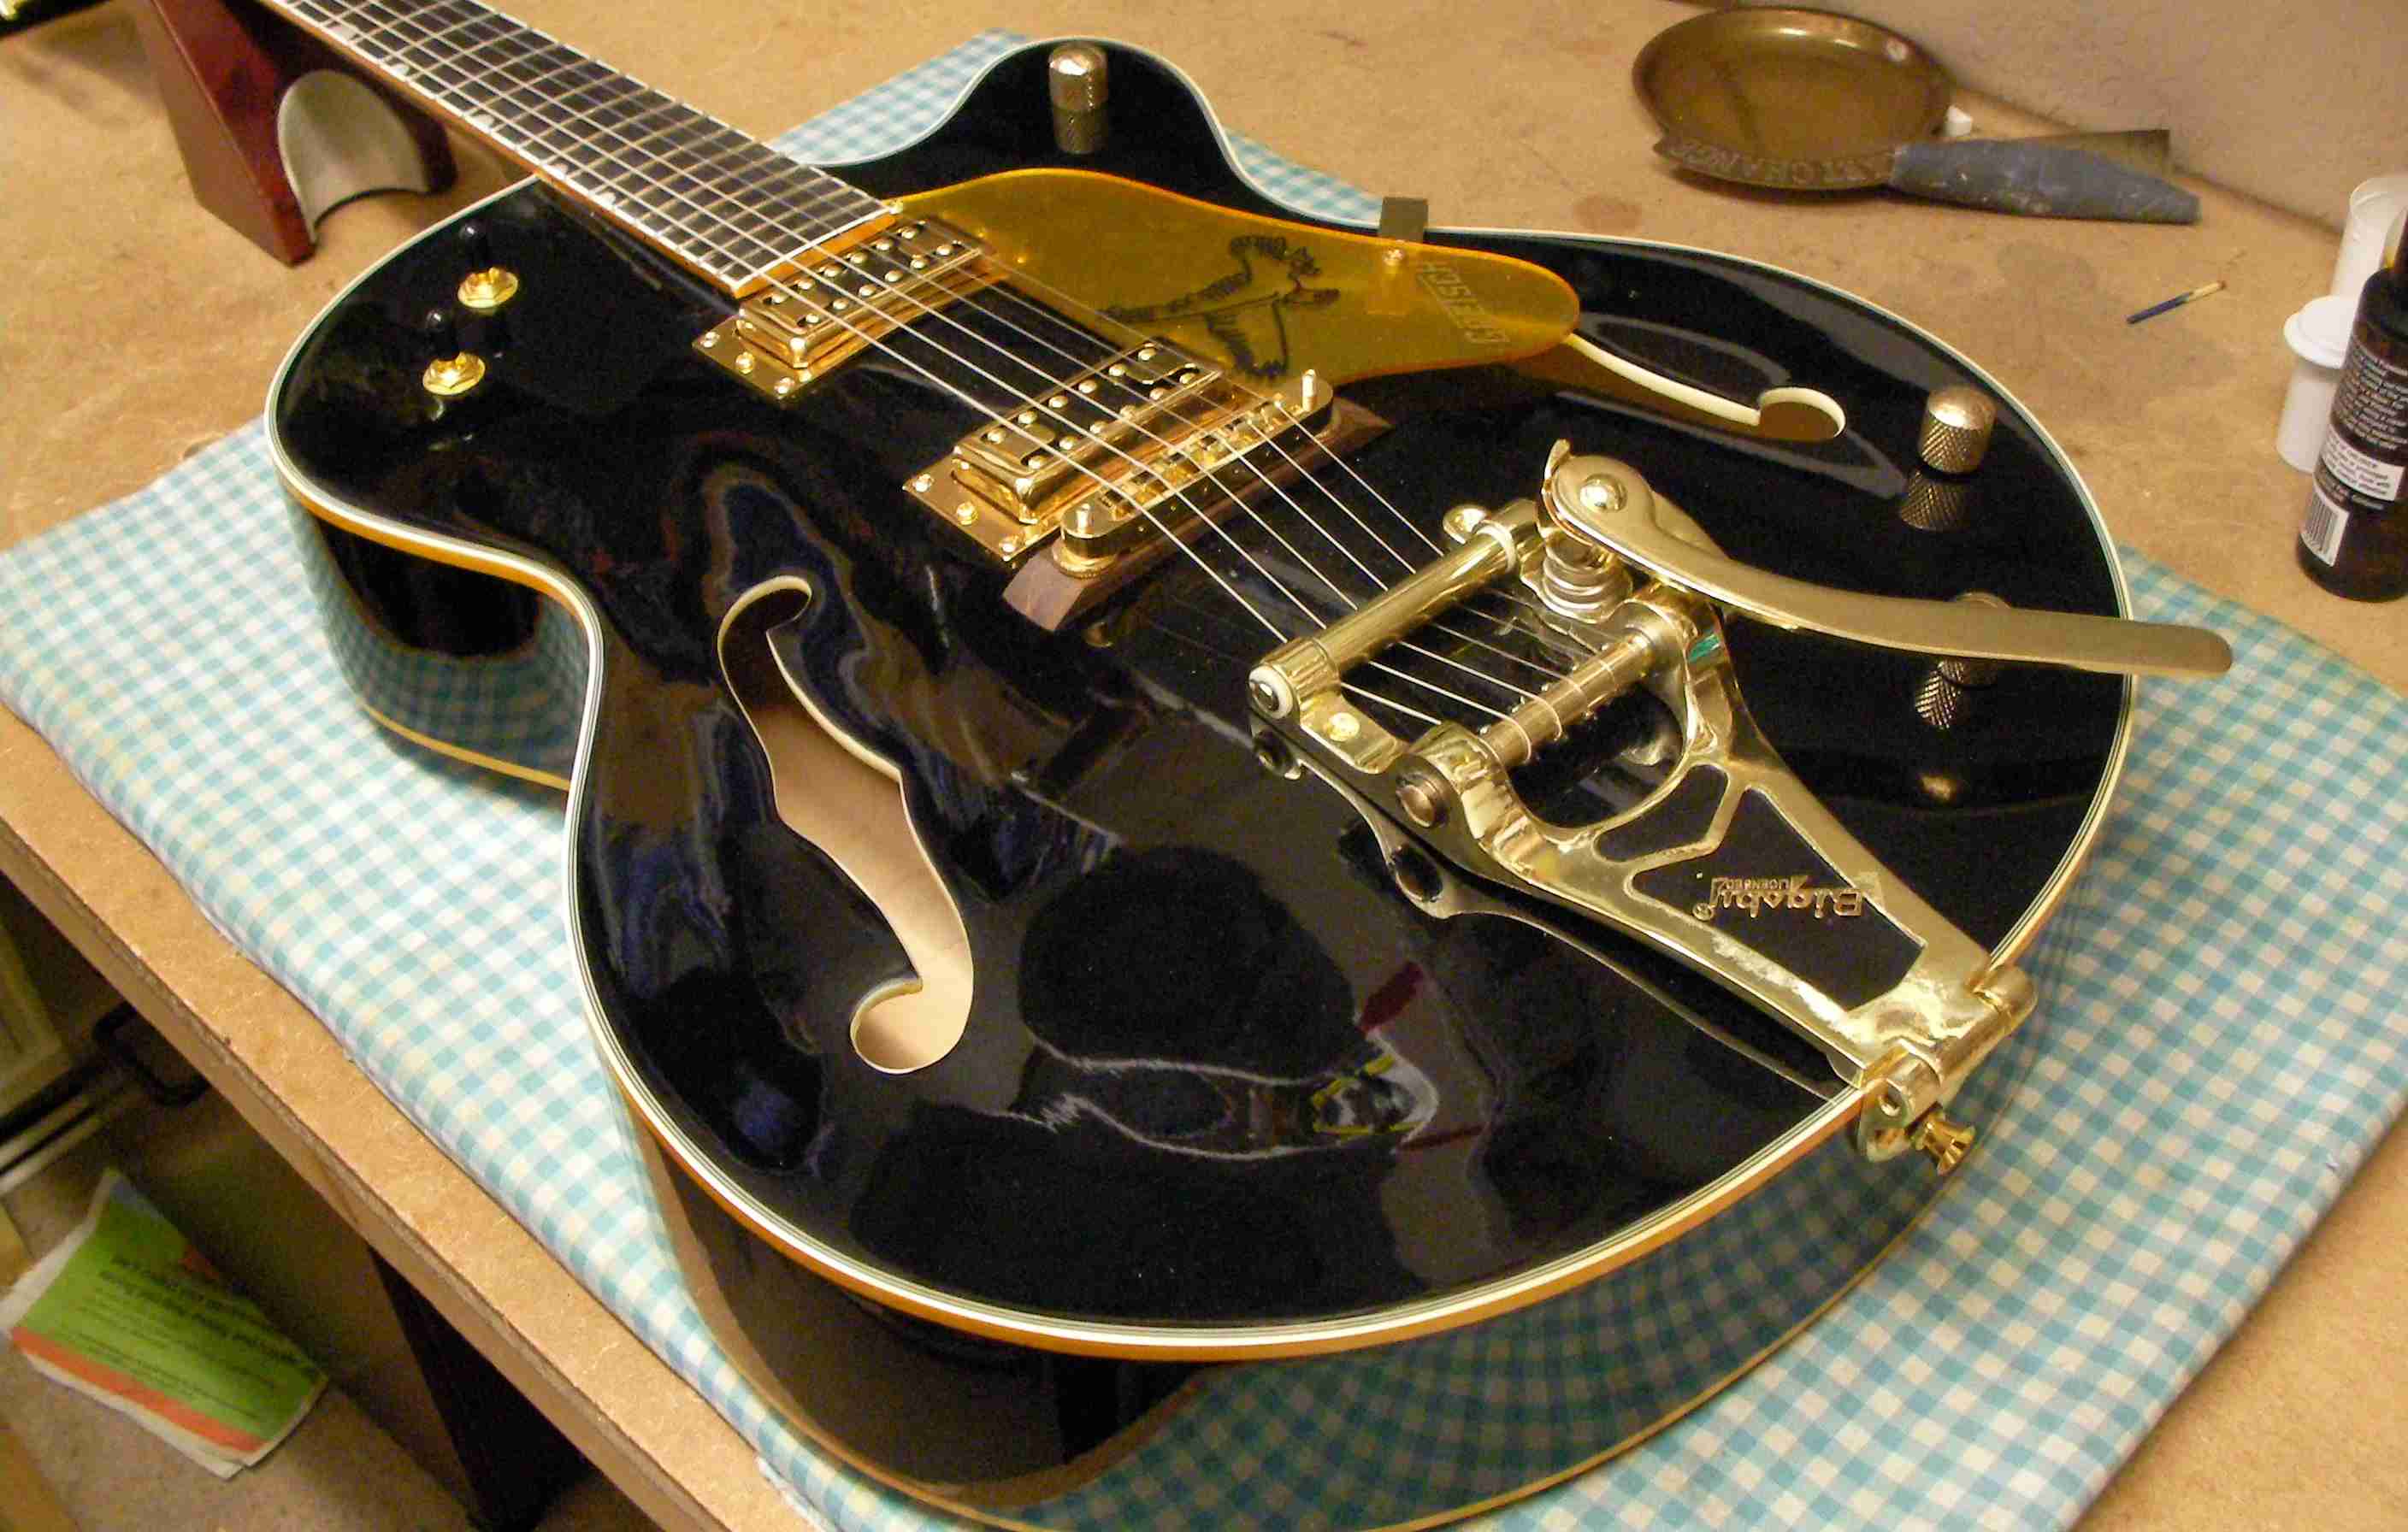
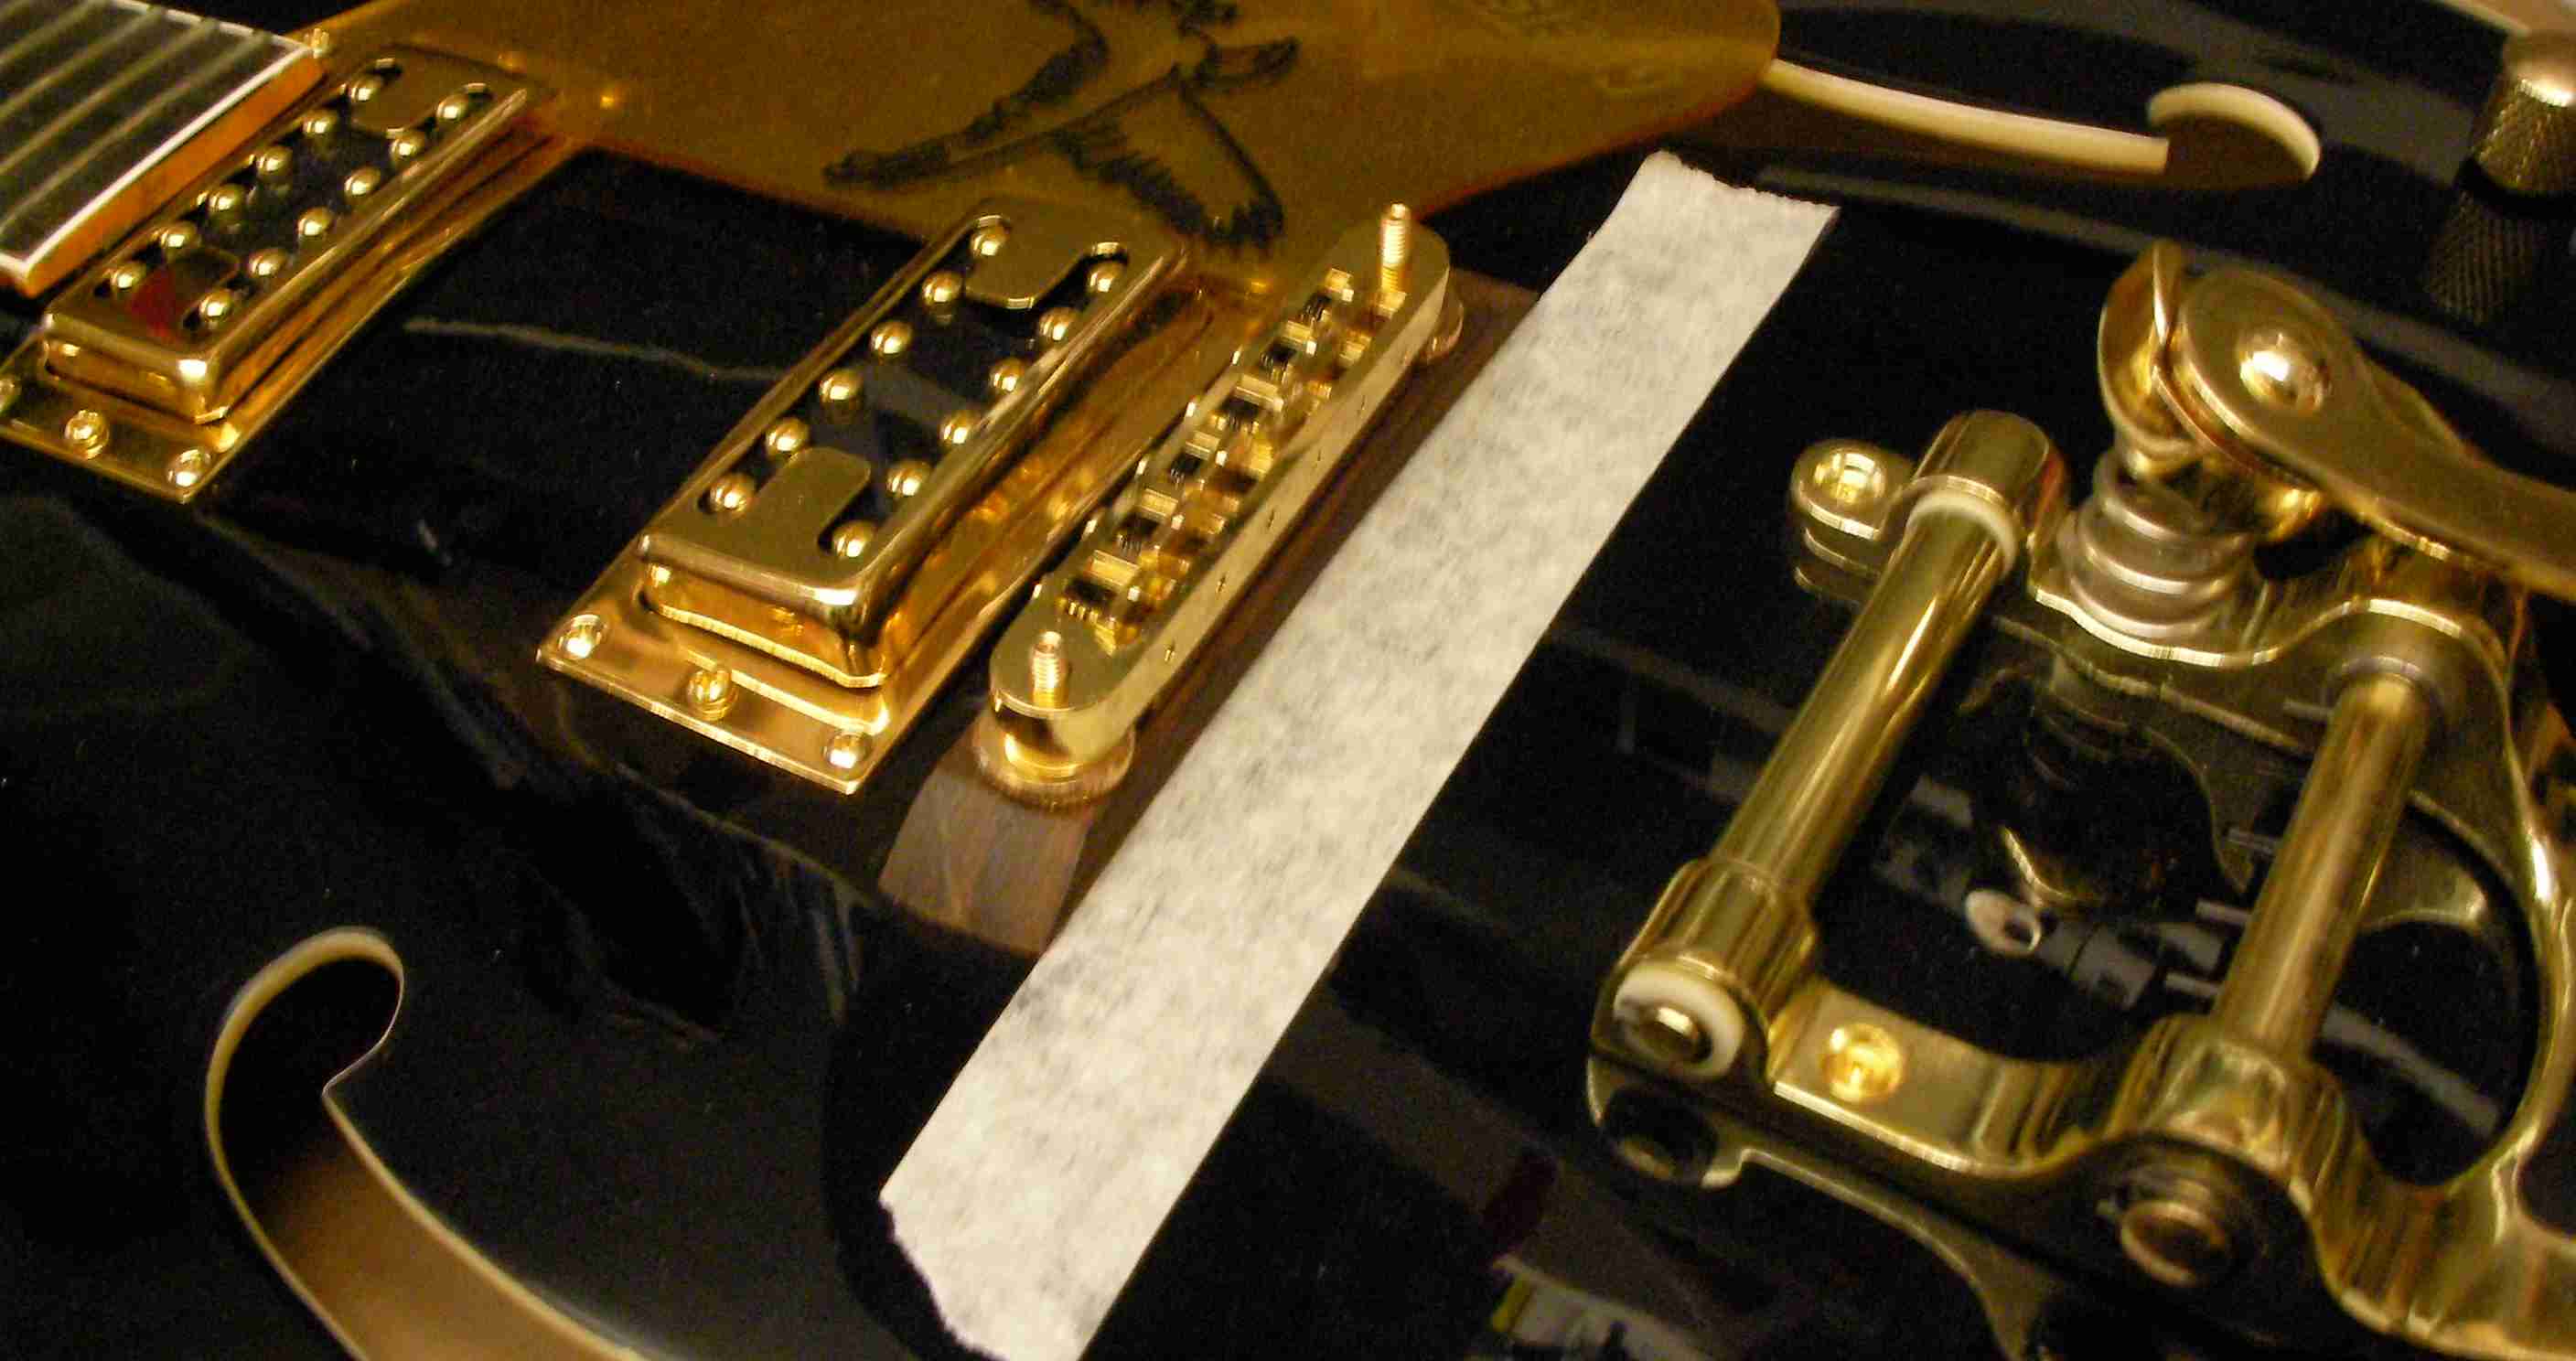
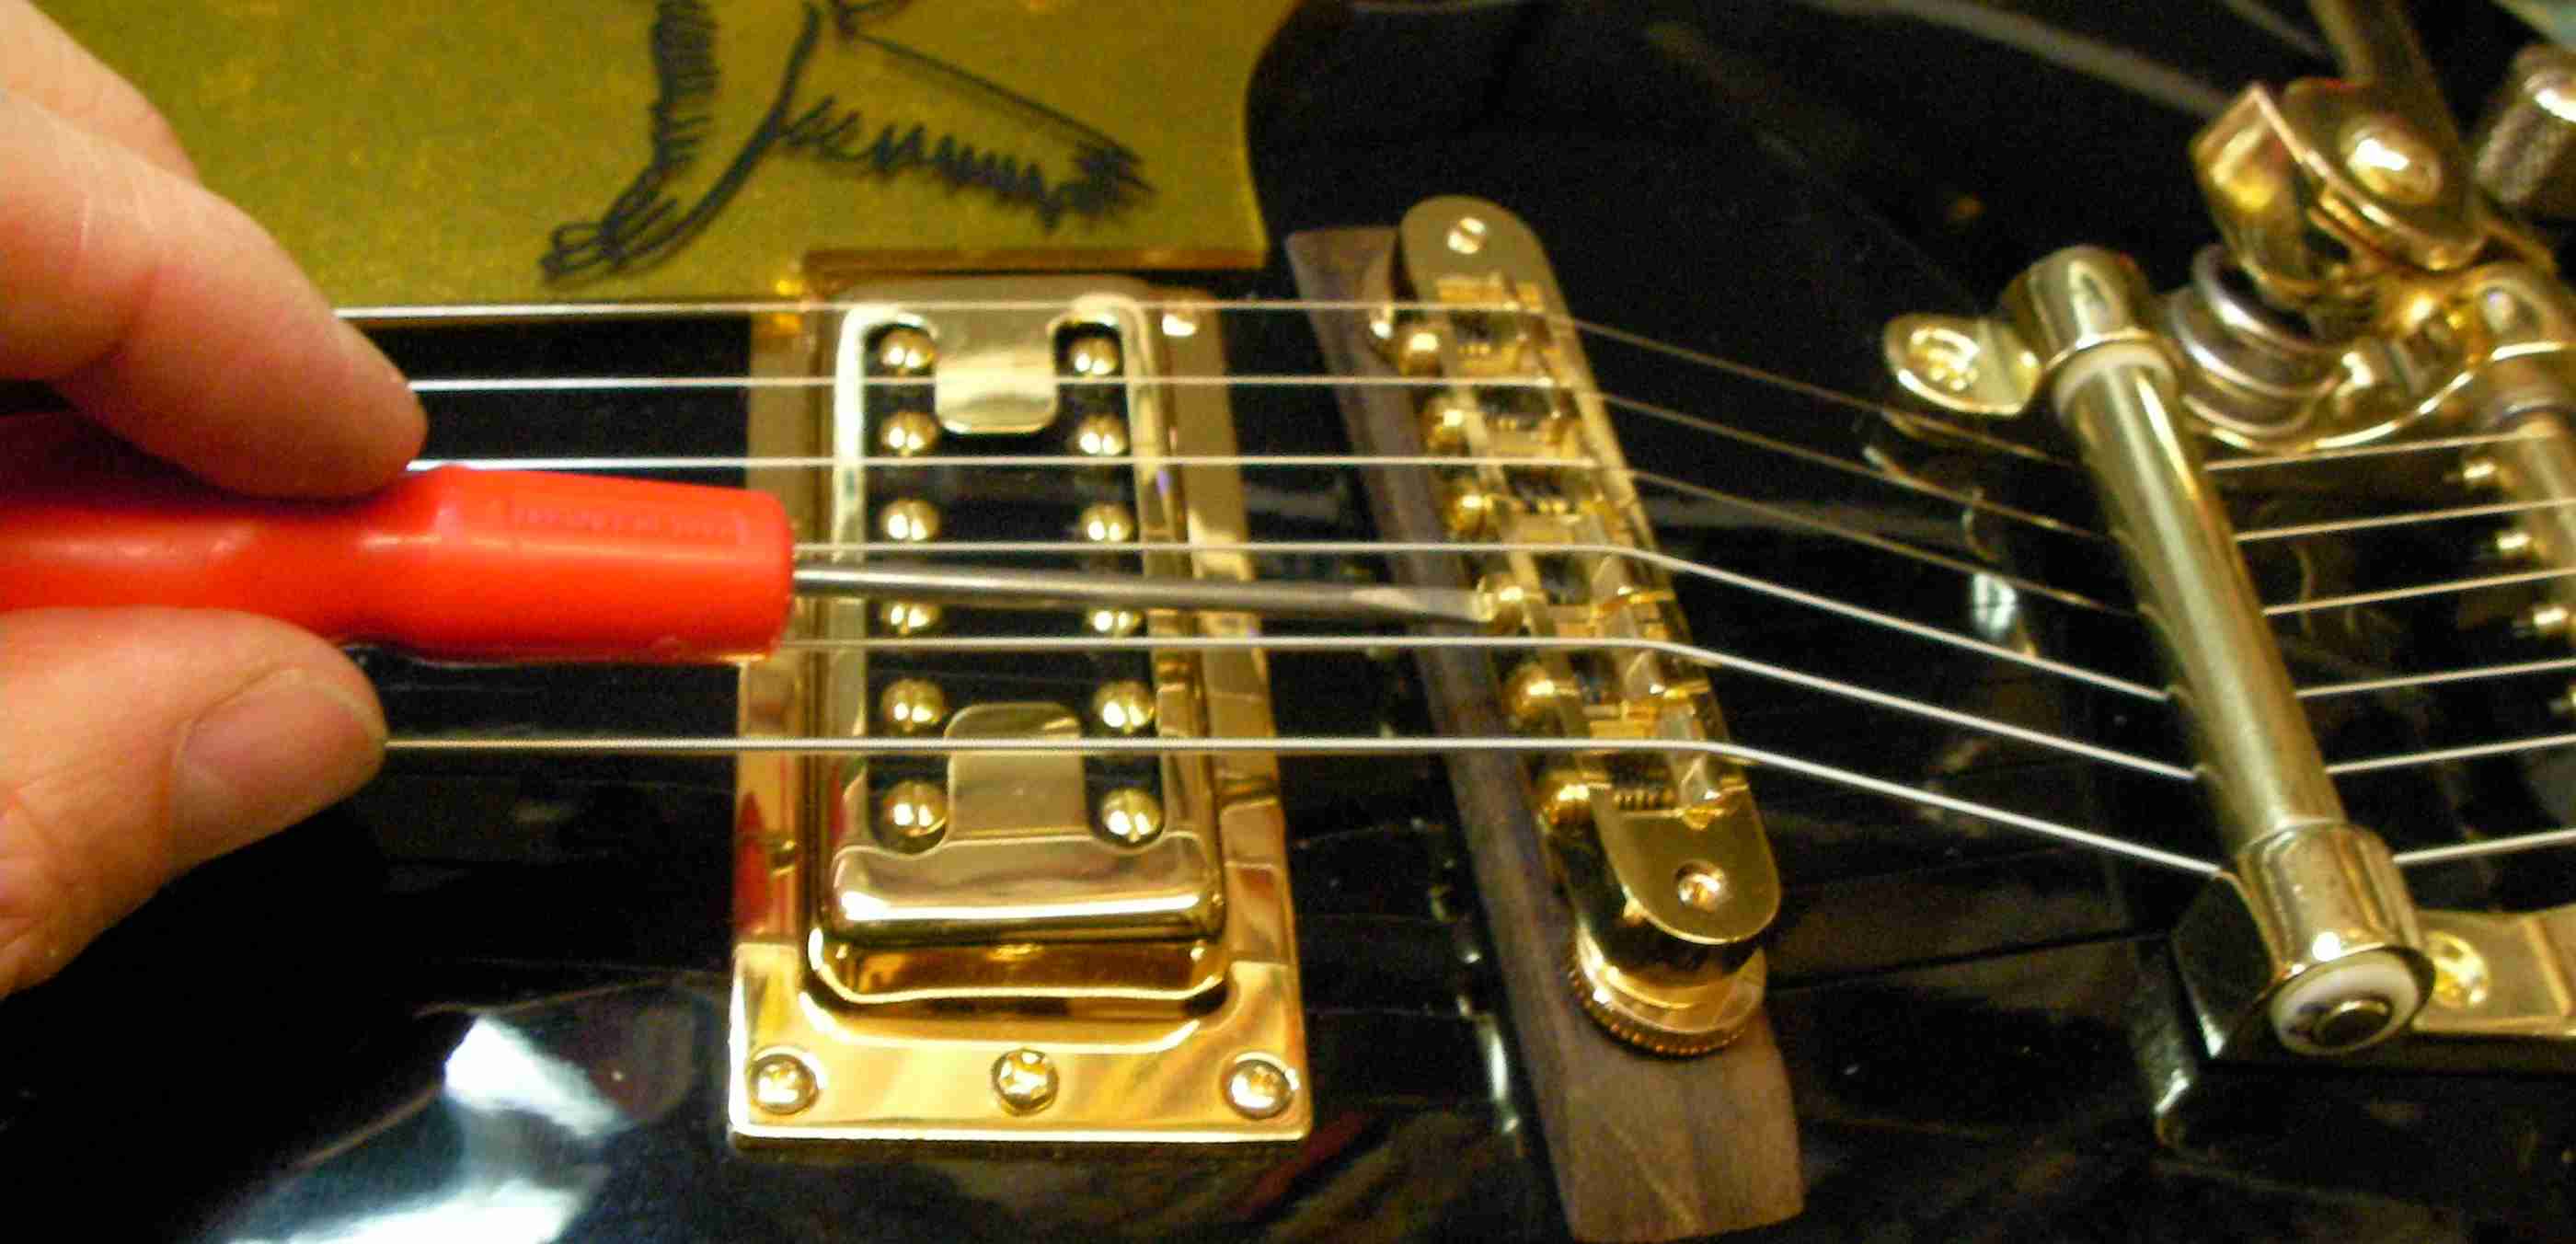
Before removing the strings it’s always a good idea to mark exactly where the floating bridge sits. As it happens I needn’t have bothered as it was in the wrong place anyway.
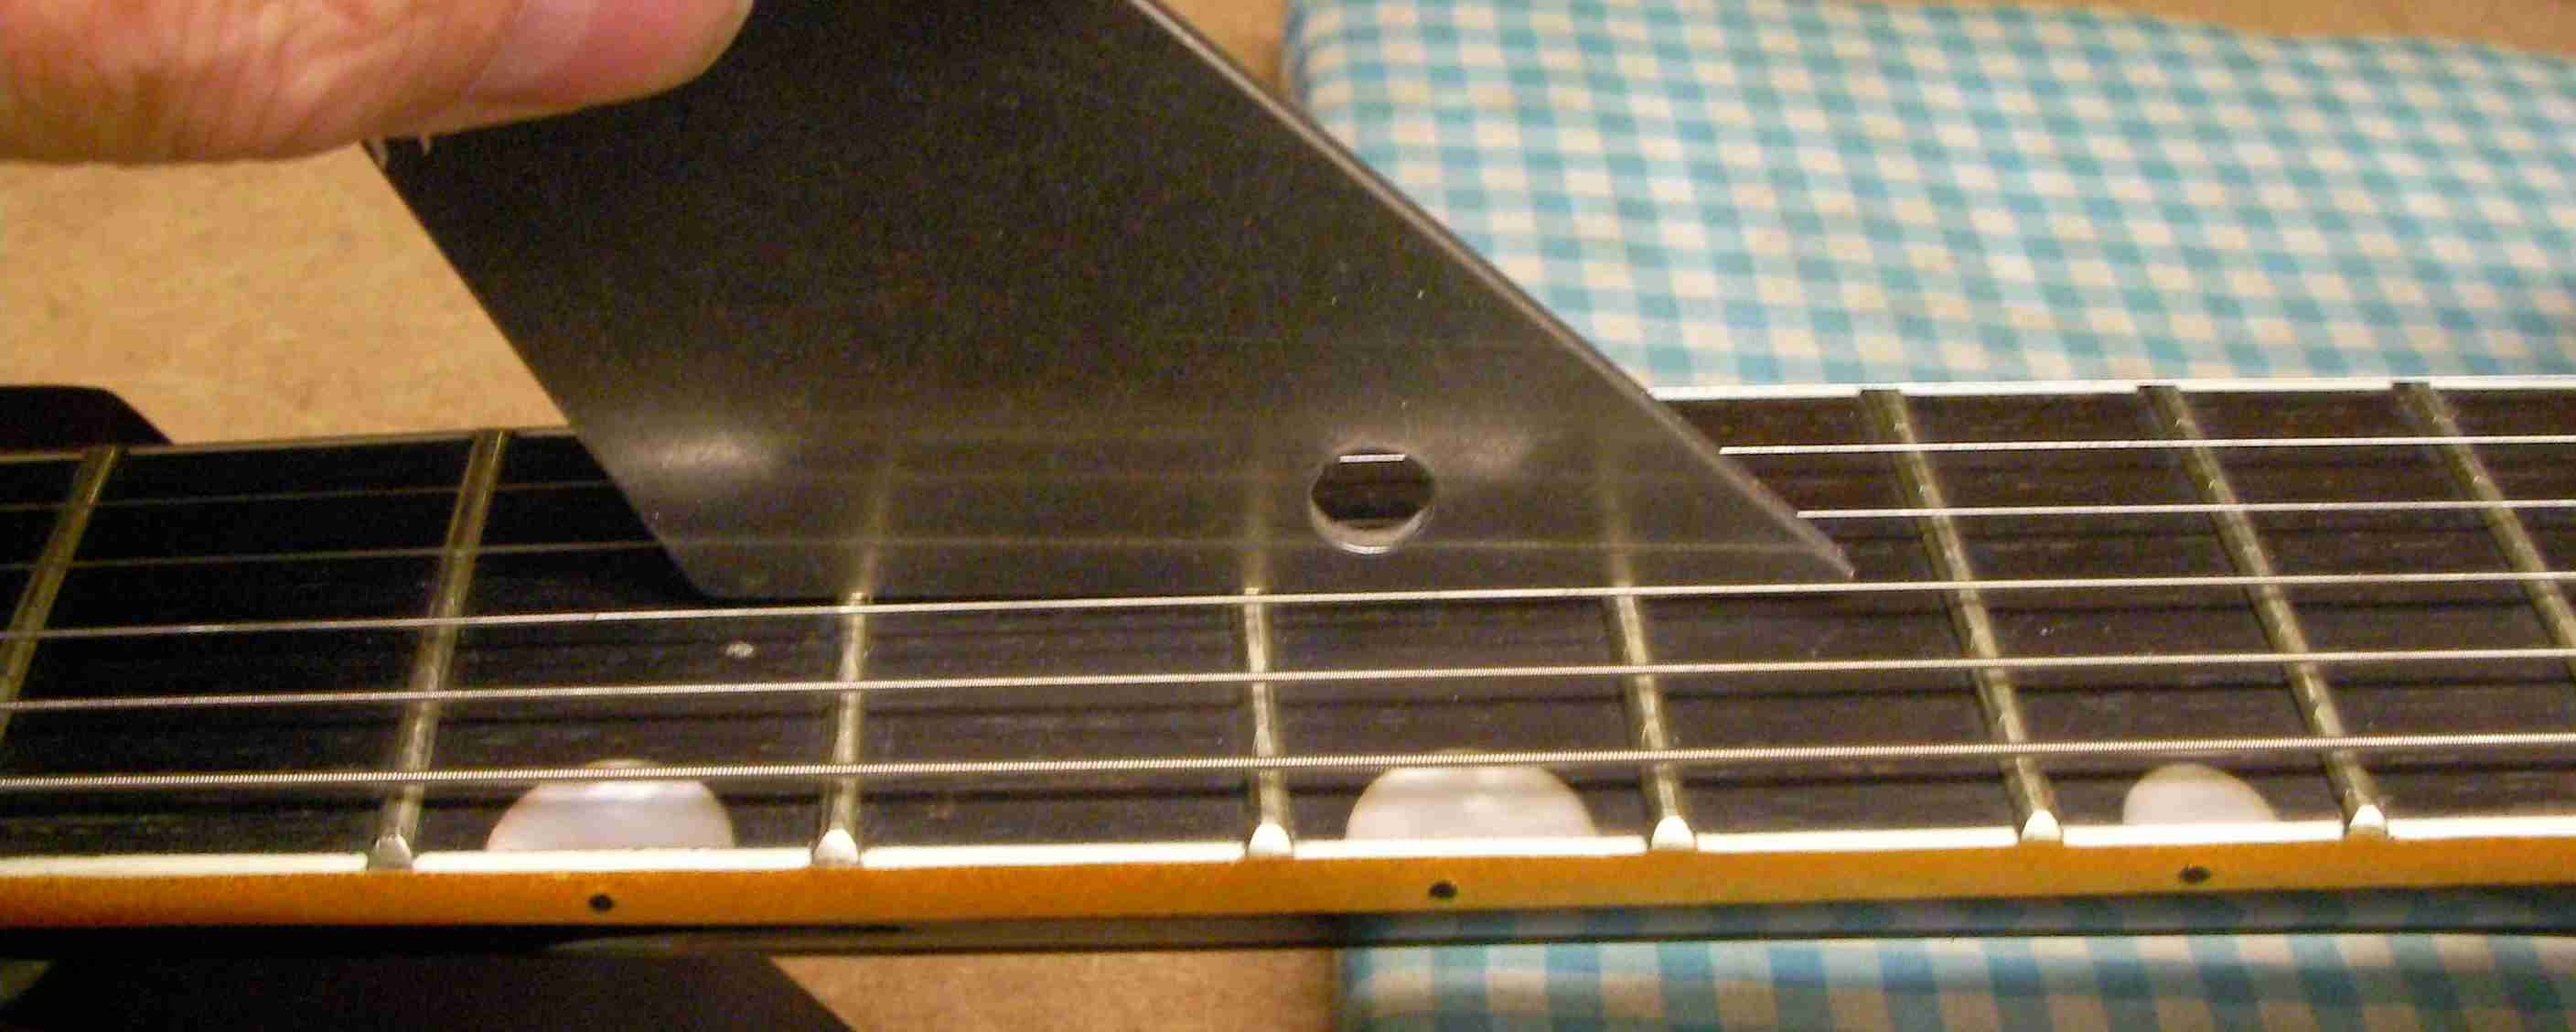
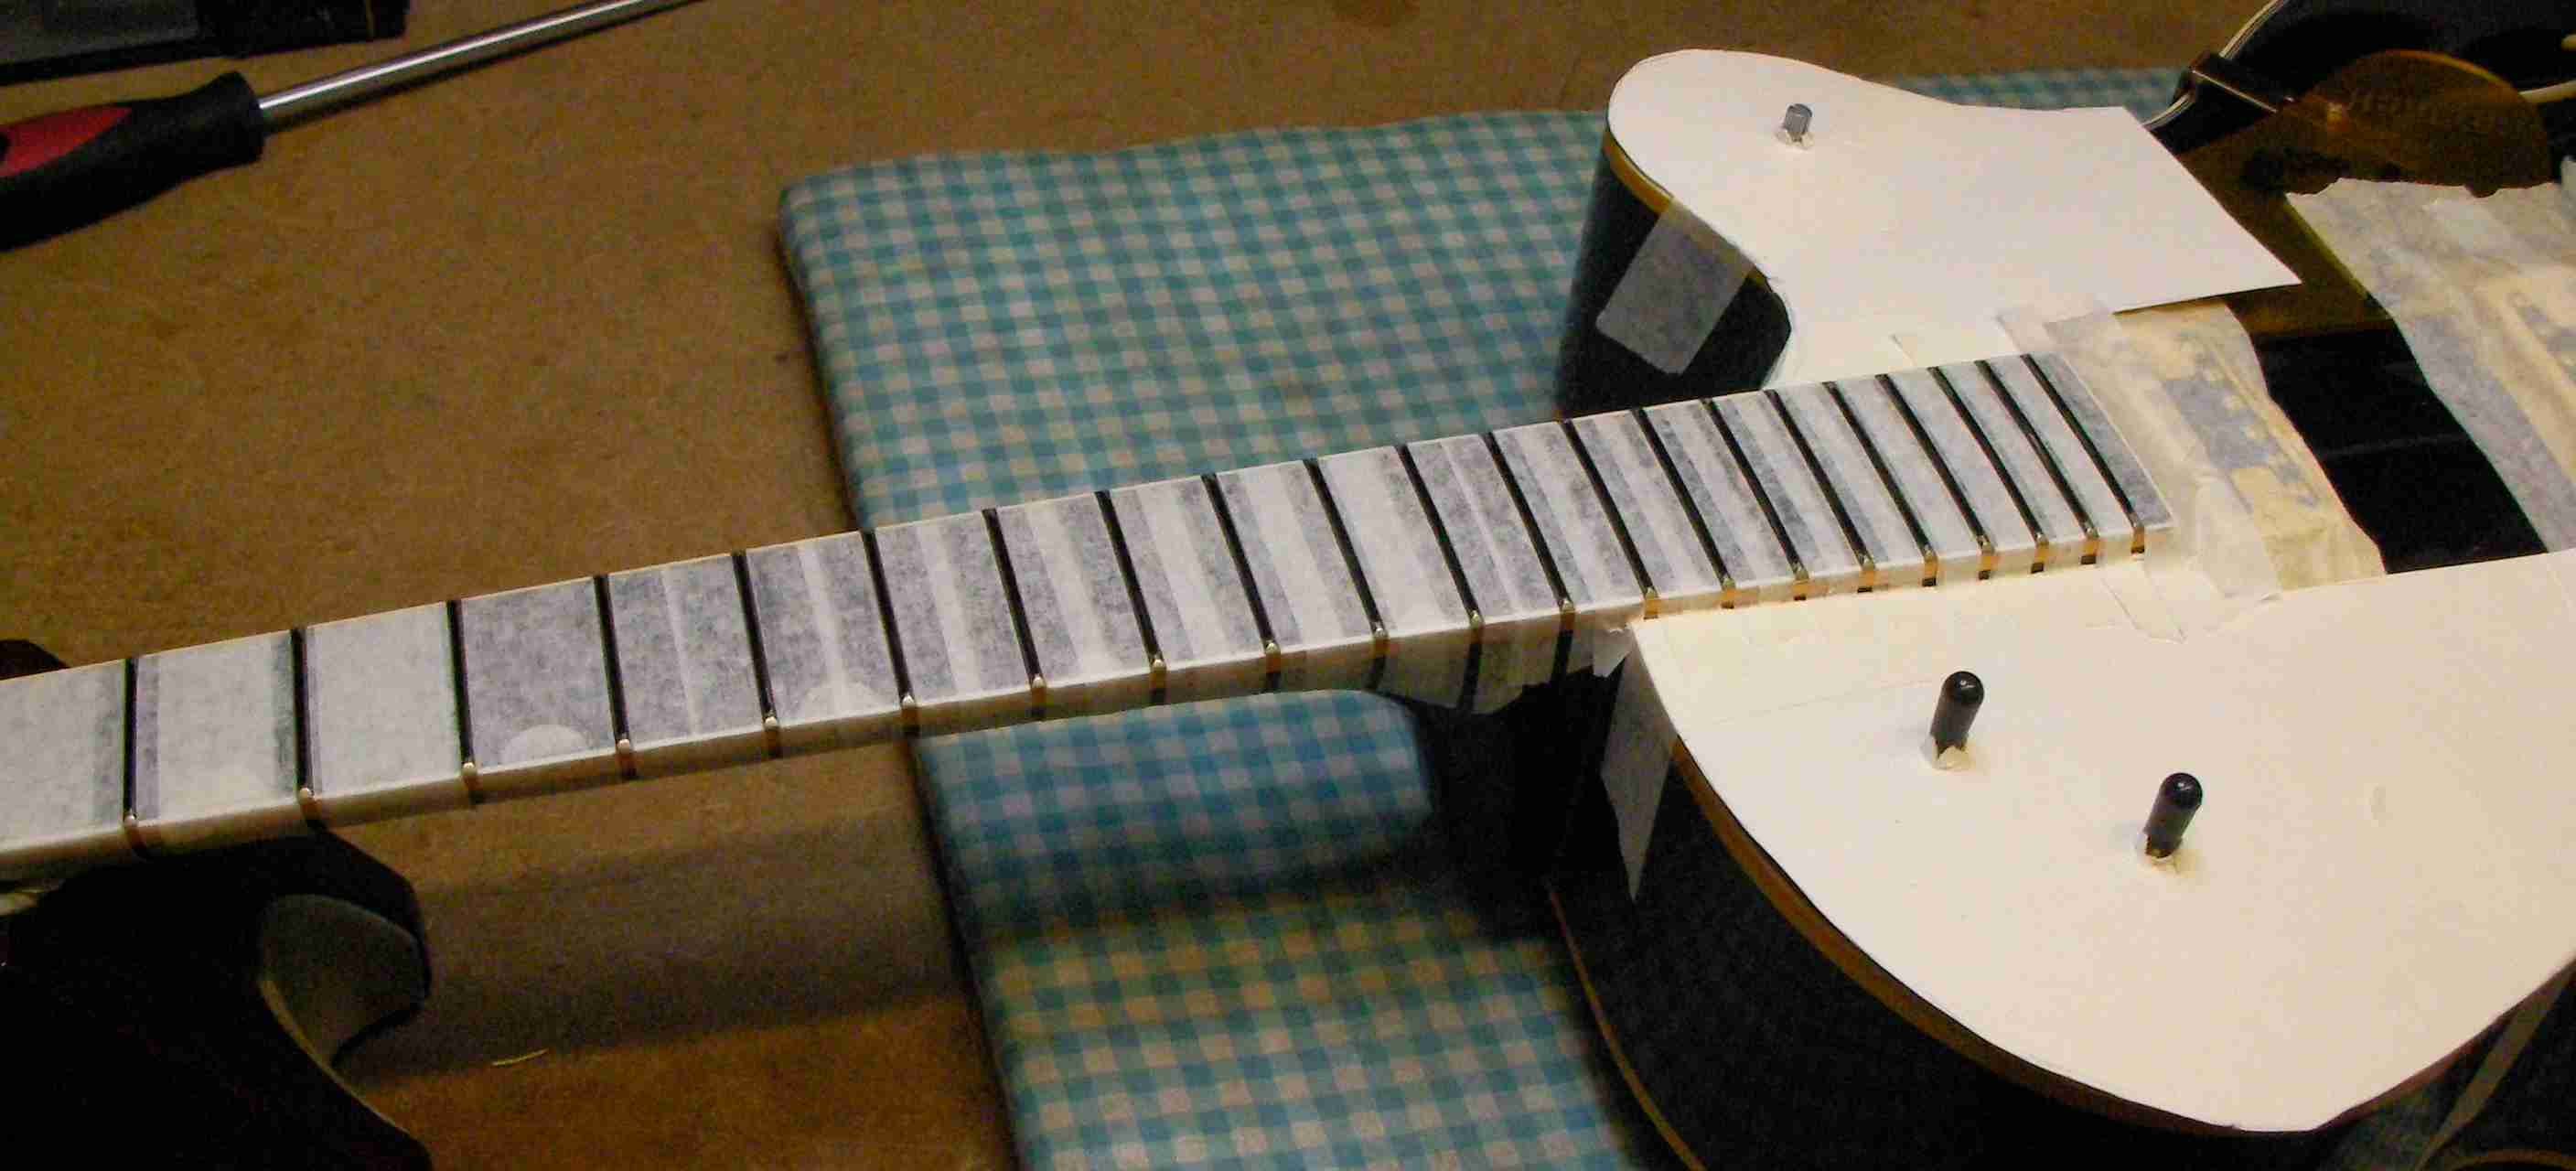
Before attacking the frets I first made sure the neck’s completely flat and then tape it up to protect it while I’m working.
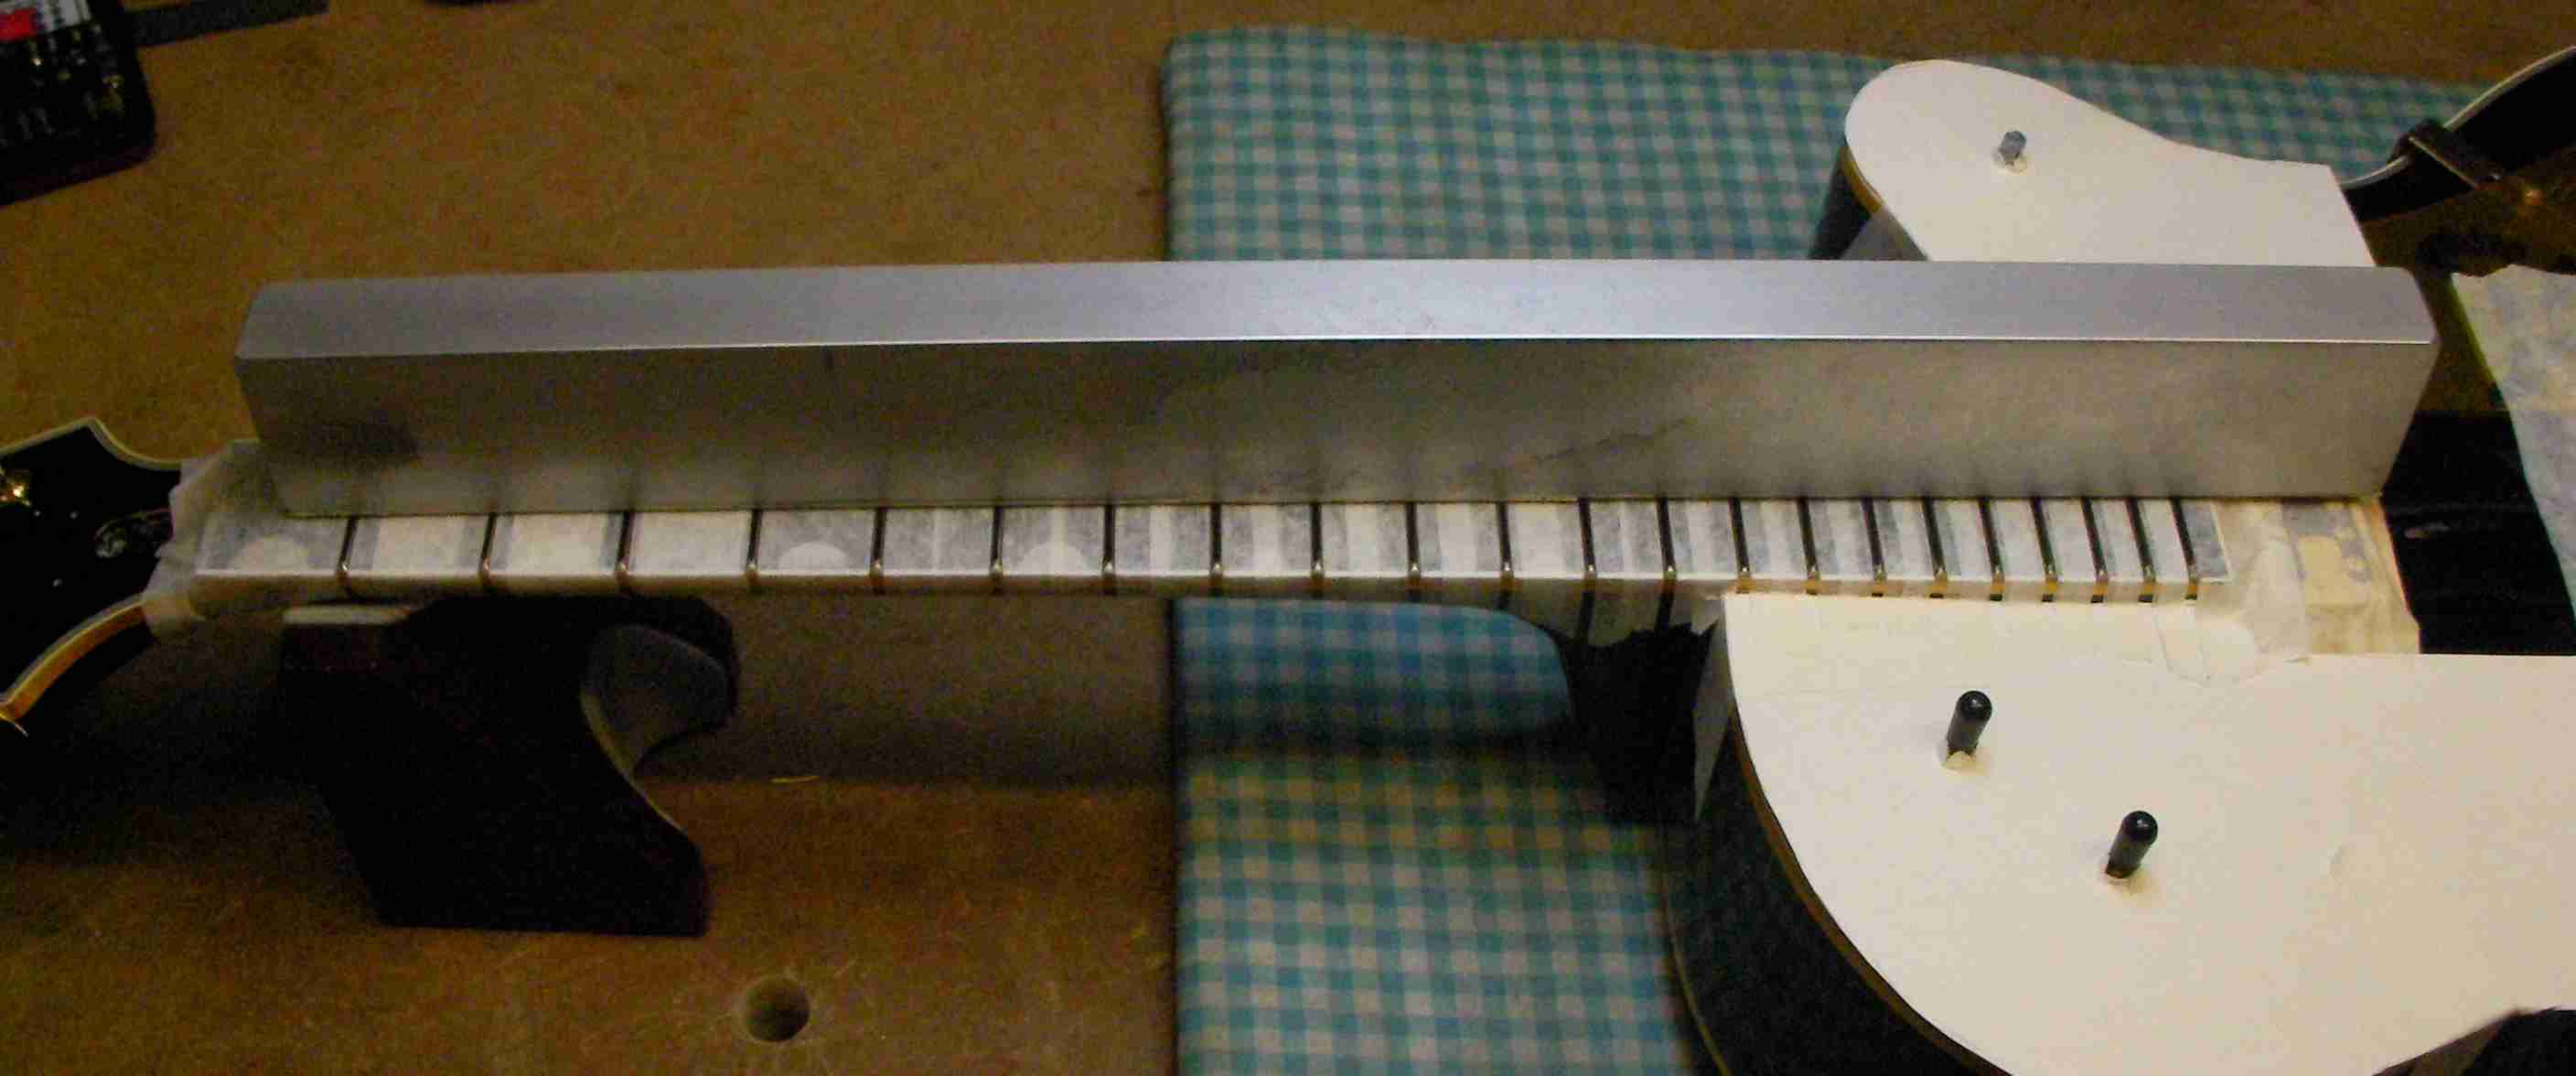
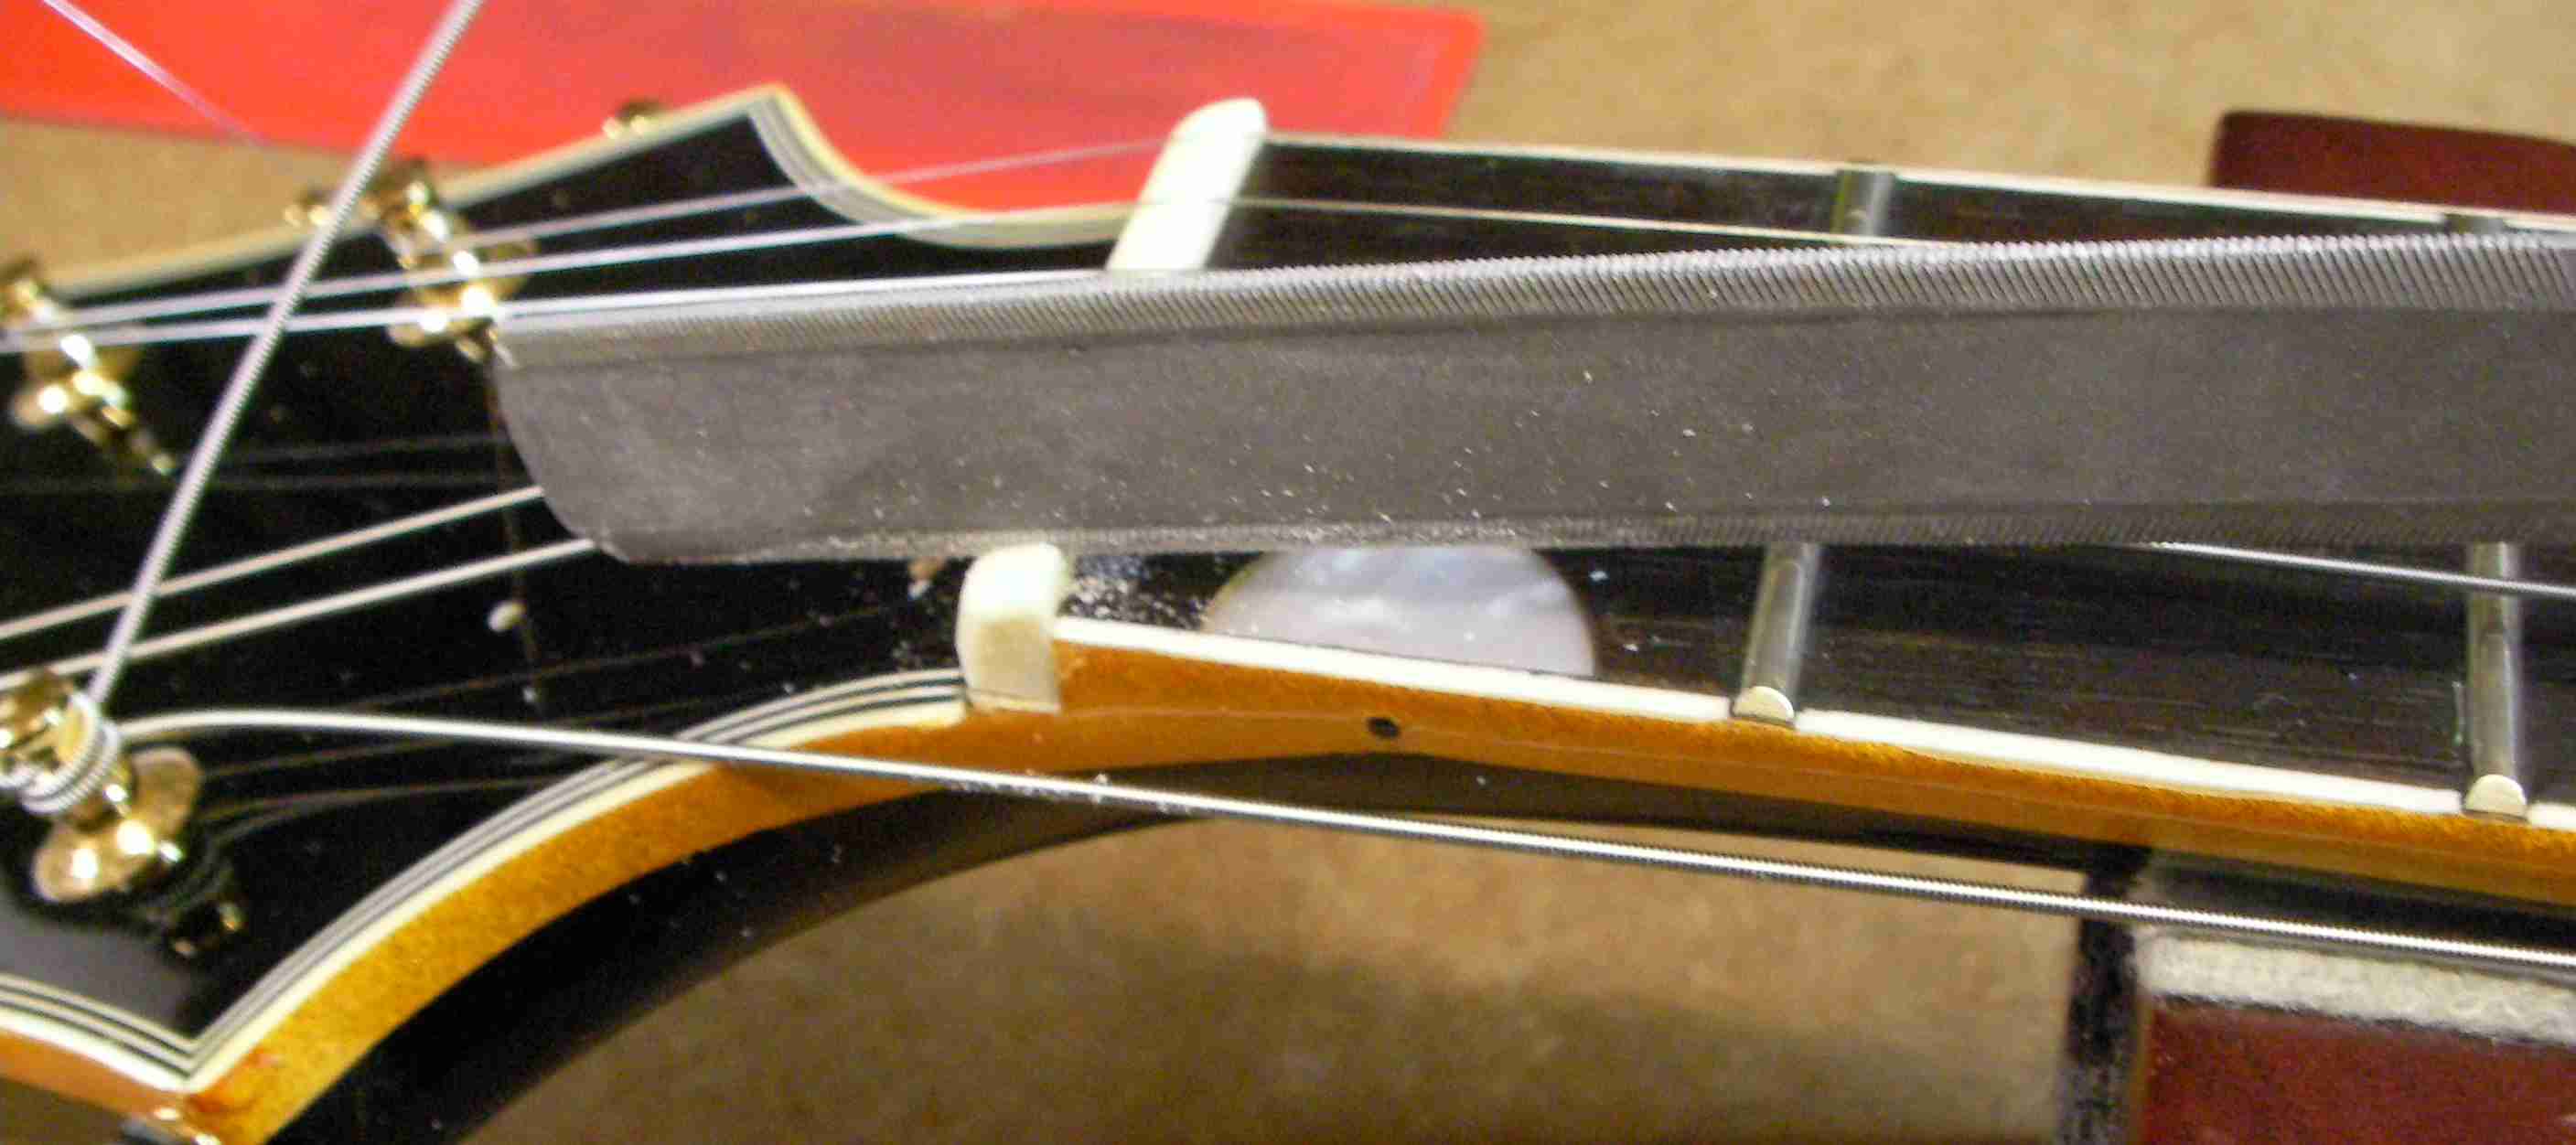
So on with the dressing. Using a calibrated beam and sandpaper until the fret tops are all level…
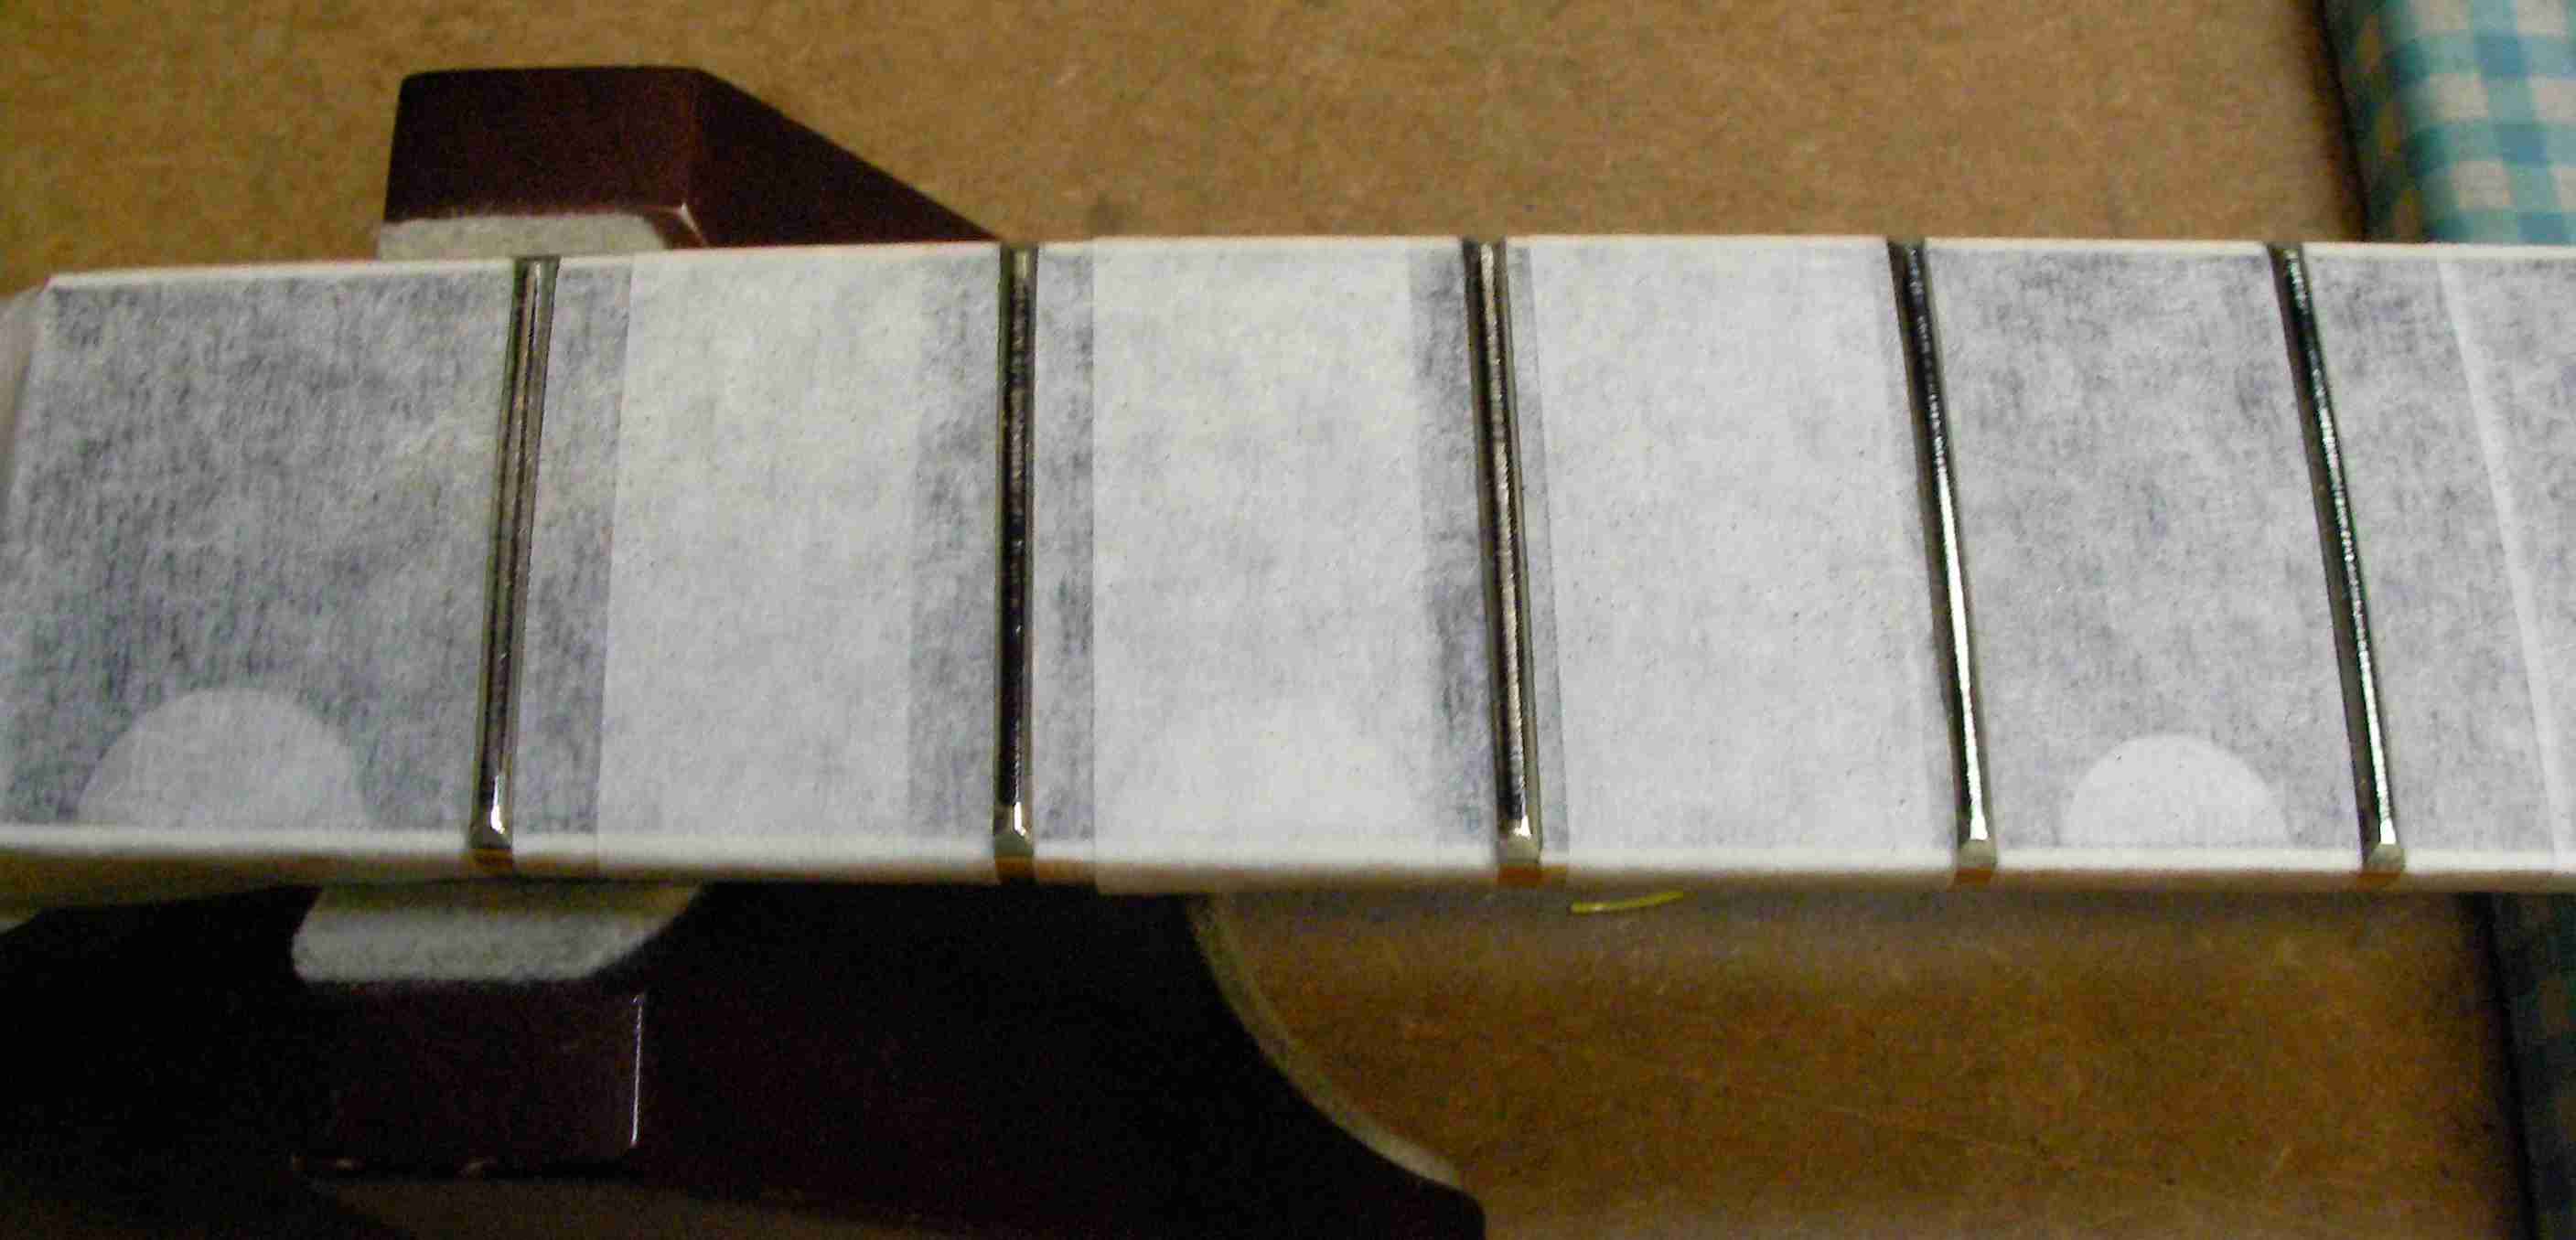
You can see here the 2nd fret has hardly been touched yet the others have had quite a bit removed.
Once the tops are level now each fret needs to be rounded off again.
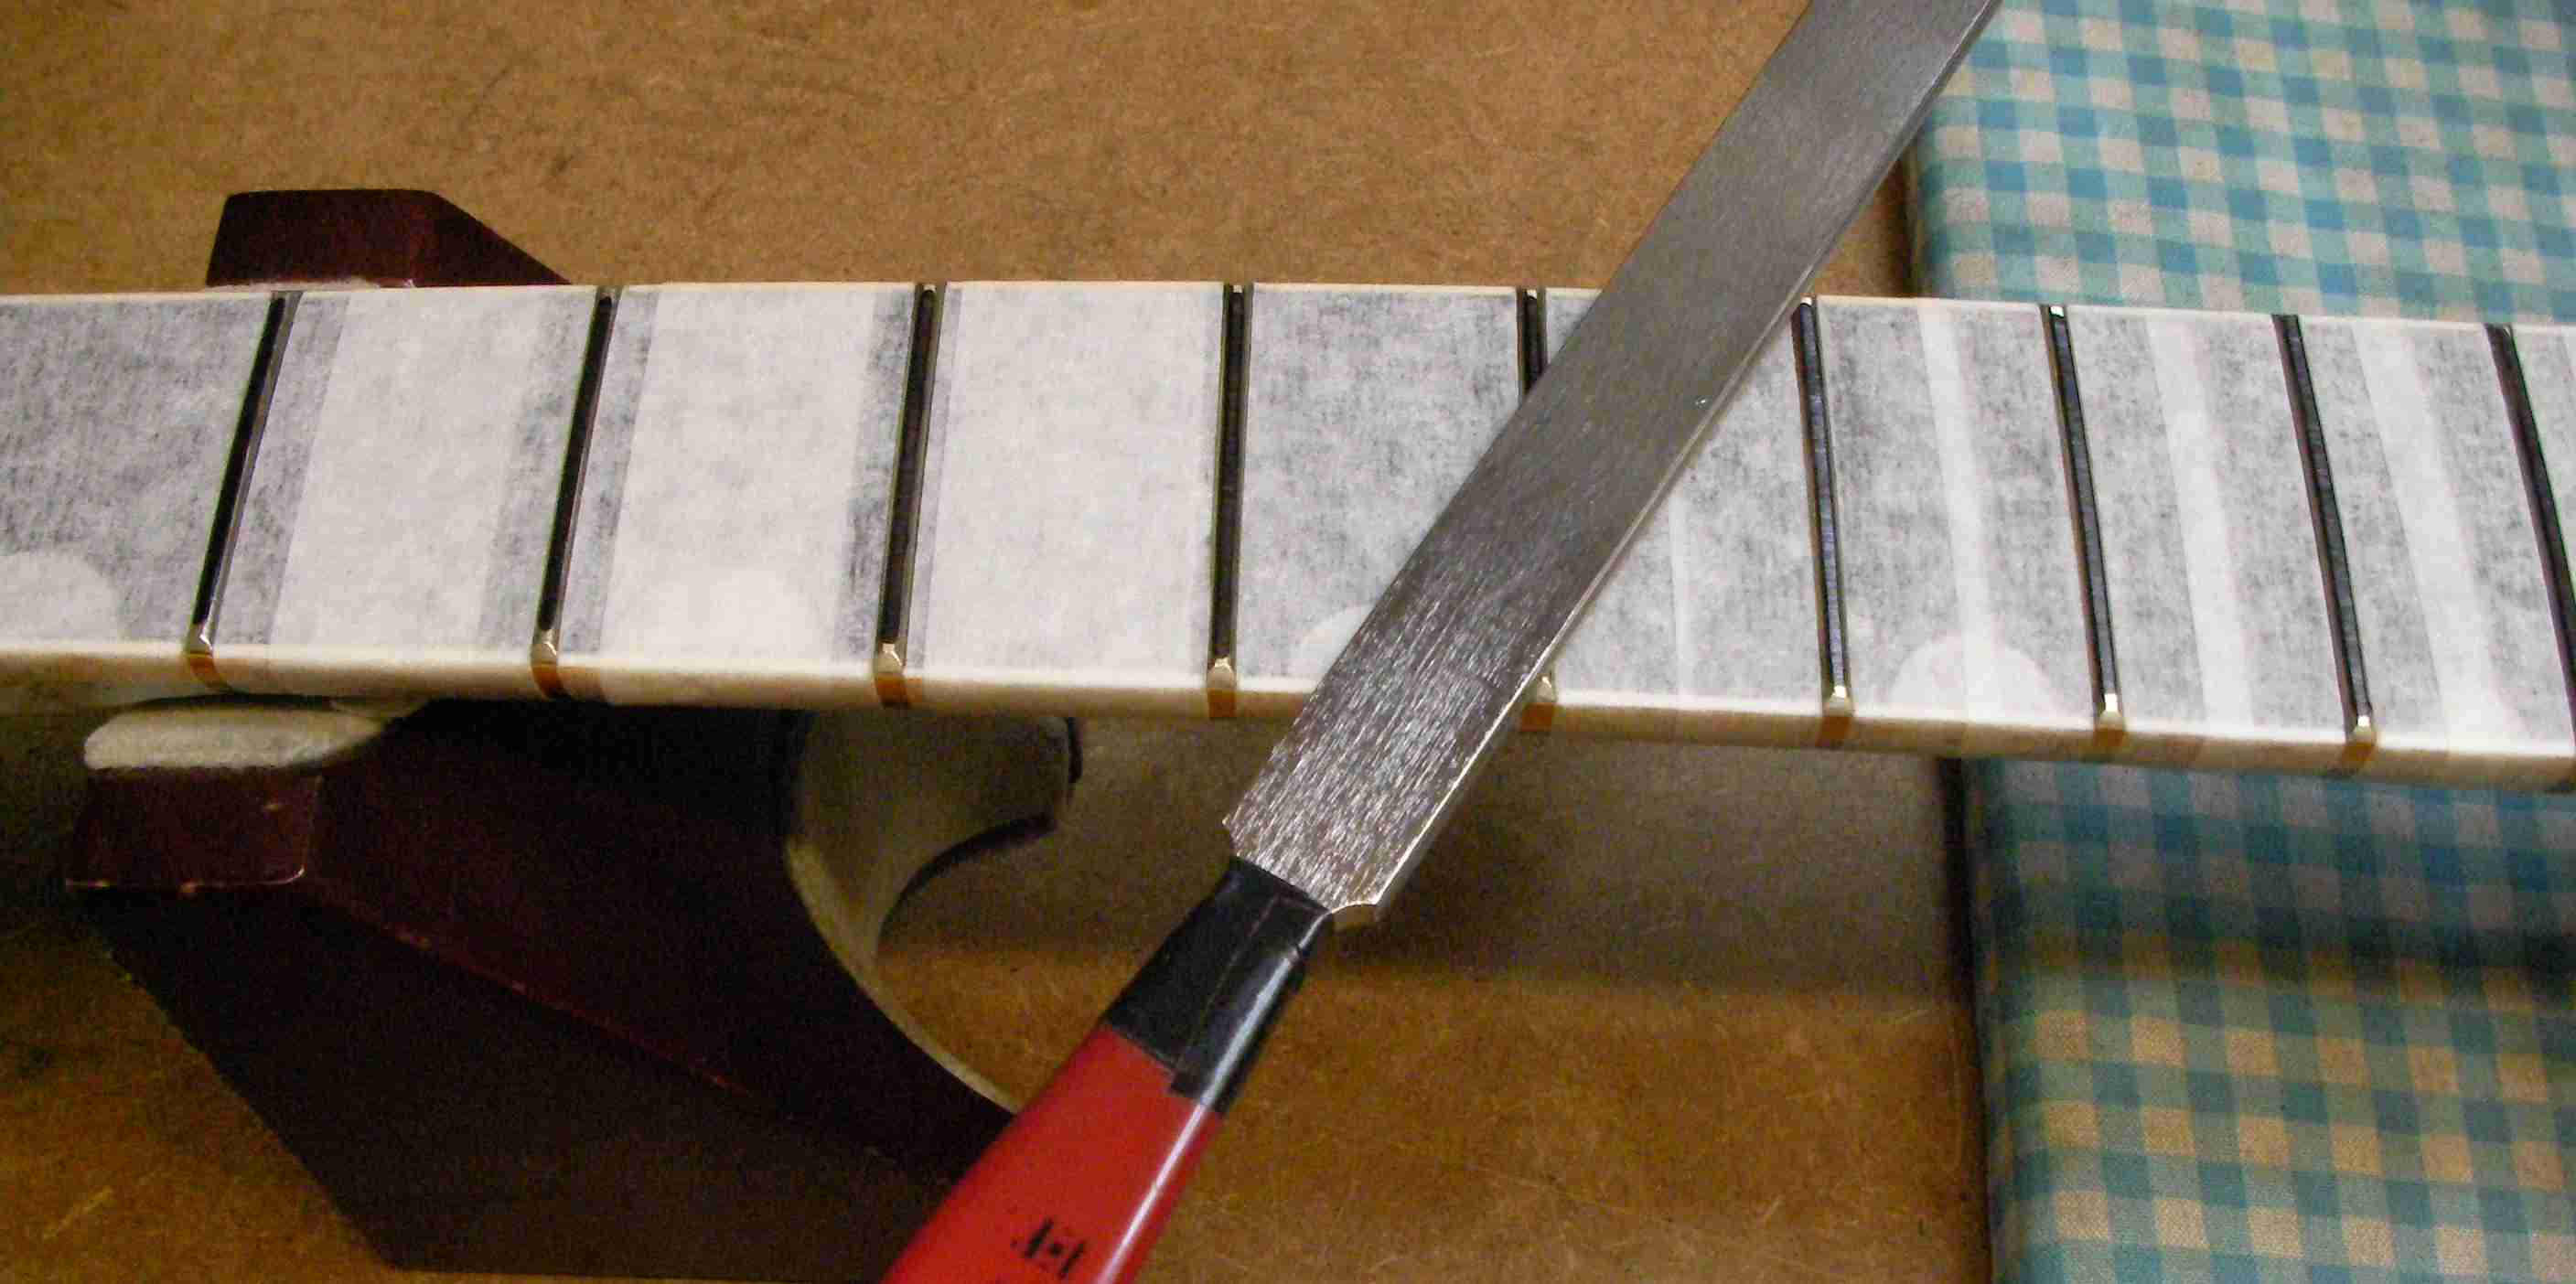
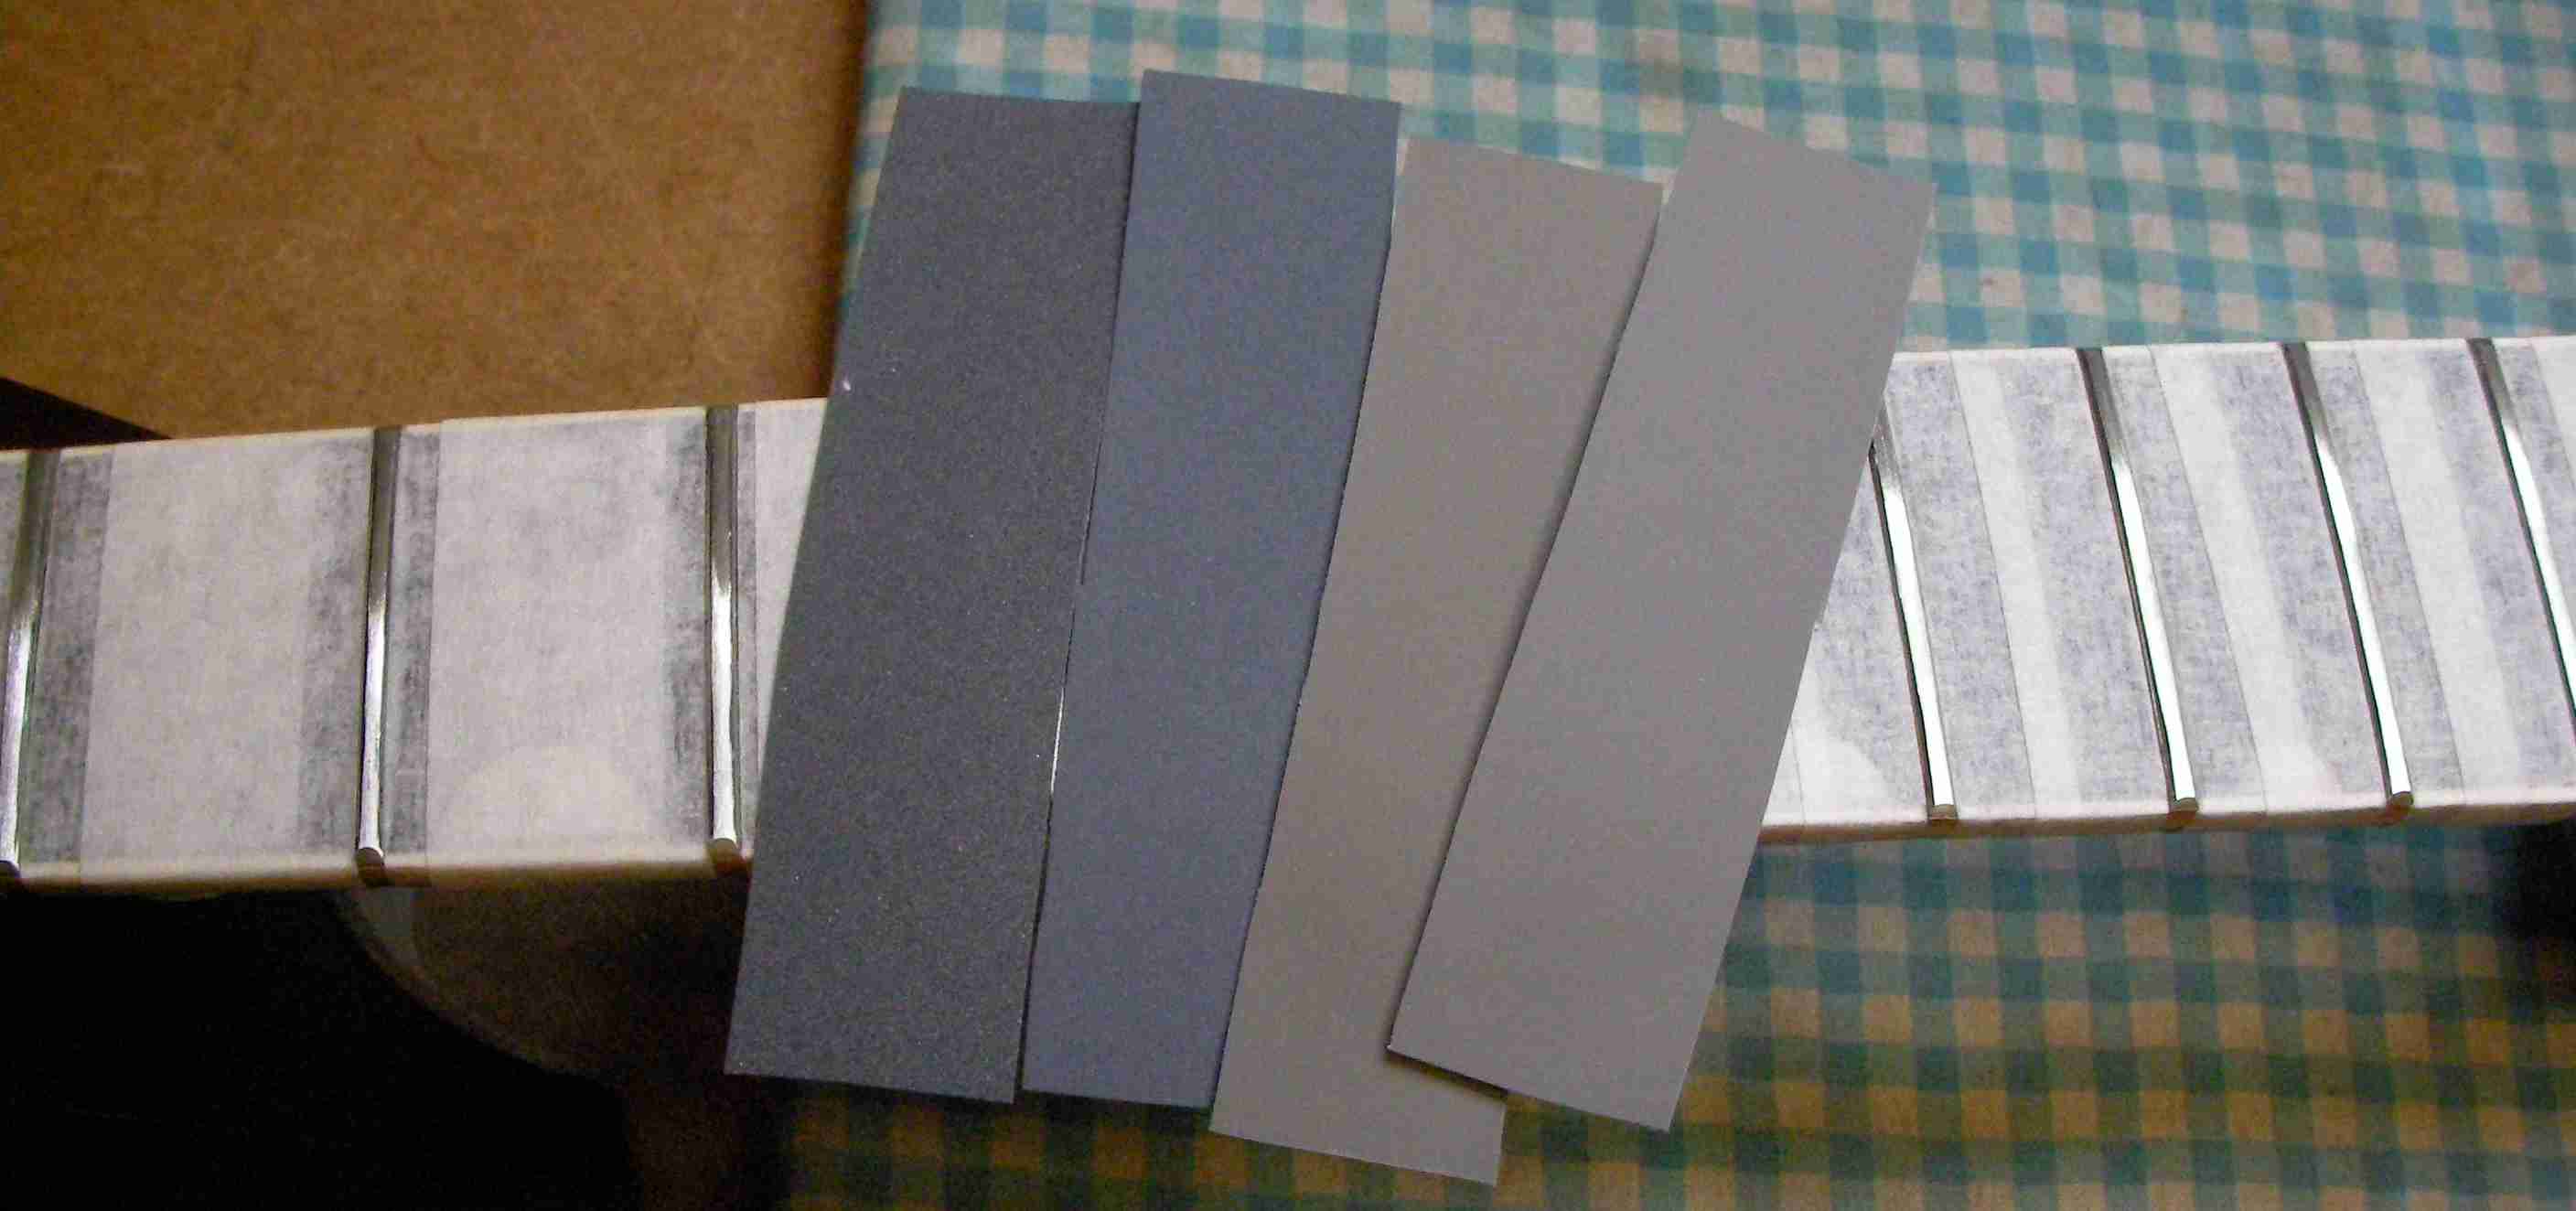
With the frets the right shape each one has to be re-polished with 4 grades of micro-mesh.
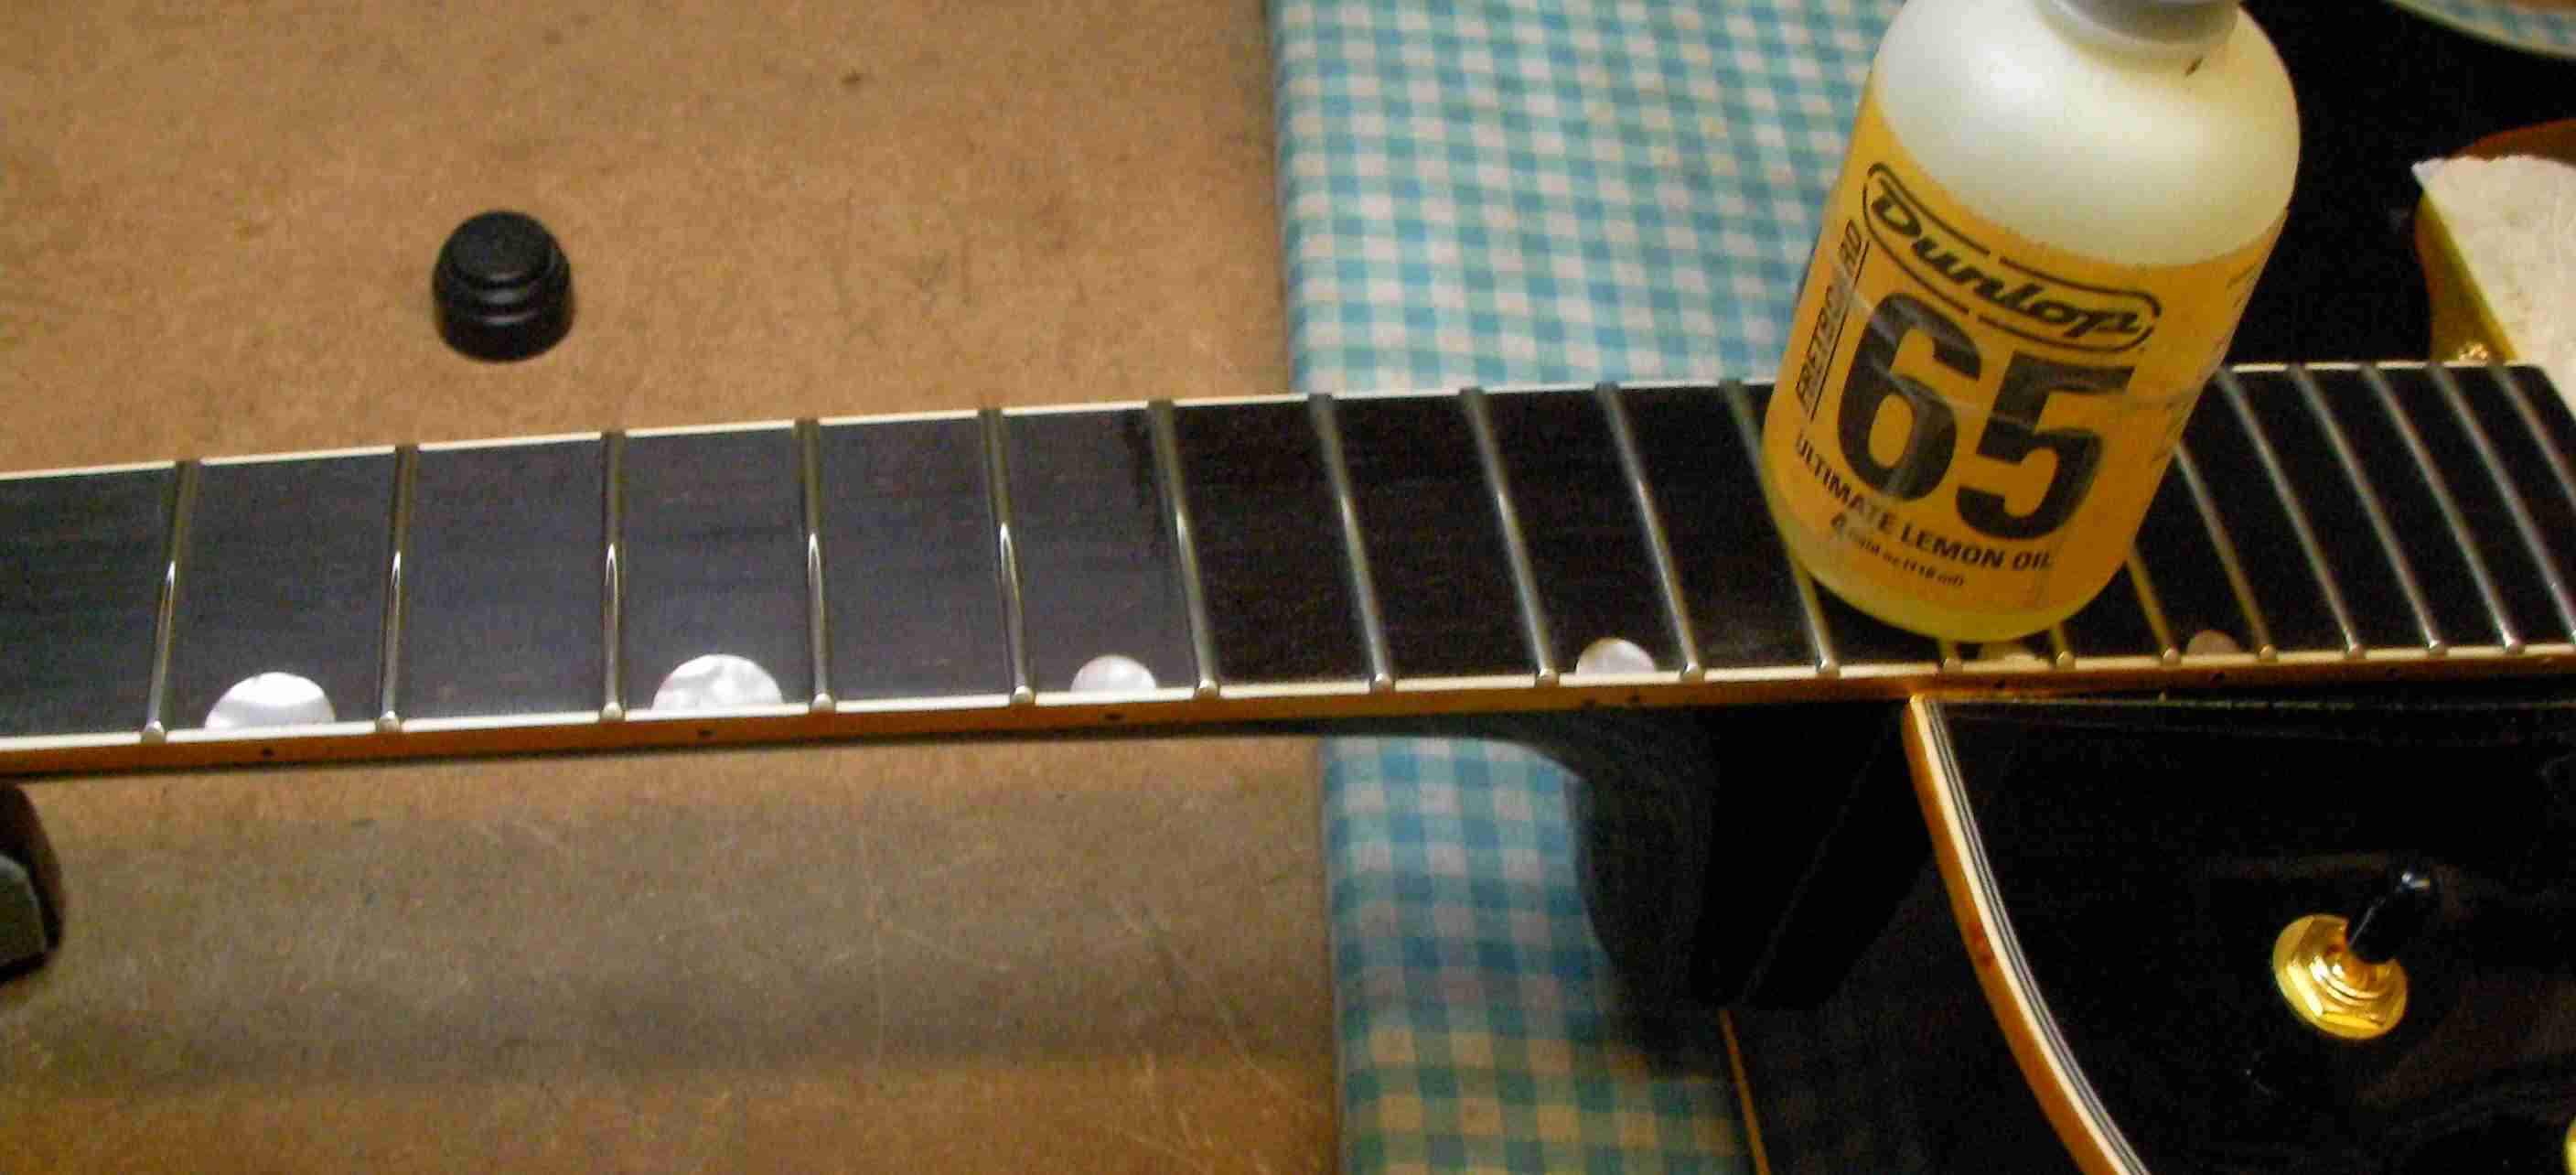
Before fitting the new strings I gave the fretboard a clean and oil…
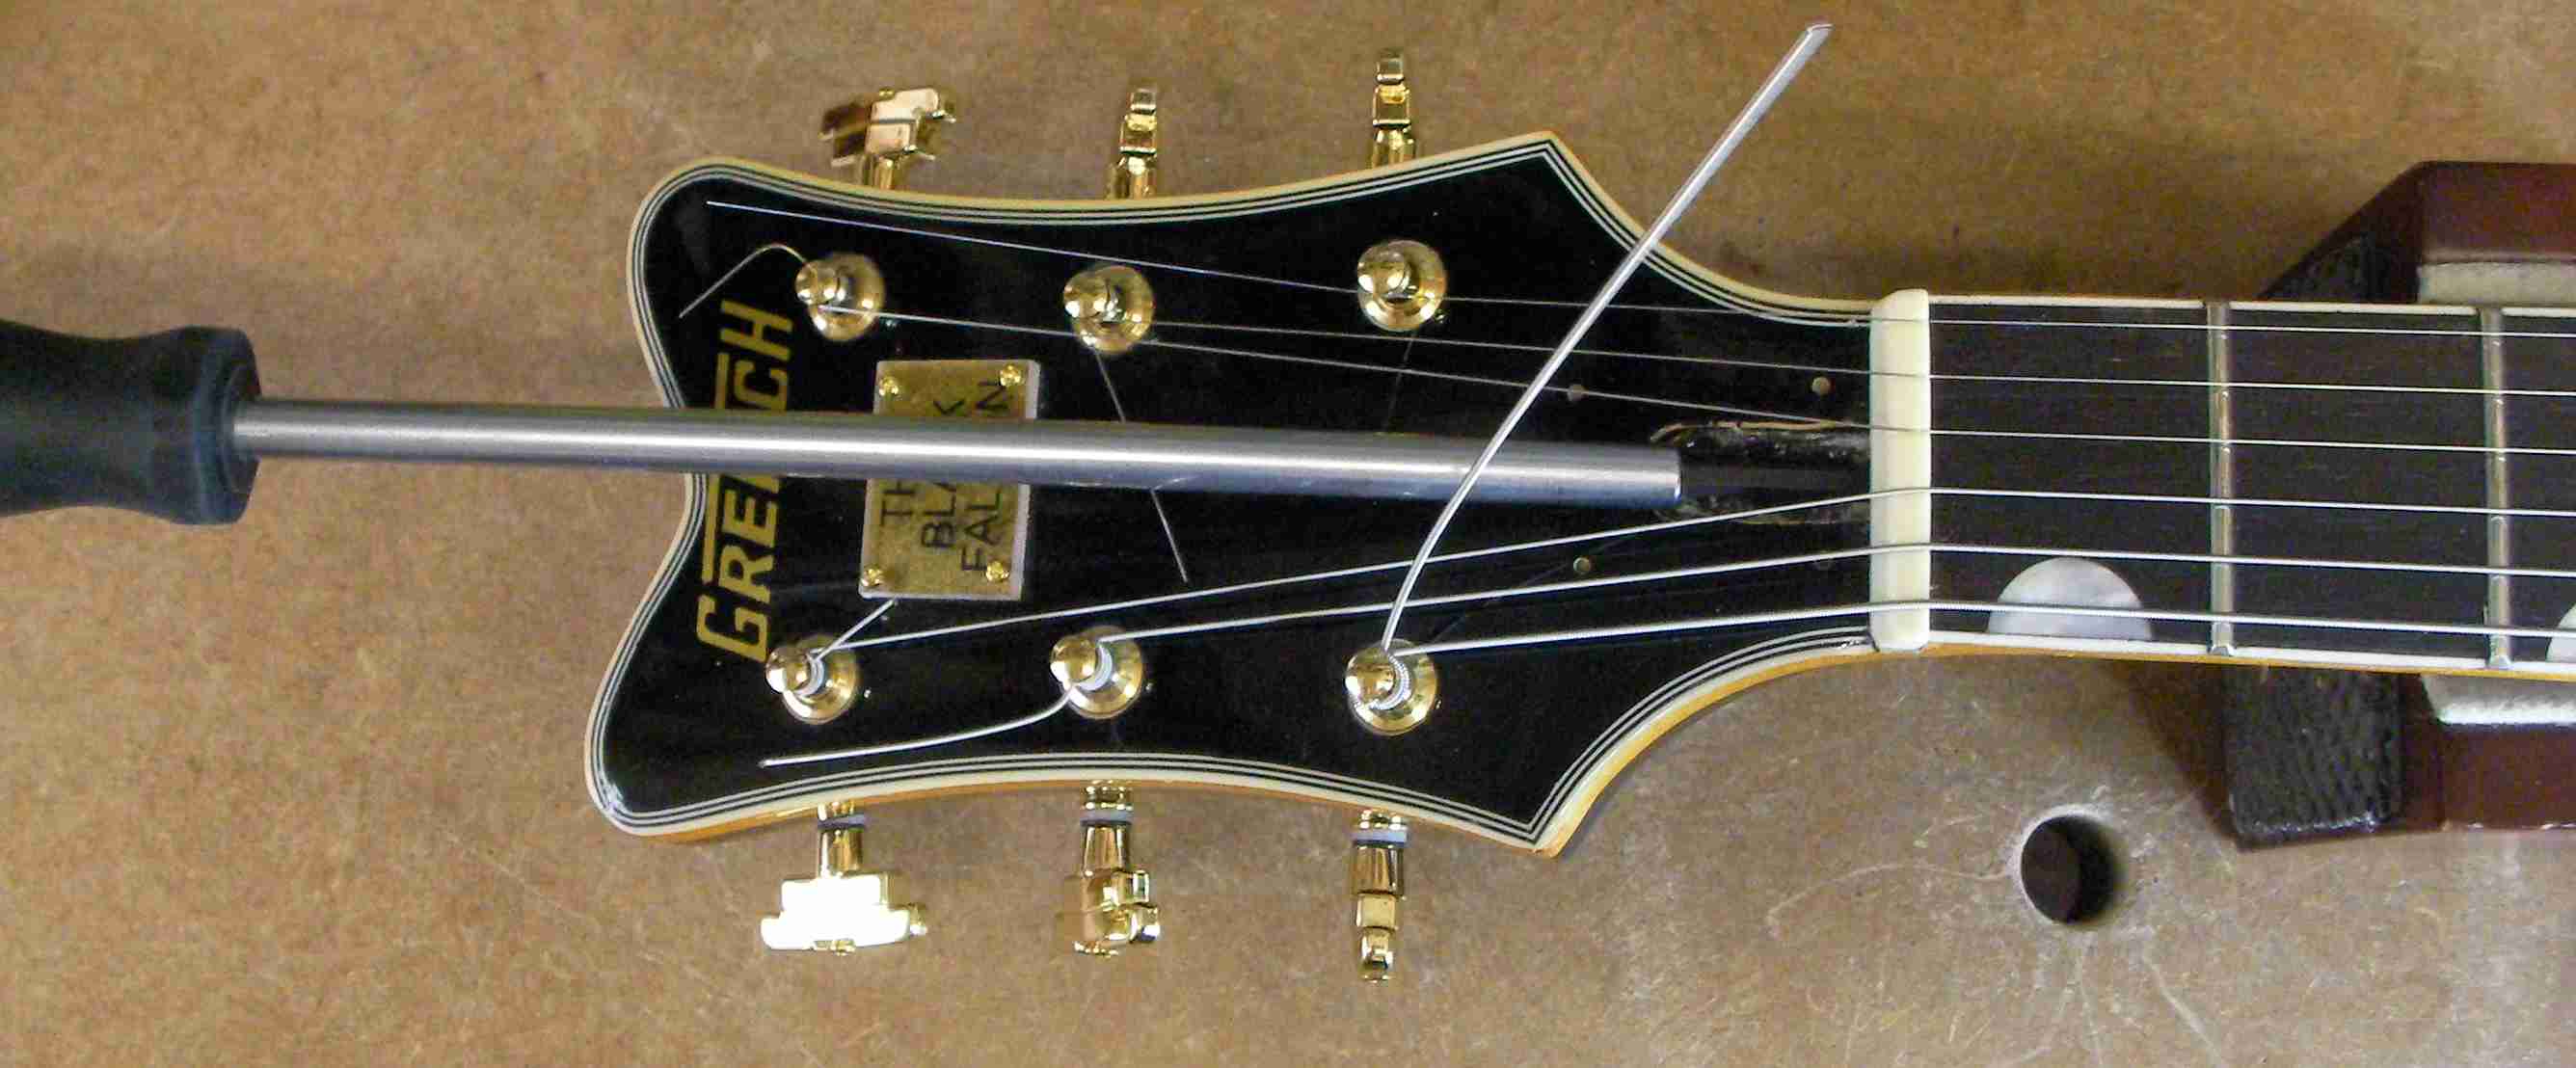
With that done all that’s left is a standard setup, starting with the neck set…

It was a little high so I tightened the truss-rod a little.
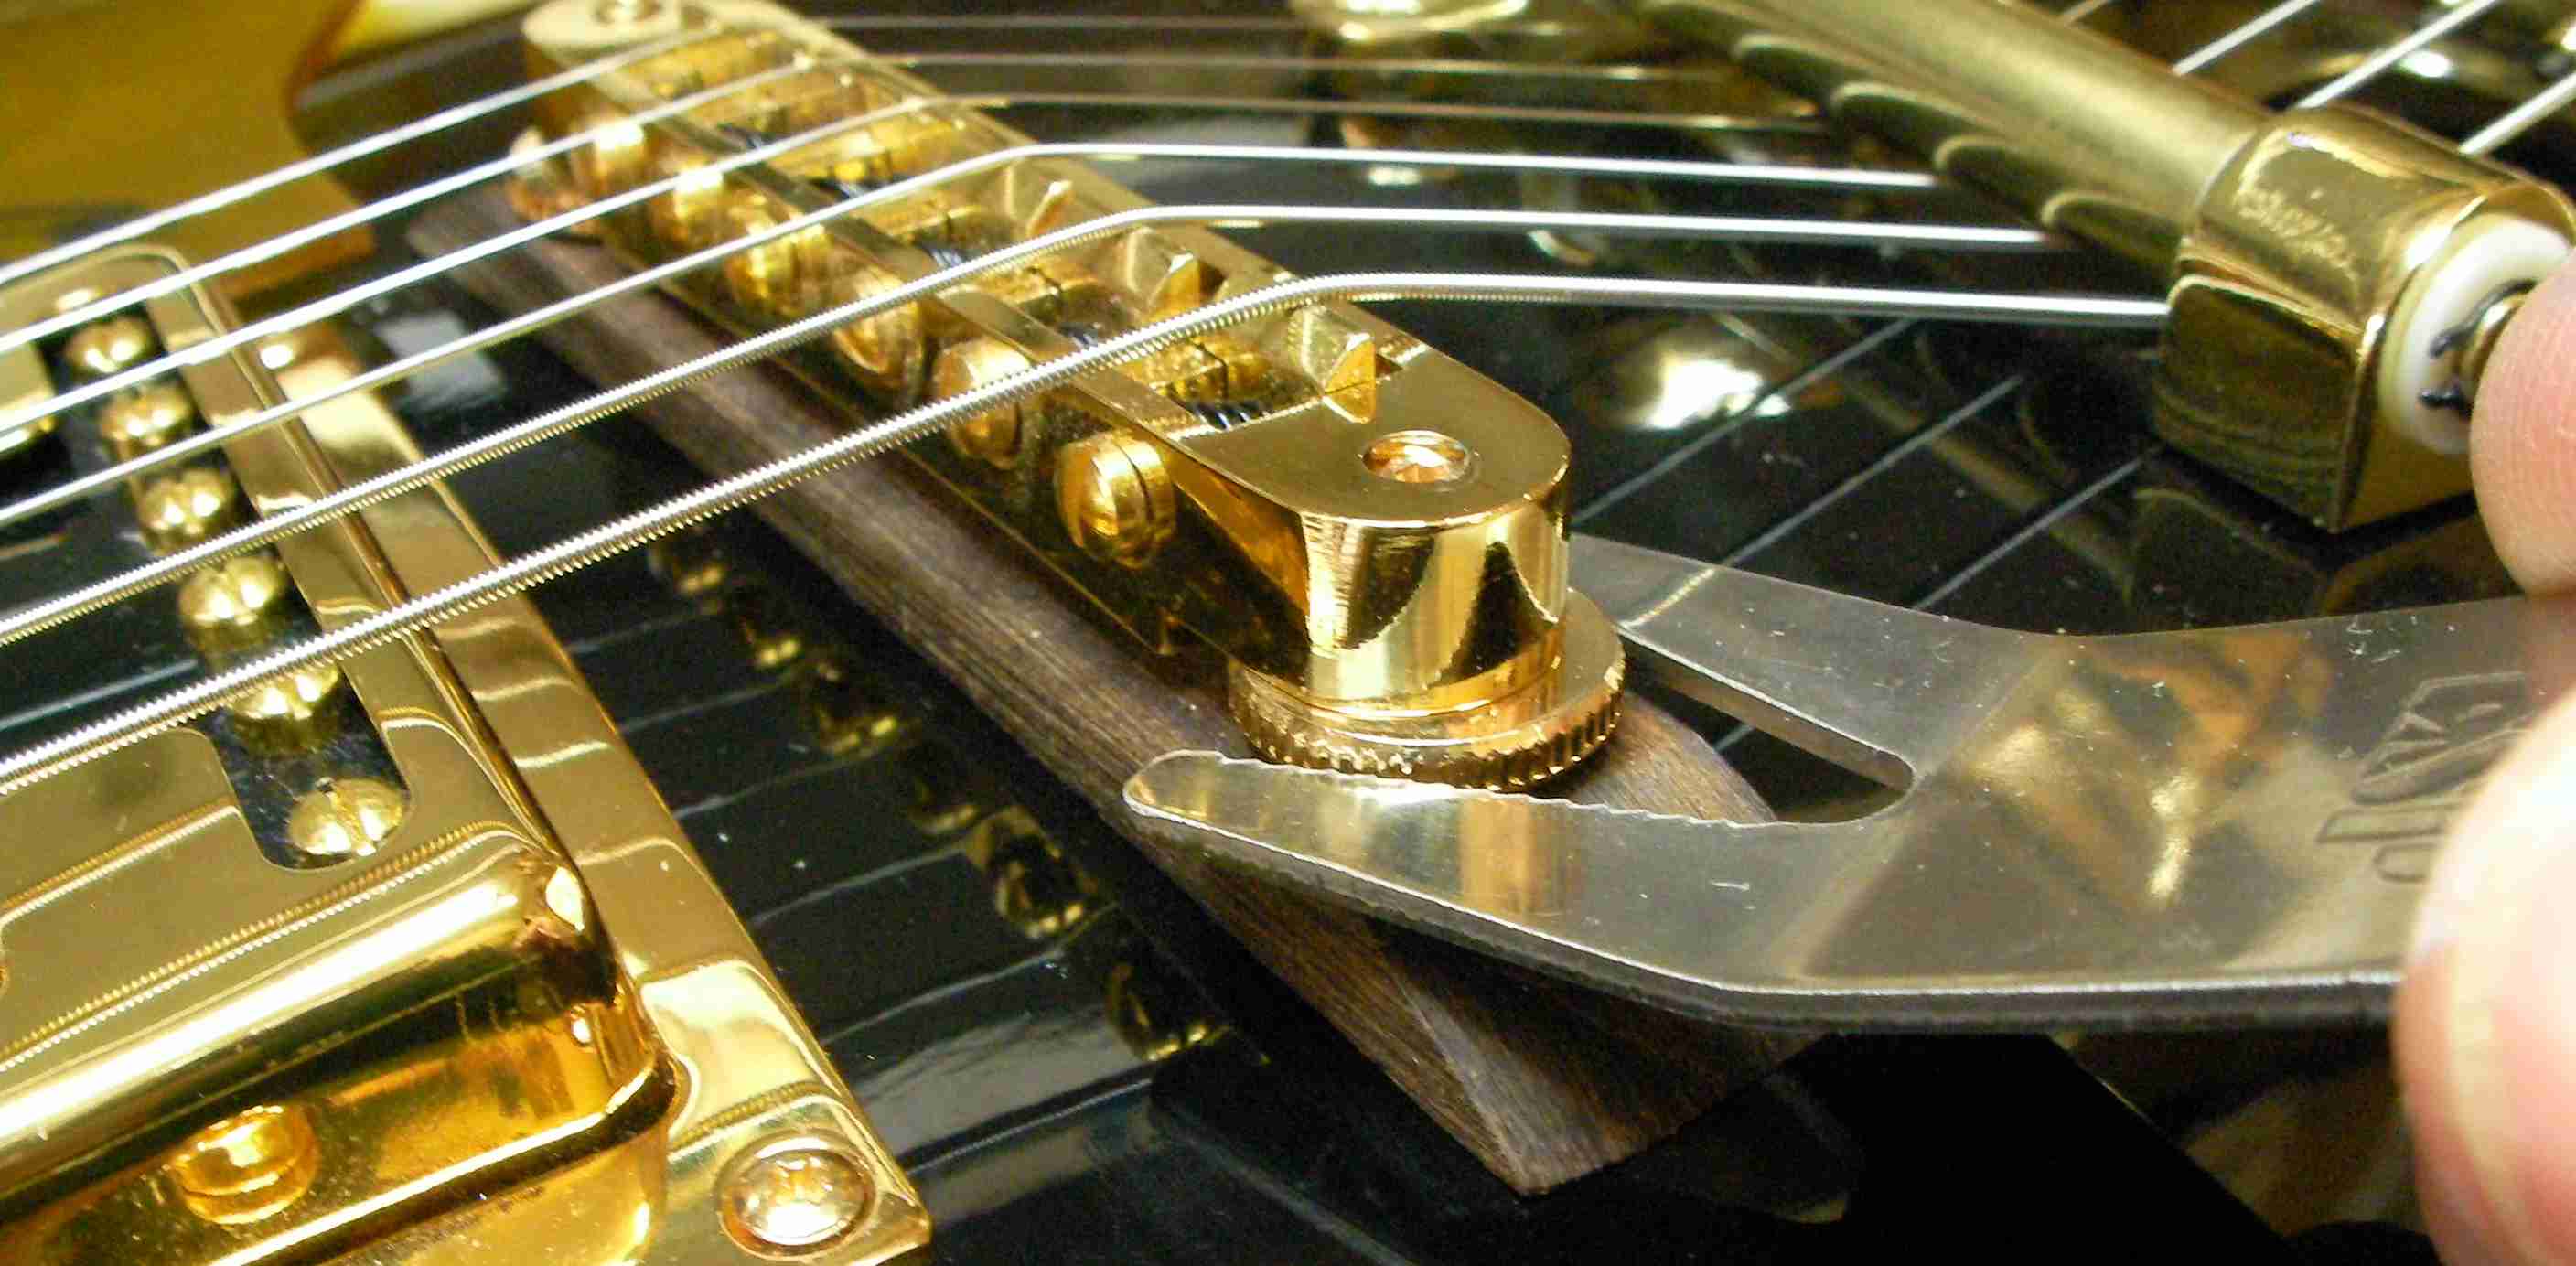
Next the bridge height, measuring at the 12th fret. A little high….
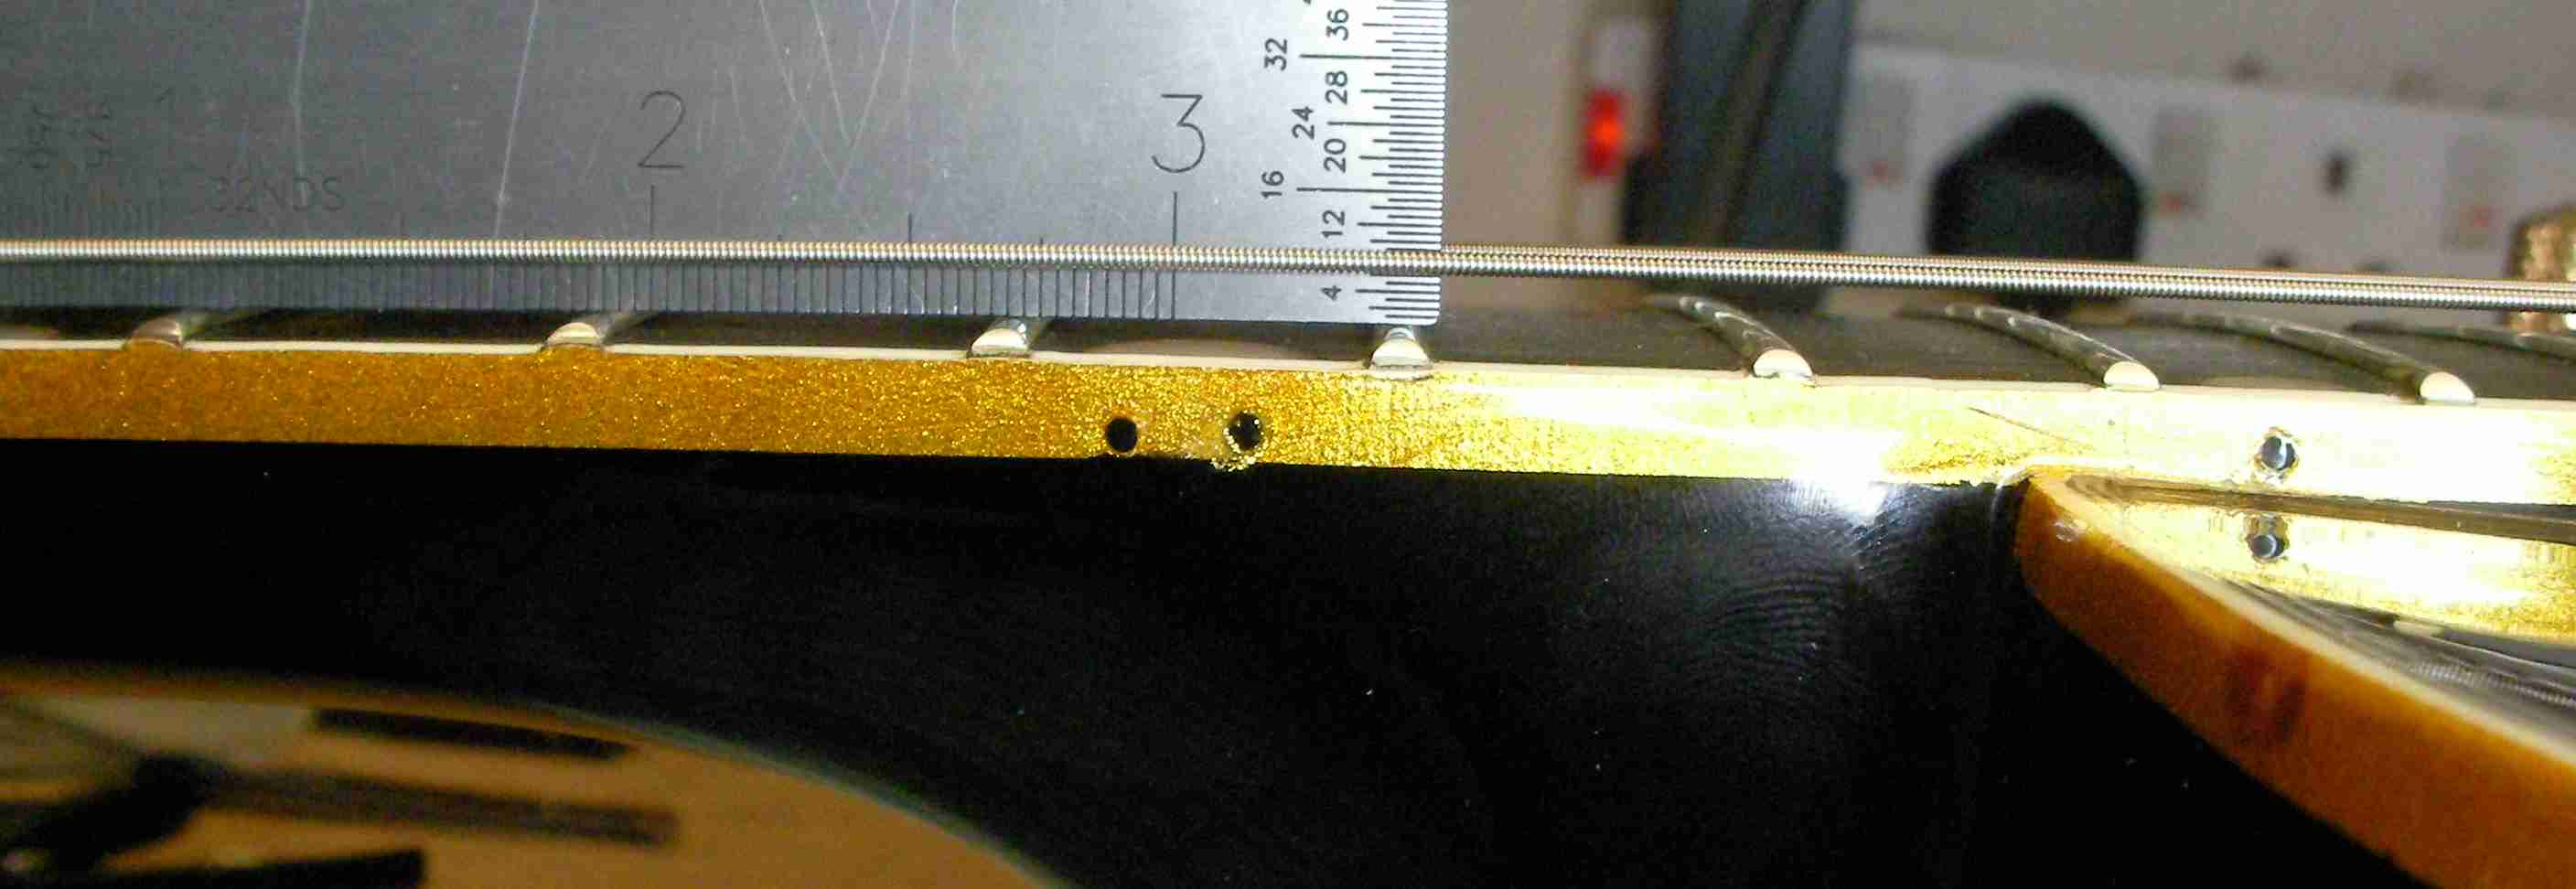
so drop the bridge down a little.
Next the action at the 1st fret. Way too high…

so cut the slots in the nut deeper…
Lastly the intonation, which is when it became apparent the bridge was misplaced.
There we go, now it’s ready to Rock……